You can configure customer types to categorize customers by business relationship or service level, helping segment customers for reporting and targeted treatment. This improves your retail operations by enabling customer segmentation, with properly configured customer types typically supporting better reporting analysis and differentiated service strategies for customer segments.
Understanding customer type configuration involves recognizing categorization benefits, reporting implications, and service differentiation opportunities to help retail operators focus on the right customer segmentation workflows, ensuring your retail strategy consistently drives better customer analysis and service customization outcomes.
The Customer Types feature allows you to create unique Customer Type categories to suit your business. Using these labels, you can filter your customers in popular reports, like the Customer Activity Report, Sales Report, and more.
You can even assign the Customer Type right from within POS - no need to update the details in Back Office.
Creating Customer Types
To create a Customer Type:
- Navigate to Settings > Customer Types
- Enter a Name

- To begin using the new Customer Type immediately tick the Is Active option
- Click Create
- The new Customer Type will be added to the list at the bottom
Back to top
Setting a Default Customer Type
The default Customer Type will be assigned to all new customers automatically. To assign a new default:
- Create the Customer Type as per the previous steps
- Click the Pencil icon for the appropriate Customer Type in the table
- Tick the Is Default option

- Tick the Blue arrow
The default Customer Type will be updated
Back to top
Delete Customer Type
To delete a Customer Type:
- Click the blue trash can icon
- Click OK
The Customer Type will be deleted.
📋 Note: Some Customer Types are unable to be deleted as they are standard options included with Retail Express e.g. Retail.
Back to top
Assign Customer Types at POS
Customer Types can be assigned to existing customers at POS, so your staff can update the information quickly and easily!
To assign a Customer Type within POS:
- Click the Customer tab
- Use the Search feature to find a customer (or create a new one)
- Click Edit Customer
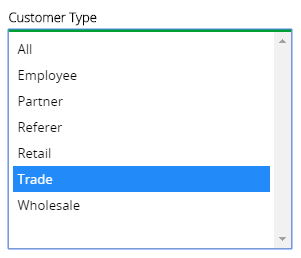
- Select the Customer Type from the drop down
Back to top
Related Articles
Payment Processing:
Point Of Sale Operations:
Reporting Analytics: