You can initiate inter-store stock movements efficiently through creating transfers in Retail Express POS, which enables front-line staff to send stock to other outlets without accessing Back Office systems. This simplified transfer creation helps retail operators respond quickly to stock imbalances and maintain optimal inventory distribution, with efficient POS transfer creation typically improving stock availability and reducing administrative burden across Australian retail operations.
Transfer creation in Retail Express POS enables retail staff to initiate stock movements directly from the sales floor, helping ensure rapid response to inventory needs and supporting efficient multi-store coordination. This POS transfer capability helps ensure your retail operations can quickly address stock imbalances while maintaining simple workflows accessible to front-line staff.
The POS Transfer functionality allows your staff to quickly and easily access and process Transfers, increasing their efficiency and reducing their need to access Back Office.
To send stock through POS:
- From the main page of POS click Transfers
- Enter a valid User ID
- Click Send Stock
- Click Create New
Pending transfers can be edited but can only have the same product added to the Transfer - additional products cannot be added
- The Send Stock - Select Stock to Send window will be displayed:
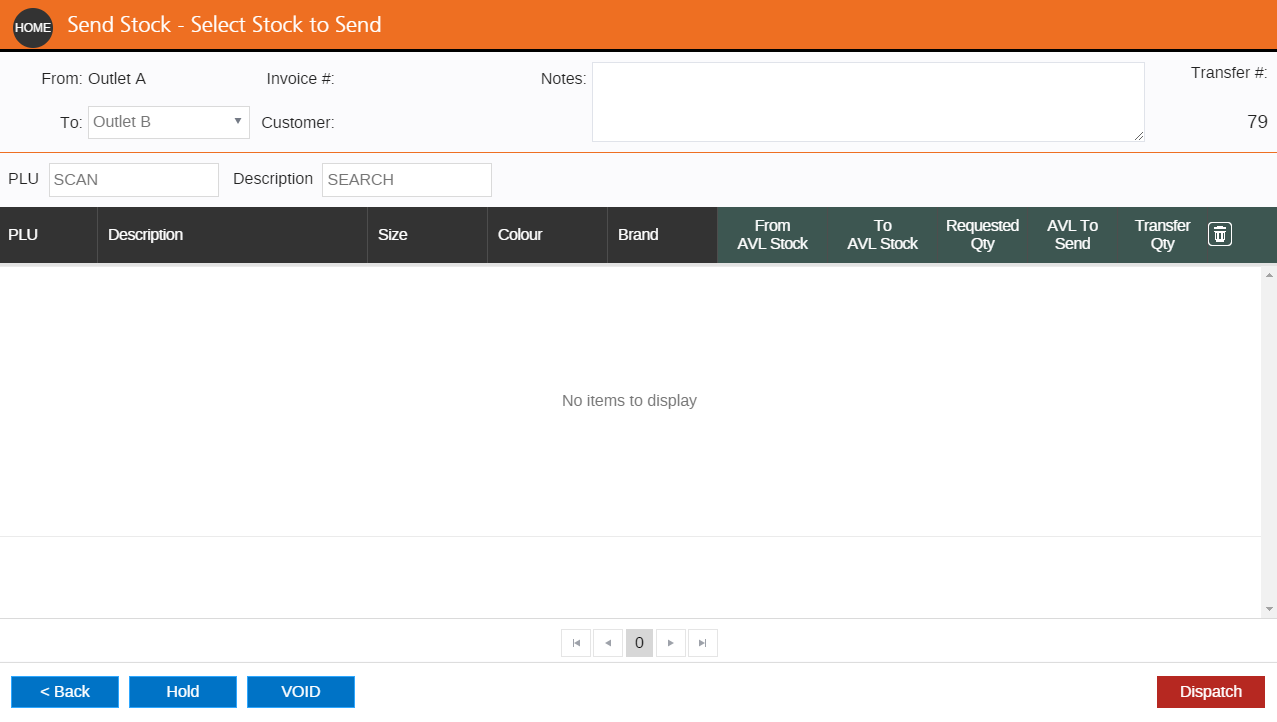
- Select an outlet in the To field (the From outlet will be automatically populated with the current outlet)
- Enter any details for this transfer in the Notes field
- To add products you can either:
- Scan a barcode into the PLU field (each time the code is scanned the Transfer Qty will increase by 1 until it reaches the maximum number available)
- Enter the product name in the Description field (this field is predictive and will display potential matches as you type in the details) and click on the matching product - To increase the Qty
- Continue to scan product barcodes in the PLU code field
- Click the Transfer Qty field and type in the value - To pause the transfer to resume editing at a later time click Hold
- Click Dispatch to apply the changes
- Click OK to confirm the Transfer
- Click Send to Email or Print to Document Printer depending on your requirements
- Click Done to return to the main window of POS.
Only Transfers ready to be actioned will be visible in the results. Cancelled transfers cannot be actioned and are hidden from view.