Retail Express supports Click and Collect order fulfilment via Shopify through custom logic in the Shopify Connector when synchronising orders, and code snippets that can be embedded into a Shopify theme. These code snippets require developer input to embed into a theme and can be unreliable depending on theme configuration and customisation.
To simply the process for installing the theme customisation, and hopefully improve compatibility, these code snippets have been converted to a Shopify App Theme Extension that allows the elements to be added to a theme using the Shopify theme editor.
Theme extensions are only supported in Shopify 2.0 themes.
The App Block will be available to all clients using the Retail Express App, however Click and Collect is still a licensed feature so the block will not work unless the usual licensing and configuration process in Retail Express is followed.
Users will need to purchase a license before you can use this product. Click here for more information.
Limitations
Before implementing Click and Collect there are some limitations that you should be aware of.
- All stock must be Available in the same Outlet to be eligible for Click & Collect (Transfers are not available)
- The customer must view the Shopping Cart page to select an Outlet - you will need to disable/remove any features that bypass this page e.g. "Buy it now" button. This is a limitation of Shopify (see below for more details).
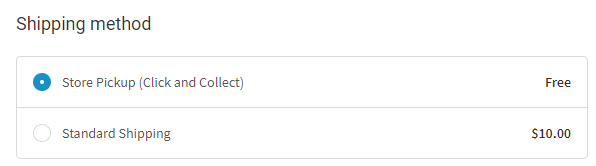
- Your customers will still be required to select a Shipping Method during the checkout*. It's recommended to create a $0 shipping method called "Store Pickup" for your customers to select during checkout to avoid paying shipping fees:
- The Click & Collect feature is a non-standard Shopify feature and therefore not supported by Shopify
- As all themes are different, you will therefore need an experienced developer to implement this functionality. Please note Retail Express does not provide support for Shopify themes, however we can recommend a developer to you if required.
- Shopify restricts the ability to modify the process of the customer checkout (some modifications can be achieved on a Shopify Plus store, however the Click and Collect feature has been designed to work on all versions of Shopify).
Before you begin
Before you can begin to set up the Click and Collect feature on your Shopify web store there are a few things you will need to know.
- Click and Collect is a licensed add-on. You will need to purchase a license before you can use this product. Click here for more information.
- Check to ensure you have added Outlet address and contact details for each Outlet enabled for Click and Collect
- Sign up for a free Google Maps API key (to display your Outlets on maps for your customers) - see below for details on this process
- Ensure you have enabled access to the Google Geocoding API (refer to the Google Maps instructions below)
Google Maps API key (click to expand)
To sign up and configure your Google Maps API key:
Even if you already have a Google Maps API key you will need to ensure you have enabled the Geocoding API as well
- Open the Google Cloud Platform Console
Note: Even if you already have a Google Maps API key you will need to ensure you have enabled the Geocoding API as well - Select your Project from the drop-down boxNote: If you are new to Google Cloud you will need create a Project before you can continue
- Navigate to APIs & Services > Library
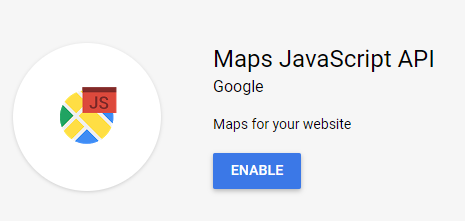
- Select Maps JavaScript API
- Click Enable
- Once enabled, click on the menu and navigate to APIs & Services > Library
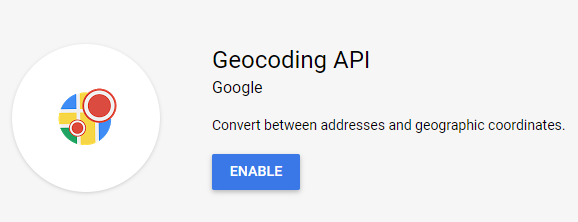
- Search for the Geocoding API and click on it
- Click Enable
- Navigate to APIs & Services > Credentials
- Click Create Credentials > API Key
- Your API Key will be created
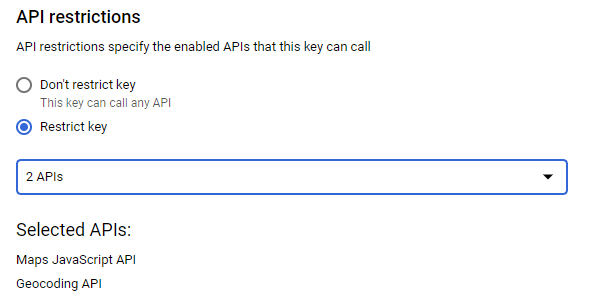
- Click Restrict Key
If you miss this step you can always click on the key under the Credentials window to edit the restrictions
- Under API restrictions select Restrict Key
- Select both the Maps Javascript API and the Geocoding API
- Click Save
Installation
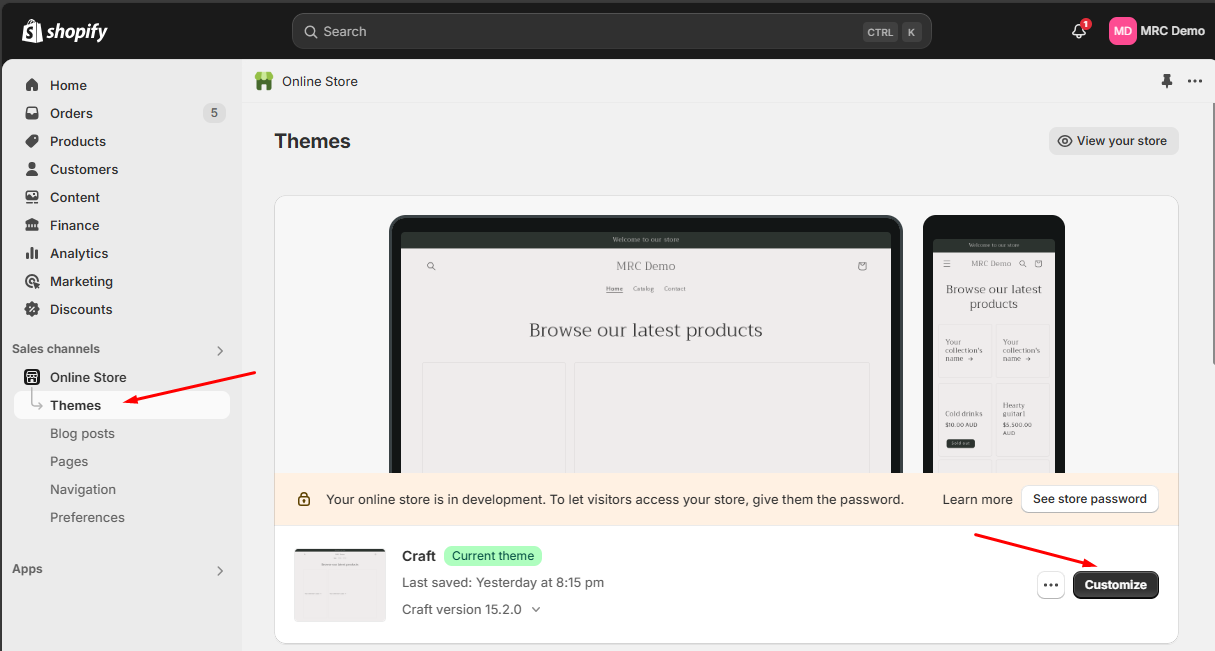
Theme extensions are available via the existing Retail Express Shopify App so no additional installation is required. The extensions can be added and configured as App Blocks within the Shopify theme editor:
The App Block can be added in two page templates: product detail pages, and the cart page. It cannot be added on other pages:
 The App Block needs to be added to AND configured in each page separately.
Product Details Page
The App Block can be added to the Product information section using Add block:
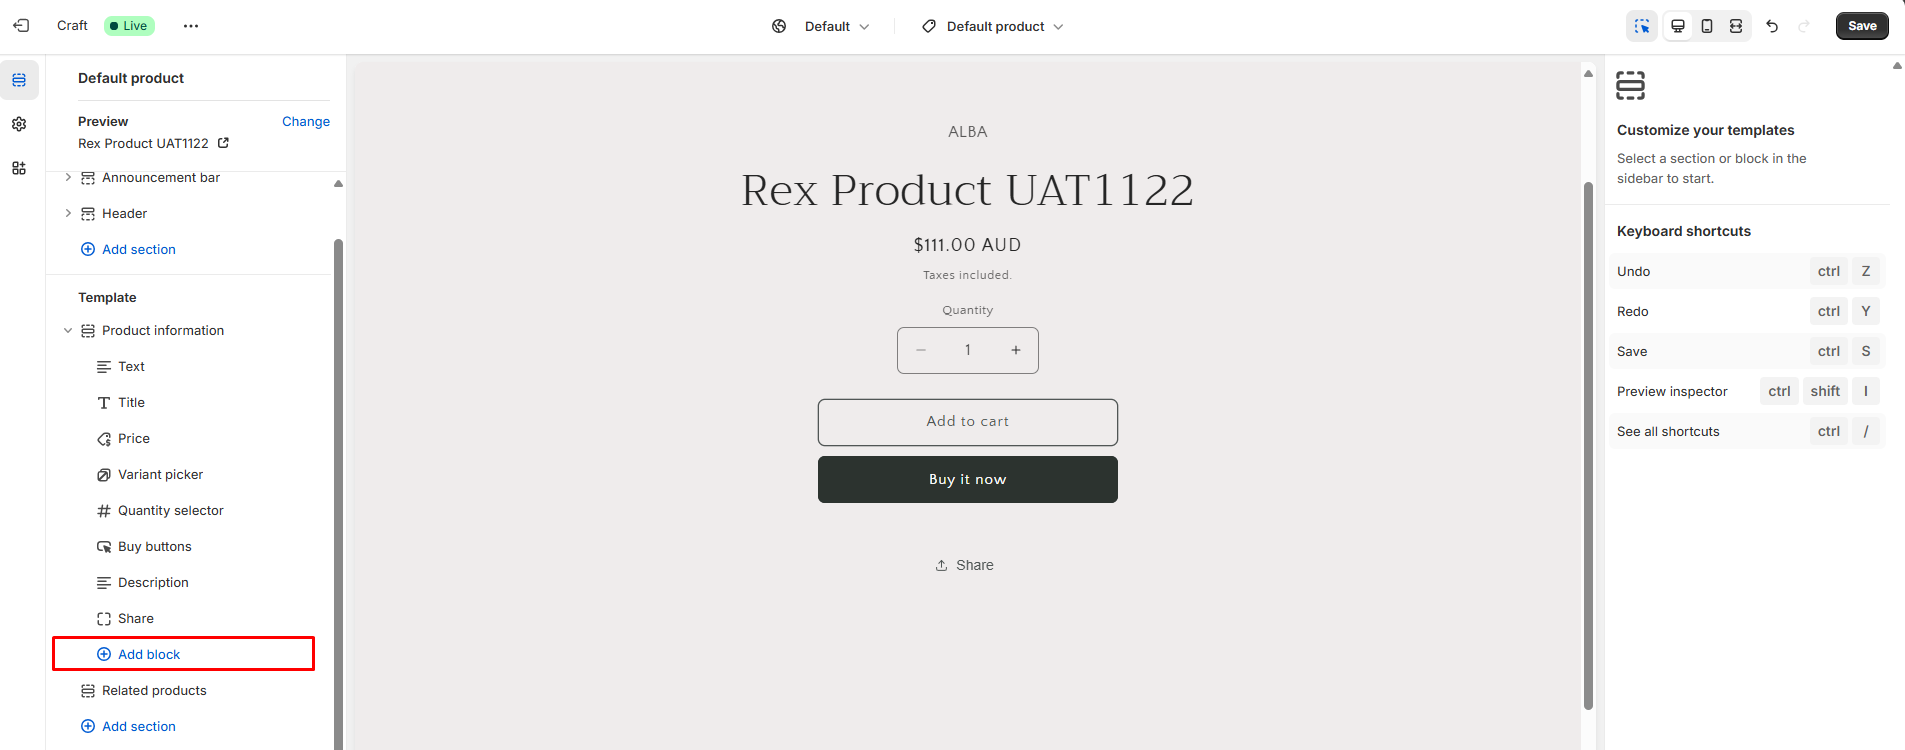
Click on the Apps tab and Click and Collect will be available - click to add to the page:
 The App Block can be dragged to any position within the section:

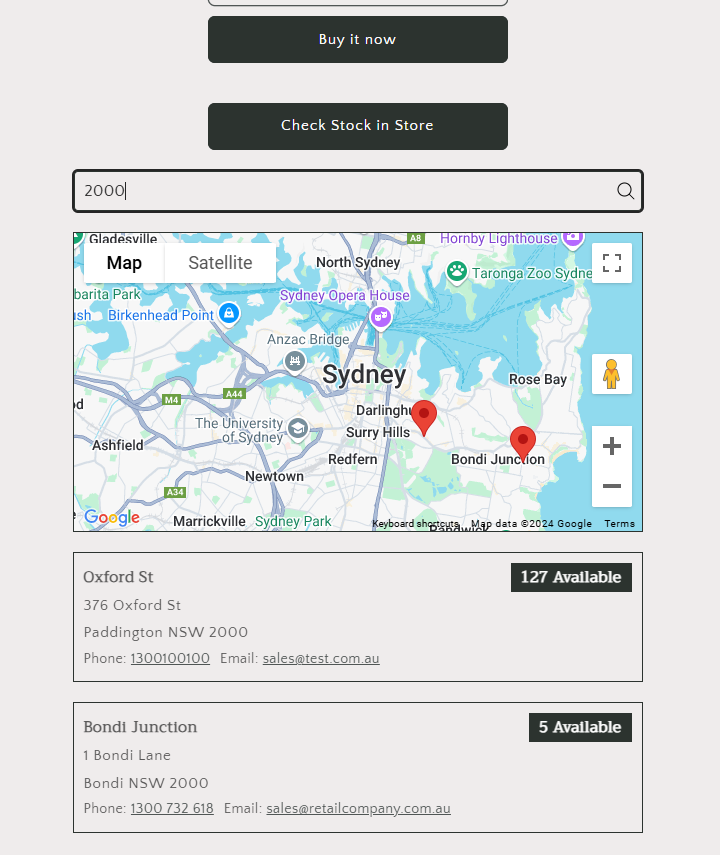
The component itself is visible in the page preview as a "Check Store in Store" button:
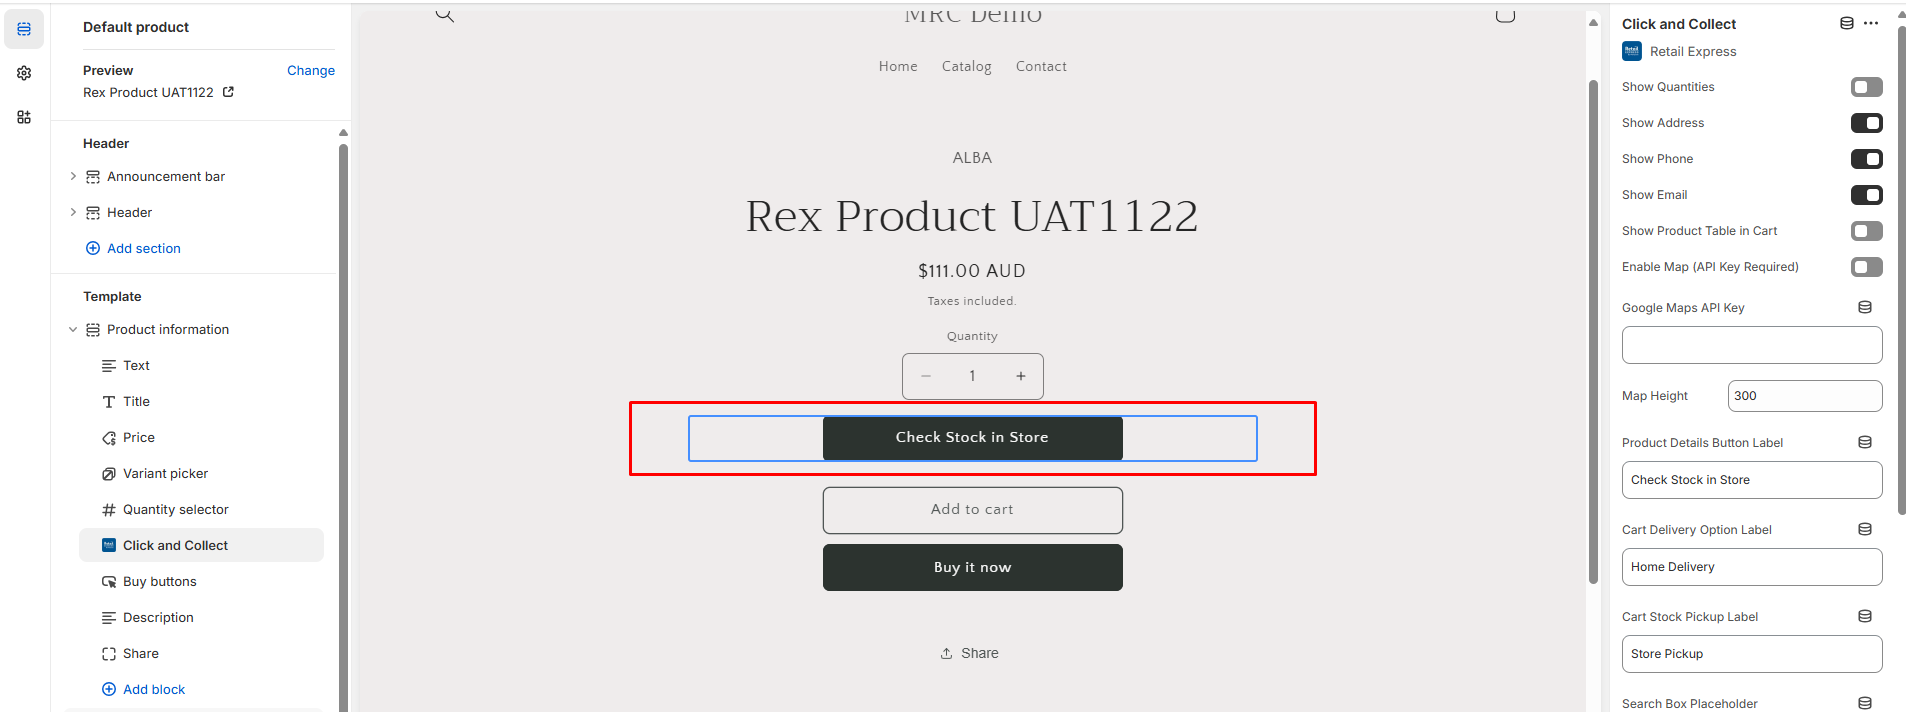 Clicking on the component either in the editor or in the list on the left will show the configuration options in the panel on the right-hand side - see Configuration section below.
Cart Page
The App Block can be added to the Subtotal section, again using Add block:
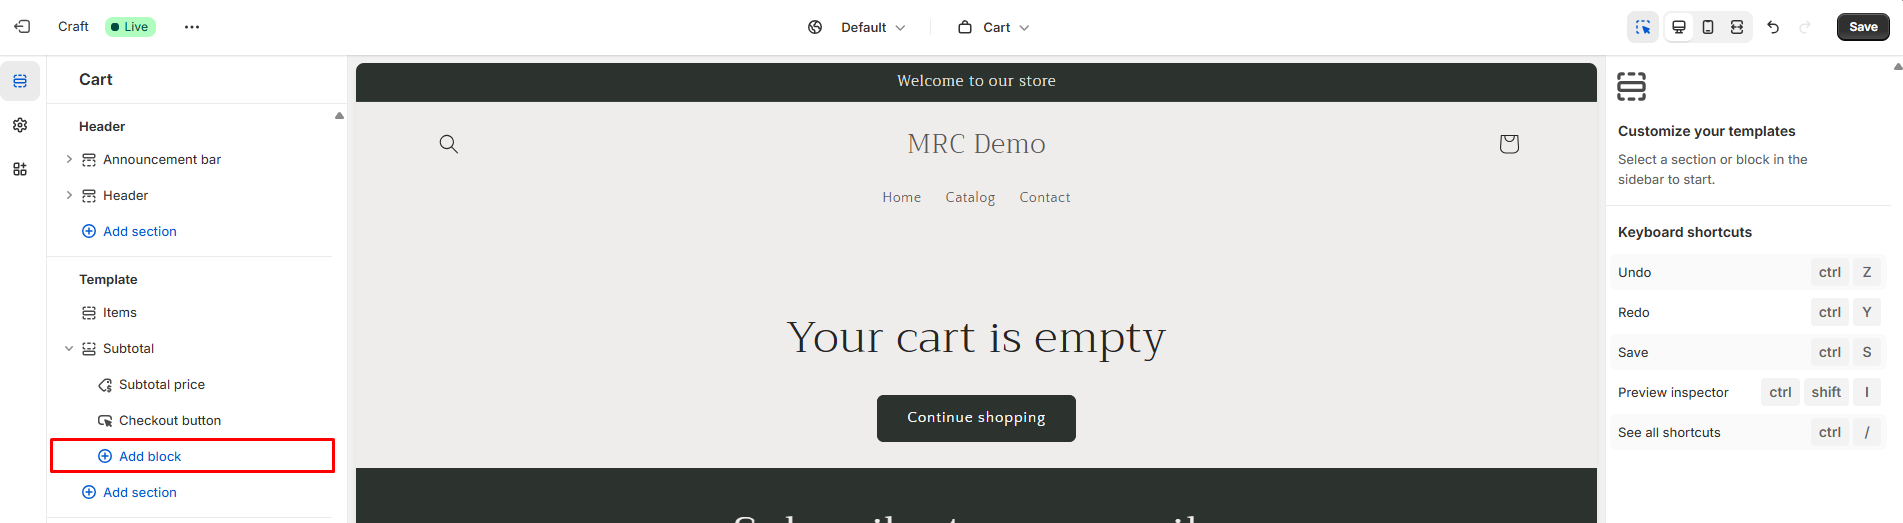
As above, click on the Apps tab and Click and Collect will be available - click to add to the page. The App Block can again be re-ordered within the section.
The preview for a Cart page will NOT show any elements because the component only renders when there are products in the Cart. Click the component in the list on the left to display the configuration options in the page on the right-hand side.
Configuration
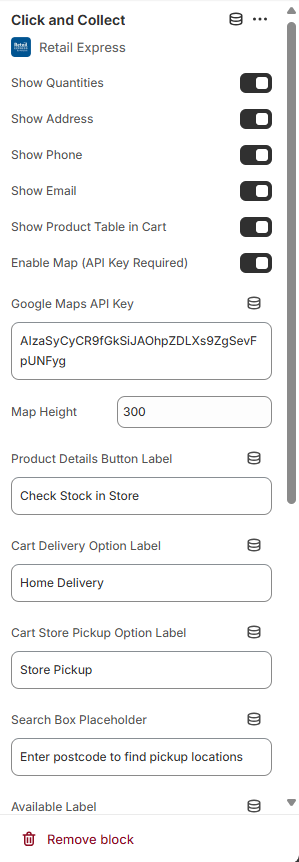
The configuration options on the right allow for different features to be enabled/disabled and for the text and rendering options in various elements of the block to be customised. The block is designed to inherit the base theme styling and layout options so in most themes it should render using the same colours and fonts as other components on the site.
In the future we can extend these customisation options to support more granular control over colours, fonts, padding etc. In the first instance, the goal is for a very simple to install version that works in most themes and scenarios.
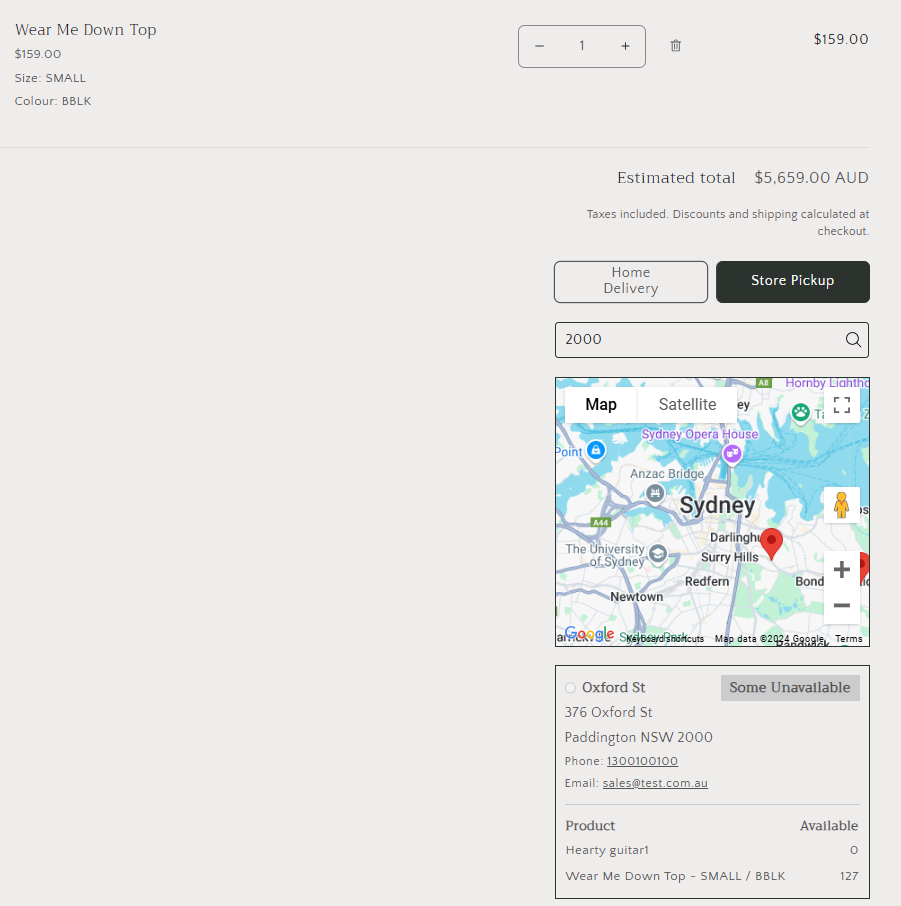
The options control how the component will render on the storefront itself - the component will look something like the below when all features are enabled:
Product Details Page
Cart Page
Configuration Settings
Setting | Description |
|---|
Show Quantities | Enable or disable the actual available stock in each location |
Show Address | Include outlet address in the locations list |
Show Phone | Include outlet phone number in the locations list |
Show Email | Include outlet email address in the locations list |
Show Product Table in Cart | Display table showing the availability of each product in the Cart (only renders on Cart page) |
Enable Map (API Key Required) | Enable Google Map in component. This also requires customers to enter a postcode before they can see the map and the locations list. Requires API Key (below) which also needs to be configured in Retail Express Backoffice. |
Google Maps API Key | API Key so that mapping functionality works |
Map Height | Height of the map - the width is always 100% (of the container/section that the component is in). |
Product Details Button Label | Text displayed in the button used to display the locations list in Product Details page. |
Cart Delivery Option Label | Text displayed in the Cart Page for the button that lets the customer select Delivery (default) as their fulfilment method. |
Cart Store Pickup Option Label | Text displayed in the Cart Page for the button that lets the customer select Store Pickup / Click and Collect as their fulfilment method. |
Search Box Placeholder | Text displayed in the search field when map is enabled. |
Available Label | Text used to indicate that stock is available in the locations list. |
Unavailable Label | Text used to indicate that stock is unavailable in the locations list. |
Some Items Unavailable Label | Text used to indicate that one of the items in the cart does not have stock available but other items do. Only used on Cart page. |
Address Not Found Message | Text used when the postcode (or text) searched by the customer did not find a location using the Google geocoding service. |
No Locations Available Message | Text used when the postcode is found but no locations are within 100km of that postcode. |
Other Details
Your theme might not support adding blocks dynamically because it may be using legacy .liquid templates instead of Shopify's Online Store 2.0 JSON templates, which enable dynamic section and block additions. Consult your agency or developer to confirm and explore possible upgrades.