You can enhance product presentation and improve customer experience through product image uploads in Retail Express, which support visual product identification at POS and enable richer product information for retail staff and customers. This product visualization capability helps retail operators improve product selection accuracy and customer engagement, with effective product images typically reducing transaction errors and improving customer satisfaction across Australian retail operations.
Product image management in Retail Express enables retail operators to associate visual representations with products, helping support staff product identification and customer communication at point of sale. This image capability helps ensure your retail operations can provide clear product visualization supporting efficient transactions and improved customer experience.
Product images are displayed in POS as a way for staff to easily identify and select products. The product image is visible in:
- The Edit Product window in POS (accessed by double-clicking or pressing & holding on the product)
- Cross-sells/Upsells windows
- Quick Product Categories
Product images will not synchronise with eCommerce or API integrations.
Upload Product Image
To upload a Product Image:
- Open Back Office
- Navigate to Inventory > Product Search & Management
- Open the product to be edited
- Click the Product tab

- Click Upload New Image
- Click Choose File
- Select the image to be uploaded
- Click Upload
- Use the buttons to reposition the image if required
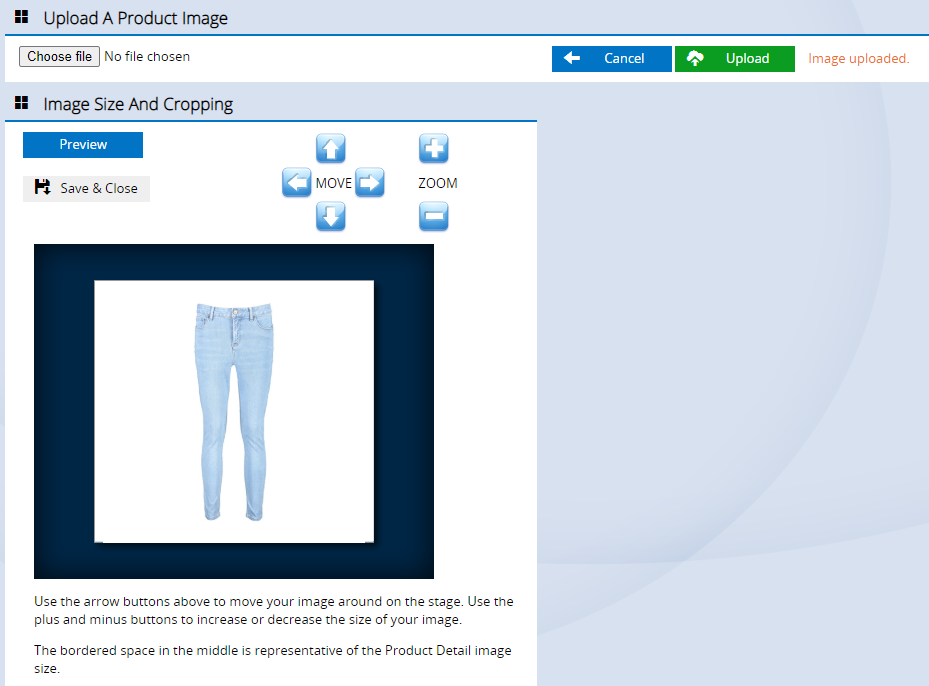
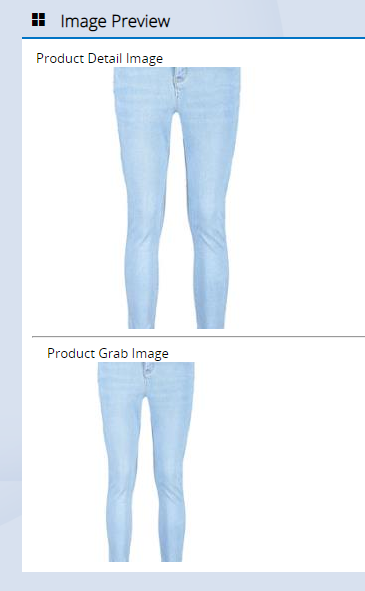
- Click Preview to view the changes (the images will appear on the right)
- Click Save & Close to select the image
- Repeat the steps for any further products to upload their images.
Grouping Requirements
Product images can be shared across products that belong to the same style (i.e. products that share the same Manufacturer SKU). By sharing an image, you only need to upload it once, and it will automatically display for all products in that group.
To use the same image across multiple products, ensure the following conditions are met:
- Products must have matching Manufacturer SKUs and Brands.
- Products must share the same Size and Colour attributes.
- The image must be uploaded to the product with the lowest Product ID.
- This product becomes the default “Master” product for the image.
- For example, if products 124002, 124058, and 124062 belong to the same group, the image should be uploaded to Product ID 124002.
Once uploaded, the image will be automatically applied to all matching products in the group.
Product External URLs
Retail Express supports optional external URL fields at the product level, allowing you to store and map external links against individual products. These fields can be used to associate products with relevant external resources such as webstore product pages, supplier or manufacturer documentation, warranty information, or safety data sheets.
Three optional external URL fields are available for each product:
- ExternalURL1
- ExternalURL2
- ExternalImageURL
These fields are optional and can be populated as required.
For a detailed step-by-step guide to add External URLs, click here.
Remove Product Image
To remove a product image, you'll need to replace it with a blank image file. We have provided a blank image file for your convenience.
- Click the link below to open the sample file
- Right-click on the image
- Select Save Image As
- Save the file
- Follow the steps above to upload the blank image as a new product image
Download Blank Product Image
Use the same image for multiple products
Product images can be shared amongst products in the same style (sharing the same Manufacturer SKU). By sharing the image, you only need to upload the image once and it will be displayed for all the products in that group.
To share a product image:
- Products must have matching Manufacturer SKUs and Brands
Size and/or colour selections are optional
- The picture needs to be uploaded to the product with the lowest Product ID (this product will become the default "Master" product) e.g. if products 124002, 124058 and 124062 were all part of the same group the image would need to be uploaded to 124002