You can create customized label templates in Retail Express for Zebra printers, enabling consistent professional product labeling that matches your brand standards and includes required information. This helps optimize your retail operations by streamlining label printing workflows, maintaining brand consistency, and ensuring all required product information appears on labels.
Retail Express supports the use of Zebra EPL compatible label printers. Using the Zebra Label Presets within Retail Express it's possible to design a unique label template specific to your business requirements. Fields can be inserted onto a grid and resized as needed, with only the fields relevant to your business being displayed. All of this makes it more efficient for your staff to be able to label your products and scan them in at POS.
Did you Know?: Retail Express offers multiple ways to print labels for your products, including en-masse or when receiving a Purchase Order. Refer to the
Label Printing - Print Product Labels article for more information.
Create a Zebra Label Preset
To create a Zebra Label Preset:
- Navigate to Settings > Label Printing > Zebra Label Presets
- Click Create New in the bottom left-hand corner
- A new Zebra Label Presets window will open
- Read through the instructions and Points to Consider
- A blank box will be displayed - this is where your preview of the label will be displayed (the shape of this label will change depending on your label dimensions)

- Underneath the box locate the section Label Field Settings

- Enter a Preset Name
- Enter the Label Width and Label Height (the label preview will update to match accordingly)
- For the fields that you would like to display on the label
- Tick Show on Label to turn the field on
- Select a Font Size from the drop-down box
- If there is a Text Label enter the information in the input box

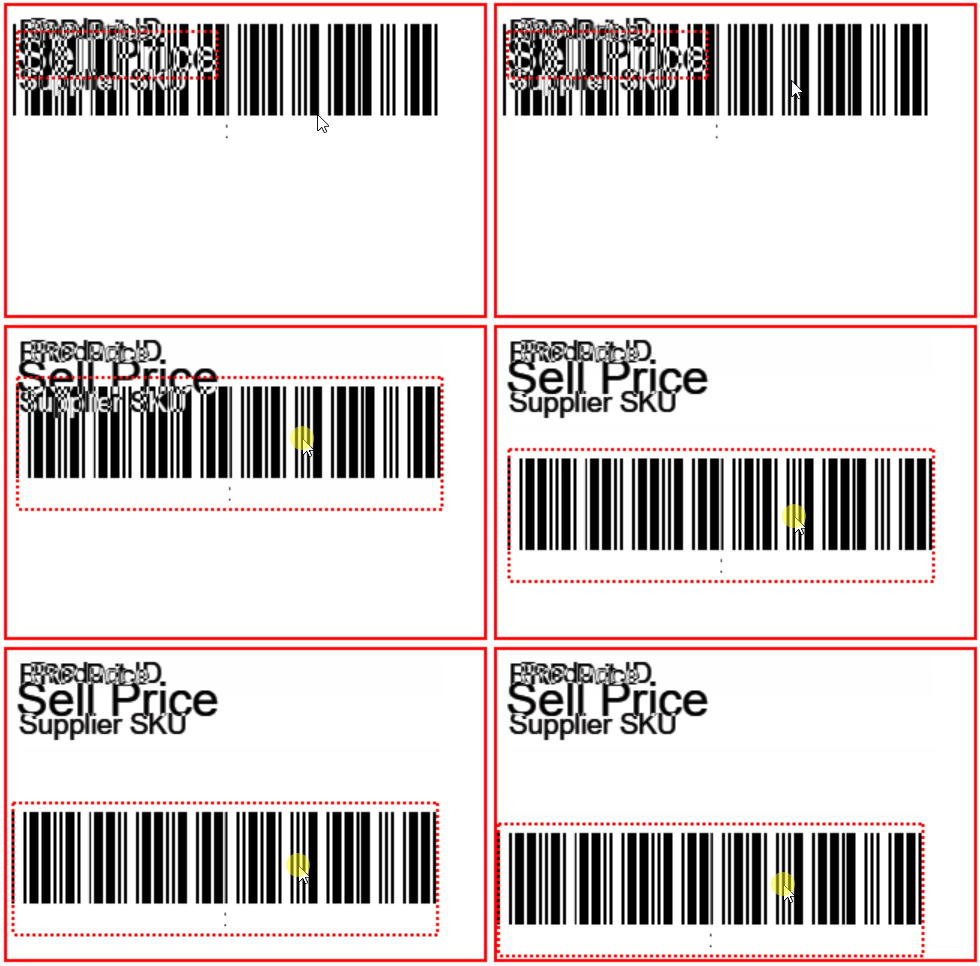
- The fields will be added to the preview box, initially all in the top left-hand corner
- Rearrange the fields by clicking and dragging into place

- Click Save
The newly configured label template will not print until the template is saved (and will instead print the template currently selected as the "Active" template)
- To test print enter a Product ID for a label and click Print Test Label
| Field | Description |
| Enter Product ID to print test label | Used to enter the Product ID (system generated product number) of a product, the details of this product will be imported and used to print a sample label |
| Preset Name | An internal name to reference the template |
| Labels Per Item | How many Labels should be printed per product when the Preset is used |
| Label Width (mm) | The width of the label in millimeters |
| Label Height (mm) | The height of the label in millimeters |
| Misc 1, Misc 2, Misc 3 | Miscellaneous text fields that can be used for entering text on the label e.g. adding the text "Price" before the actual price value |
| Product ID | The system generated Product Identifier code in Retail Express |
| Supplier SKU | The product Supplier Stock Keeping Unit |
| Manufacturer Code | The Manufacturer SKU or Style Code |
| Sell Price |
The price for the product.
This can be the current selling price (including discounts) or the standard Master POS price (excluding discounts and Outlet-specific pricing)
|
| SellEx Price |
The Sell Price excluding tax
|
| RRP Price |
The Recommended Retail Price
|
| Description |
The Short Description for the product
|
| Max Characters |
The maximum number of characters for the Description field before the text is truncated
|
| Product Size |
The selected Size attribute for the product
|
| Product Colour |
The selected Colour attribute for the product
|
| Product Attribute |
A list of product attributes will be displayed, including Custom Attributes.
|
| Custom 1, 2 and 3 |
The content as per the custom fields for a product
|
| Bin |
The Bin Location for a product
|
|
Promotional Expiry Date
Promotional Price
|
The Promotional Details if there's a current promotion for the product
|
| Barcode |
Used to select what the barcode graphic represents. It's recommended to select either the Product ID or the Supplier SKU so that scanning the product displays the individual product immediately, whereas Manufacturer Code will display all the items in the group (you will need to select the individual product before it's added to a sale)
|
| Format |
(Advanced Users only)
The font format of the barcode; it's recommended to leave this setting to Code 39
|
| Thick lines (dots) |
(Advanced Users only)
Used to adjust the display of the barcode graphic for individual scanning requirements
|
| Thin lines (dots) |
(Advanced Users only)
Used to adjust the display of the barcode graphic for individual scanning requirements
|
| Height (dots) |
(Advanced Users only)
Used to adjust the display of the barcode graphic for individual scanning requirements
|
Back to top
Related Articles
Hardware Setup:
Payment Processing: