You can maintain proper access controls and accurate staff reporting throughout Retail Express by creating individual user accounts with security profile assignments, outlet access permissions, and appropriate feature restrictions for each team member. Properly configured user accounts help ensure staff can access the retail operations features they need while protecting sensitive data, with individual user tracking enabling accurate staff sales reporting and performance analysis.
Setting up user accounts correctly through individual creation or bulk Excel upload helps retail operators manage multi-store team access efficiently, ensuring each staff member has appropriate permissions for their role while maintaining security and accountability across your retail operations.
User Accounts should be created for each individual staff member accessing Back Office and POS. Each User will have unique details, including name and the Outlet/s they are associated with.
As part of the configuration, the User will be assigned to a Security Profile. The features the User can access are inherited based on the Security Profile. Users can also be reported on in various reports within the system e.g. Staff Sales Report.
To explain the different sections of user security:
Profile Security | Used to create Security Profiles, and enable/disable access to Back Office functionality for each Profile. |
POS Security | Used to enable/disable POS features for each Security Profile |
Users | Individual logins for staff members. Each user is assigned to a Security Profile, and inherit access to different features of the system as defined in the Profile Security and POS Security areas. |
To access this feature you must be logged in as a User with the Users feature assigned to your Security Profile. If you cannot access this feature please contact your company administrative staff.
Adding new Users
Users can be added individually, or uploaded by using a Microsoft Excel spreadsheet (useful when first initially setting up Retail Express). Click on the headings below to view detailed information on each method.
After Users have been created via Upload you will need to edit each User to assign the Outlets in the Outlet Access and Stock Outlet Access areas. Without these settings, the user will be unable to log into the system.
Individual Users
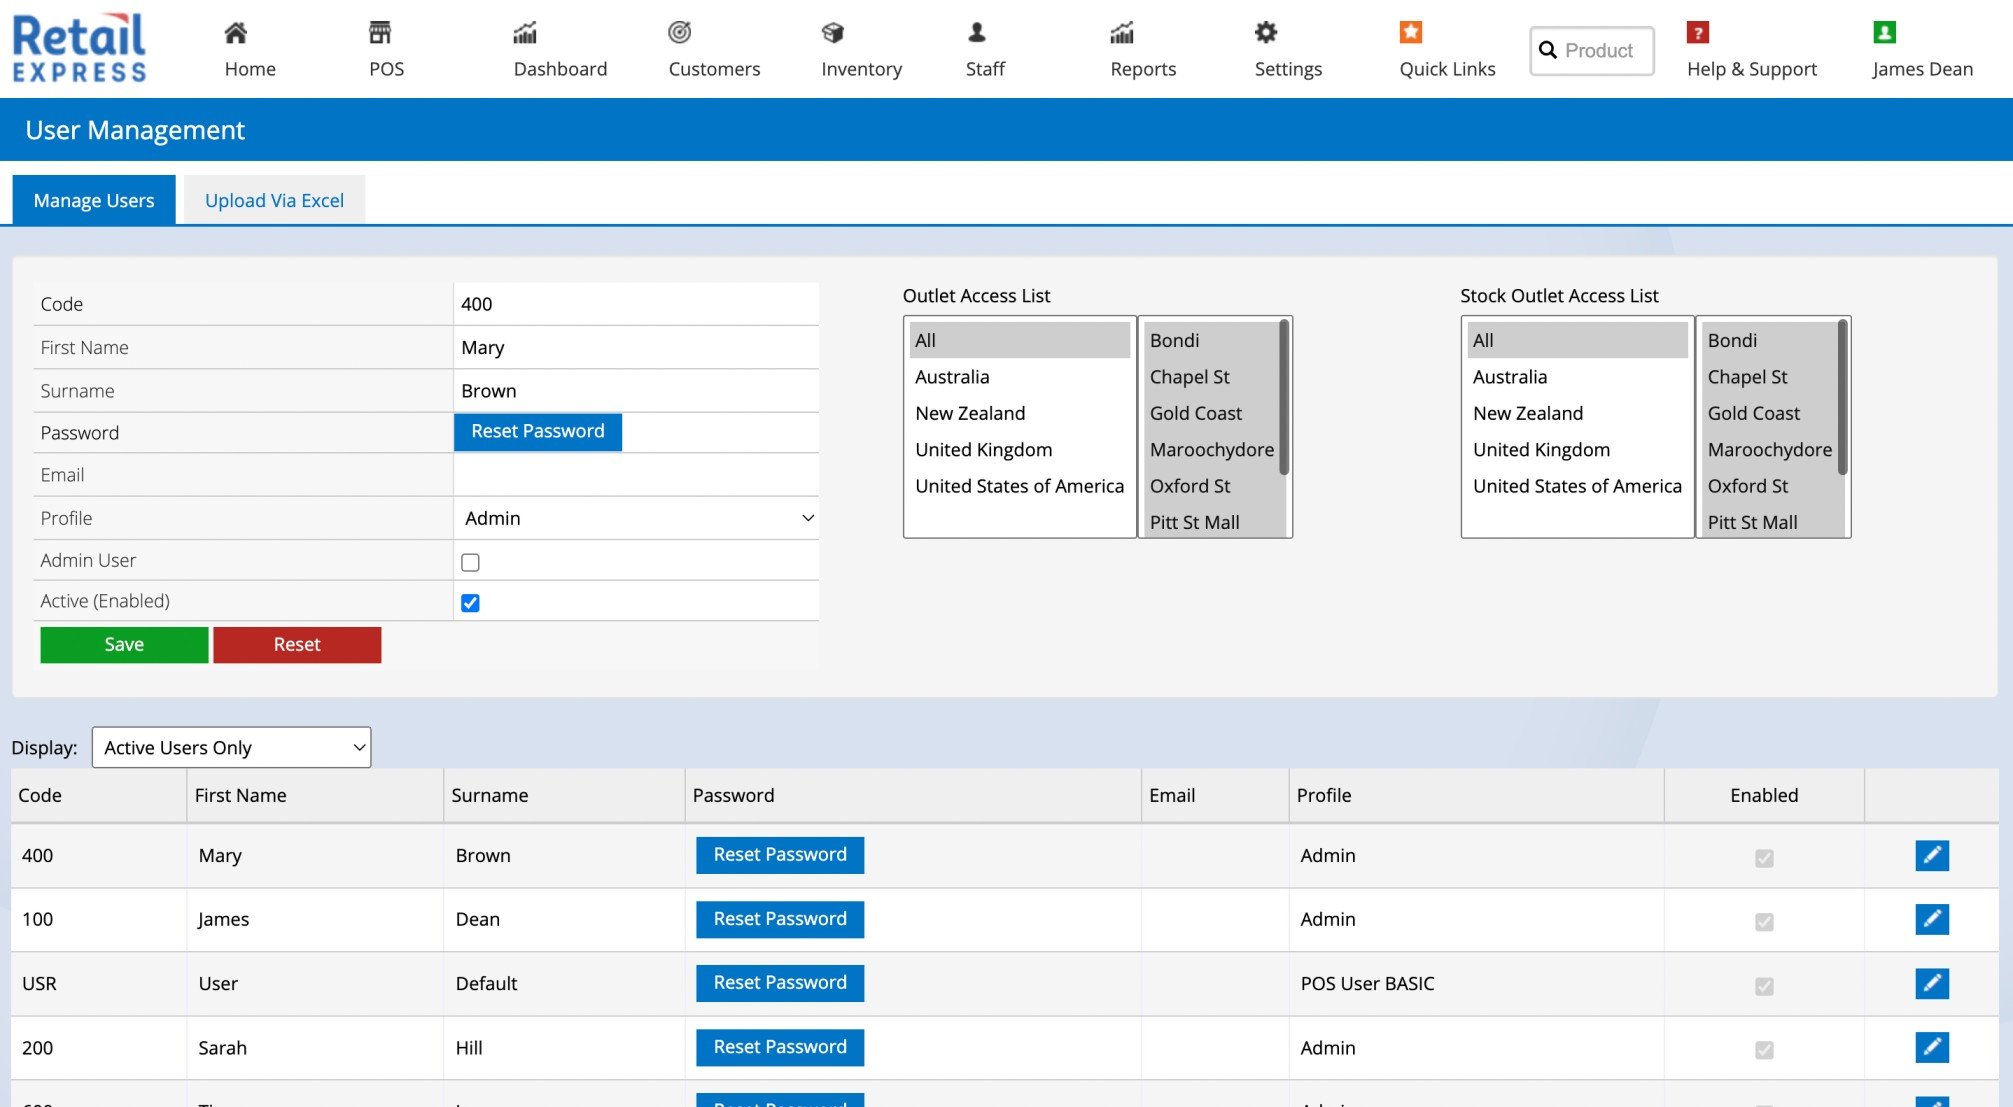
To add a new User:
- Navigate to: Staff > Users
- Add information to the fields at the top of the screen
- Highlight the appropriate Outlets in the Outlet Access List and Stock Outlet Access List
- Press Insert
Mandatory fields are highlighted with a red vertical bar on the left of the field e.g. Code.
Field | Description |
|---|
Code | Unique User Code used to identify the user in Retail Express. For existing users, this code is used to match the upload row to the correct user account. |
First Name | User’s first name. |
Surname | User’s last name or family name. |
Password | Password for a new user account, if required.
The Password field is always exported as blank because passwords cannot be updated through the bulk upload process. This field is only used when creating new users. When updating existing users, leave the Password field blank to keep the current password unchanged. |
IsAdmin | Indicates whether the user has administrator access. Use the accepted value (TRUE/FALSE) in the template to define whether the user is an admin user. |
Email | User’s email address. This may be used for communication, account identification, or password-related workflows depending on system setup. |
ProfileId | The Security Profile assigned to the user. This controls what the user can access and perform in Retail Express. |
Outlet Access | Defines which outlets the user can access. Enter All to provide access to all outlets, or enter specific outlet IDs as required. |
Stock Outlet Access | Defines which stock outlets the user can access for inventory-related workflows. Enter All to provide access to all stock outlets, or enter specific stock outlet IDs as required. |
CountryId | The country assigned to the user. This should match the relevant country ID configured in Retail Express. |
Active (Enabled) | Indicates whether the user account is active and can be used. Disabled users remain in the system but cannot actively use the account. |
User Status | Shows the current status of the user account after upload or export, such as whether the user is new or existing depending on the available system status values. |
Edit an existing User
The bottom half of the screen lists Users that have already been created within the system.
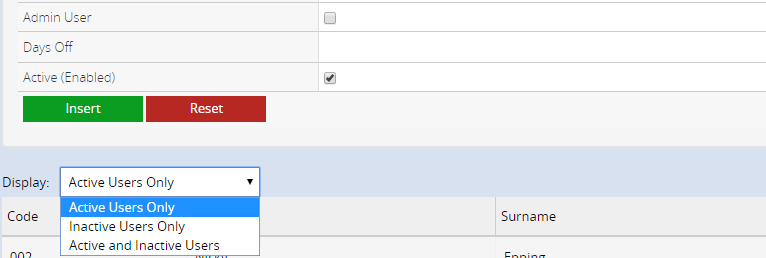
By default, only Active user accounts are displayed. Change the Display drop-down to toggle whether Inactive users are displayed.
To edit a user:
- Click the blue pencil (edit) icon for the user
- Update the details as required
- Click Reset Password to enter a new password for the user
- Click Save
When creating or updating Users the mandatory fields of Code, First Name, Surname and Password must be completed. Passwords also require a minimum of 6 characters, including a number.
Field | Information |
Code | Staff ID/User Code used to log into both Back Office (the admin section of Retail Express) and POS. Format is a 3-8 character alpha/numerical combination; illegal characters cannot be entered into this field (& * ~ ` : ; and ?) |
First Name | Staff member's first name |
Surname | Staff member's surname |
Password | The user's password. Passwords require a minimum of 6 characters, including a number. Illegal characters cannot be entered into this field (& * ~ ` : ; and ?) |
Email | Staff member's email address |
Profile | The Security Profile the user is allocated to; determines the features the user can access |
Admin User | Tick to enable the user to create Purchase Orders for Suppliers with "Admin Only Orders" selected. If "Admin User" is unticked any supplier with "Admin Only Orders" enabled will not be available to select when creating a Purchase Order. |
Days Off | Text-entry field used to track basic information about the user e.g. the number of days leave taken by the user, or days the user is unavailable to work. |
Active (Enabled) | Allows the user to log into Retail Express. When unticked the user is disabled. They will not be able to log in or use any part of the Back Office or POS, and will be excluded from most reports. |
Outlet Access List | The Outlets the user will have access to. If an Outlet is not selected the User will not be able to view reports, create sales or use any functionality for that Outlet. If the POS Security Permission "Allow the User to View All Transactions in POS" is disabled, users will be limited to only viewing transactions in POS for the Outlets selected in this list. |
Stock Outlet Access List | The Outlets users can see the inventory levels for, including searching for products in POS, and Transfers. The user will be able to set the outlet as the Source Location for sales in POS (automatically creating a Transfer if the Fulfilment Location is different to the Source Location). |
Activate/Deactivate a User Account
When a user no longer requires access to Retail Express they can be deactivated. This will preserve their data (including sales) but will prevent them from logging in.
To deactivate a user:
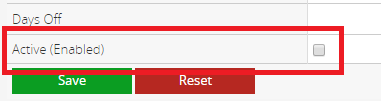
- Click the blue pencil (edit) icon for the user
- Untick the Active (Enabled) field
- Click Save
To reactivate a user:
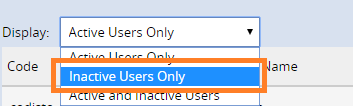
- From the Display drop-down at the top of the user table select Inactive Users Only
- A list of the inactive users will be displayed
- Click the blue pencil (edit) icon for the user
- Tick the Active (Enabled) field
- Click Save
Create and Update Multiple Users via Excel Upload
If you have a large number of users to add or update, the most efficient way is to use the Excel upload tool. This allows administrators to create new users and update existing users in bulk, rather than editing each user manually.
When using the Excel upload file, you can include user details, Security Profile, Outlet Access, and Stock Outlet Access in the same upload. Existing users are matched by User Code, ensuring updates are applied to the correct user account.
Download the user upload template
To create an upload file, you can start with the Retail Express user upload template.
- Navigate to Staff > Users > Upload Via Excel.

- In Step 1, right-click the template link and select Save Link As or Save Target As, depending on your browser.

- Save the file to your computer.
- Open the file and click Enable Editing if prompted.
Remove the sample user row before uploading the file.
Complete the upload file
Update the spreadsheet with one user per row.
You can complete all required user details in the upload file, including the same key information available when adding a user manually in Retail Express, such as user details, admin access, email, security profile, outlet access, stock outlet access, country, enabled status, and user status.

Upload the file
To upload the file:
- In Step 2, click Choose File.
- Select the completed user upload file.
- If updating existing users, select Update Existing Users based on User Code.
- Click Upload File.

- Review the uploaded data and any validation messages shown on the screen.
- Correct any errors if required, then re-upload the file.

- Click Import Excel Data when the file is ready to be imported.

After the file upload, the user data will be displayed on the page with the available details. Once the data is imported, the updated data for existing users and the user profiles for new users will be visible on the Manage Users page.

Updating existing users
Existing users can be updated through the same Excel upload process.
To update existing users, make sure the User Code in the upload file matches the User Code already saved against the user account in Retail Express.
To prevent accidental overwrites, existing users are only updated when the Update Existing Users option is selected during upload. If this option is not selected, the system will not apply updates to existing user records.

Frequently Asked Questions
User cannot see specific Outlets when running Reports
If you're unable to view specific Outlets when running reports or Transfers, it's likely the user doesn't have access to that specific Outlet.
You will need to edit the User to add the outlet to the Outlet Access List as per the steps above.