You can maintain customer satisfaction and accurate inventory through processing refunds and exchanges in Retail Express, which enable systematic product returns while maintaining proper financial and inventory tracking. This returns management helps retail operators handle customer returns professionally and maintain accurate records, with effective refund and exchange processing typically improving customer satisfaction and supporting reliable inventory accuracy across Australian retail operations.
Refund and exchange functionality in Retail Express enables retail operators to process product returns systematically, update inventory appropriately, and maintain accurate financial records for returned merchandise. This returns processing helps ensure your retail operations can handle customer service situations professionally while maintaining accurate inventory and financial records supporting business integrity.
Using POS you can process Refunds, Returns and Exchanges of sales easily by using:
- The original Invoice number/sales order number
- The customer name
If you're unable to find the original transaction or the sale was processed in a system other than Retail Express, you can process a "Blank Refund" (a refund processed without a prior sale).
Processing a Refund
To process a refund:
- Log into POS
- Click Returns
- Log in with your User ID
- You can also scan the receipt barcode directly into the Sales Invoice # field, or use any of the other filters to locate the sale
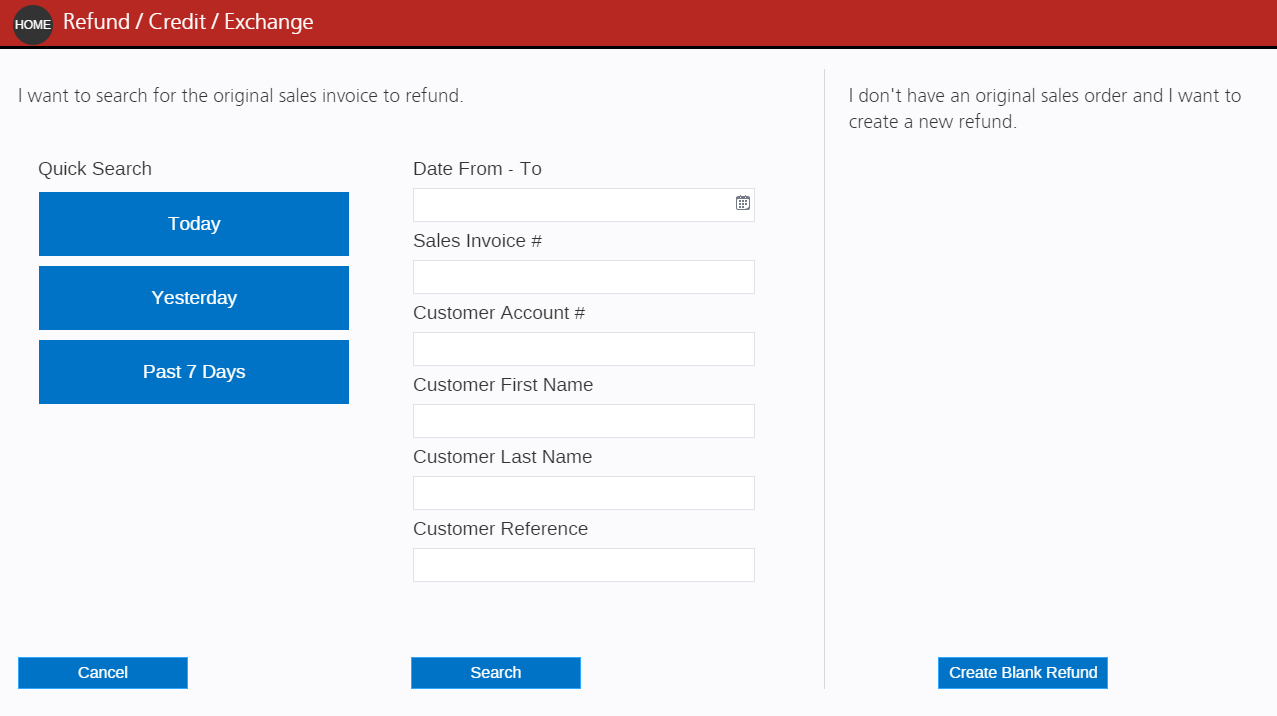
- If the sale isn't displayed, the user may be restricted from viewing sales for that Outlet.
- Click the Select button for the appropriate Invoice row to select the Invoice/Order for Return
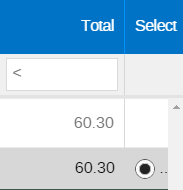
- Click Next
- The Available to Return column will display the number of products on the original sale

- Select from the Saleable Stock or Faulty Stock columns to enter the quantities against the products to be returned into the Inventory.
Faulty Stock will be returned into Inventory but will not update the Available value (as they're not available for resale) - Select the Return to Outlet - the Outlet/store location where the items are being returned to
- Click Next
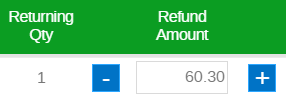
- Review and update the Refund Amount
By default the Refund Amount will be the total paid for each product; this value can be edited if required by manually typing in a figure e.g. if the stock was damaged and you're refunding only a partial value. This value can only be edited if the product was Fulfilled i.e. the customer received the stock
- Refund the Freight if appropriate
- The Totals will be displayed at the bottom of the page
- Press Next
- Review the details of the refund
- You can create your own custom reasons as required in Back Office - refer to the Settings - Return Reasons article for more information
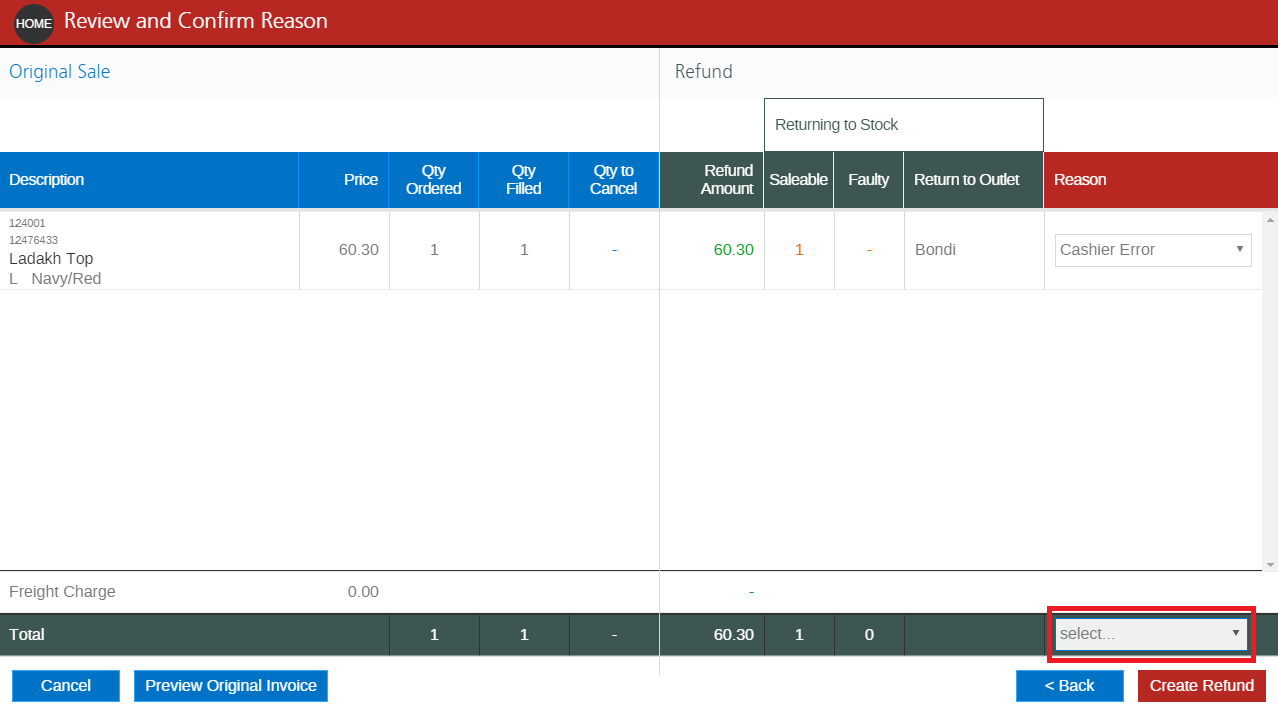
- Click Create Refund
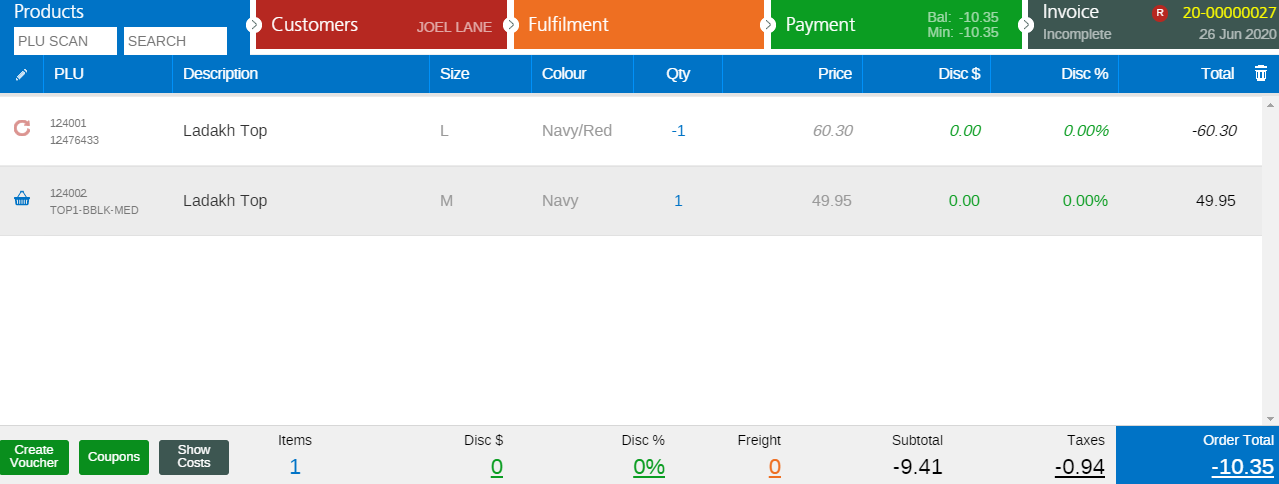
- Products will be updated to display a Refund icon, and will have a negative quantity

- You can use one or more of these options together in the sale e.g. you could exchange the product for a new one and provide a cash refund for the remaining balance owing to the customer.
- Click Finalise to finish the sale
Returns and Refunds with Serial Number
When refunding or cancelling an item that had a serial number recorded, you’ll be given full visibility of the individual order items, including their serial numbers. This allows you to select the exact item being returned and maintain the paper trail.

This is especially important when a customer has purchased multiple of the same product — for example, two laptops or three power tools — and only one of them is being returned. You’ll be able to confidently match the return to the originally sold unit, complete with its serial number.
How Serial Number Selection Works During Returns
When processing a return, refund, or exchange in POS, Retail Express supports serial number selection for products that have serial number capture enabled. This ensures that the correct serialised item is returned and accurately tracked in the system.
When a completed sale is selected for return:
- POS displays the original sale details, including all items sold
- For products that were sold with recorded serial numbers, POS prompts the user to select the specific serial number being returned
- The staff member can choose the relevant serial number from the available list associated with the sale

Refund options
If the Balance Due shows as a negative you will be able to give money back to the customer.
- Click the Payment tab
- Click the arrow corresponding to your tender type e.g. Cash
- Click Pay
If using an integrated payment method it will prompt the integration; if your system has not been configured for this you will need to contact your software vendor e.g. Tyro, PC-EFTPOS
- The return will be recorded in the section on the right
- Click Finalise to complete the sale
Update as of February 2020 - PC-EFTPOS has been renamed to Linkly but is still currently referred to as PC-EFTPOS within the Retail Express application.
You can exchange the products for the customer by adding them to the newly-created refund sale.
- Click the Products tab
- Add the products to the sale by scanning the barcode or using the Search functionality
- Review the Order Total - if the amount is positive the customer will need to pay for the remaining balance; if it's negative you will need to either continue to add products or use one of the remaining refund options to bring the balance back to zero.
You can choose to issue the customer with a store credit/gift voucher to be redeemed in a future sale.
Using the Shopify Gift Voucher integration you can synchronise vouchers with your web store so your customers can redeem the voucher either in-store or online (note that the Credit Note voucher type is not supported - you would need to use any of the remaining three options).
- Click the Products tab
- Click Create Voucher
- Select a Voucher Type
(*Credit Terms are based on the status of the customer at the time of the refund)
- For a regular customer without Credit Terms* - select a Gift Voucher
- For account customers with Credit Terms* - select Credit Note (the refund will be displayed on the Account Payments report)
- The total amount to be refunded will be automatically inserted as the Voucher Value
This can be edited to adjust the value if required
- Click Create Voucher
- If the Order Total is now zero, click Finalise to finish the sale
