You can process stock receipts and invoices against purchase orders to complete the procurement cycle, helping ensure inventory and financial records align accurately. This improves your retail operations by linking physical receiving with financial obligations, with properly configured receipt-invoice processing typically enabling better inventory valuation and seamless accounting integration.
Understanding stock receipt invoicing involves recognizing the relationship between receiving and invoice processing, timing considerations, and accounting integration impacts to help retail operators focus on the right end-to-end procurement workflows, ensuring your retail strategy consistently drives better financial accuracy and inventory management outcomes.
Receiving a Purchase Order will update your inventory so that outstanding customer orders can be processed and products can be made available for sale. Finalised values are posted as a supplier invoice/bill for Accounting Integration users.
We now support multiple receipts/invoices being generated against a single PO, with each invoice able to be sent to accounting independently of one another. This allows for the use case where you receive stock over several different deliveries, and different invoices and want to enter the stock and generate the individual invoices in your accounting package.
Receive a Purchase Order
- Navigate to Inventory > PO Manager > Stock Receipt
- Select Receive and Invoice
To access the "Receive and Invoice" option you may need to ensure your staff user profile has the required feature access, via Staff > Profile Security from the menu.
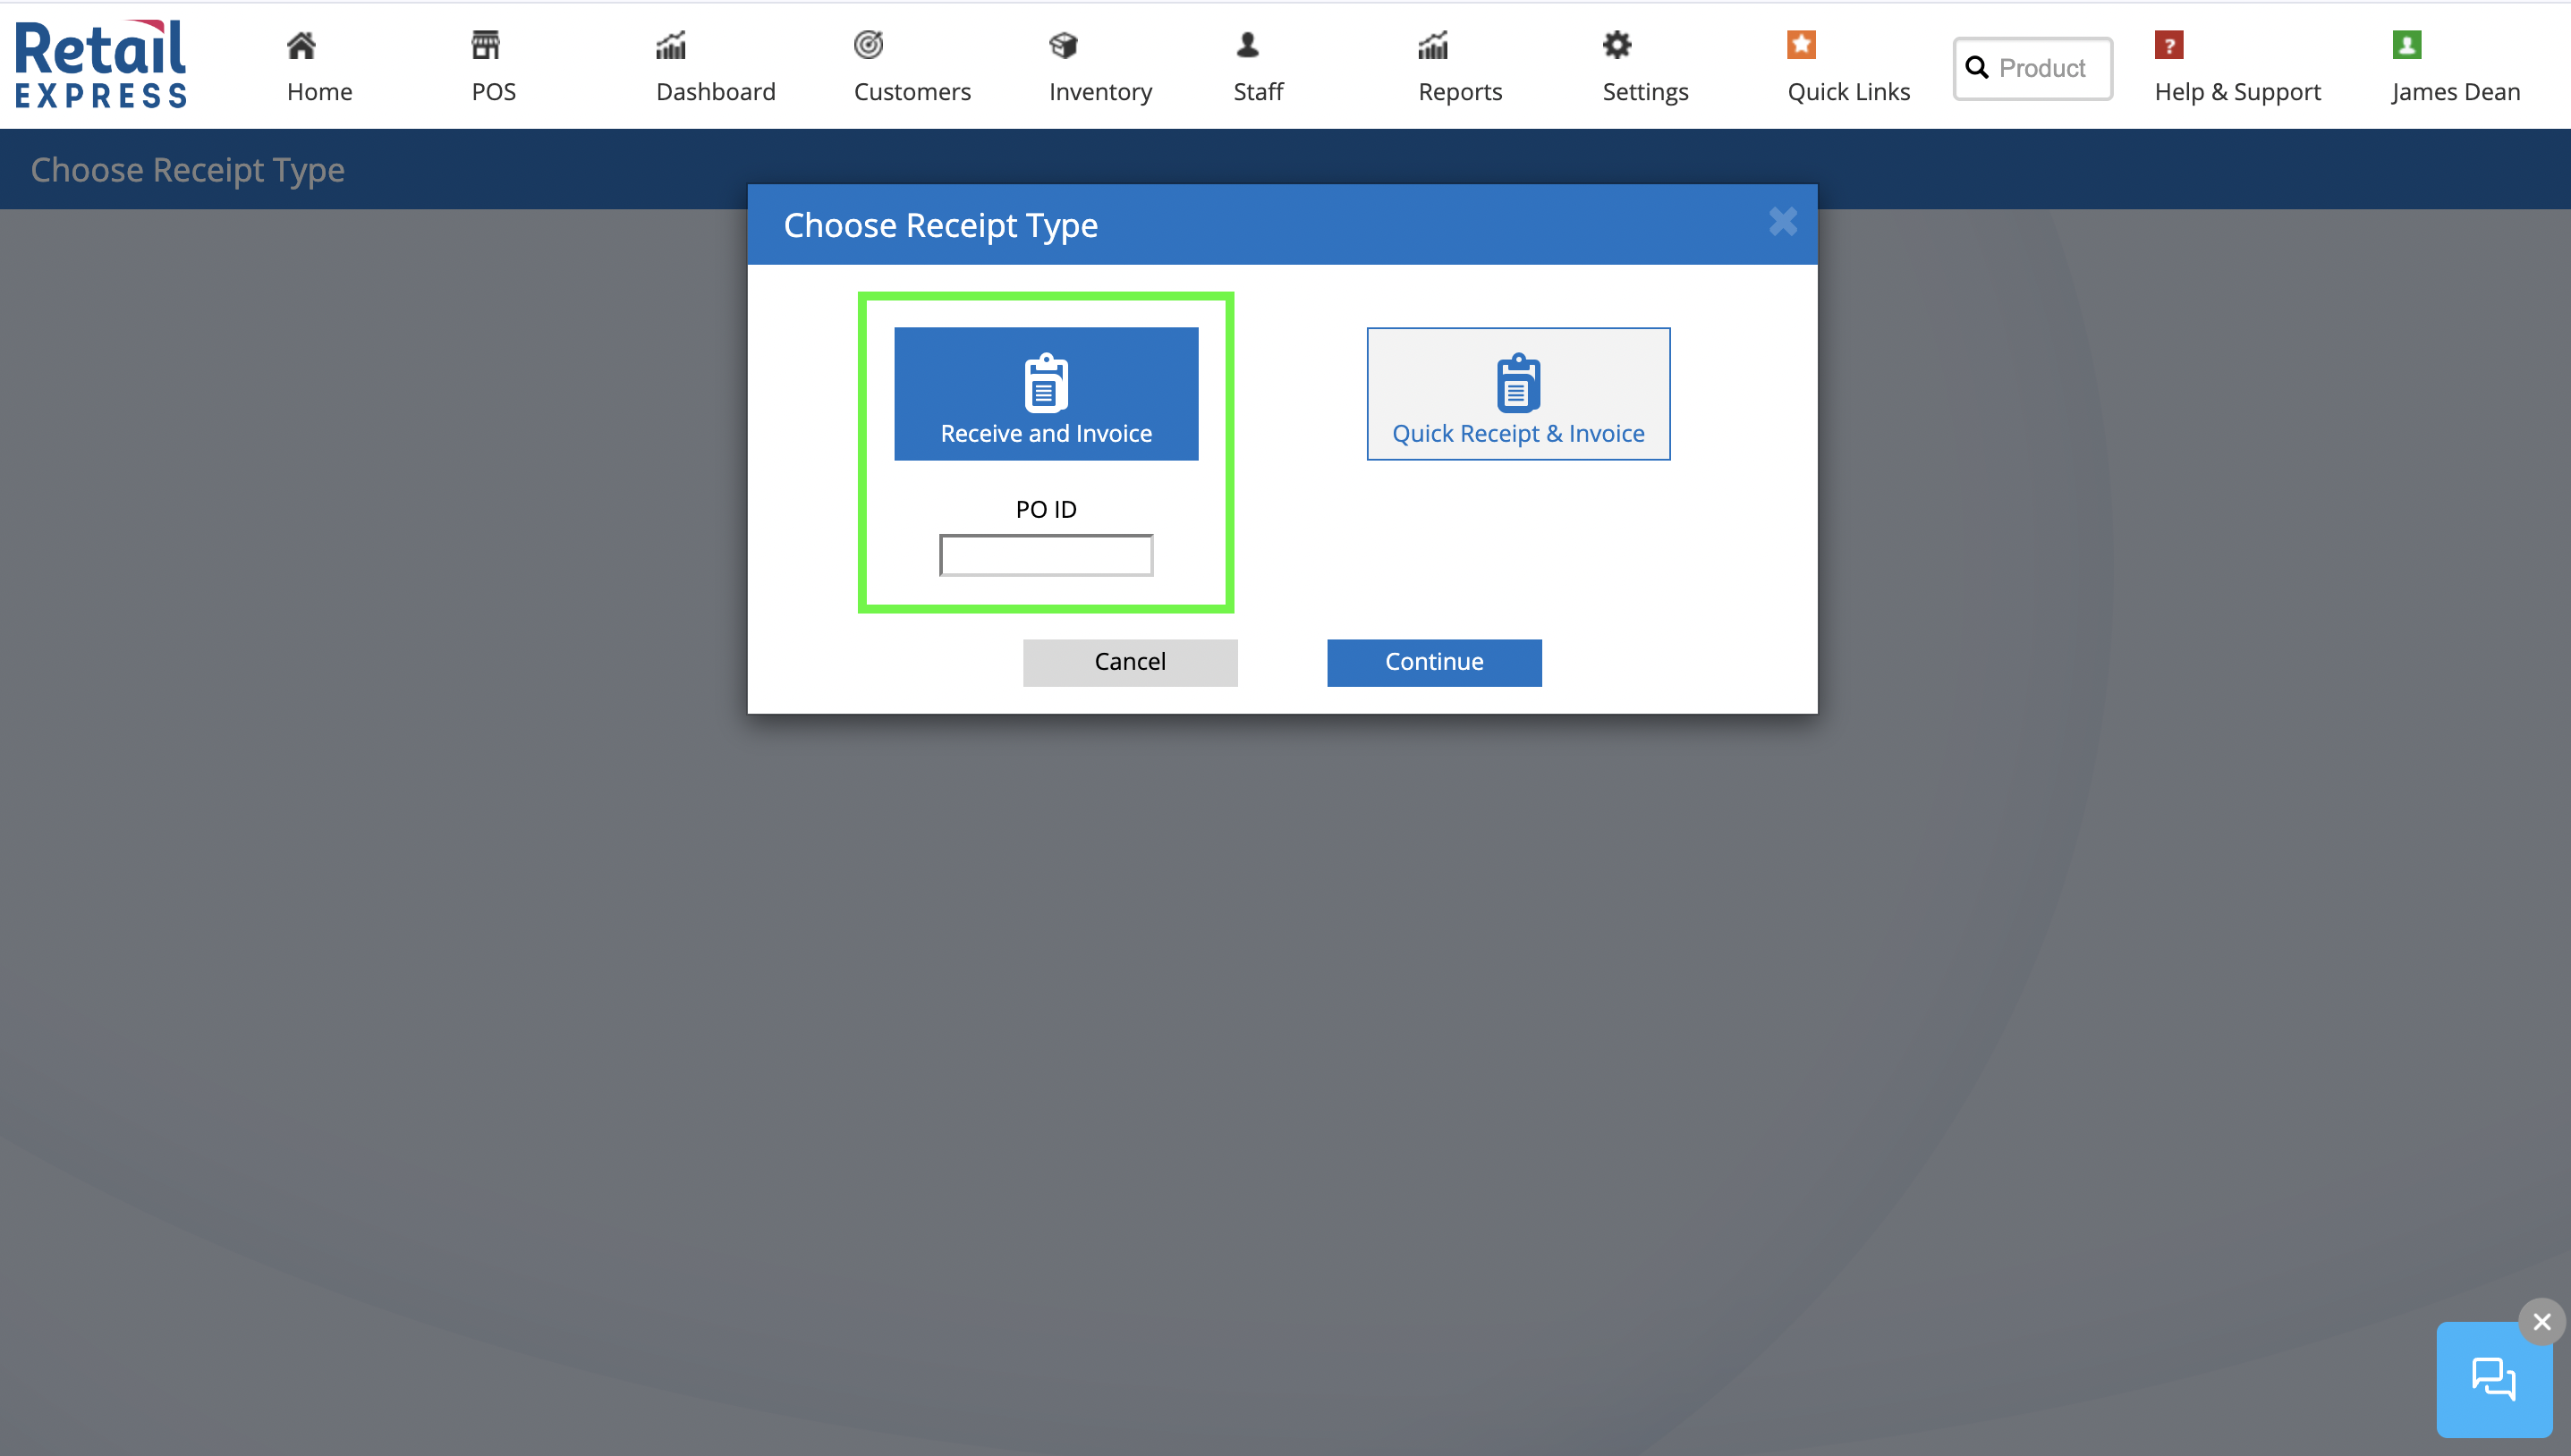
- Enter the Purchase Order ID (if you're not sure click Cancel, and you will be returned to the PO Manager to search for your Purchase Order). You can also start a receipt from within the PO Manager like always, depending on your desired workflow.
- The Stock Receipt page will be displayed, with the Invoice Details section collapsed (if you're receiving and invoicing you can expand the view to enter all the details in one step; for information on the Invoicing steps please refer to Invoice a Purchase Order)
- The Receipt ID will be displayed in the top left-hand corner, along with the Status, Purchase Order ID, Supplier and Outlet where the stock is being received

- You can also find the details of who created and modified the PO on the right-hand side:

- As you begin to make changes to the receipt, the changes will be saved automatically; you can continue to make changes (including navigating away and receiving the PO again) to the Stock Receipt until you click Finalise.
- A. - PLU Scan with Continuous Scan (scan product barcodes to increase quantity)
B. - PLU Scan with Scan and Count (scan a barcode, the product will be selected and the cursor will immediately move to the Qty Received column to type in a quantity)
C. - Copy Across (Tick one, multiple or all products and click Copy Across to automatically update the Qty Received to match the Qty Expected)
D. - Manually enter a number into the Qty Received

- Enter a quantity into the Mark as Faulty if any of the products received are not fit for sale e.g. damaged.
Faulty Products need to be accounted for in the Qty Received e.g. if 20 products were received but 2 of those were damaged, the totals entered would be 20 x Qty Received and 2 x Faulty. Any quantity set as faulty will automatically be added to a supplier return in the background, upon finalising the invoice, ready for you to claim the credit/replacement with your supplier.
- The Bin Location will be displayed if there is already one entered for your products, otherwise, you can optionally add a Bin Location as you receive the stock.
- The Balance column will update as the Qty Received changes, with the colour changing depending on whether there's a balance outstanding, fully received, or more than the expected quantity
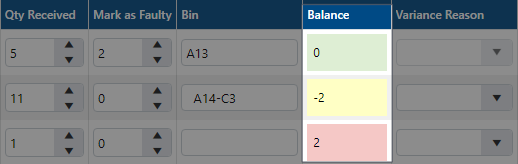
- If the balance is more/less than the Qty Expected, select a Variance Reason
Tip: Create custom Variance Reasons via Settings.
- Select a Variance Action
Refer to the Managing Variances article for more information on this process.
- Add Notes as required e.g. Damaged in Transit
- Repeat for other products
Tip: Bulk Actions can be applied to multiple products by clicking the box in the first column - you can update Variance Action, Variance Reason, Bin and Include Tax settings.
- Enter any applicable invoice details in the header area of the page.
- This includes Direct Costs, Rounding Adjustment, Invoice Numbers/Dates and notes.
- Rounding adjustment is used when we generate your supplier invoice. You can optionally set a rounding adjustment if you need to correct the total invoice value by a few cents to match your supplier invoice. This caters for differences in rounding values used between Retail Express and your Suppliers' invoicing system.
- Click Finalise to finish receiving the stock, update your inventory levels and generate a supplier invoice for accounting purposes & and integrations.
- A confirmation message will be displayed - it is important to note that once finalised, the majority of the invoice details can no longer be edited as these values will be posted to accounting integrations and are immutable. Notes, Invoice Date and Invoice Number can be edited but the changes may not be reflected in your Accounting Package for integration users if the data has previously synchronised with the original values.
Related Articles
Purchase Orders & Suppliers: