You can accelerate transaction processing in Retail Express by configuring quick product shortcuts for frequently-sold items, helping your retail operators complete sales faster during peak periods. This capability enables one-touch access to popular products without searching or scanning, which helps significantly reduce checkout time and improve customer throughput.
Setting up strategic quick product shortcuts enables your retail team to handle high-volume sales efficiently, helping optimize point-of-sale speed for bestselling items. This helps retail operations improve transaction efficiency by reducing the steps needed to add common products to sales, which is particularly valuable during busy retail hours.
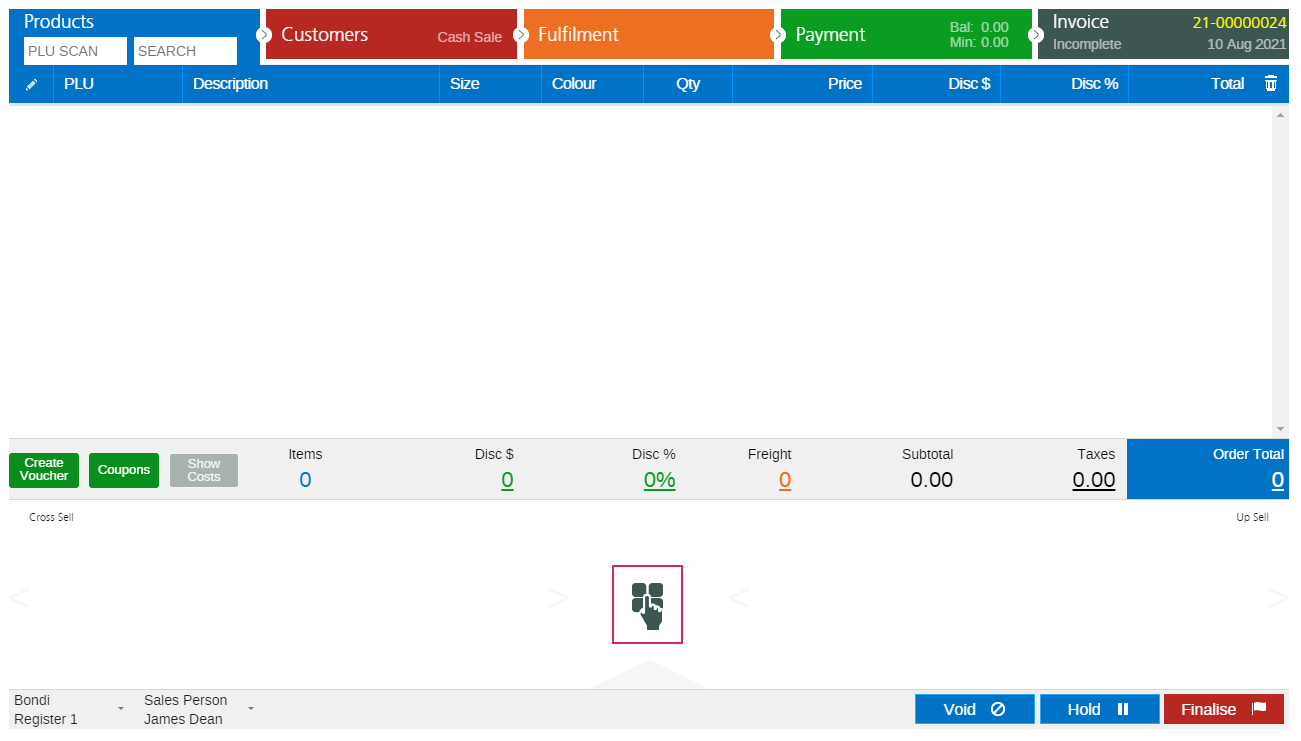
"Quick Products" are shortcut buttons at the bottom of the sale used to add products quickly e.g. popular products. You can configure different Quick Products for different registers.
These shortcuts allow you to save time during transactions, improve accuracy, and enhance the customer experience. This article explains how to set up and customize Quick Product shortcuts, ensuring your POS system is optimized for speed and convenience.
POS Quick Products are not available for the Back Office Register.
Create a new Quick Products Profile
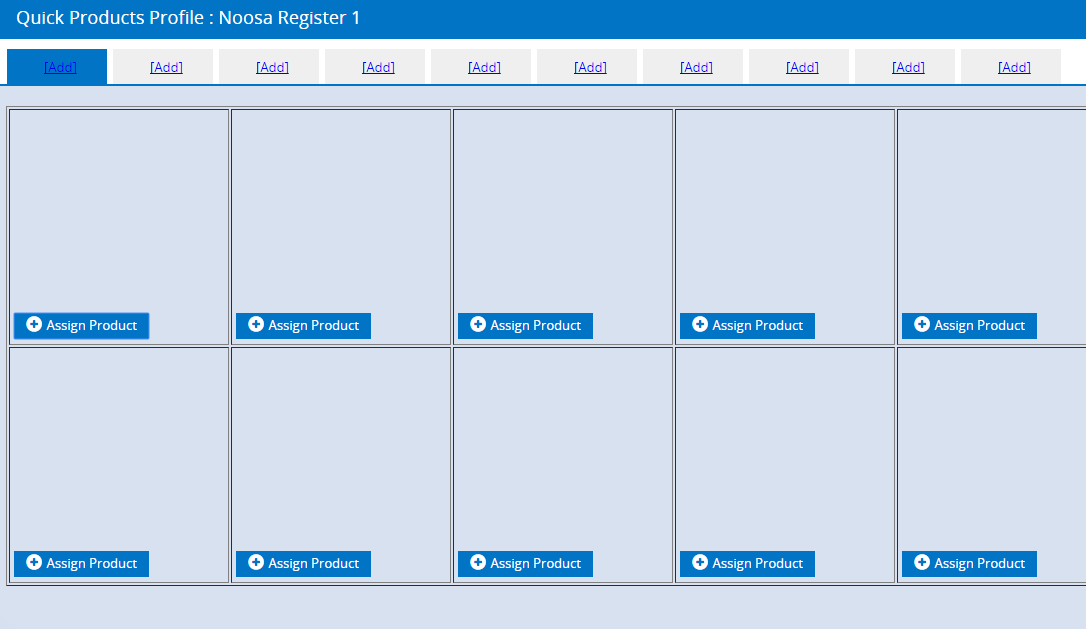
The Quick Product Profile is organised into 10 x Categories (tabs), which can each contain 10 x Products - in total your Profile can give you access to 100 x Products at POS.
- Navigate to Settings > POS Settings > Quick Products
- Enter a Profile Name
- Click Insert - the new Quick Product Profile will be displayed below
Configure your Quick Products Profile
- Click Edit Categories & Products for the newly created Profile
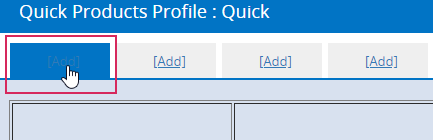
- Click Add on the tab heading (the "Add" button for the active tab can be difficult to see)
- Assign the Category a Name and Colour
- Tick Enabled
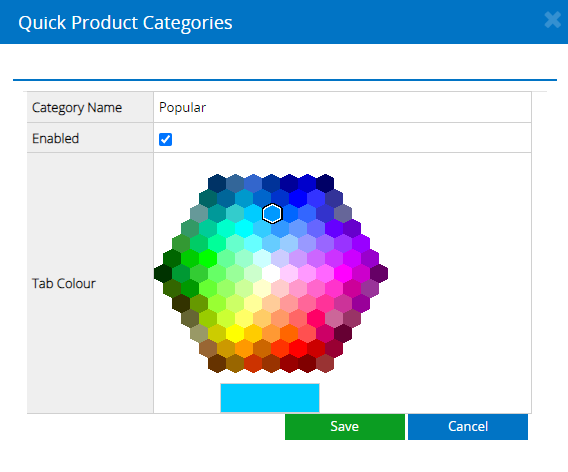
- Click Save
- Click Assign Product to add products
- Search for your Product
You can search using the Product ID, Description, Size, Colour, Brand and Product Type

- Click Select in the left column to add the Product
- Click Save Changes
- Click OK
- Repeat this process for each Product you wish to add the Category
- Click Unassign Product to remove a product
- Click Save Changes
Assign the Quick Products Profile to a Register
Once the Quick Product Profile has been created you will need to assign it to one more Registers.
You can have different Quick Product Profiles assigned to each Register. For example the Quick Products Profile used by the Register at the front of the store may include physical products displayed on a discounted stand, while the Register upstairs in a larger store may use a Quick Products Profile that includes Products physically located nearby.
To assign the Quick Product Profile to a Register:
- Navigate to Settings > POS Settings > Registers
- Click the Pencil icon to edit a register
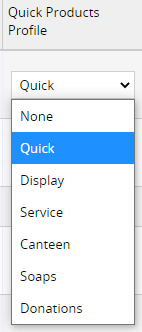
- Select the Profile from the Quick Products Profile drop down
- Click the Tick icon to save the changes
Log out and back into POS to see the changes
Using Quick Product Profiles at POS
Once logged into a new sale:
- Click the Quick Product button (located in the bottom half of the screen between Cross Sells and Up Sells)
- The Profile will be displayed with all Categories tabs along the top
- Locate the Product you require
- Enter a quantity into the Add To Order field
- Click Add Items
Related Articles
Product Catalog:
Inventory Management: