You can create a banner, carousel slide or text advertisement on the front end of your webstore to get the attention of your customers.
Upload a Banner
To upload a banner or text advertisement to your website, follow the steps below:
- In your Neto control panel, navigate to Webstore > Advertising Campaigns.
- Click Add New Campaign and then on the Add New Campaign page, select Banner, Carousel Slide or Text Advert.

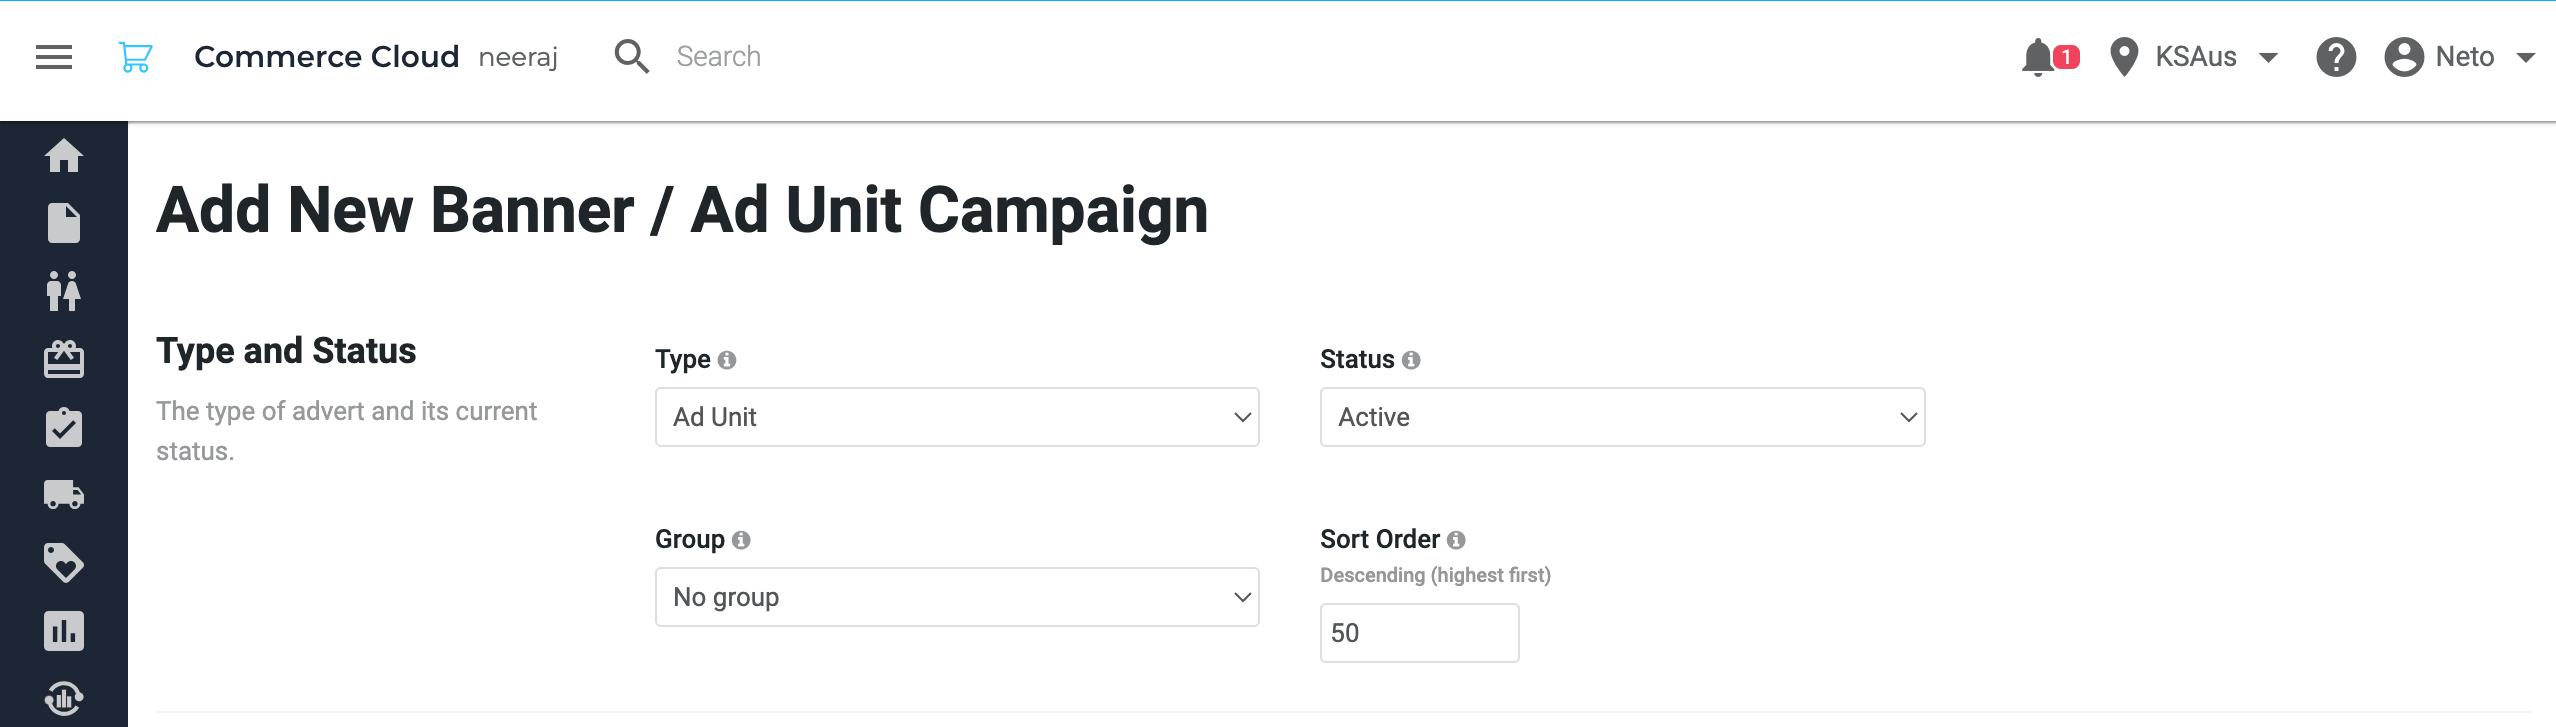
- On the Add New Banner / Ad Unit Campaign page, in the Type and Status section, retain the field values as is. You may select a group if needed.The group must be left blank to appear on your homepage unless the homepage template has been customised and a specific group coded in.Groups are used if you have multiple banners on your site, so you can select the correct page. For an example of implementing groups on your category page, see our tweak library. You can also add a Sort Order in case you want this ad to appear before others.
- In the Ad Builder and properties section, click Browse or Choose File under Image to select the banner from your computer. It is recommended that the banner be in JPEG format. JPEG compresses the image better than other formats and reduces the time it takes to display the image on your site. Here is a list of recommended image widths:
Once you select the banner image, the following options will appear:- Convert To:Select the image format. If you banner is a JPEG, leave it blank, otherwise select JPEG (.jpg). (optional)
- Quality:If you are converting the image to JPEG, you can select the quality of the image. The lower the percentage the smaller the file size and the less time it takes to download the image. Use70% (of the original file size), it is a good balance between quality and file size. (optional)
- Width:If you want to change the image width, enter the width. (optional)
- Height:If you want to change the image height, enter it. Leave it blank if you want the height to be calculated based on the width. (optional)
- Add white space to force size:If the width and height are different than the aspect ratio of the image, white bands will be added to the image to make it the selected size. (optional)
[Table content - full table support coming soon] |
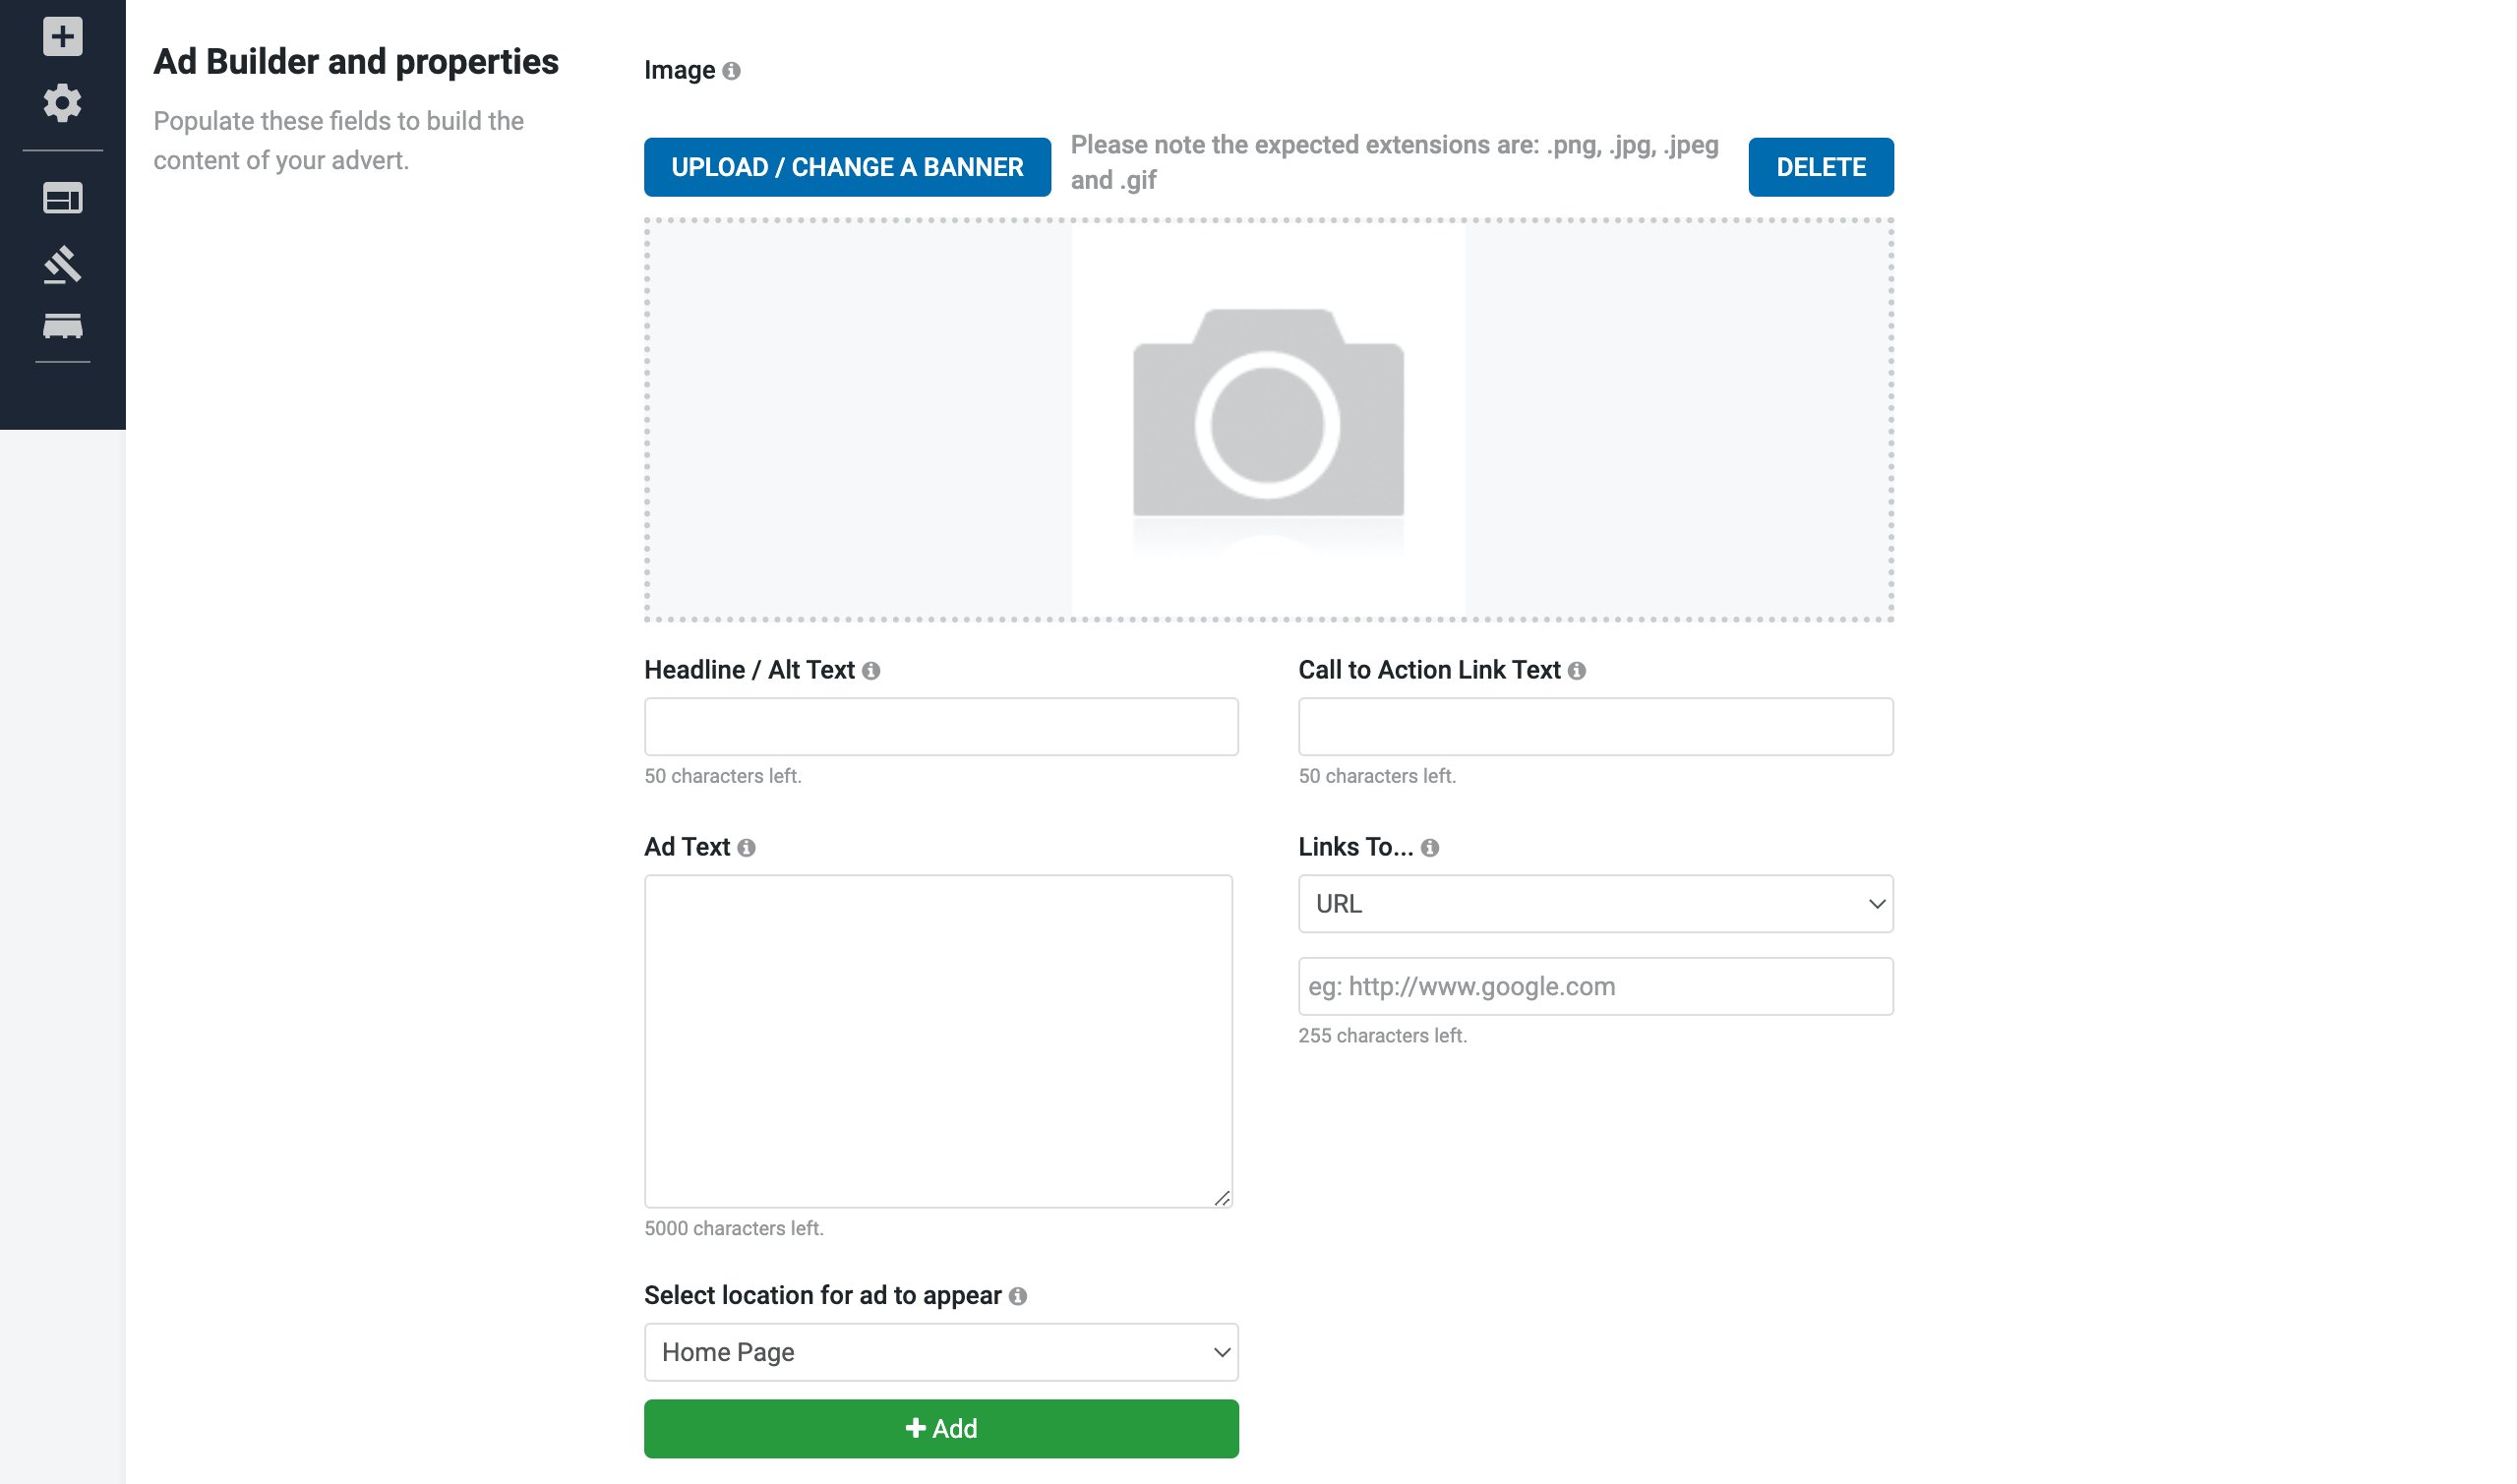
- In theHeadline/Alt Text field, enter a text that will be used for the customer to see. This will also be indexed by search engines like Google. This is the headline text that will appear over your banner image.
- In the Call to Action Link Text field, enter a text that will appear in the button that will link to a product, page, or product category.
- From the Links To drop-down list, select the type of page you want to link to. If it is a product, enter the SKU or product name and select the product from the results. If it is a page or category, select the page in the second drop-down menu.
- From the Select location for ad to appear drop-down list, select the page type where you want the banner to appear. If the banner is to display on the home page, select Home Page. Otherwise, a second drop-down menu will appear, select the page from the list. Then, click the Add button.
- In the Timeline section, enter the start and end date of the campaign (if required).
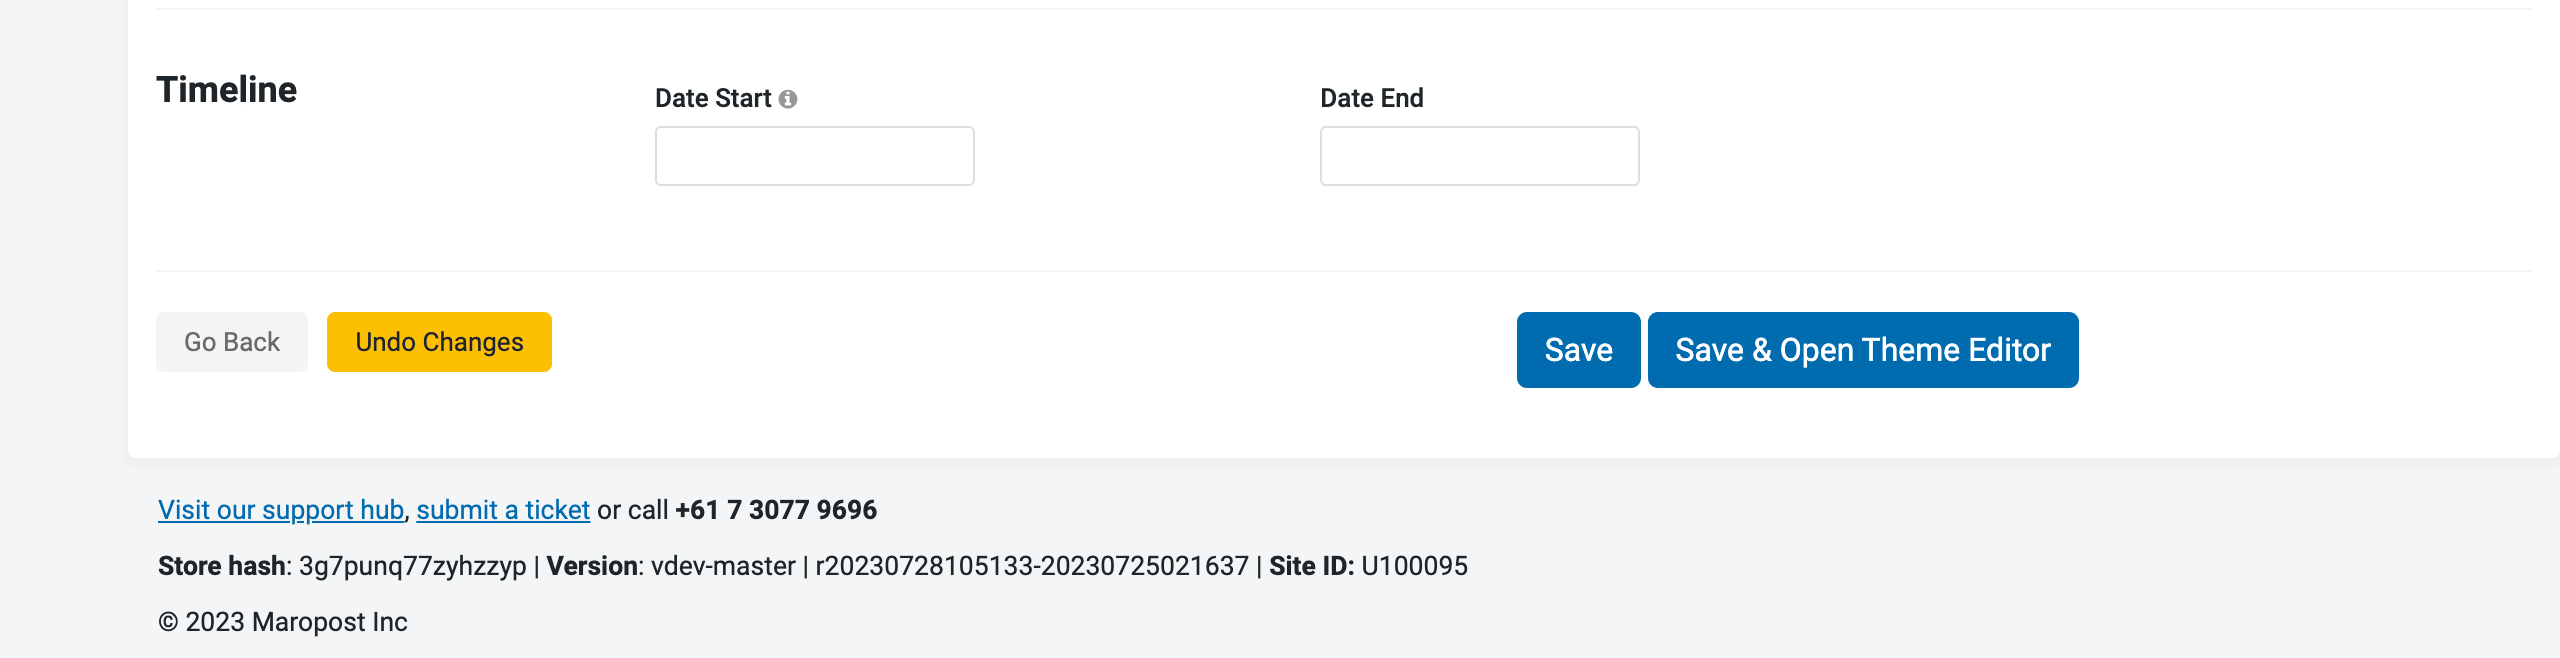
- Click Save.
View your homepage to see your newly added banner. You may need to refresh your cache for it to appear.
Turn a Banner into a Scrolling Carousel
Banners can be turned into a carousel that automatically scrolls through images. To turn a banner into a scrolling carousel:
- Upload additional banners using the process above.
- Ensure each banner you want in the carousel is active and within the start/end dates.
- Select the same group for each banner (or leave them blank).
Each banner uploaded will act as a separate slide in the carousel on your website.
Delete an Advertising Campaign
To delete an advertising campaign:
- Navigate to Webstore > Advertising Campaigns.
- Click on the checkbox on the left of the ad you want to delete.
- Scroll to the bottom of the page and select With Selected > Delete.