Kit Product Overview
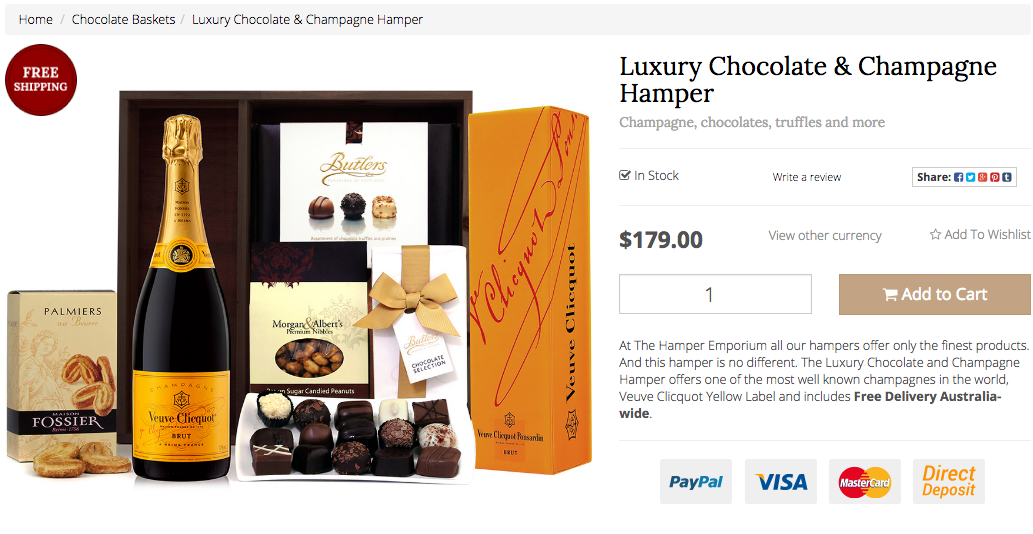
Kit products (also called bundles or hampers) are products which are individually separate SKUs which are grouped, packaged, and supplied together as one unit. For example, a value pack or gift hamper that contains multiple products that are sold as an individual SKU.
You can also use kitting or bundling to extend the number of SKUs you have without increasing your stock holding. For example, you could build a new SKU from an existing SKU, change the name, description and price and gain an additional SKU. This is ideal where the same inventoried SKU may just be described differently, for example a generic car part that fits multiple makes of vehicle may be referred to as a 'Mazda Car Part' and a 'Honda Car Part'.
The stock availability of a kit or SKU bundle is determined by the stock availability of its components.
- If all components are in stock, then the kit / bundle will be in stock
- If one of the components of a kit is sold out, then the kit is sold out.
You do not need to allocate stock to a kit or bundle, as Neto will automatically calculate the available stock. This makes kitting or bundling a great way to increase the number of items for sale without actually increasing your stock levels.
There are two types of kits in Neto, standard and editable.
Standard Kits
A standard kit is a product built from many components. They can be built from regular or variant products already in your Neto control panel.

A hamper is an example of a kit. Hampers are almost always comprised of individual products linked to a parent product; the hamper.
Editable Kits
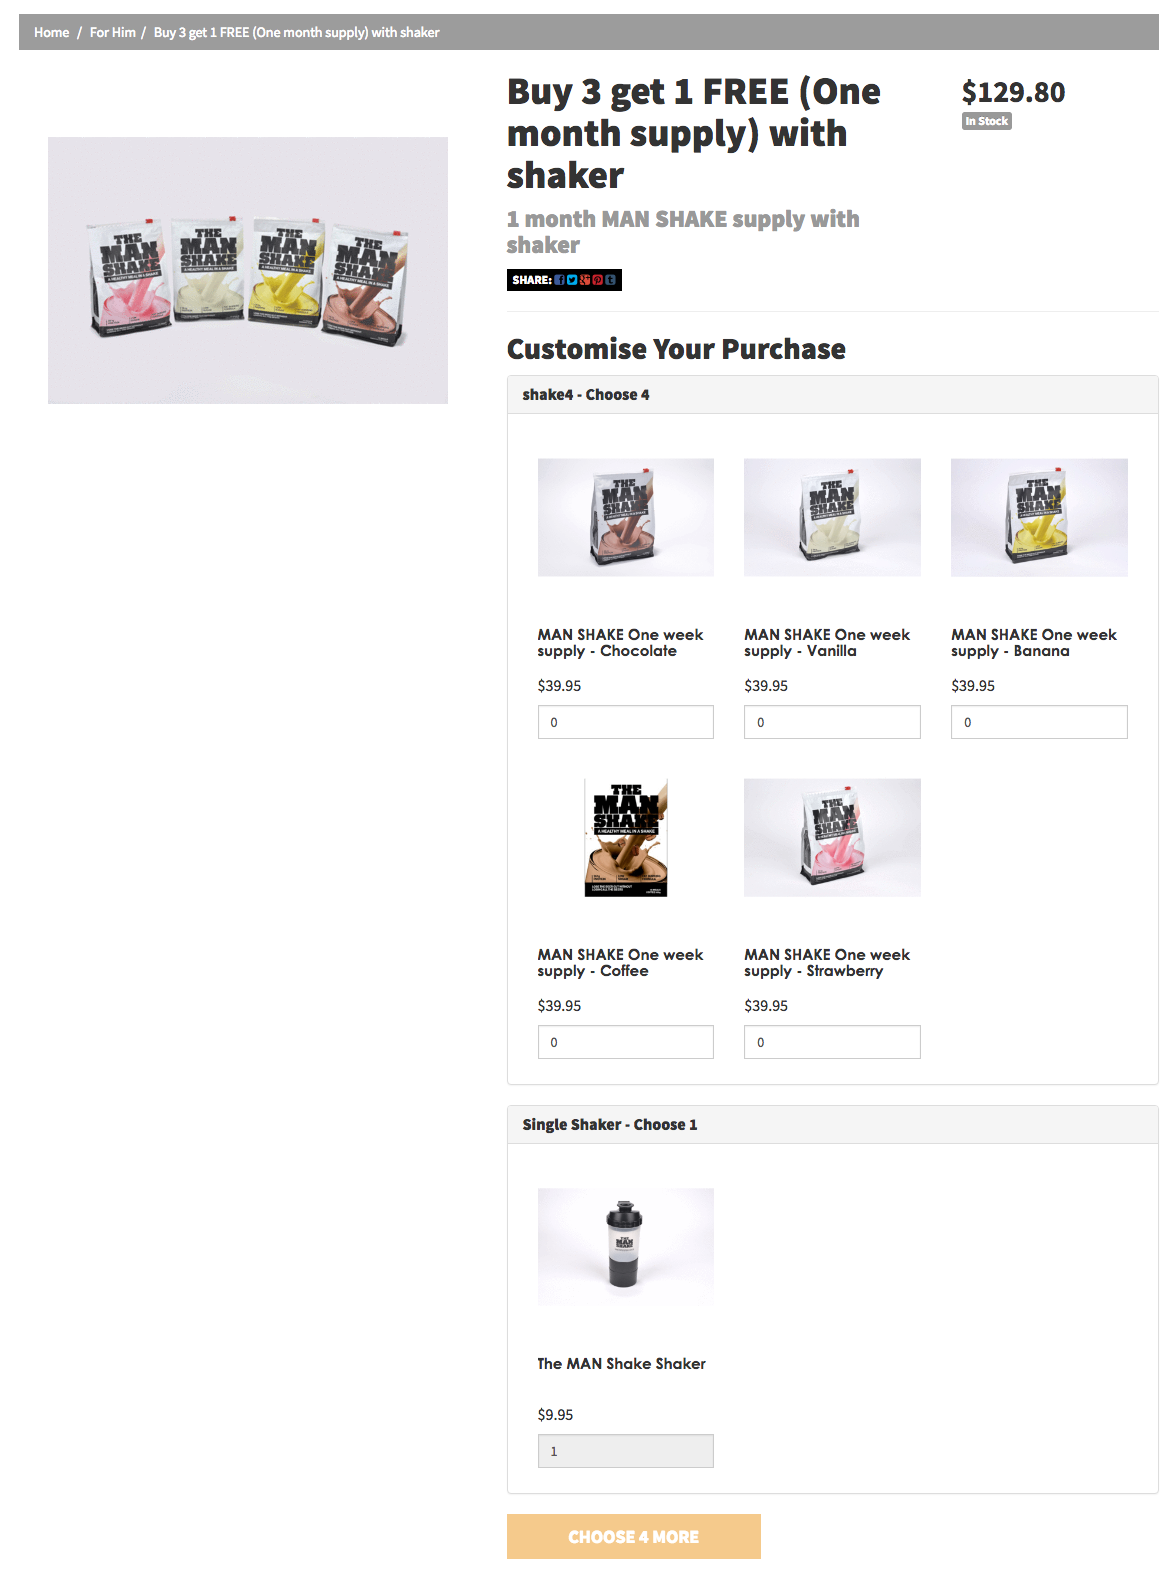
An editable kit is similar to a standard kit, however it allows your customers to choose from a set of components to make up a product.
Please Note: editable kits are currently not available to all customers. Contact Neto Support if you require this feature.

Using the example above, you may want to give your customers the option of choosing from a set of flavours, colours or products.
Each part of the kit or bundle is entered into the system separately and is given a unique SKU. The kit parent is created with its own SKU, and has the components added to it. For this reason, the kit is not an actual product (ie. marked as not being a physical object in the warehouse, but requiring components to be made up).
It is necessary for your warehouse staff to see all the components that make up the item on the order but to make shopping easy for your customers you will want to sell these items as a single unit on your website with a single price.
Please Note: Standard kits can be listed to eBay as well as your webstore however eBay doesn't support editable kits.
Advantages of Kits
Some of the main reasons for adding kitting to your web store are:
- Makes purchasing value packs or items easier for your customers.
- Picking and packing accuracy - Kitting helps with picking and packing accuracy, itemising each carton and allowing an associated barcode per part (for use with the Neto mobile Pick n Pack, for example).
- Stock control accuracy - It makes stock take easier and is used to ensure stock accuracy.
- Accounting accuracy
- RMA accuracy - It is ideal for RMA and product returns where exchanging product parts can affect your available stock. It simplifies the whole process and ensures that you never sell a whole unit to find components missing and that you are unable to fill an order.
Add a Standard Kit Product
You cannot add a kitted SKU or a parent variation SKU as a component into a fixed kit. In both instances, this will cause issues with inventory.
To add a standard kit or bundle product:
- In your Neto control panel navigate to Products > Add Product.
- When asked What type of product you want to create? select Product built from one or more other products.

- Scroll down to the New Kitted Product heading and give your kitted product a name, subtitle and description and allocate it to a product category.
- Leave the pricing section blank for now and we'll come back to this.
- Under Images, we recommend uploading an image showing the different components so customers are aware that it is a hamper or package.
- Under Inventory, add a SKU which determines the name of this kit. By default, the SKU does not have any inventory added to it because it's a 'virtual' product. This will be explained further in the next step.
-

Under Kitting, click the green Add Product(s) button and add the components you want to 'make up' the kit. In here, you can overwrite the component price (which only changes the kit price) and also set a Qty.
The kit will show an available inventory quantity that will match the component of the least amount of stock. In our example, it's the component Nike Air Berwuda that has the least amount of stock. So on our webstore, our kit will show 20 in stock to prevent overselling when some components are unavailable.
Once created, you should avoid changing the components on a kit as this may cause reporting and inventory discrepancies. If you need to change the components of a kit for any reason, it is best to create a new product product, and set the other inactive if necessary.
- Check the Split for Warehouse Picking box if you want the individual components to appear on sales orders (recommended). This makes it easier for staff to see the exact products that go in the order, rather than needing to remember or look up what goes into the kit. This applies to the Pick'n Pack add-on as well.
- Press Continue and the kit product will be created. Click the Continue Editing button when it appears to add more details to your product.
- Underneath the kitted products, there is an option which says Calculate Price From Component Prices which should match the prices of the Qty and Unit Prices together which will make up your base price on the webshop. Double check that it reflects accurately, if not, just simple change it to ensure it does
Enable the UPDATE_PRICE_IN_KIT advanced configuration setting to automatically update pricing of your kit products.

- Once you've completed your kitting, scroll down to Stock Control and keep your inventory settings as is. Your Inventory Policy should be set to Track Inventory for this SKU. The stock levels will be calculated based off the number of stock of the lowest qty component.

-


Click the Save button and your kit is now completed. Here is an example of a 'T-shirt pack' kit product.
In this example, there are three components and the total price is $24
Here's how it looks as a product on the front-end.
In the checkout, the components of the kit are revealed before paying.

Import a Standard Kit Product
Product kits can be added through the product import wizard by specifying which products are in the kit. Full instructions and examples can be found in our product import wizard article. We recommend using the complex import wizard to import kits, as it allows more flexibility with your data structure.