Anatomy of a Product Category
Product Categories are used to organise your products into easy to navigate verticals for your customers. It is important to plan your product category tree in advance of adding any products. When designing your category tree, remember to take into account future growth plans and the addition of new product lines.
Here are some example categories:
Neto supports any number of categories and subcategories, you can also add product categories as and when required. You can also add or update categories in bulk with a CSV spreadsheet upload via the Data Import Tool.
Products can be assigned to multiple categories for maximum exposure.
To help your customers find what they are looking for, you will need to create a category tree that is easy to navigate. We recommend not exceeding three levels in your category tree.
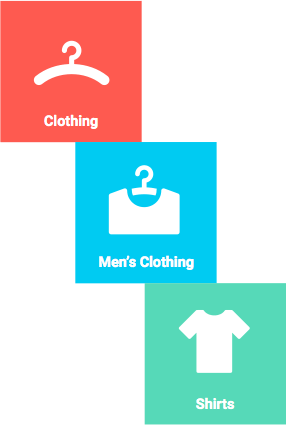
For example: Clothing > Men's Clothing > Shirts
The above is an example of a category tree that is 3 levels deep. If users cannot find what they are looking for within 3 clicks, your conversion rates will be negatively impacted.
Category SEO
Category pages will also contribute to your websites overall SEO. Each Category Page will automatically be indexed on to Google and other search engines, so this should contain keywords relevant to the category.
Add Product Category
Product categories help you organise products on your webstore and assist customer navigating your site. They're also used to link up to markplace categories on eBay and Amazon.
Add an Individual Category
To create a product category:
- In your Neto control panel navigate to Products > Product Categories.
- Click the Add New Category button.

- In the Hierarchy section, select a Parent Content from the dropdown.
If the new Product Category is to be used as a parent category (e.g. 'T-Shirts') then leave the Parent Content dropdown blank.
- In the Naming section, enter a product category Name.
- In the Page Content section, add a Primary Description (if required).
- Add a Category Description (if required).

- Click the Continue button.
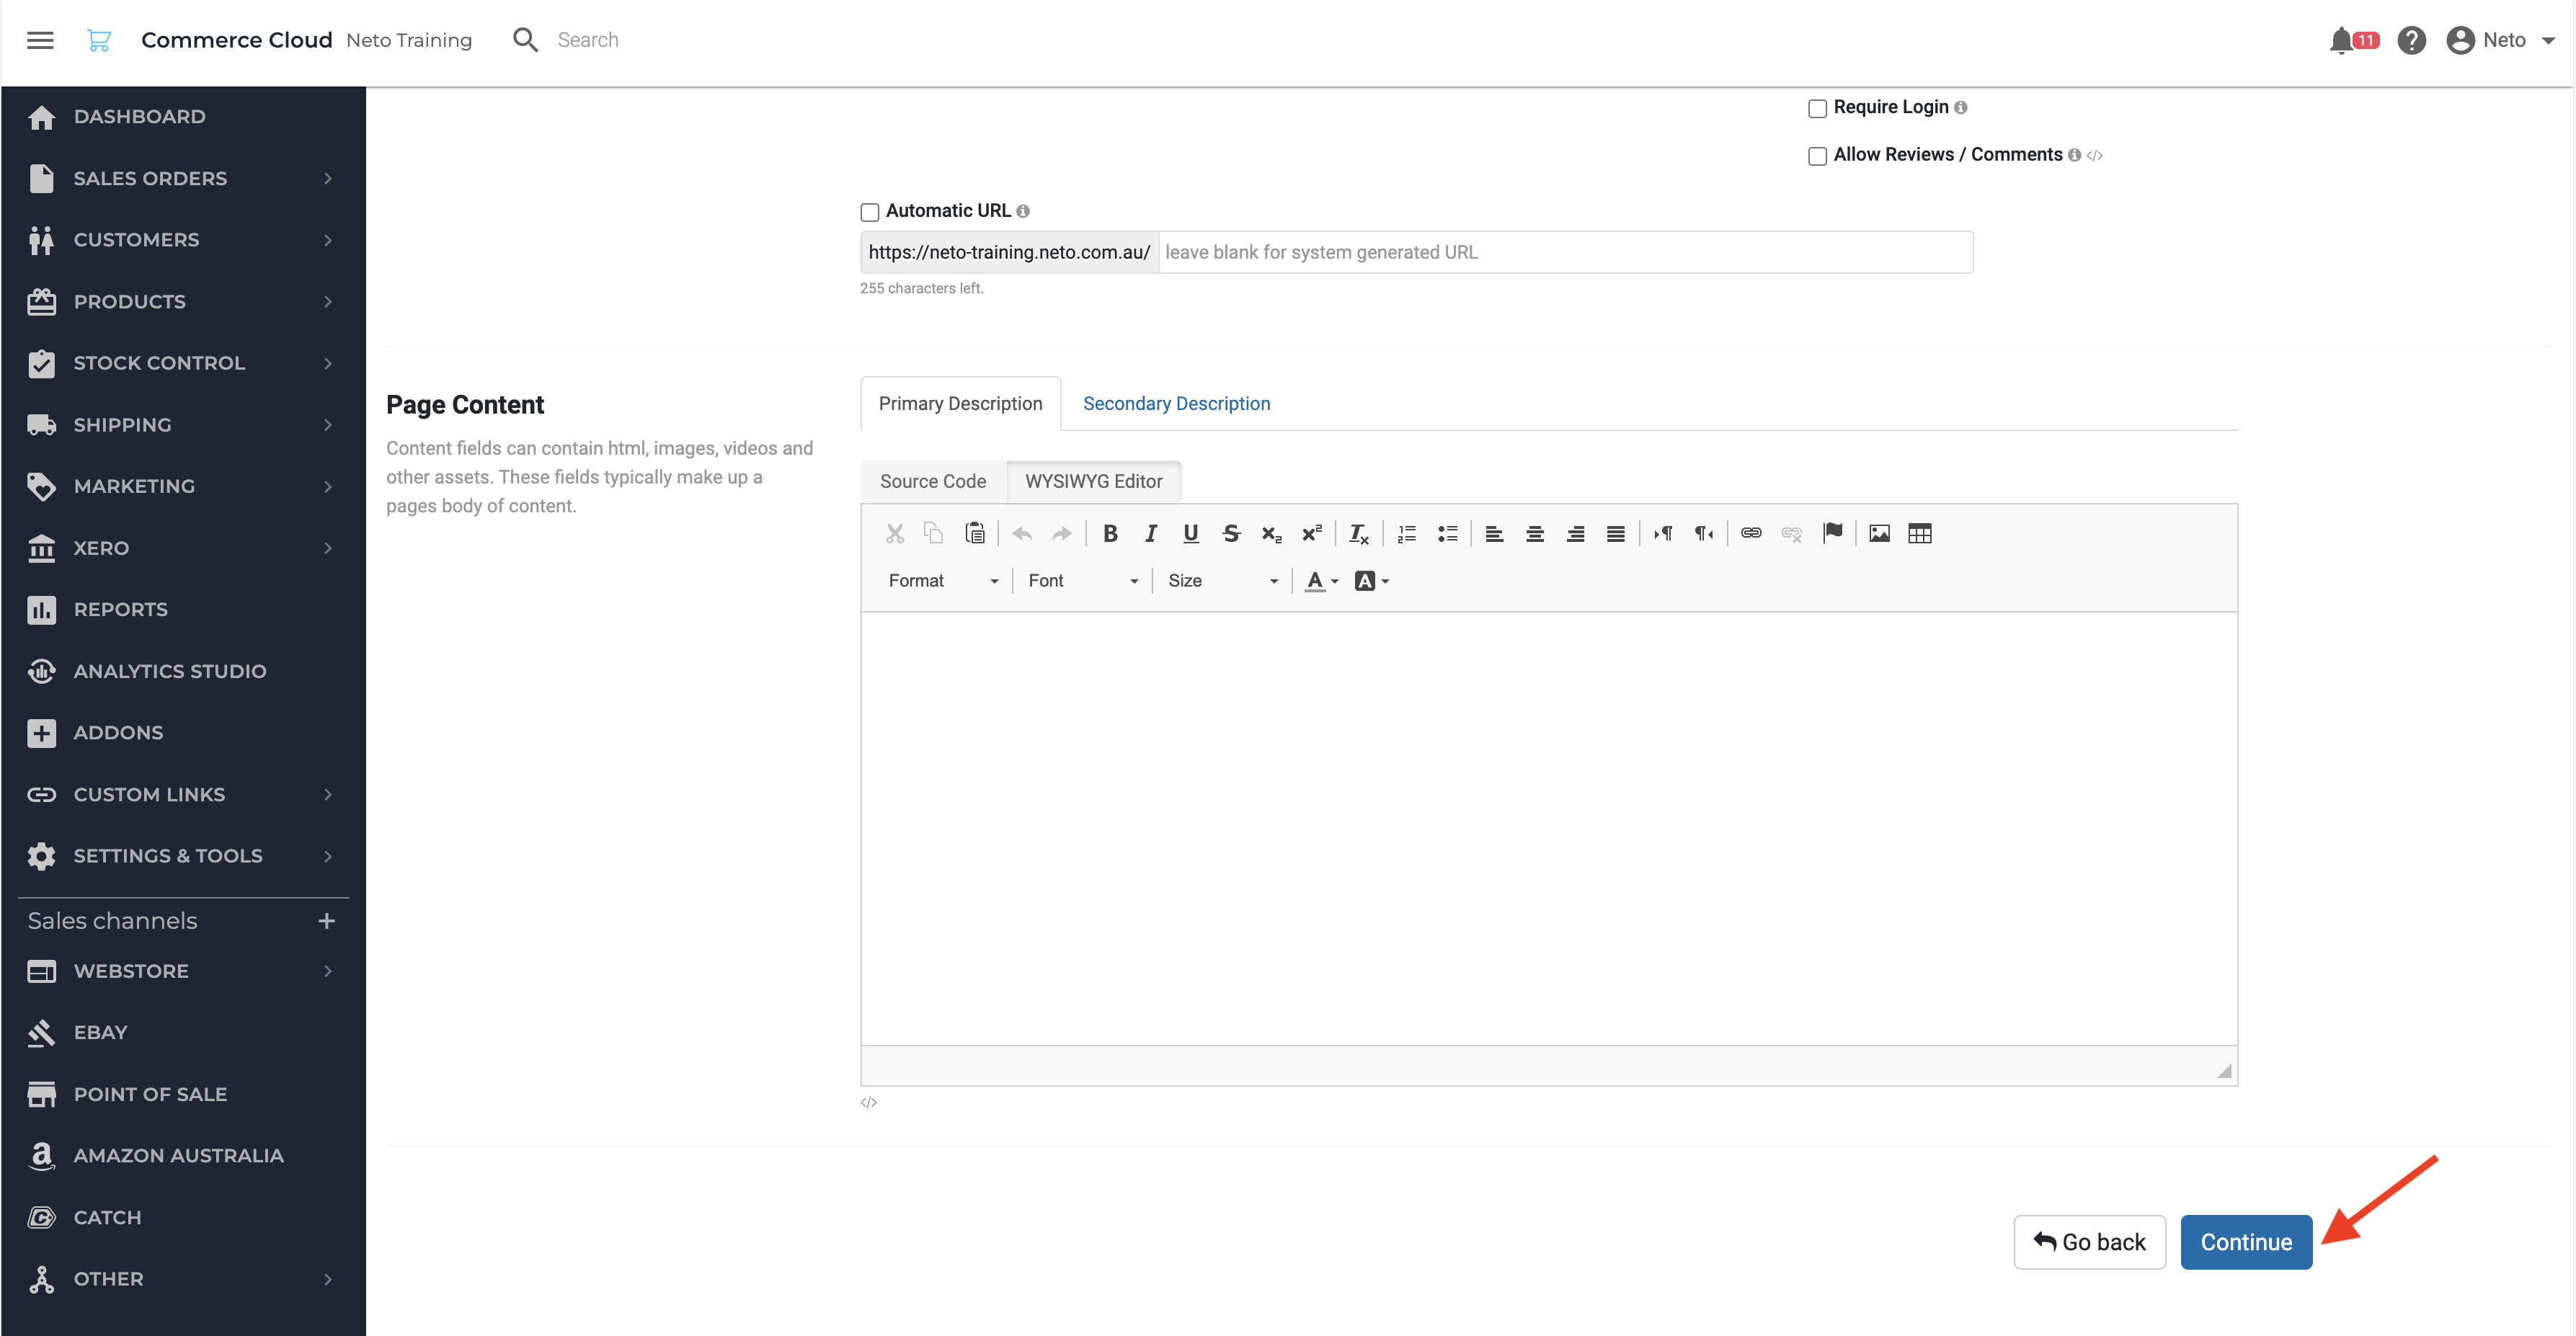
Neto will create the category, proceed to the next section to complete the category.
- In the Short Description section, add a Short Description (if required).
- If you have a page on your website that displays your product categories (e.g. www.mydomainname.com.au/products), then you should add an image to display for each category thumbnail.
In the Images section, click the Choose File button.
A popup window will display to browse to find an appropriate image file.
- Once you have located the image, click the Open button.
If the image is not in the JPEG format, select JPEG (*.jpg) next to the Convert to button.
You can also drag and drop images from an open folder into the category image upload section.
- Enter any other relevant details in the available fields.
- Click the Save button.

Once the Product Category is added, it will appear in the list of categories at the product level.
Add Product Category Via Import
The product categories you want to add should be entered into a comma separated values (CSV) file to ensure it can be read by Neto. The CSV file must also be in the correct format, so that data can be imported to the correct fields. A complete list of fields and their usage are available here.
Required Category Fields
Each method has a set of Required Fields that must be completed before a Category can be created:
- Content Type - This will always be: "Product Category".
- Parent Content Path - The structure of your category.
- Name - The name of the Category/Sub Category.
- Primary Description - Optional to add here the category description, which will display to customers on your site when they click on the category. This field accepts HTML.
- Secondary Description - Again, optional secondary description field, which will display to customers on your site below the primary description, when they click on the category. This field accepts HTML.
- Sort Order - Used to set the order of your categories when customers view them. Descending - Highest First.
For your convenience, we have created a default Category Templates which you can download here.
To import product categories (or other content) into Neto:
- Download Neto's sample .CSV template or create your own CSV file populated with product categories.
- The Content Type and Name fields are mandatory fields.
- Information within the Content Type field must match one of the available content types within the Content Types Manager page (Settings & Tools > All Settings & Tools > Control Panel > Content Types Manager).
Populate all relevant fields within the Neto. CSV template. The following conditions must be adhered to:
- Save the completed file as a Comma Separated Value (CSV, MS-DOS) file.
- In your Neto control panel, navigate Settings & Tools > Import Data.
- In the Data Type section, click the Product Categories radio button.
- In the Import Type section, click the Perform complex import button and select Start Data Import Wizard.

- Click the Choose File button next to the Upload File field.
- Once you have located the file, click the Open button.
- Click the Continue to Next Step button.

- Match the fields in your .CSV file to Neto's Database Field Name fields.

- Click the Continue to Next Step button.
- Select an update option from the Content Update Options dropdown.
- Click the Continue to Next Step button.
- To use the import settings created in the steps above again, click the Do you wish to save this import button.
- Enter a name in the Import Template Name field.
- Click the Process File Now button.
Your file will now queued to import and add your product categories or content to your Neto control panel. Allow a few minutes for the upload process to complete. If any problems arise, check the Process Manager log for issues or errors.
Category Display Order
Sort Individually
You can change the sort order of your product categories and other content types by editing the sort order value against each category or content page.
- In your Neto control panel select Products > Product Categories.
- Select the product category you want to change the sort order of.

- Enter a sort order value for the category.

- Click Save.
The higher the value entered, the higher up in the list an item will appear. The sort order field is therefore often referred to as the "priority" field. For example, 99 will appear above 89. This gives you the flexibility to add a new category at a later date and have it appear at the top of your list without having to reorder your entire list.
Sort Via Bulk Import
You can change the sort order for product categories and other content in bulk via csv import by using the following columns:
- Content type (eg. Product Category, Blog, etc)
- Content ID (found in the content list)
- Sort Order (the higher the value entered, the higher up in the list an item will appear.)
- In your Neto control panel navigate to Settings & Tools > Import Data.
- Select Product Categories. Click Perform Complex Import and then Start Data Import Wizard.

- Select Choose File and upload your spreadsheet, then Continue To Next Step.

- Match the columns in your spreadsheet to the database fields in Neto, and Continue To Next Step.

- Set your update options, and Continue To Next Step. If unsure, leave them as the defaults.

-

Choose if you want to save the import settings as a template (and give it a Name) then click Process File Now
The file will be queued to import, and update the priority of your content.
Delete a Category
Product categories can be only be deleted if they have no child categories. Child categories must be deleted first, or re-assigned to a different parent category. To delete a category:
- In your Neto control panel navigate to Products > Product categories.
- Select the product category(s) to delete using the checkboxes.
- At the bottom of the page, click the With x Selected button.
- Click Delete.
Your product category will be deleted.