You can properly categorize your products using Google's standardized taxonomy to improve product visibility and performance in Google Shopping feeds, helping ensure your listings appear in relevant search results and comparison opportunities. This categorization system enables you to align your product catalog with Google's 5,400+ categories, improving how customers discover your products while maintaining accurate product classification that supports better advertising performance and marketplace positioning.
Implementing Google Product Categories helps streamline your product feed management by providing consistent, searchable classification that typically improves listing quality and relevance. The bulk import and assignment capabilities enable efficient catalog organization at scale, helping you manage large product inventories while ensuring each item is properly categorized for optimal visibility in Google Shopping and related advertising channels.
Import the Google Product Categories into Neto
Google have over 5,400 categories that can be assigned to your products. We have created a import file so you can import the complete list into your site.
- Create a custom content type to store the categories. In your Neto control panel, navigate to Settings & Tools > All Settings & Tools.
- Click the Control Panel tab and click Content Types Manager.
- Click the Add New button on the top right hand side.
- Enter Google Product Categories for the name. It is important the name is correct as it will need to match the import file. Tick the Show in Control Panel Menu box, then enter google-categories under Unique Code and Save.
- Download Google's Australian categories file. We've formatted the Google category data to make it easy to upload into your control panel.
- Open this file and remove any categories that don't apply to your industry or that you won't use.
- Use the Import Wizard to import the categories into your site by going to Settings & Tools > Import Data.
- Select Product Categories as the type of import, click Perform Complex Import > Start Data Import Wizard.
- Upload the google categories import file you have downloaded to your computer. Click on the Continue to Next Step.
- The field mapping will be correct for the most part. Click the Add Extra Field button. Choose Active as the Neto field name. Set it to a Static Value of N and click on Continue to Next Step again.
- Content Update Options should be set to Add New / Update Existing Content and click on Continue to Next Step again.
- Click on Process File Now to queue the import.
The import process will take about 10 minutes. The import file sets the categories so they do not appear in the sitemap or in a category menu.
Assign Google Product Categories to a Product
Once imported, you will find the categories by going to any product, navigating to the categorisation section and selecting Google Product Categories from the drop-down.
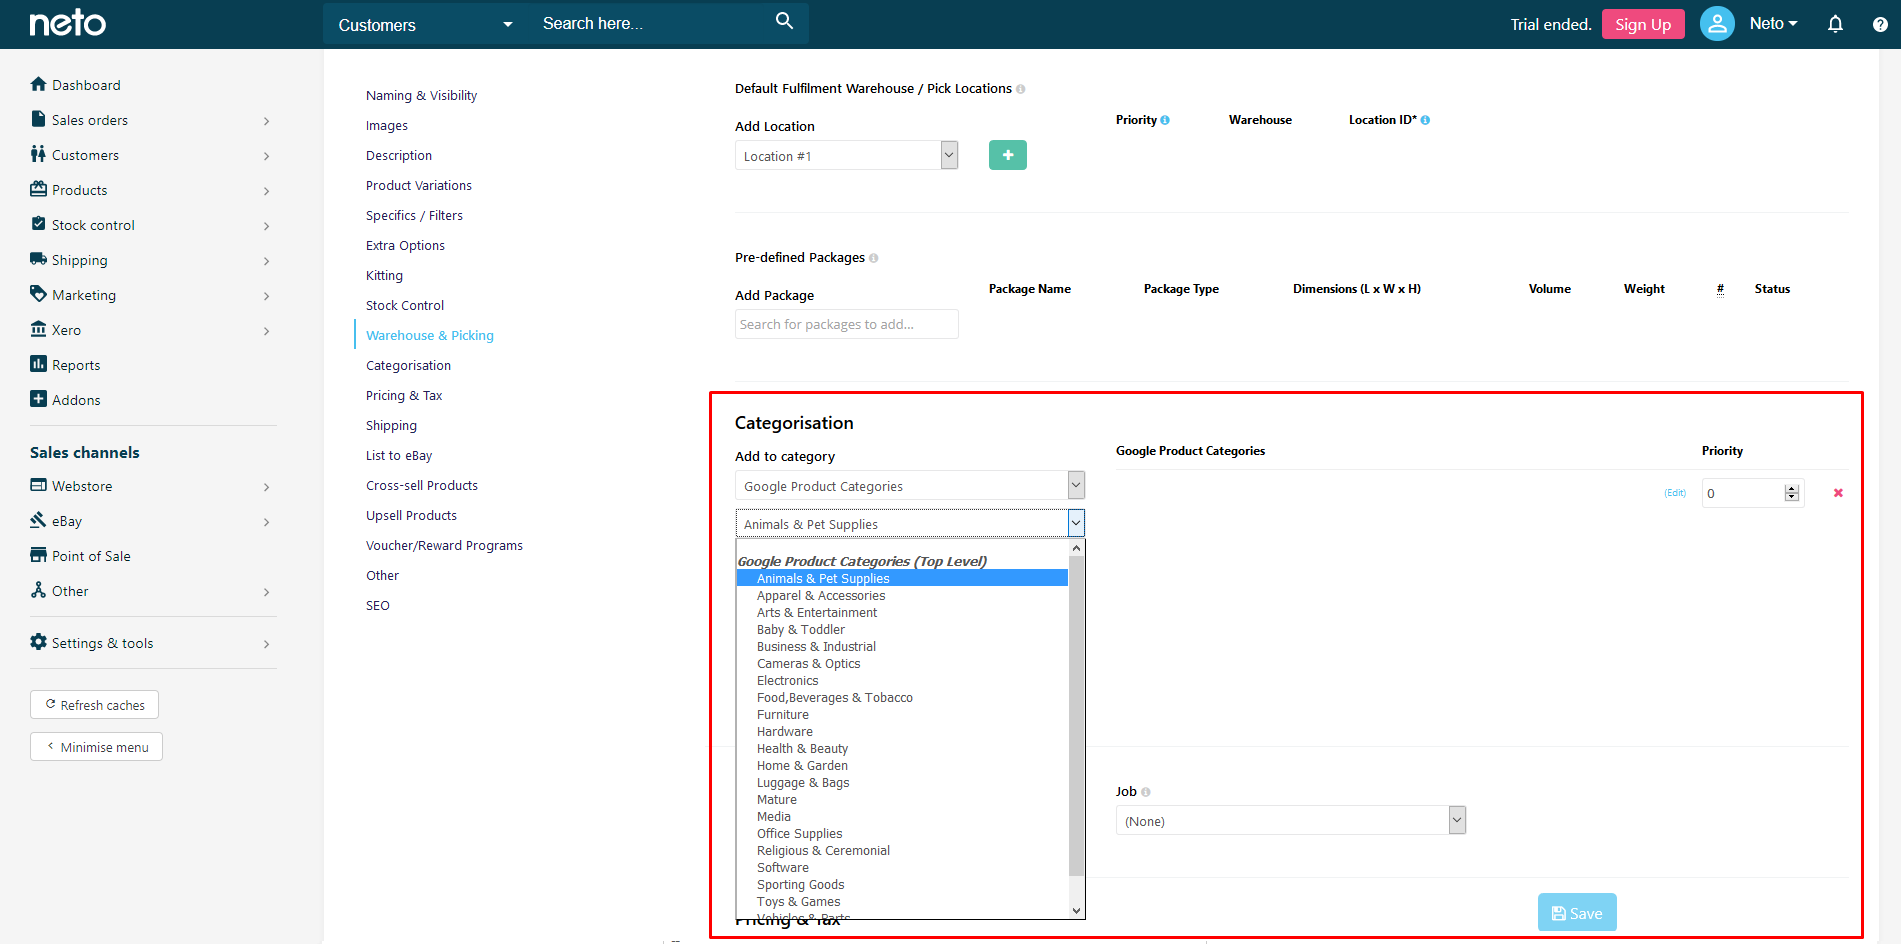
Select the appropriate category and click the green Add button and click Save on the product.
Assign Google Product Categories in Bulk
Using the Import Wizard, you can add an Google product category to all of your products at the same time.
- The import CSV file will need at least two columns. One for the product SKU and the second Category Full Path List (Google Product Categories).
- Download the Google product categories. You may need to right/command click on the link and select Save Link As.
This file has a complete list of the all the categories. You can copy the relevant category and paste it next to the correct SKU in the import file you are creating.
- Use our sample CSV file as a template to create your list. In the first column, add your SKU and in the second column add the Google Product Category to Category Full Path List (Google Product Categories).
If you need to assign multiple categories to a product separate them with a semi-colon (;).
- Once completed, upload your products using the import wizard. Navigate to Settings & Tools > Import Data.
- Select Products as the type of import and click Perform Complex import and click Start data Import Wizard.
- Upload your newly made CSV and click Continue to Next Step.
- The field mapping should already be there, so again, click Continue to Next Step.
- Keep update type as Add New/Update Existing Products and click Continue to Next Step.
- Click Process File Now button. This should take 5-15 minutes, depending on the file size.
Add Categories to the Google Shopping Feed
You will need to make some modifications to the feed itself to add the categories:
- In your Neto control panel, navigate to Other > Shopping Comparison Feeds.
- Under Google Shopping Data Feed, click the Edit button.
- Scroll down to the FILE HEADER field. Add a tabbed space (copy a tabbed space between the existing columns - do not use the space bar) and add google product category. Add a line break at the end (press enter).
- Scroll down to FILE BODY - body and click at the end of the text line. Add another tabbed space at the end. Then click on the drop down menu next to Insert Data Tag and select Category Table (Google Product Categories) and in the next drop down select Google Product Categories Full Path List and click Insert. Add a line break at the end (press enter).
- Save the changes to the template.
- Click on the Generate Data File at the top of the page. This will take up to 10 minutes to process depending on how many products you have in the data feed.