Please Note: The BigCommerce integration is available upon application. Please contact us if you would like to have this enabled on your account.
Before you Begin
Before you connect your Neto control panel to BigCommerce, you will need to prepare the API key, shipping, and payment methods:
- Create a BigCommerce API account by following these steps in the BigCommerce help centre. Set the OAuth scopes as per the table below:
Please Note: Only store owners can create API keys in BigCommerce.
Setting Name | Setting Value |
|---|
Customers | read-only |
Information & settings | modify |
Orders | modify |
Order transactions | read-only |
Products | modify |
Record the API Path (the part between store/ and /v3), Client ID, Client Secret and Access Token.
- Make a note of the exact names of your payment methods in BigCommerce. These will be mapped to Neto equivalents during setup, so if need be, add any as offline payment methods in Neto so payments can be reconciled.
- Make a note of the exact names of your shipping options in BigCommerce. These will be mapped to Neto equivalents during setup, and will appear on orders automatically to make dispatching orders a smooth process.
Set up the BigCommerce Integration
To connect your Neto control panel to BigCommerce and set up the integration:
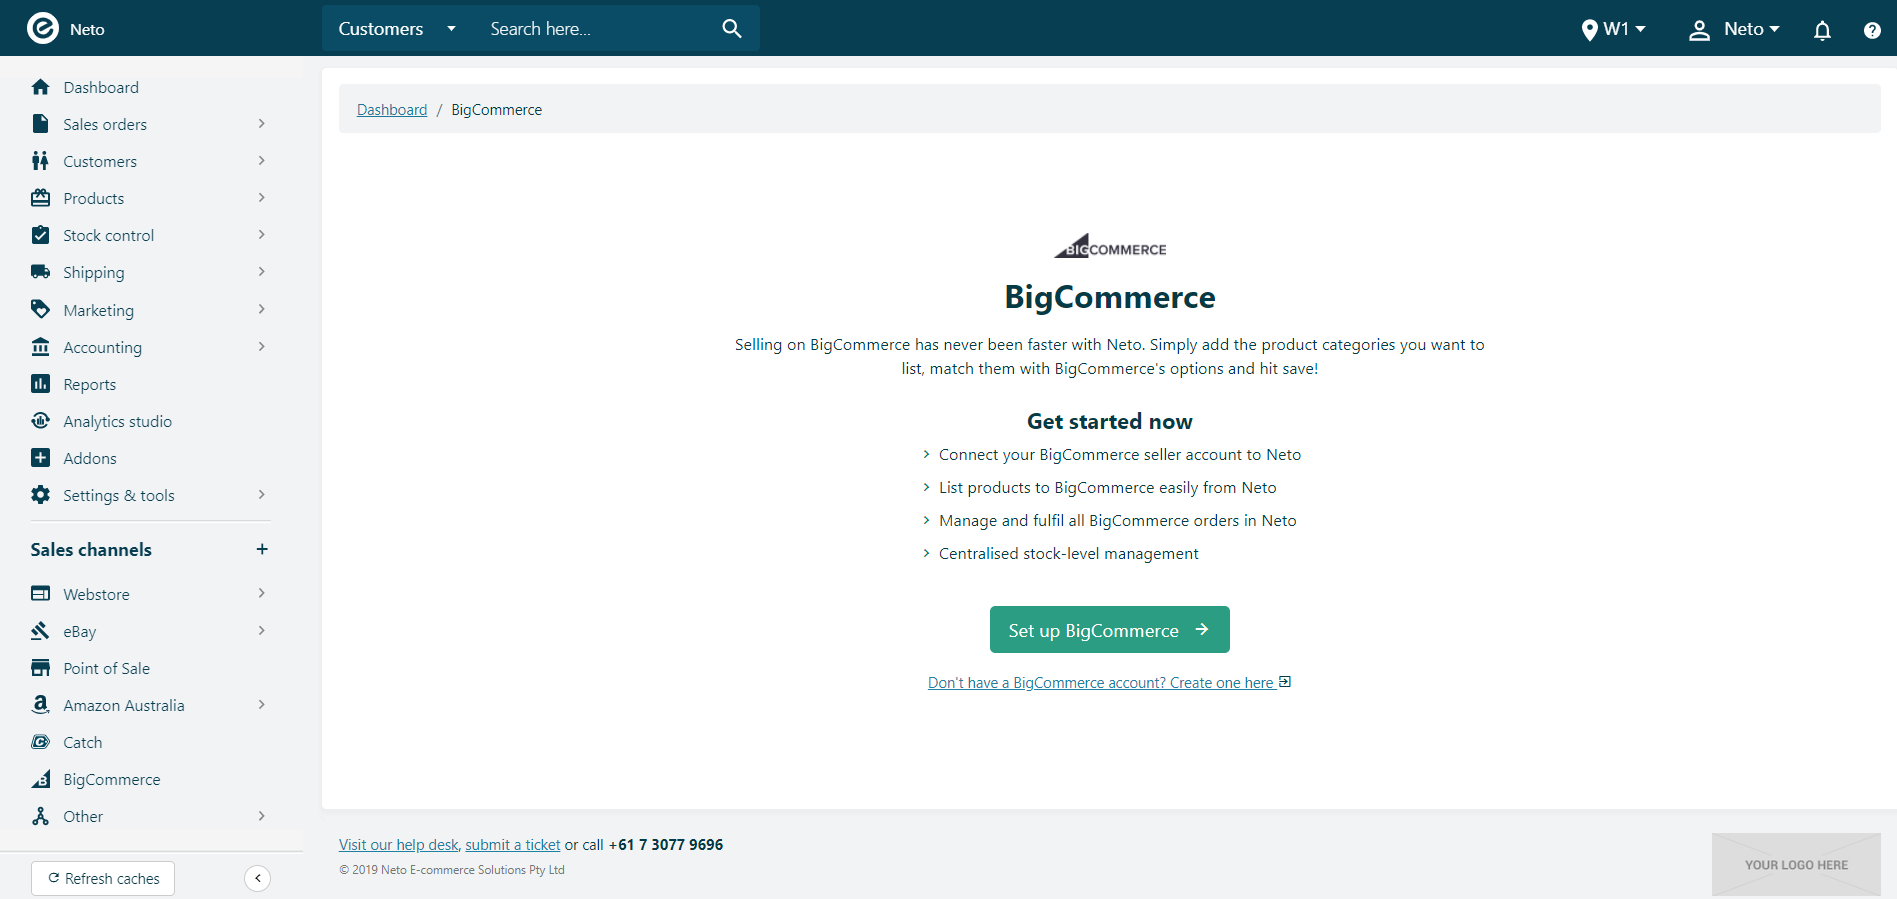
- In your Neto control panel click the BigCommerce menu.
- Click the Set up BigCommerce button.
- Store Hash
- Access Token
- Client ID
- Client Secret
Enter your BigCommerce seller account details to link it to Neto:
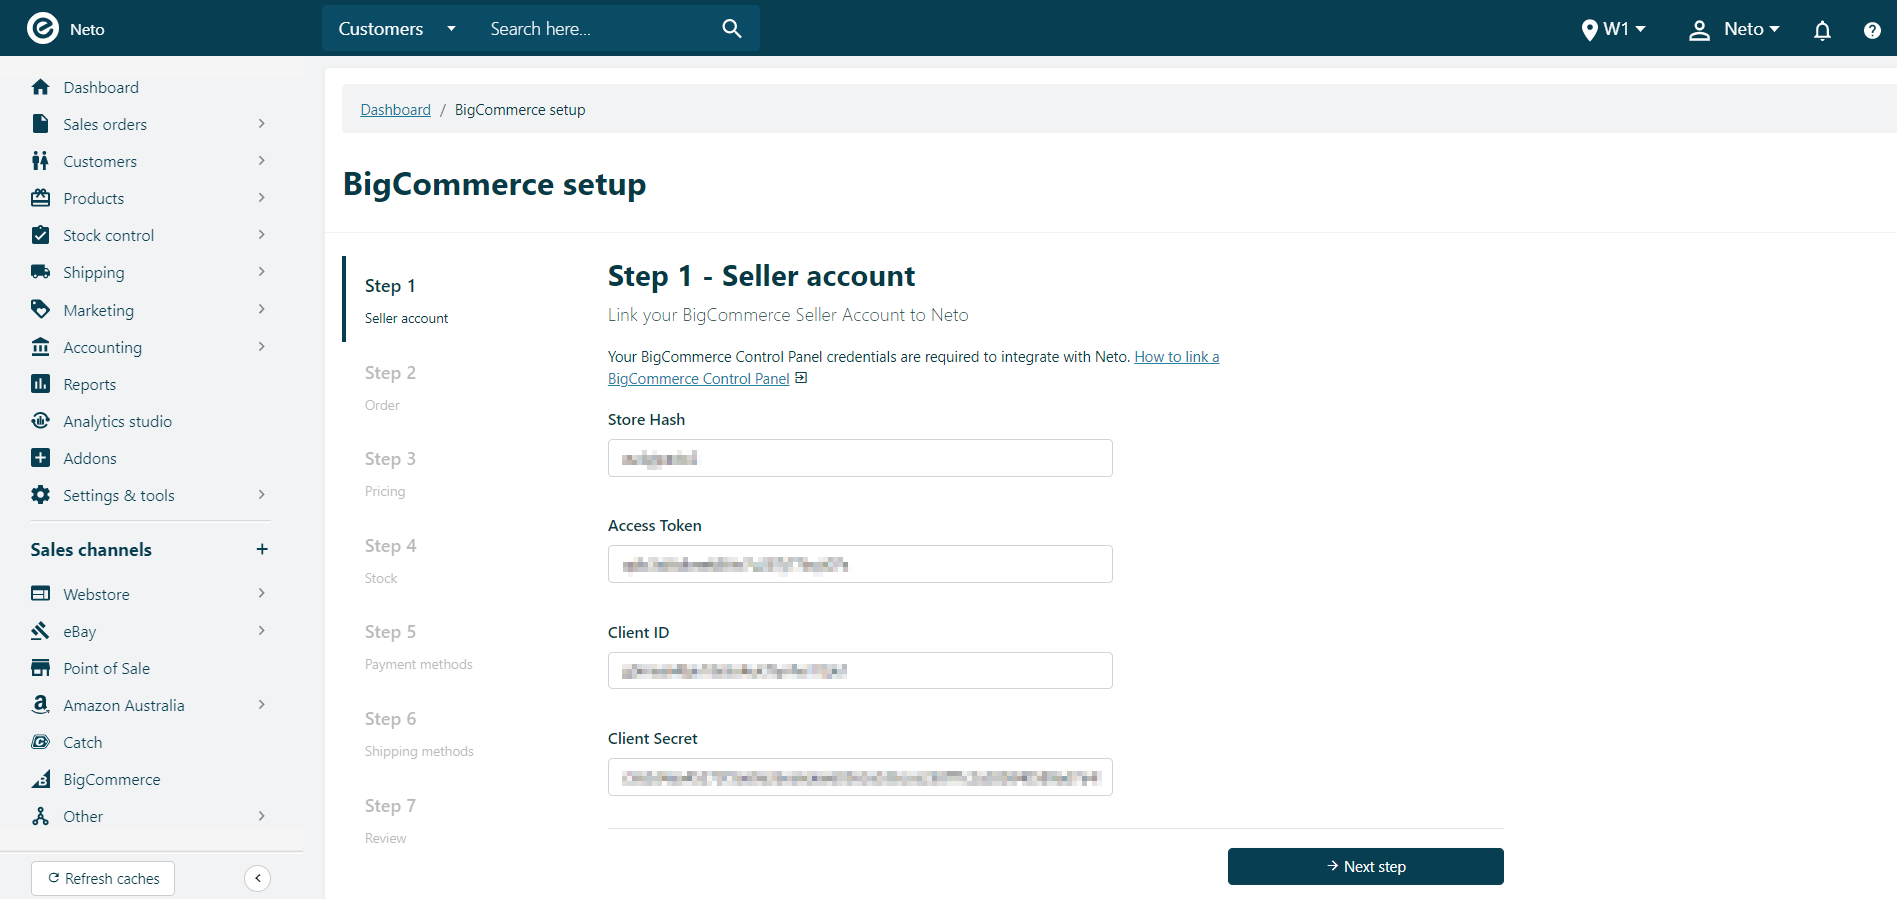
Click the Next step button.
- Toggle the Enable the order sync settings so that BigCommerce orders download to Neto. Configure the additional settings using the table below as a guide:
Setting | Description |
|---|
Enable order sync | Downloads orders from BigCommerce to Neto automatically. |
Received order statuses | Select the status orders will be put into when downloaded from BigCommerce. |
Sync order consignment details | Sends consignment and tracking information from Neto to BigCommerce when orders are dispatched. |
Order status to sync | Select the status of BigCommerce orders to download into Neto. |
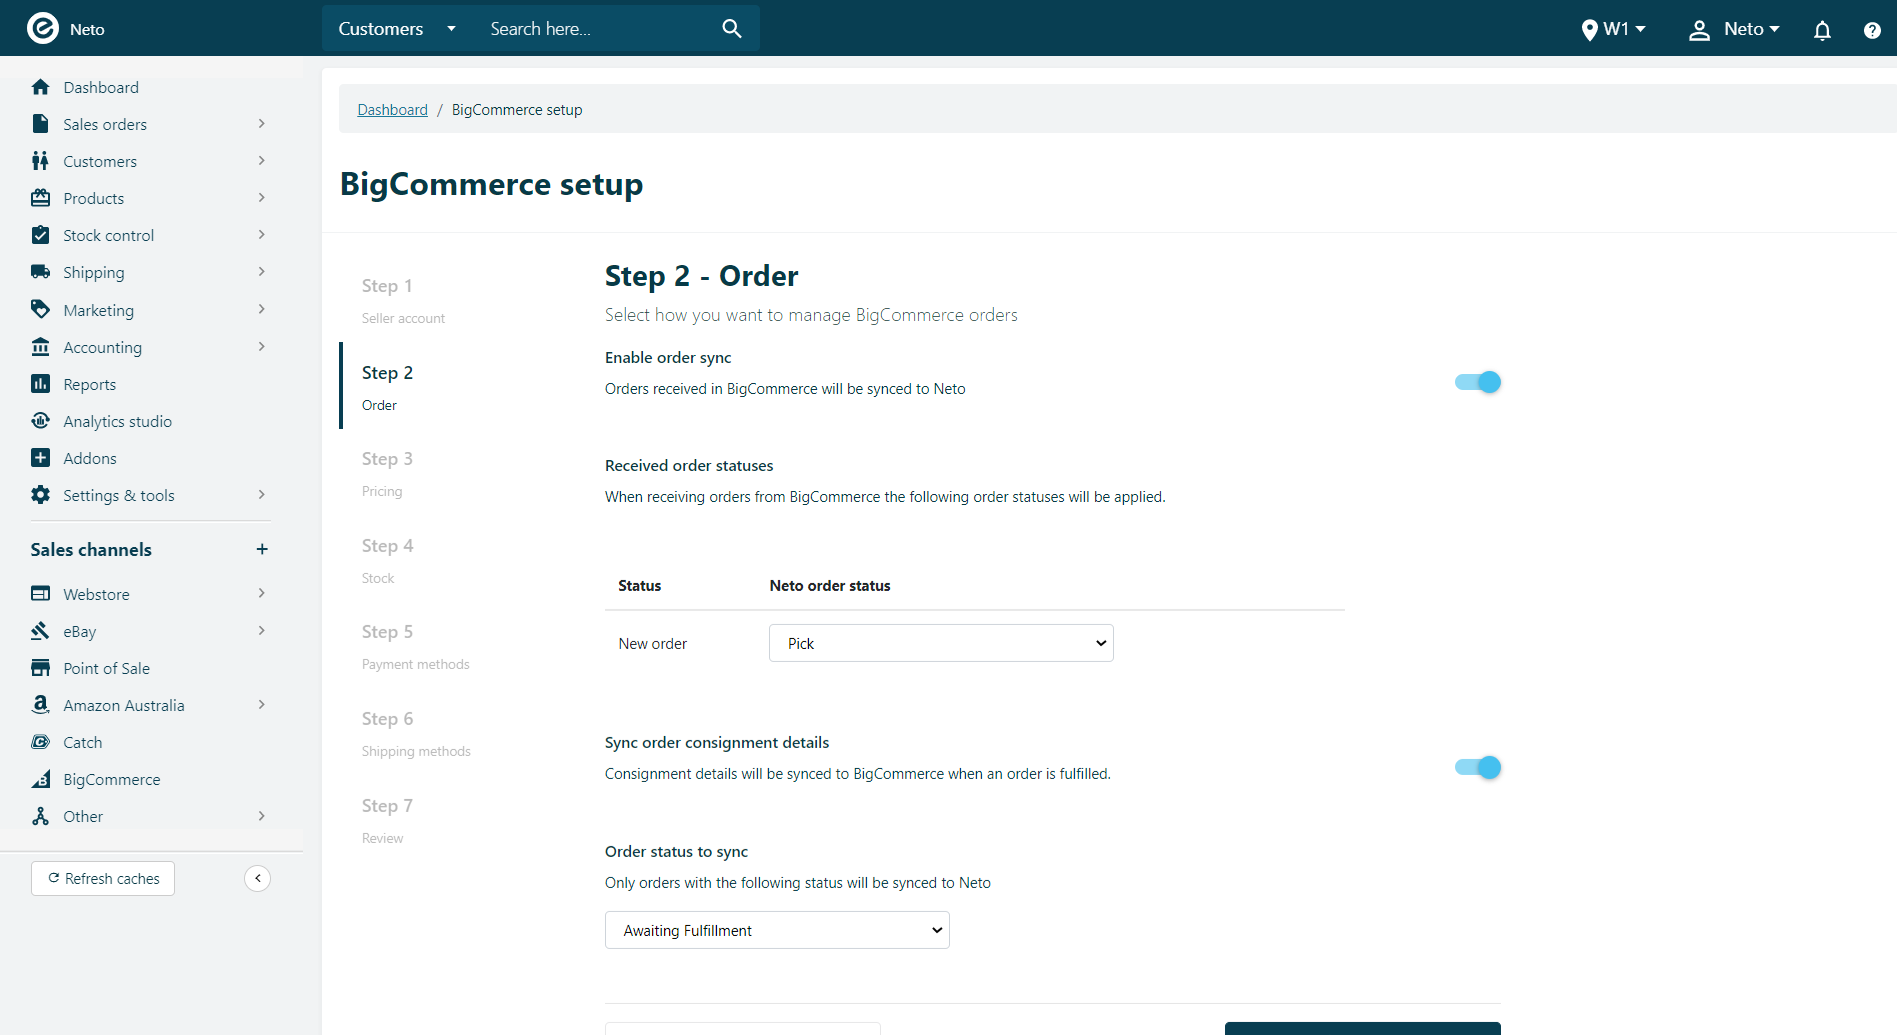
Click the Next step button.
- In the pricing step, choose if you want product prices to be managed from Neto, or BigCommerce. If you select pricing from Neto, configure the additional settings using the table below as a guide:
Setting | Description |
|---|
Pricing value | Select which system prices will be managed/updated in. |
Customer group | Select the customer group to use for BigCommerce product prices. |
Empty product price | Choose what to do when a price field is empty on a product. |
Enable promotion pricing | Toggle to use any active promotion pricing in Neto. |
Tax | Select if product price include Tax or not. |
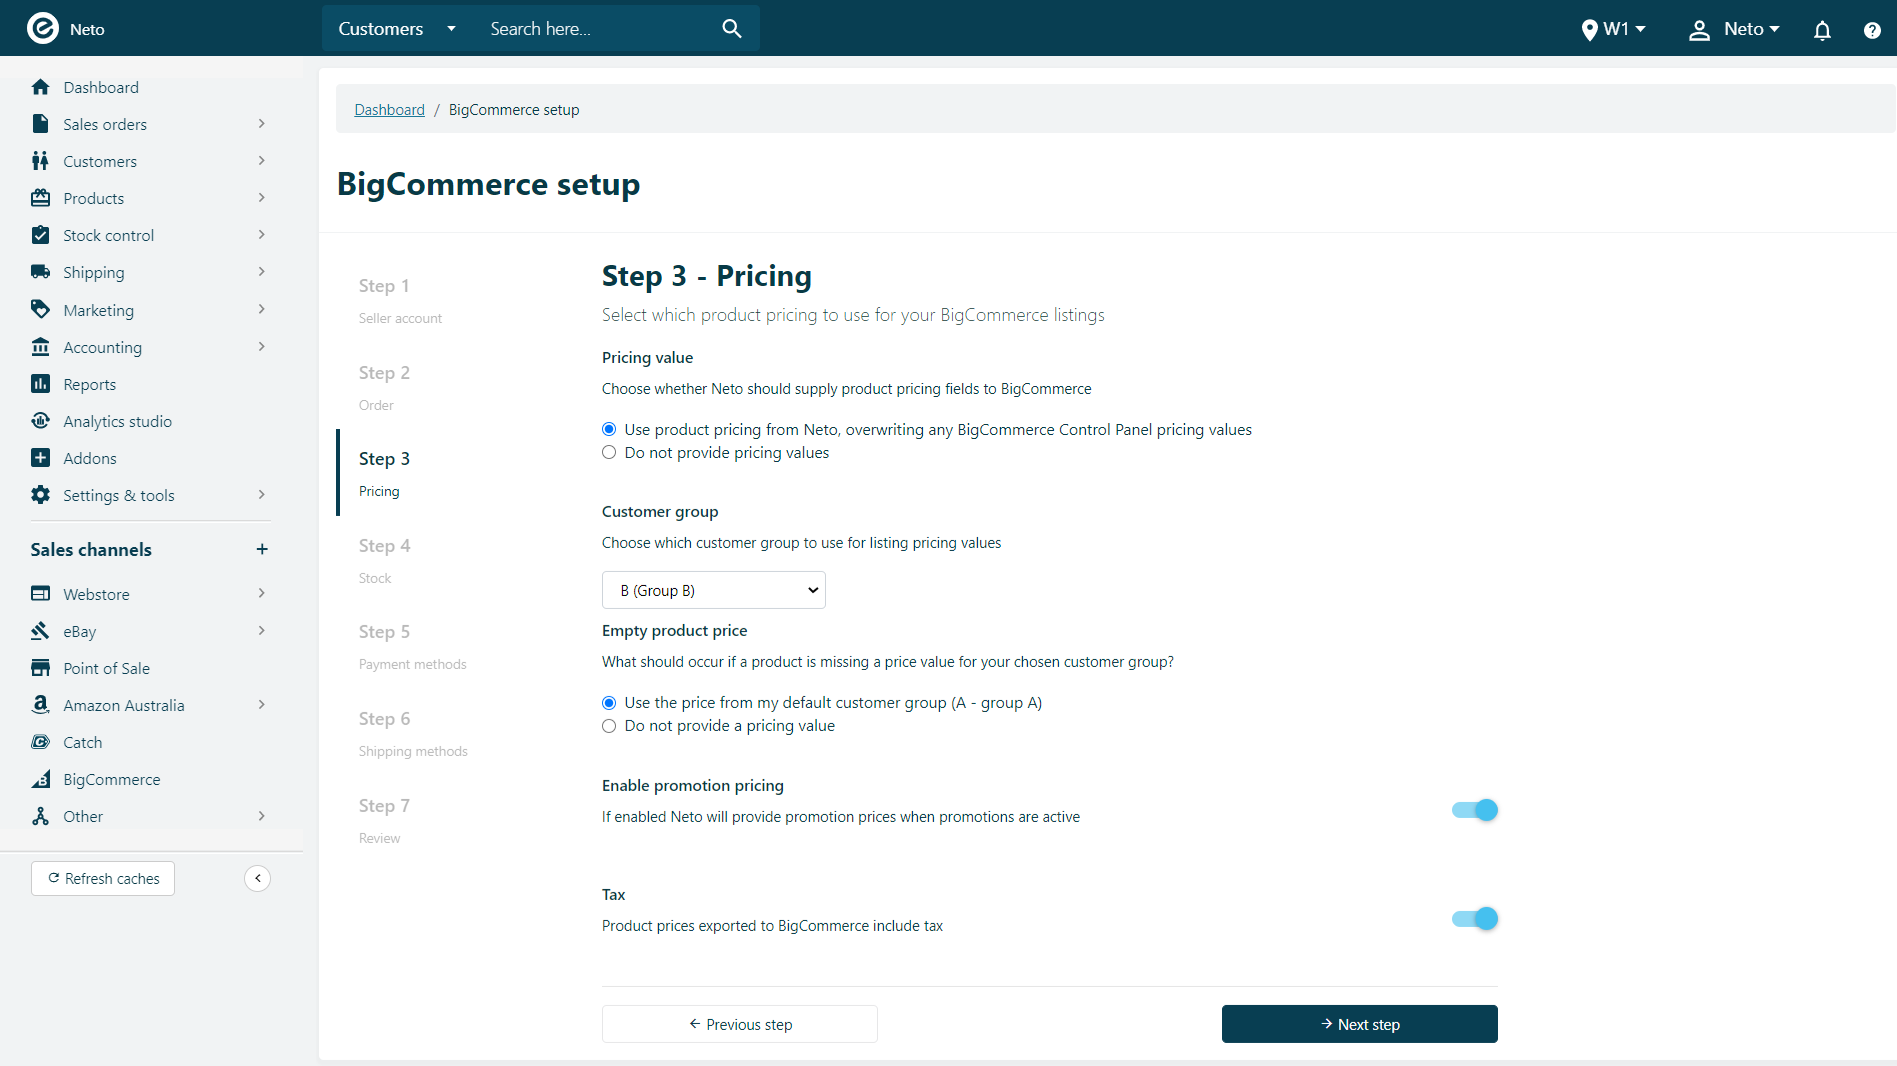
Click the Next step button.
- In the stock step, choose if you want product stock levels to be managed from Neto, or BigCommerce. If you select stock from Neto, configure the additional settings using the table below as a guide:
Setting | Description |
|---|
Enable stock sync | Stock levels will export from Neto to BigCommerce. |
Stock level limit | Set a maximum amount of stock to export to BigCommerce. |
Stock level buffer | Enter a stock amount to hide from BigCommerce, to prevent overselling. |
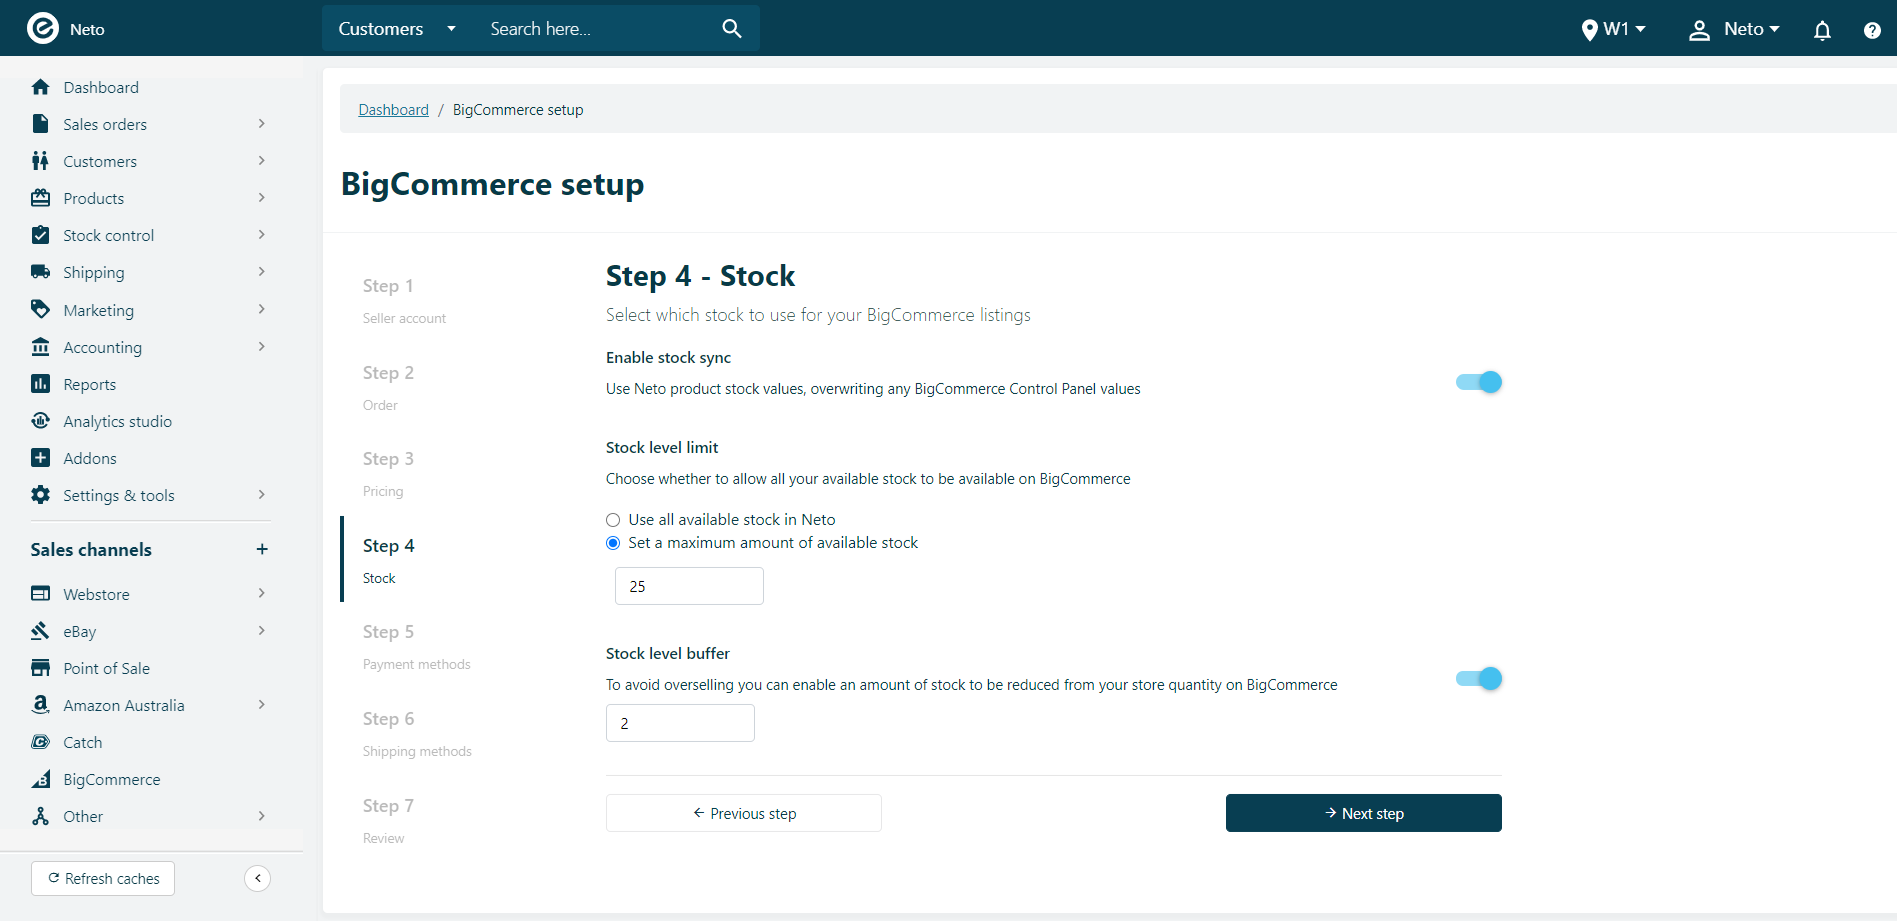
Click the Next step button.
- Enter the name of a payment method in BigCommerce, and map it to an equivalent in Neto. Click the Save button, then Add New to add additional payment methods.
Ensure the names match exactly so that the payment method can be applied to orders correctly.
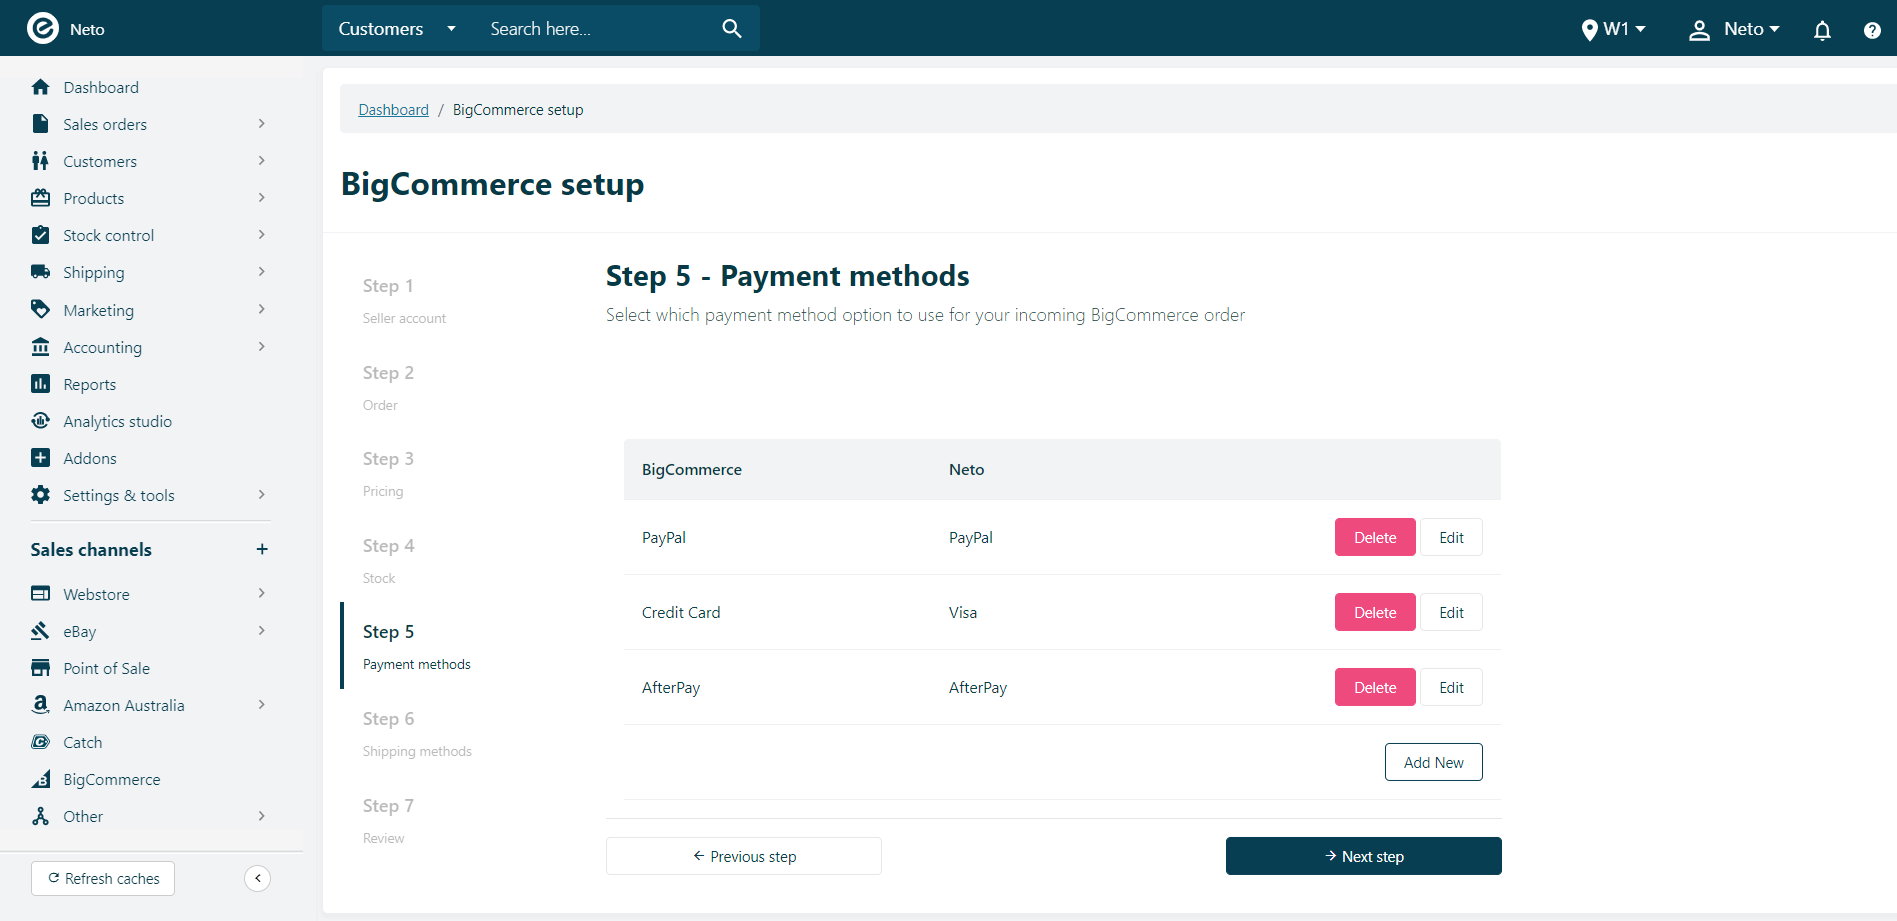
Click the Next step button.
- Enter the name of a shipping method in BigCommerce, and map it to an equivalent in Neto. Click the Save button, then click Add New to add additional shipping options.
Ensure the names match exactly so that the shipping option can be applied to orders correctly.
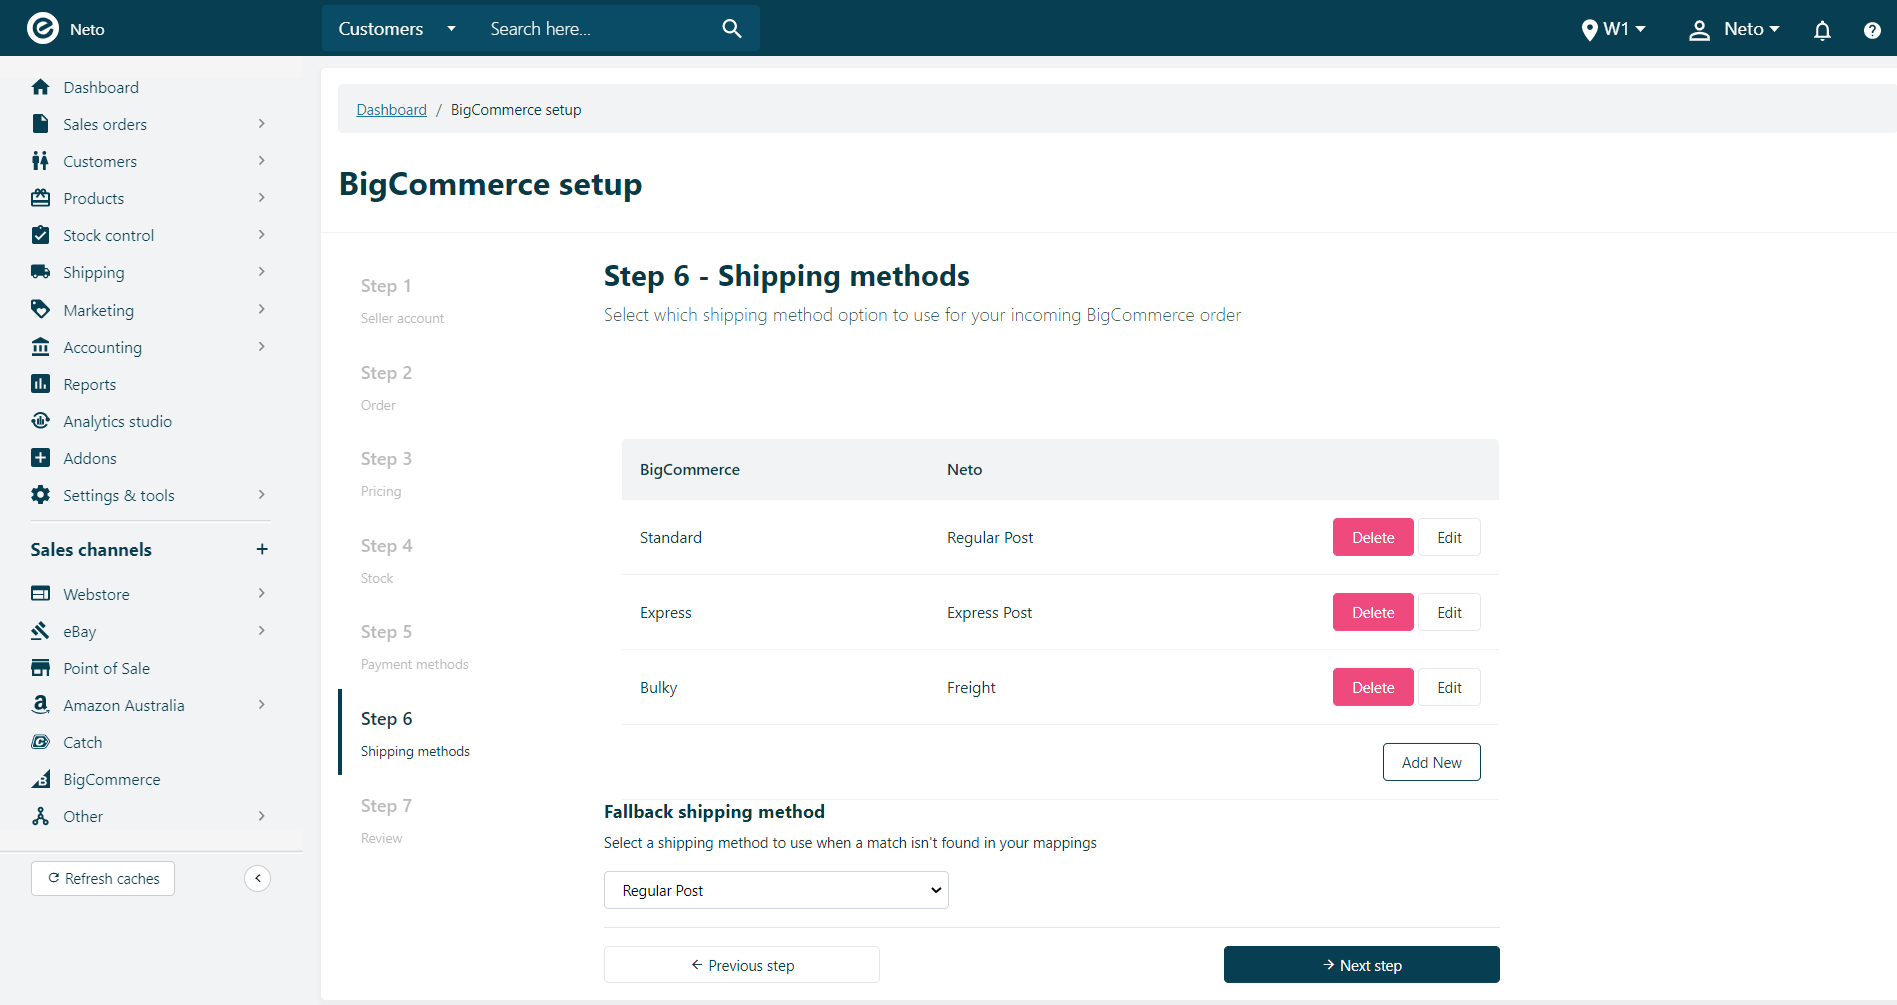
Click the Next step button.
- Review your settings and click the Complete BigCommerce setup button.
Your integration to BigCommerce is complete, and products can now be marked as Approved to sync the stock level and price with your BigCommerce products.
Approve Products for BigCommerce
To sync products between Neto and BigCommerce you need to mark them as 'approved' in Neto. This will allow Neto to update the price and stock levels on BigCommerce, keeping them in sync with your marketplace listings.
Products in Neto can be approved in three ways:
Individually
- In your Neto control panel navigate to the Products > Active page.
- Click on the product SKU you want to sync with BigCommerce.
- Select the Approved for BigCommerce checkbox.
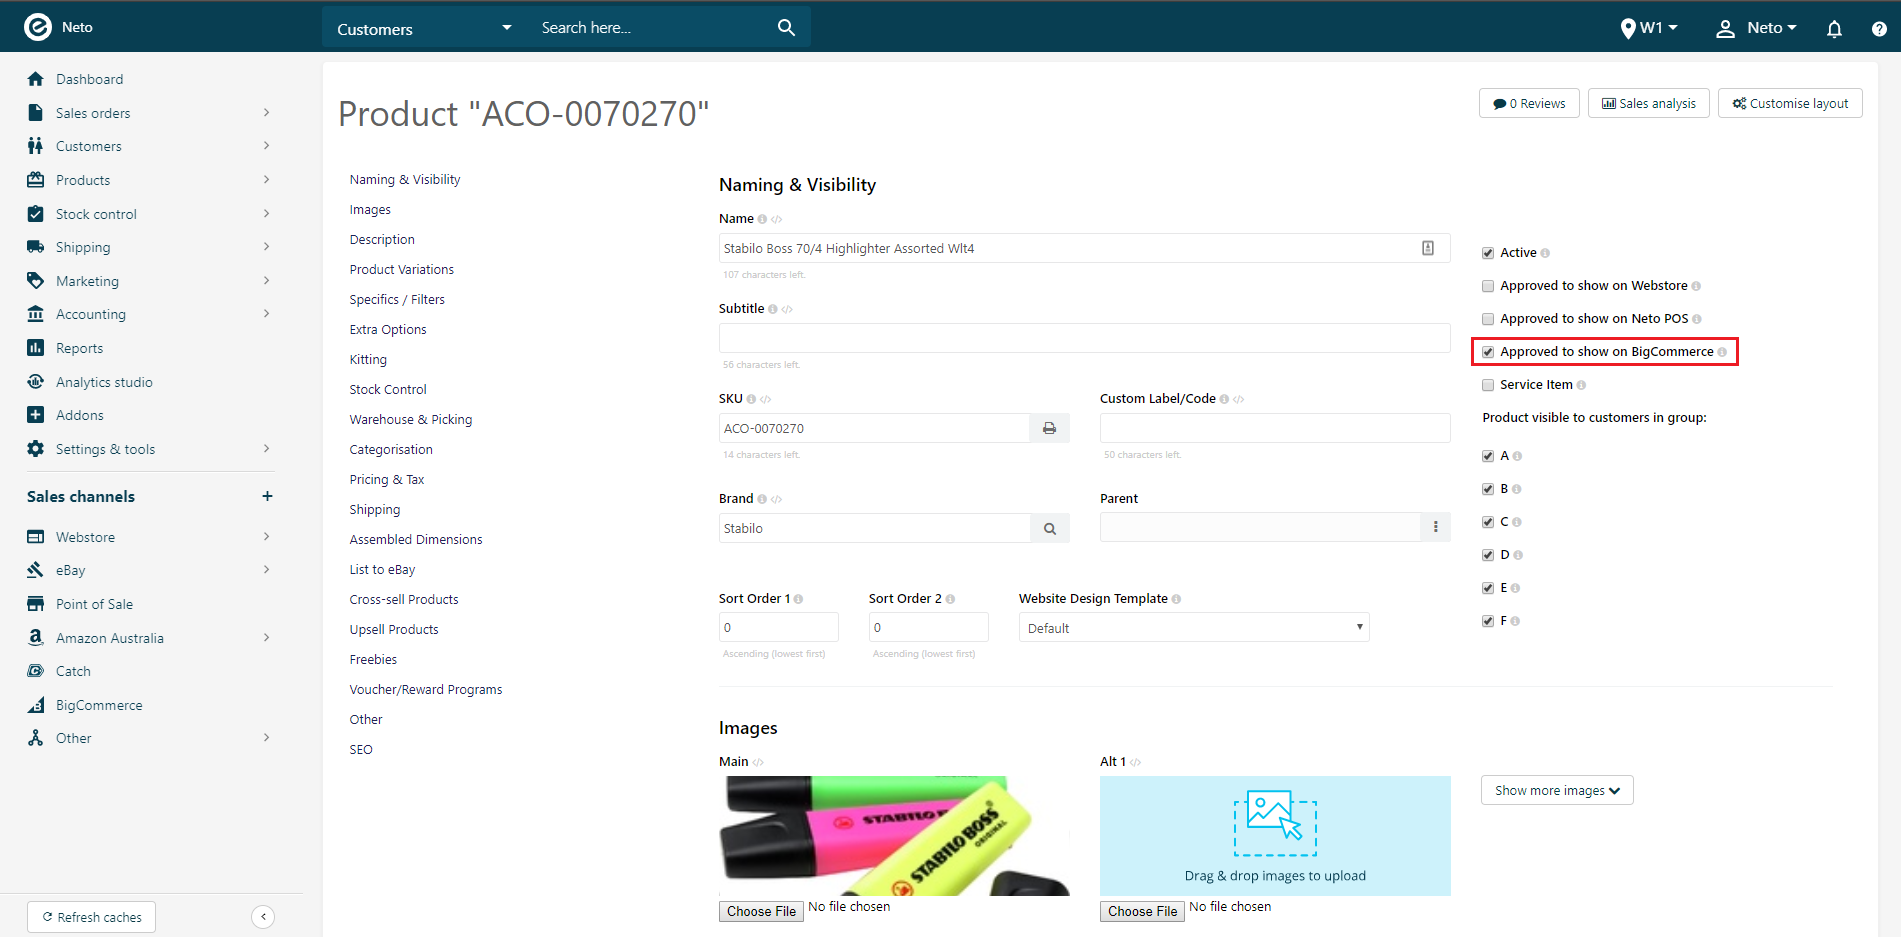
- Click the Save button.
- Repeat the process for each product to approve.
In Bulk
- In your Neto control panel navigate to Products > Active.
- Select the checkboxes next to each product you want to approve for BigCommerce.
- Click the With x Selected button (beneath the product list) and select Approve for BigCommerce from the options.
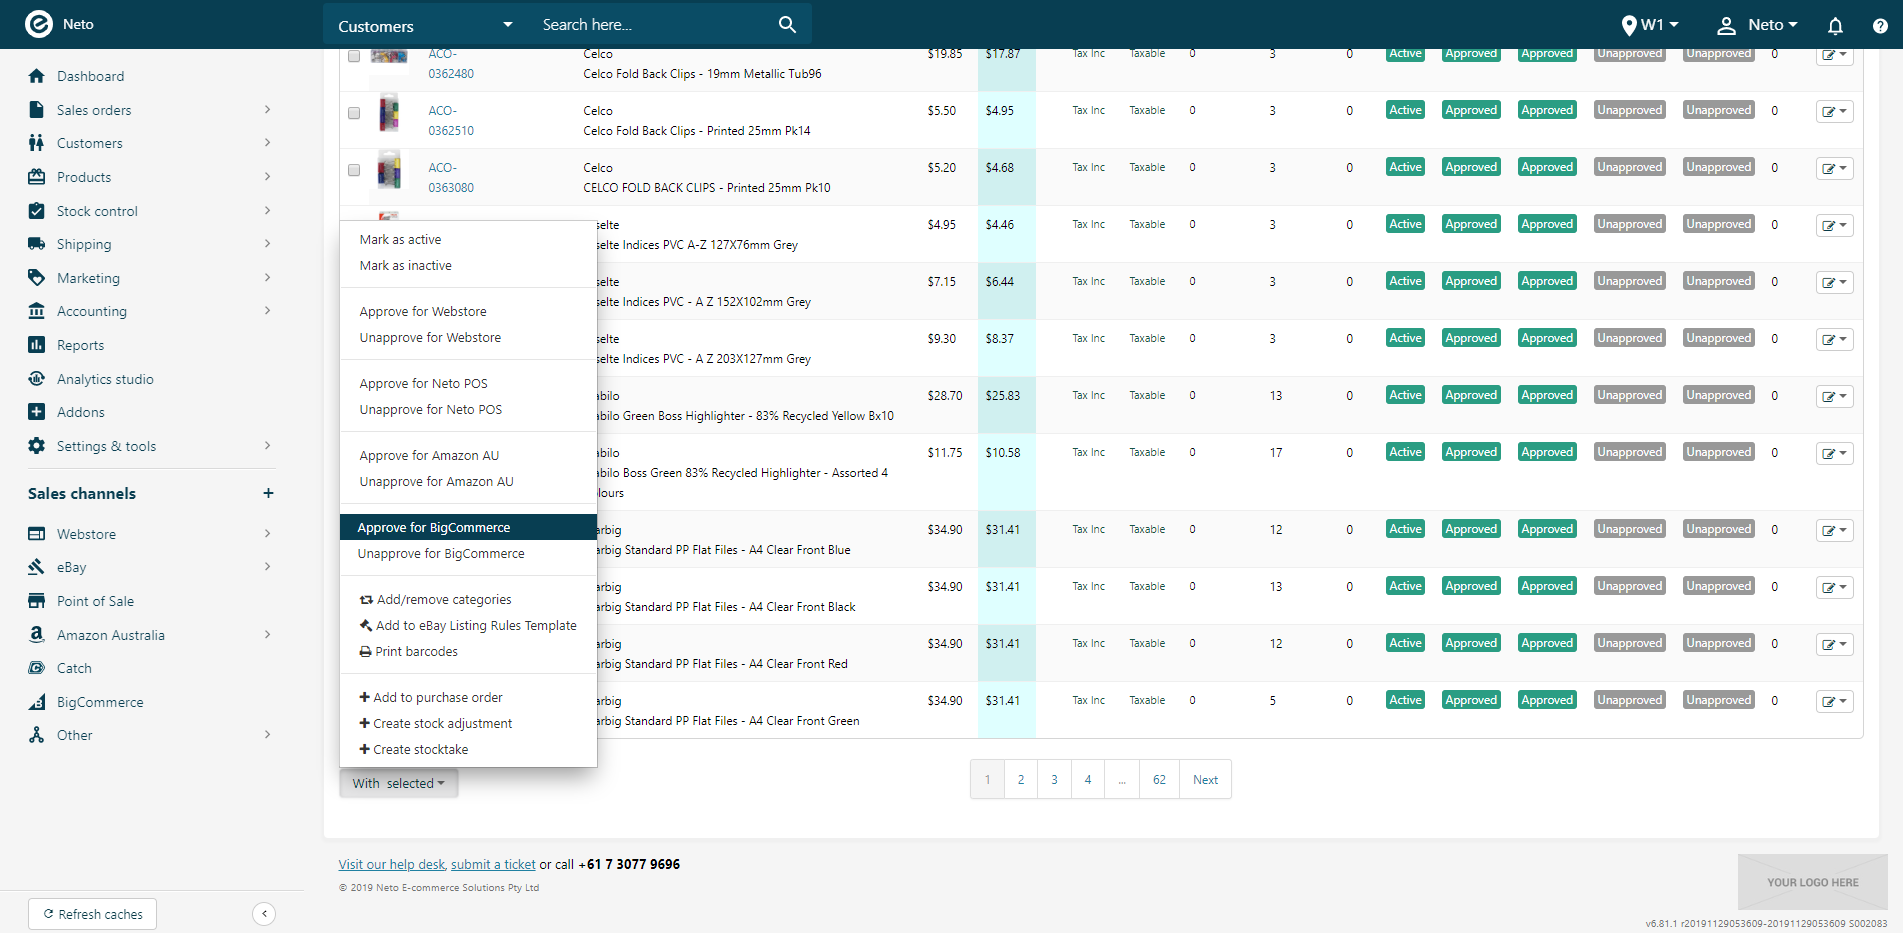
- Click the OK button in the confirmation.
- Repeat the process for each group of products to approve.
Import Wizard
The import wizard can be used to update the Approved for BigCommerce field for every product at the same time. It's easiest to generate a list of product SKUs that you want approved first. You can do this one of two ways:
The method you use depends on your own situation. If you have products in Neto that aren't in BigCommerce that you want exported, create the list from Neto. If you don't want them in BigCommerce, generate the file in BigCommerce. In both instances you only need the SKU of the products. Once you have your file:
- In your Neto control panel navigate Settings & Tools > Import Data.
- Click the Perform complex import button and select Start Data Import Wizard from the Pop-up menu.
- On the Upload File page, click the Browse button and locate the file to upload.
- Click the Continue to Next Step button.
The SKU field in Neto must be matched with the SKU field in BigCommerce.
- Select 'SKU*' from the Database Field Name field dropdown menu.
- Click the Add Extra Field button.
- Select 'Approved For BigCommerce' from the Database Field Name drop down menu.
- Change the Column name dropdown to 'Static Value' and a blank field will display beneath.
- Enter 'Y' in the blank field. This will hard code the approved field so that it's yes for all the products you import.
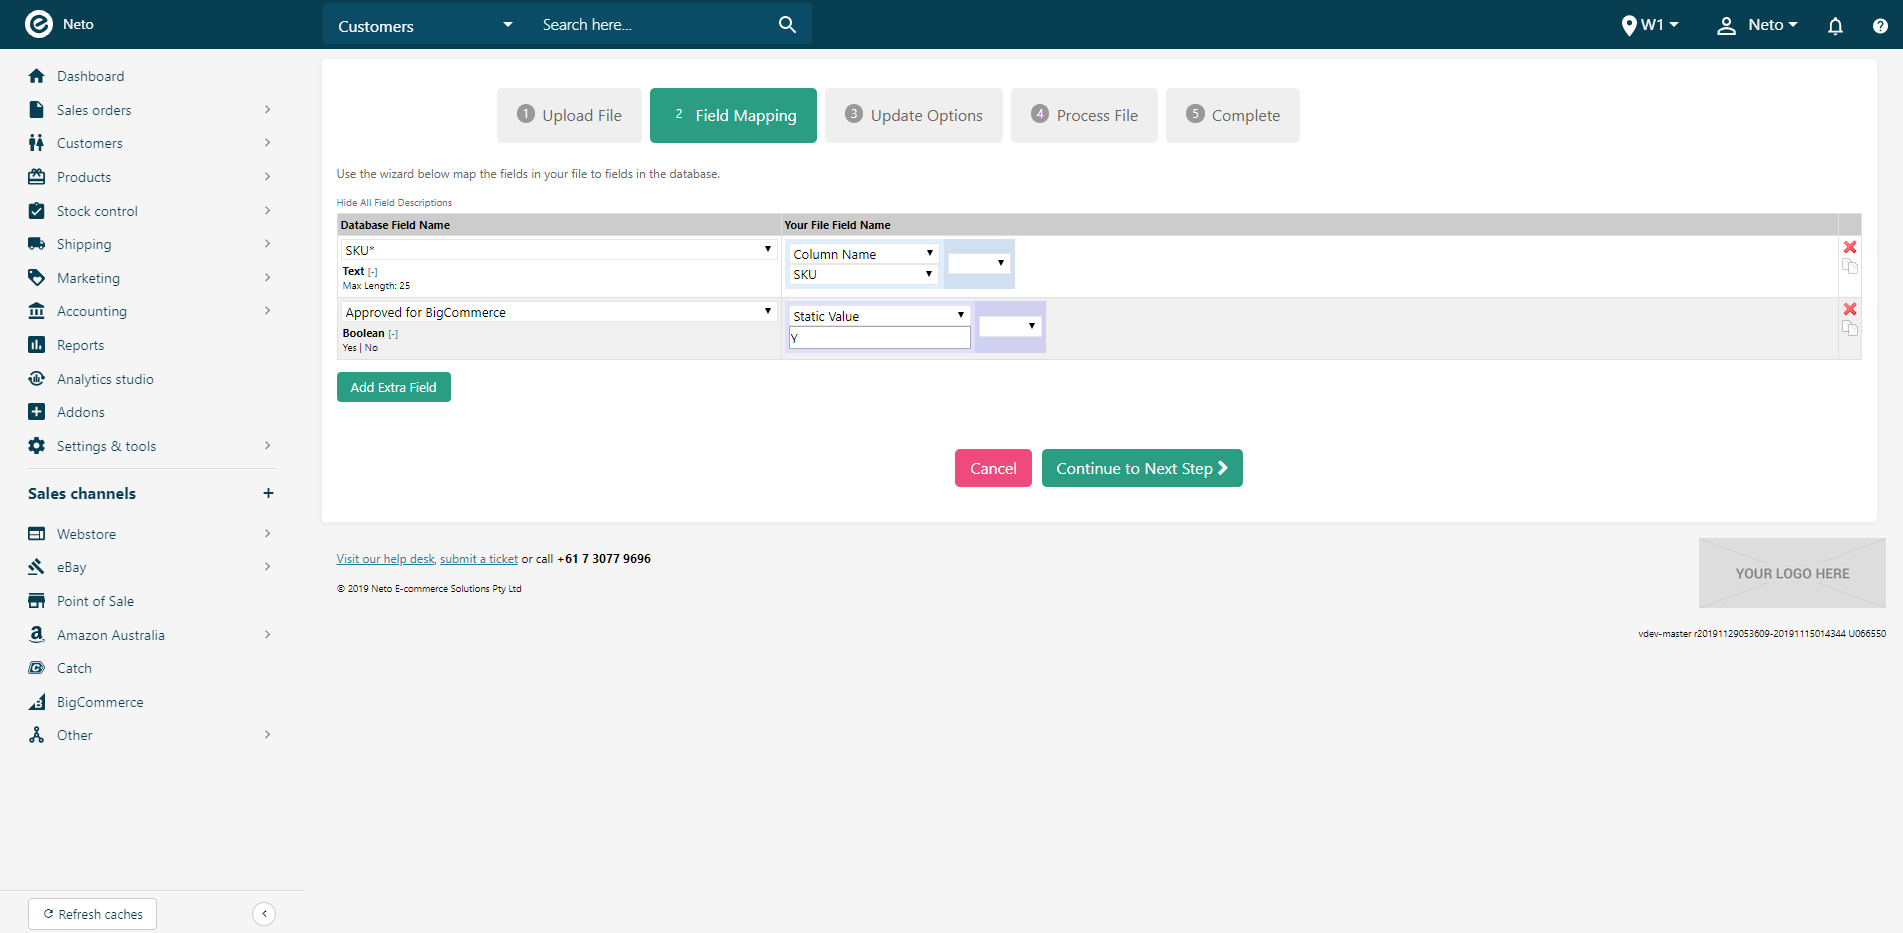
- Click the Continue to Next Step.
- Select Update Existing Products Only from the How Do You Want To update Your Database drop down box.
- Click the Continue to Next Step button.
- Click the Process File Now button.
Neto will start updating all the product SKUs as Approved For BigCommerce. Allow up to 10 minutes to complete the import process depending on the number of products you've imported.
Neto will now be able to update the prices and stock levels of your products on BigCommerce.
BigCommerce Parcel Tracking
Dispatched orders can send the consignment/tracking number back into BigCommerce, so your customers can track their order correctly. To display the correct carrier in the customer notification, you need to map the Neto shipping rates to the BigCommerce shipping method:
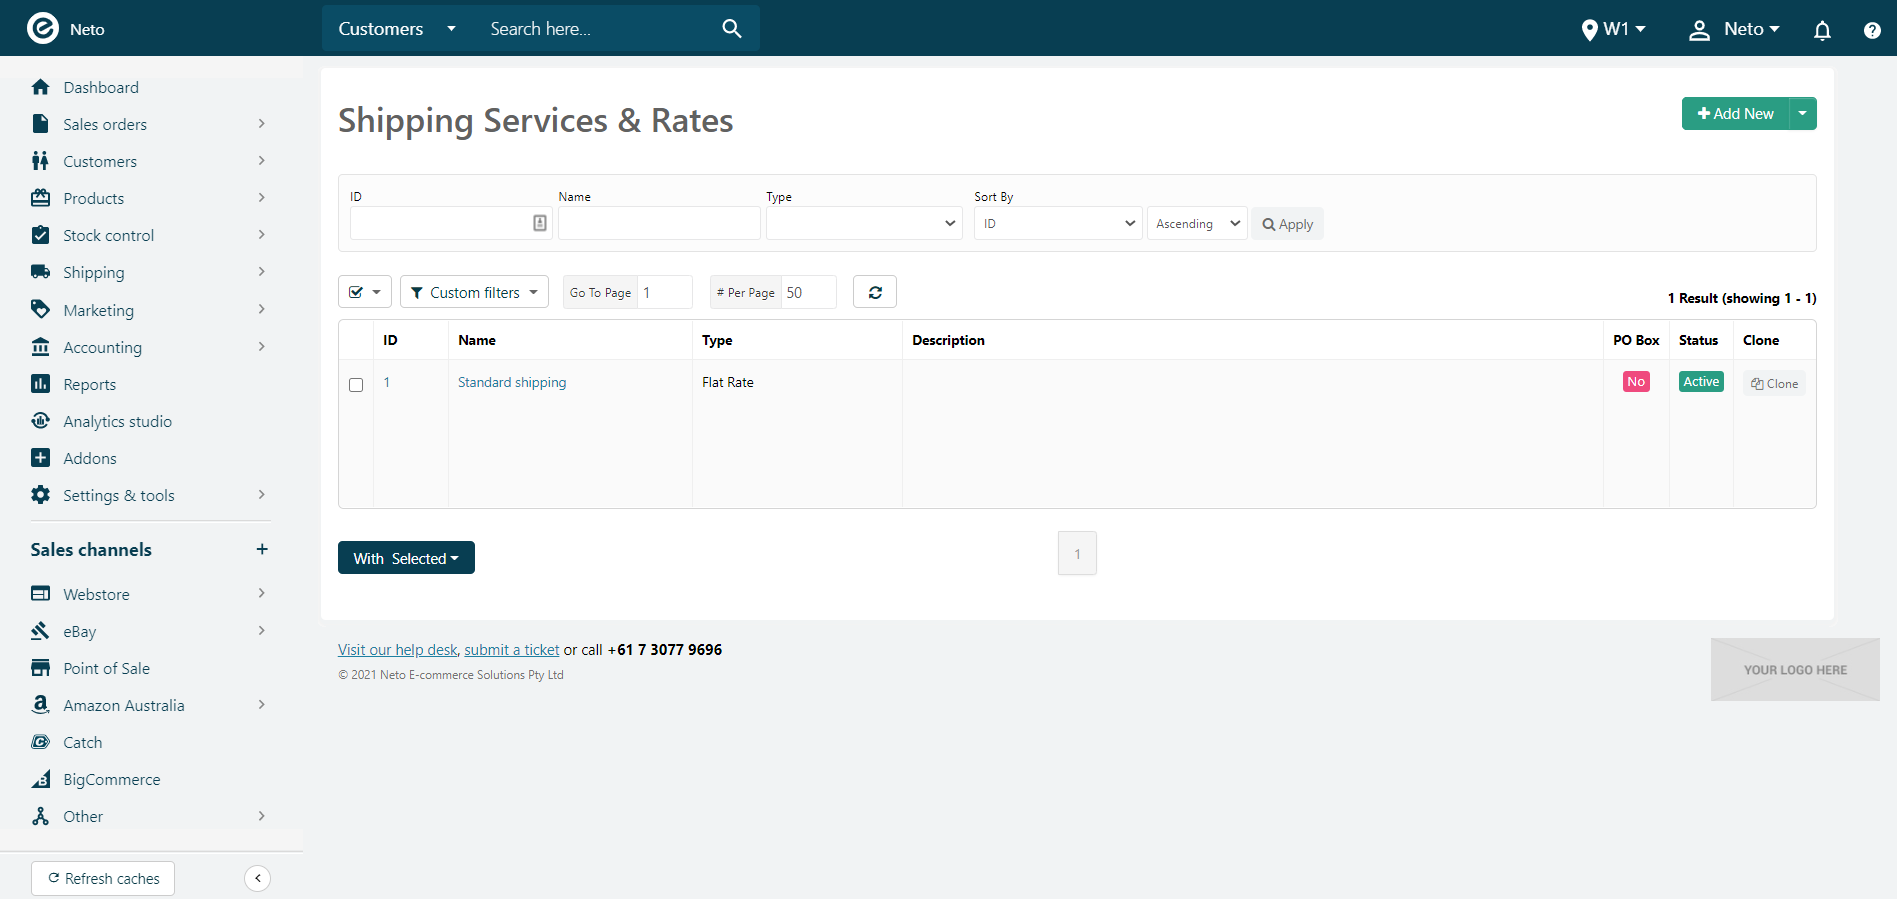
- In your Neto control panel navigate to Settings & tools > Shipping.
- Click on Shipping Services & Rates.
- Click on one of the shipping rates that you use for BigCommerce orders to edit its details.
- Scroll down to the Marketplace carrier mapping section. In the drop down menu, select the carrier that these rates apply to for BigCommerce.
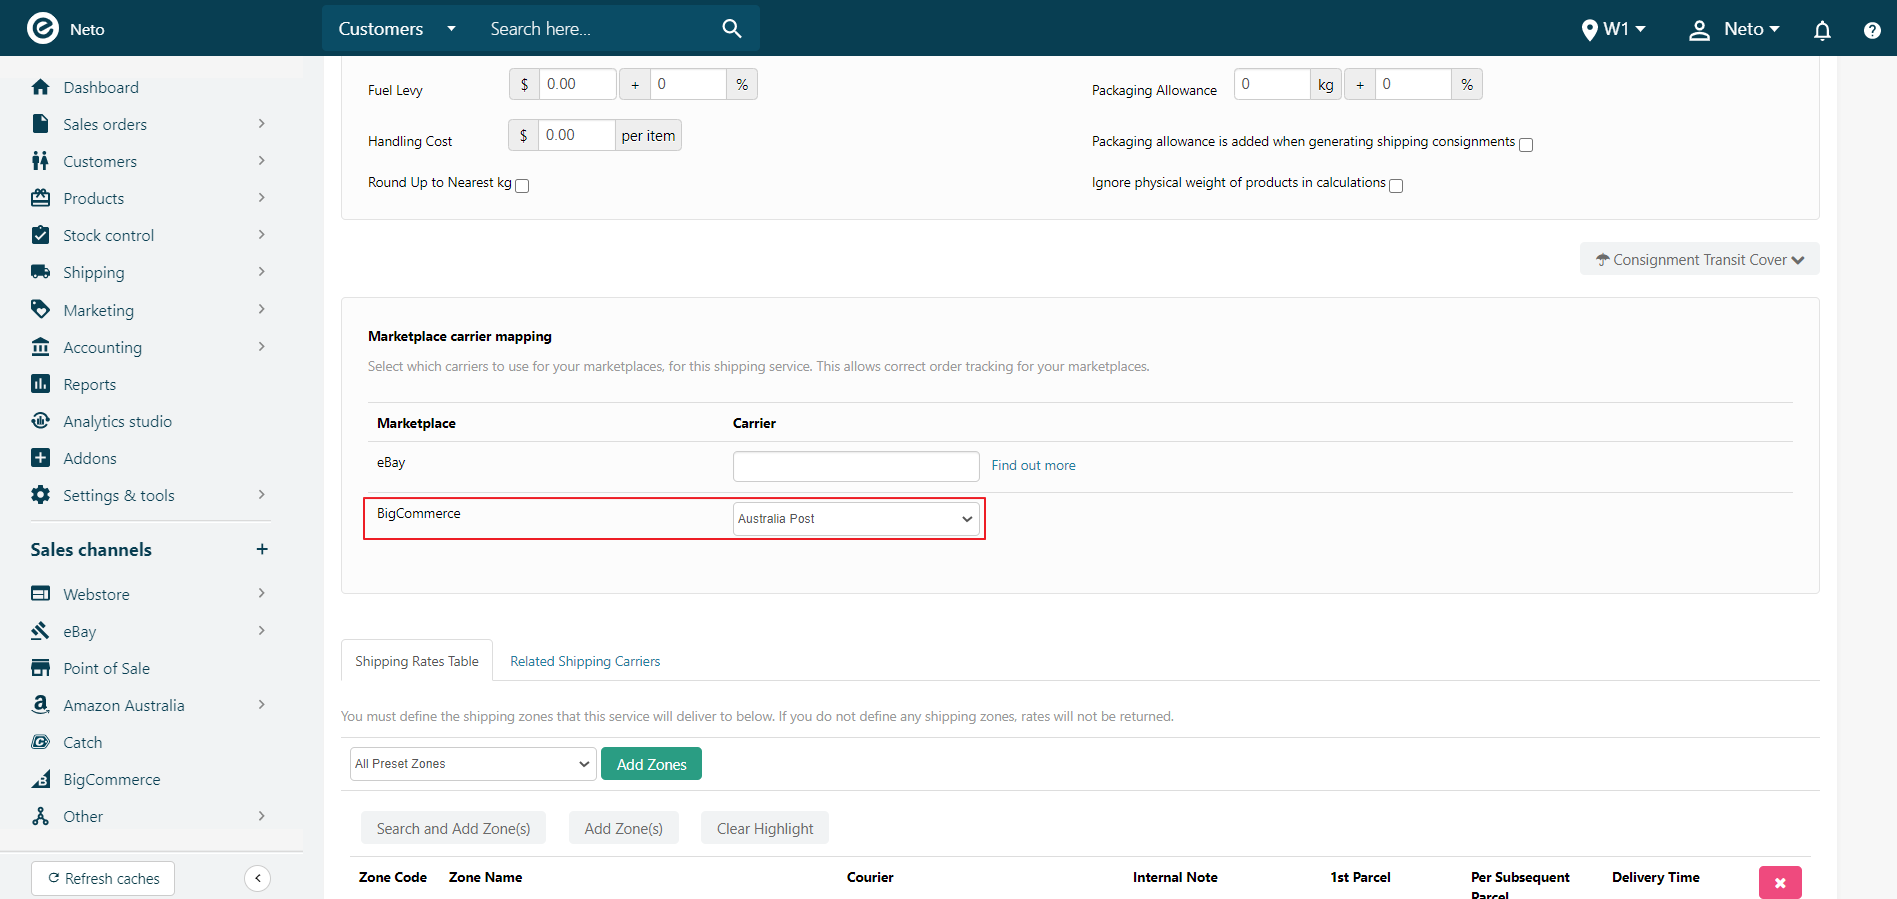
- Click the Save & Close button.
- Repeat these steps for any other rates you use for BigCommerce orders.