Please Note: Neto POS is not available outside of Australia and New Zealand.
Log into a POS Register
PC, Mac or Windows Surface
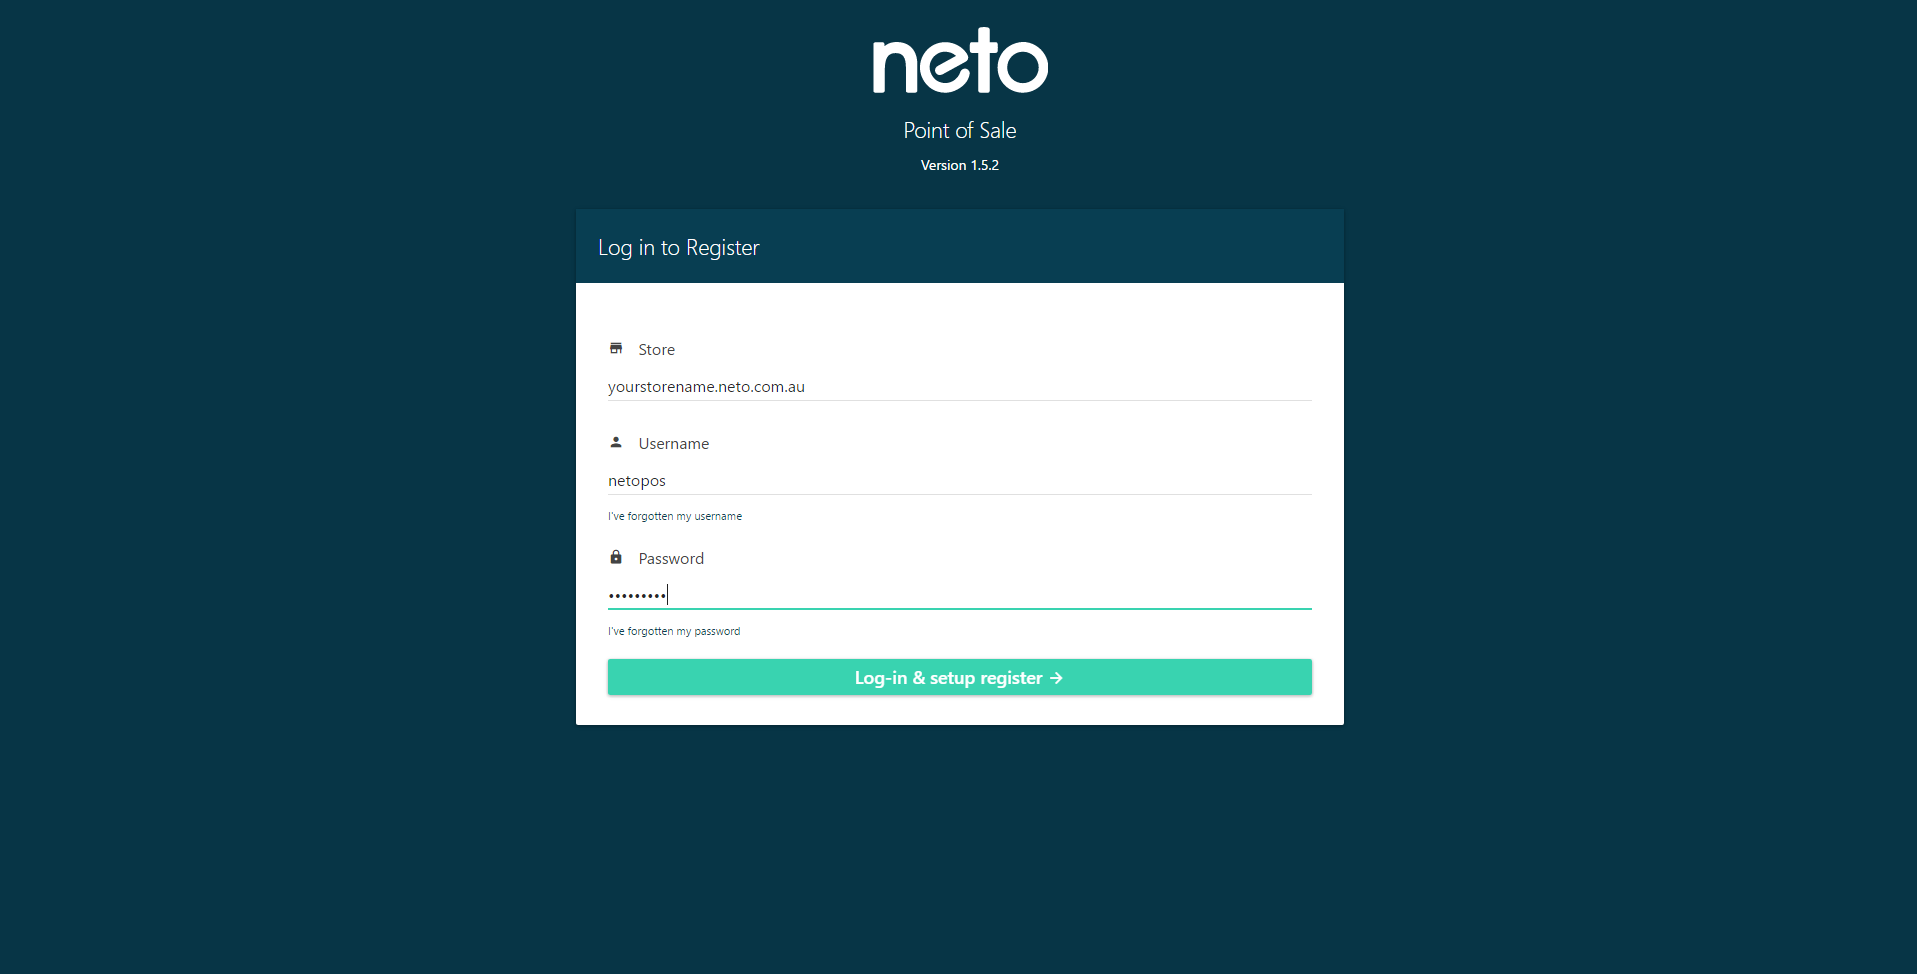
- Navigate to https://pos.neto.com.au in your web browser.
- Enter your login credentials when prompted.
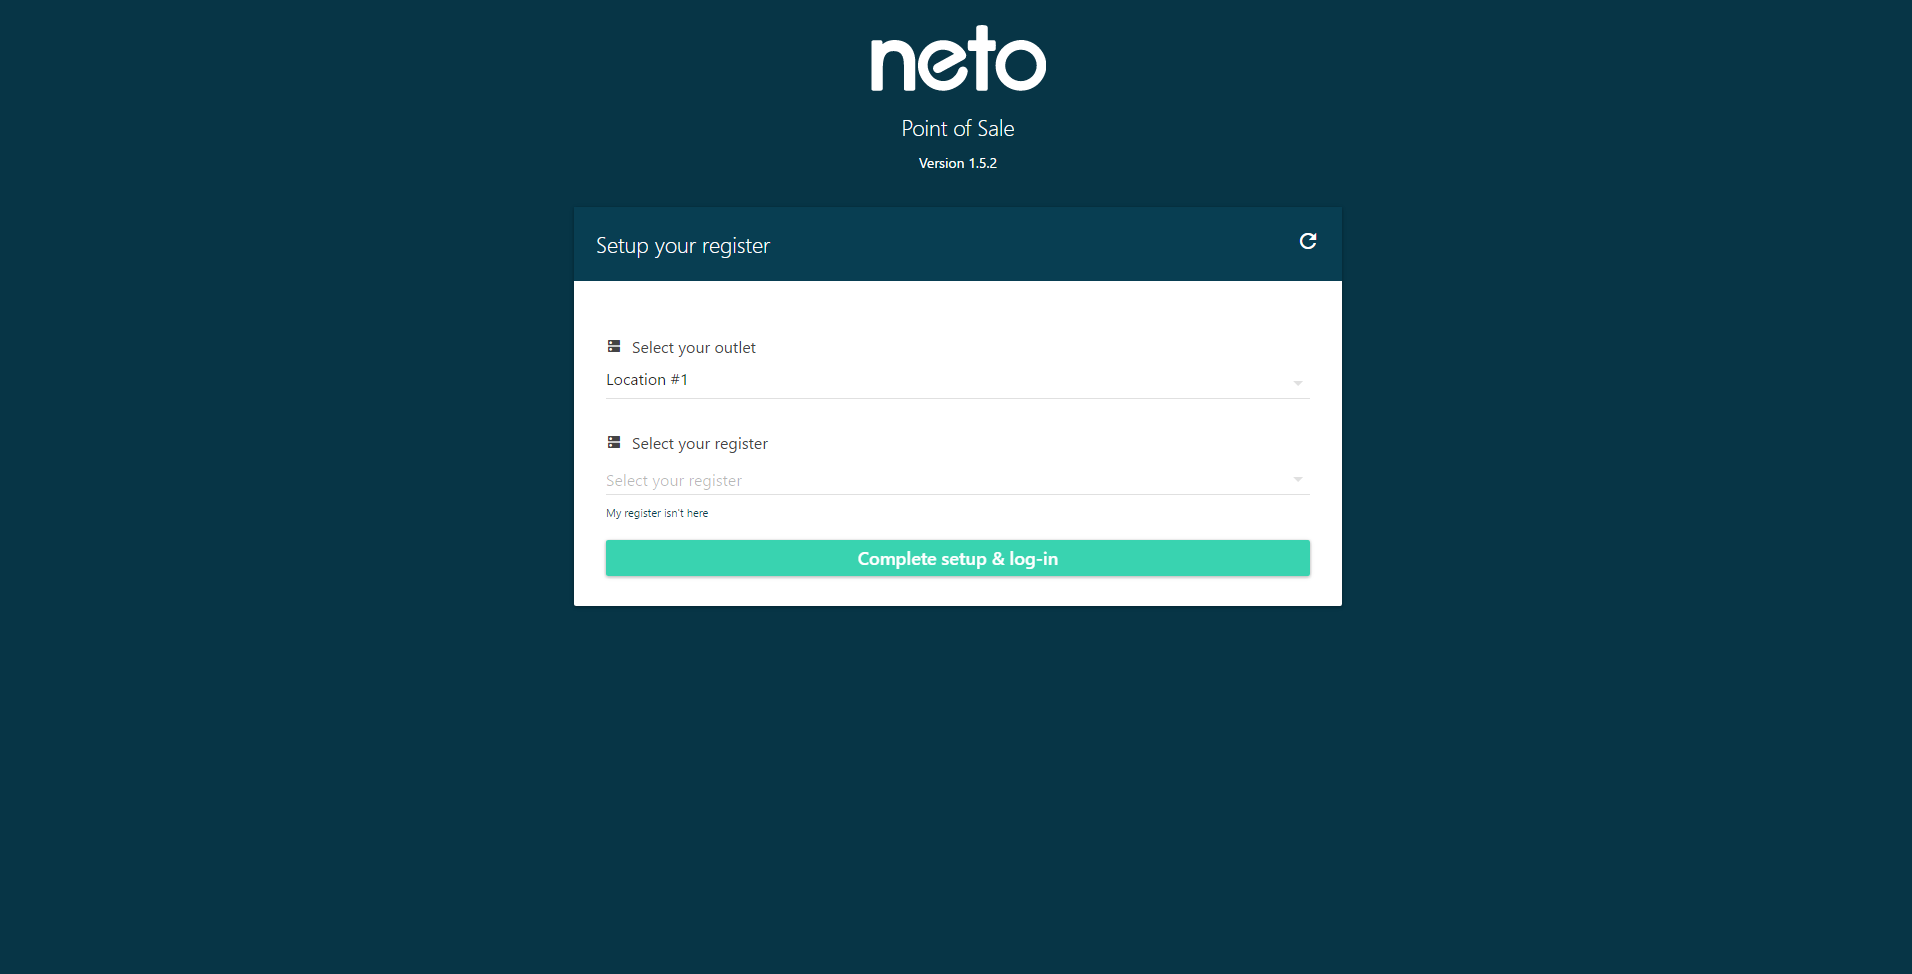
- Select your outlet and register and press Complete setup & log-in.
Apple iPad
- Open the Maropost POS app.
- Enter your login credentials when prompted.
Please Note: If you do not have the Maropost POS app installed, please navigate to the Apple App Store and search Maropost POS to install the free app.
Switch Between Staff Users
So that you can keep track of who made each sale, you can quickly switch between users in the middle of your transactions. Transactions will be recorded as being completed by the staff member logged in when the transaction is finalised. The staff member who completes the transaction will be visible in your Neto control panel and also on any receipts that are printed from your register.
To switch between staff users:
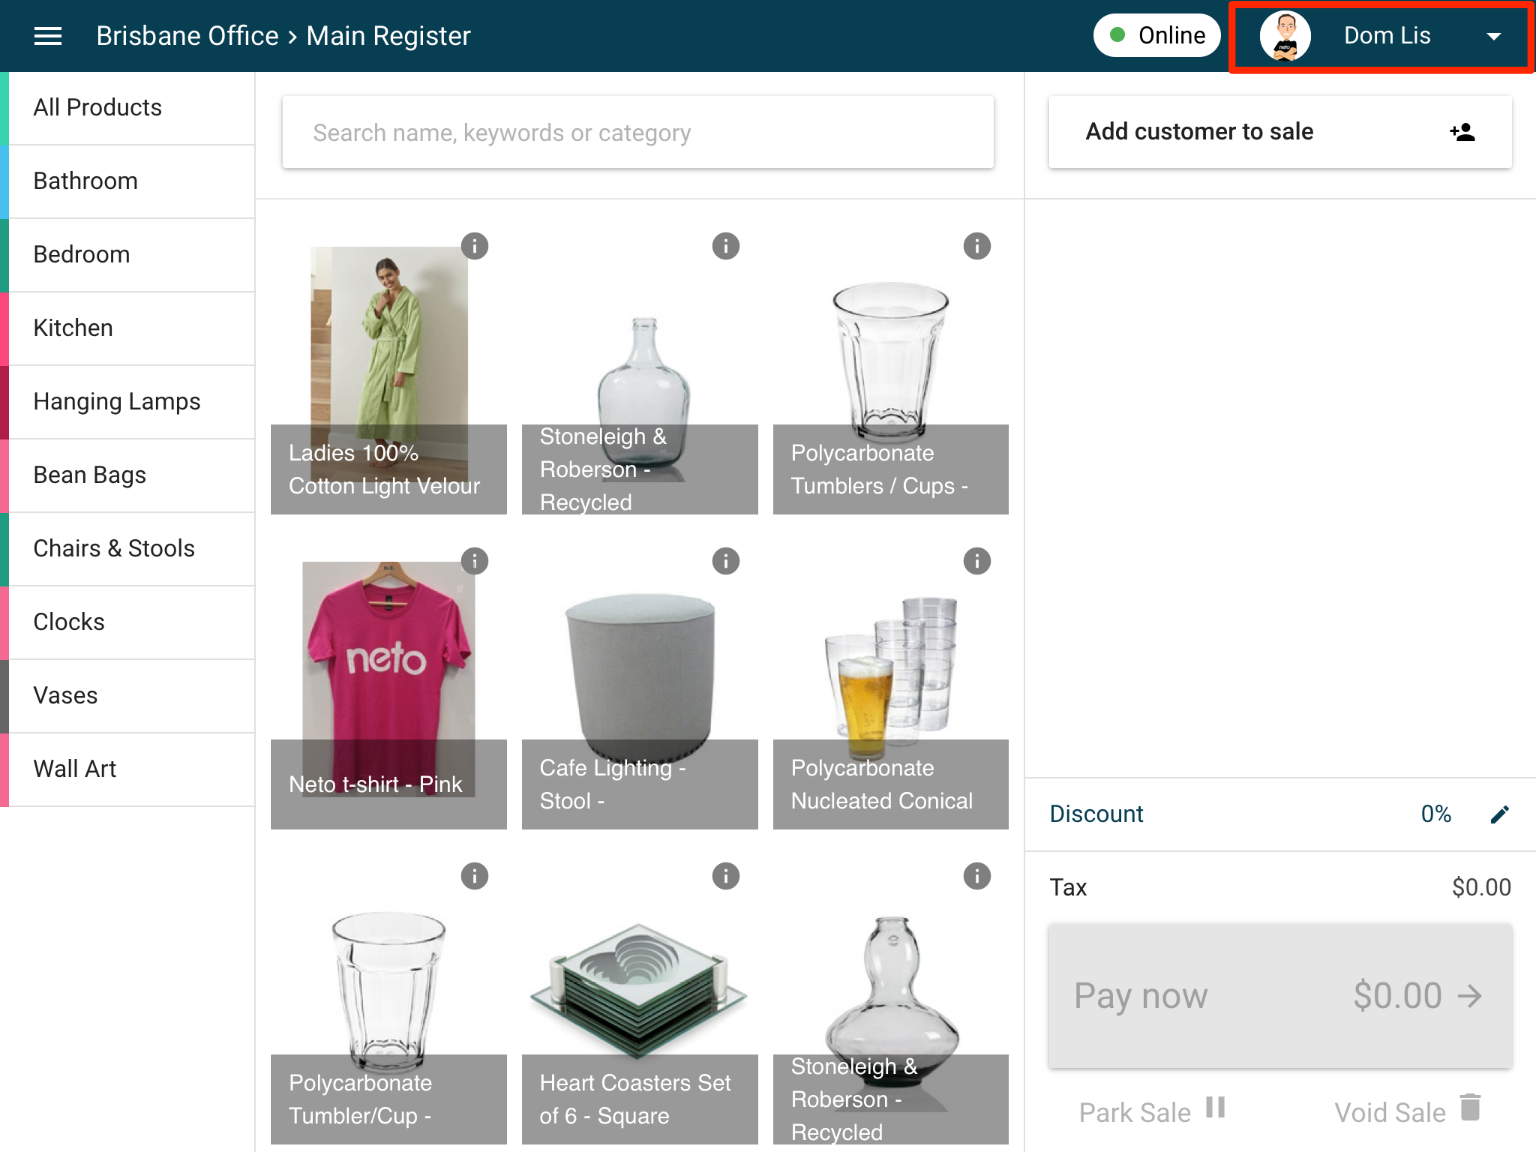
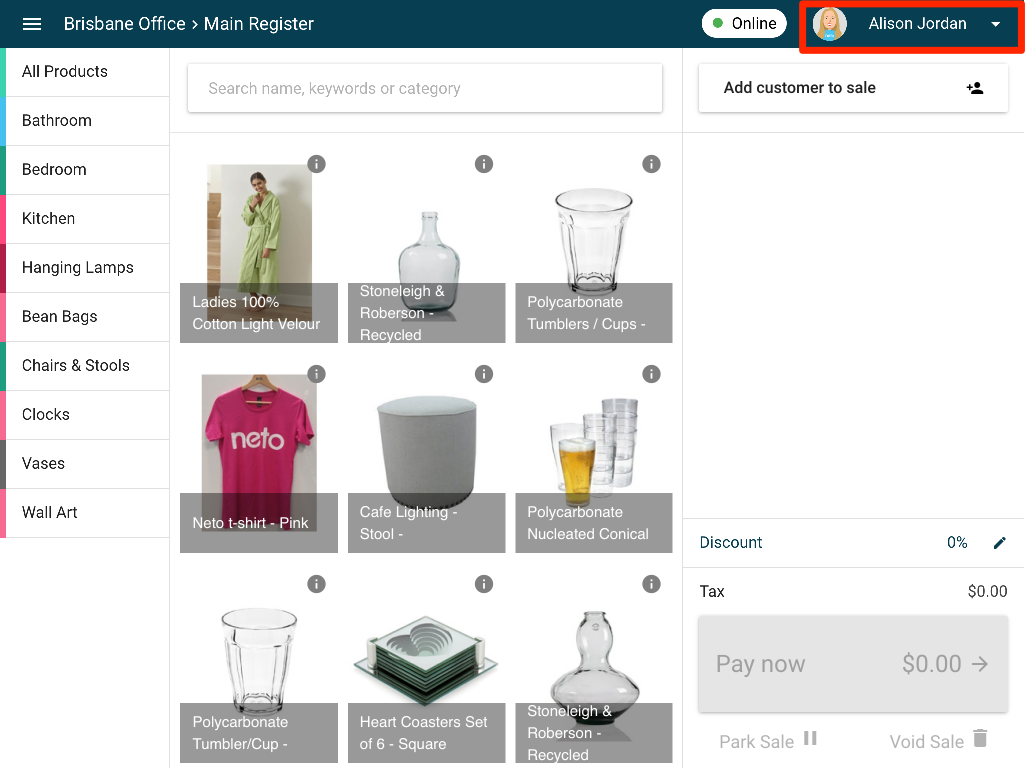
- Click / touch the active user at the top right of screen.
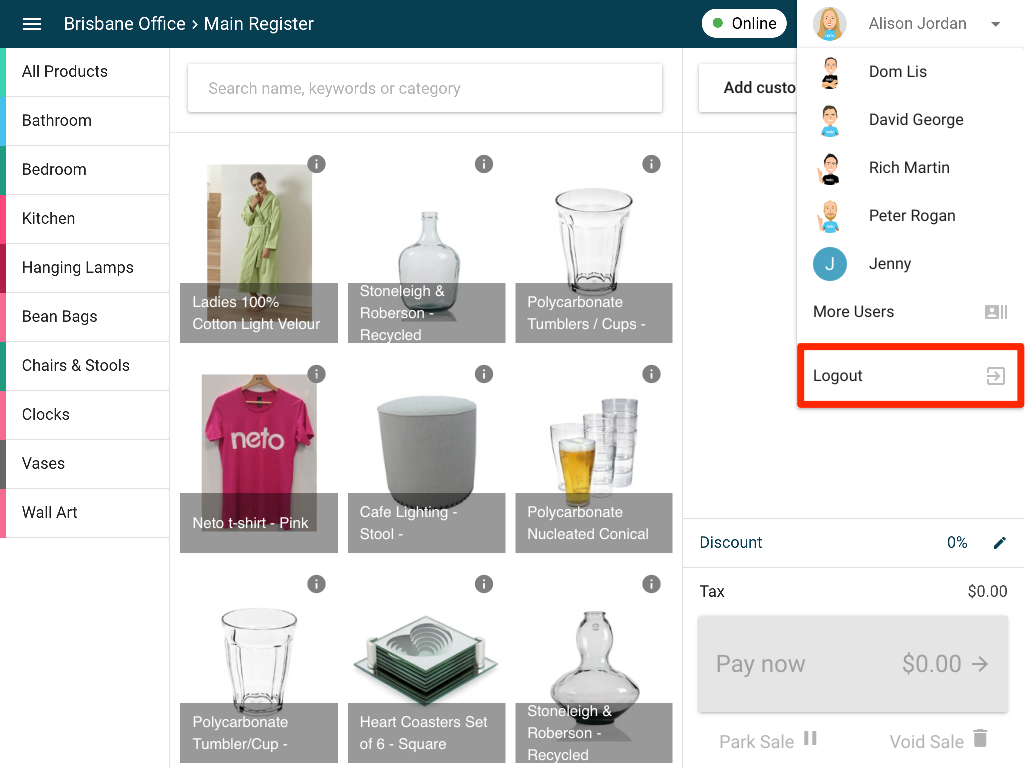
- Select the user you want to switch to (if your user is not visible, click More Users).
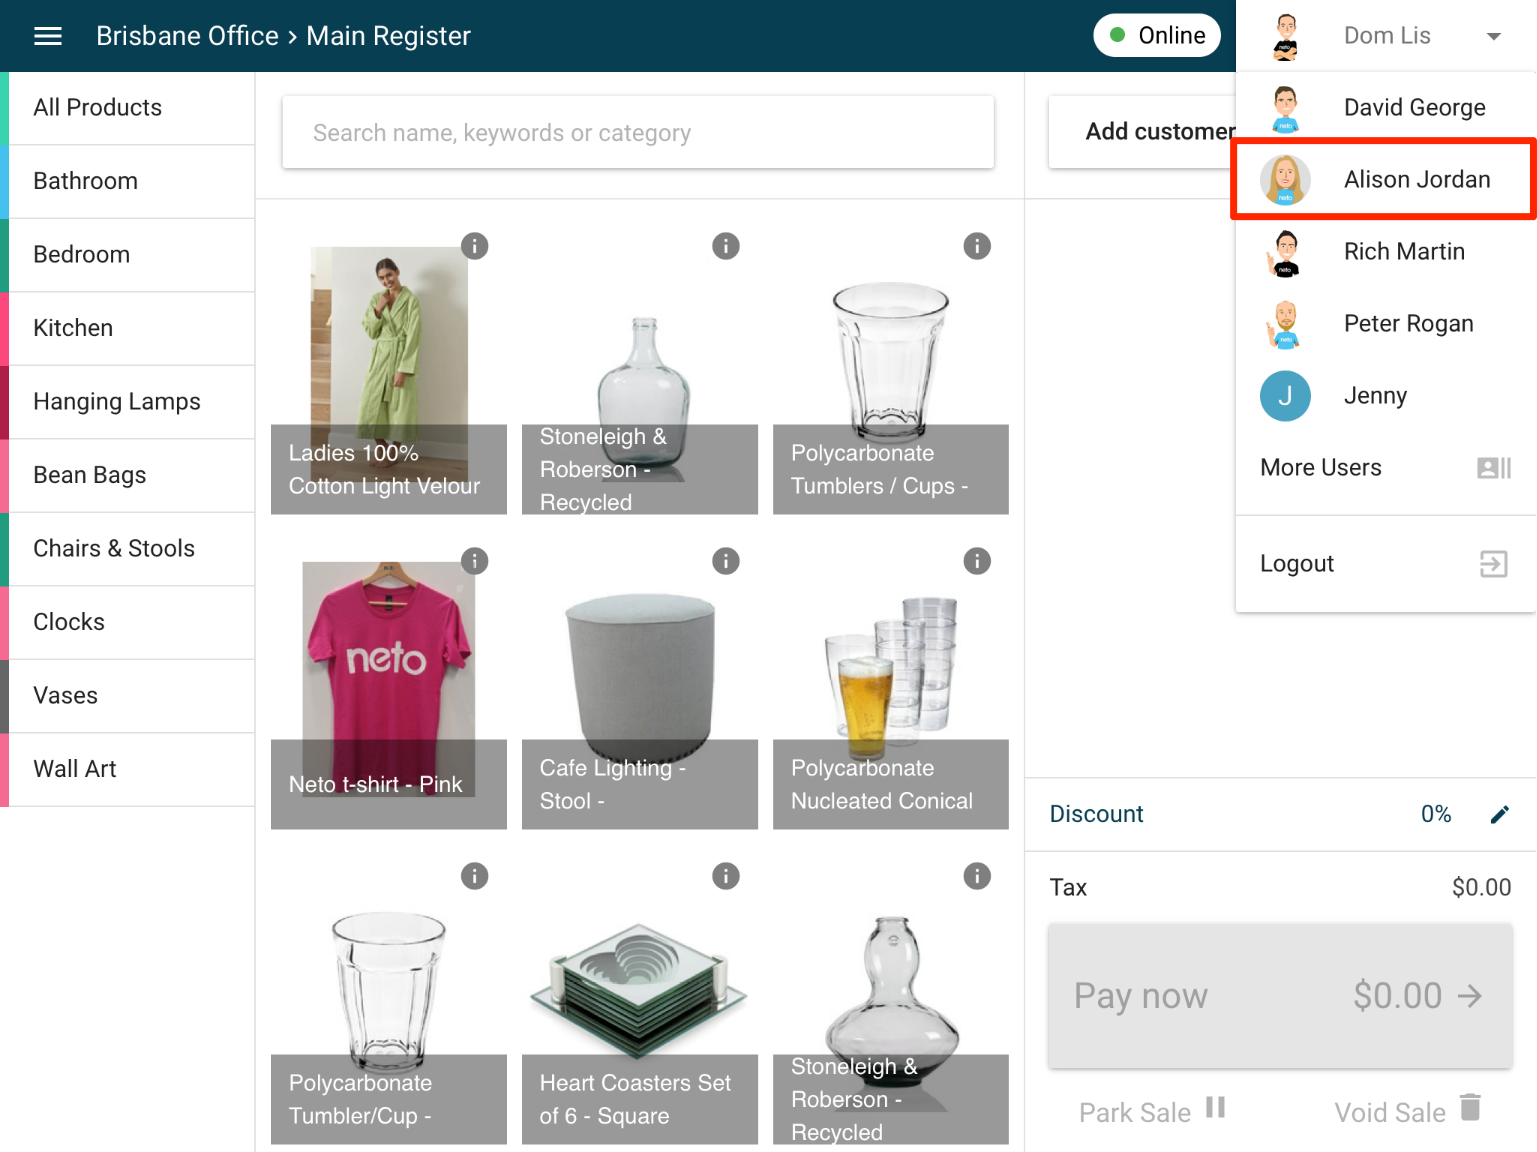
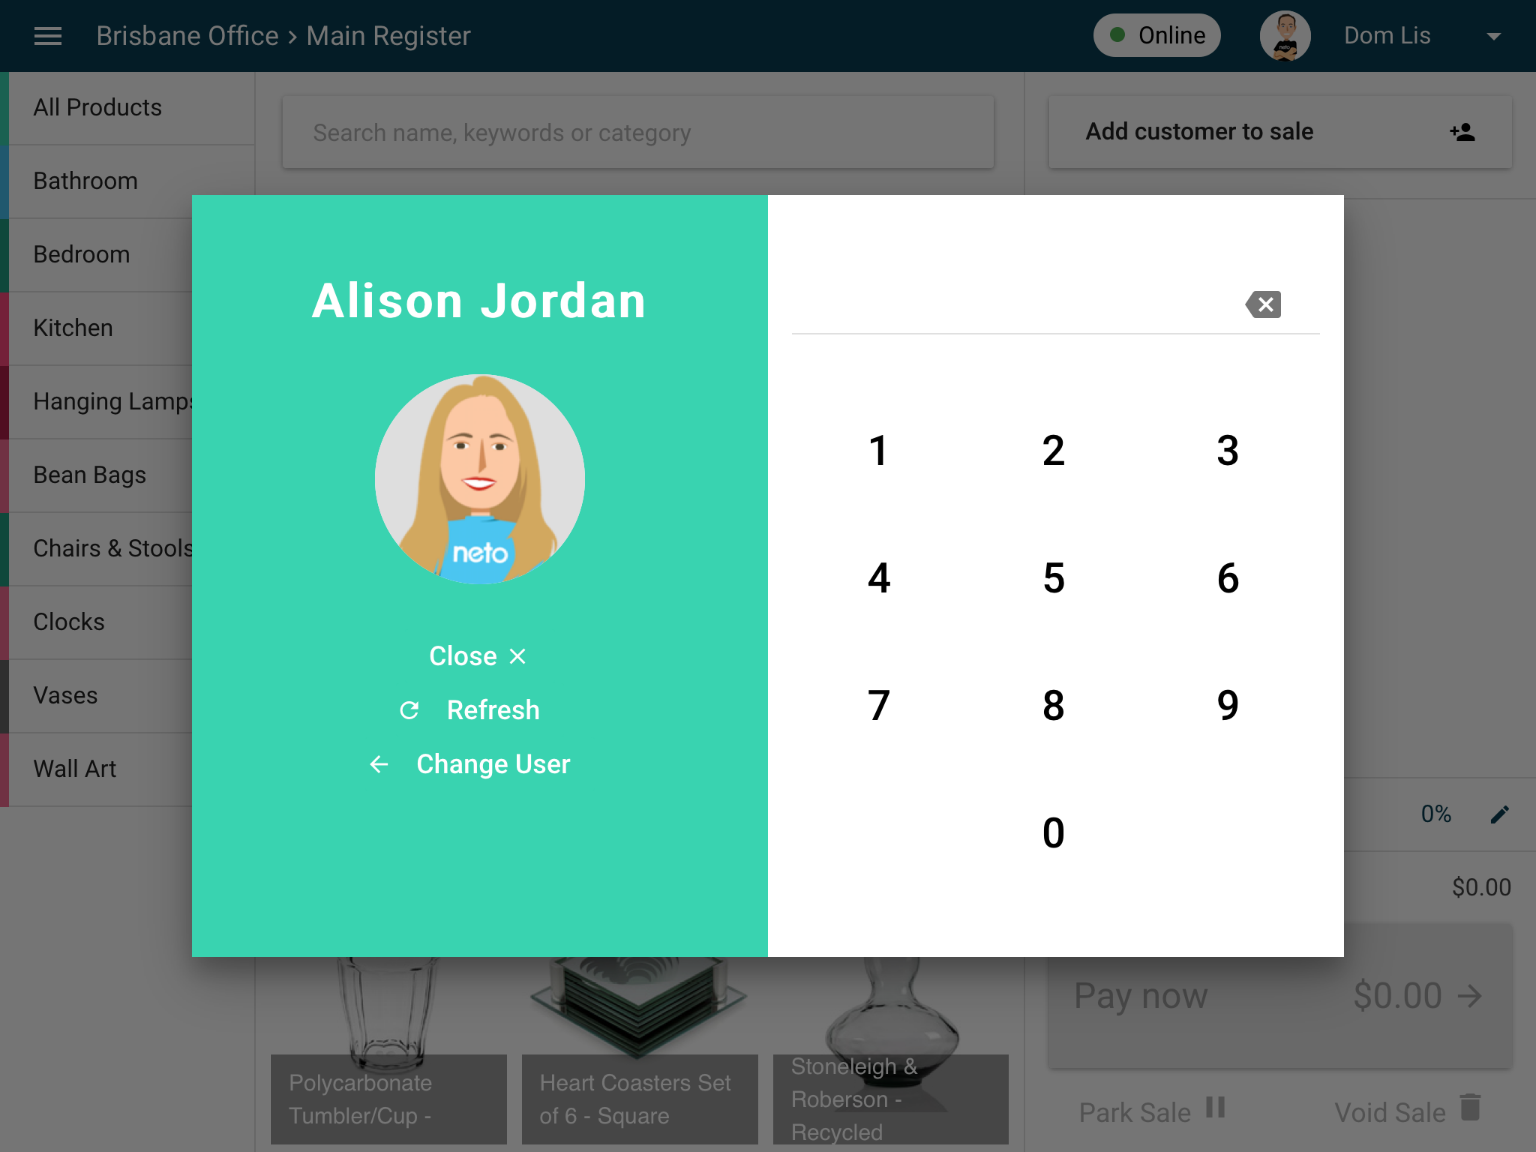
- If you have a PIN code set (completely optional), you will need to enter your PIN to login.
Rather than leaving your register logged in, you might prefer to log out. This can be useful if you are leaving the register idle for more than a few minutes at a time.
To logout of the POS register:
- Tap or click on the active user at the top right of screen.
- Tap or click on the logout button.
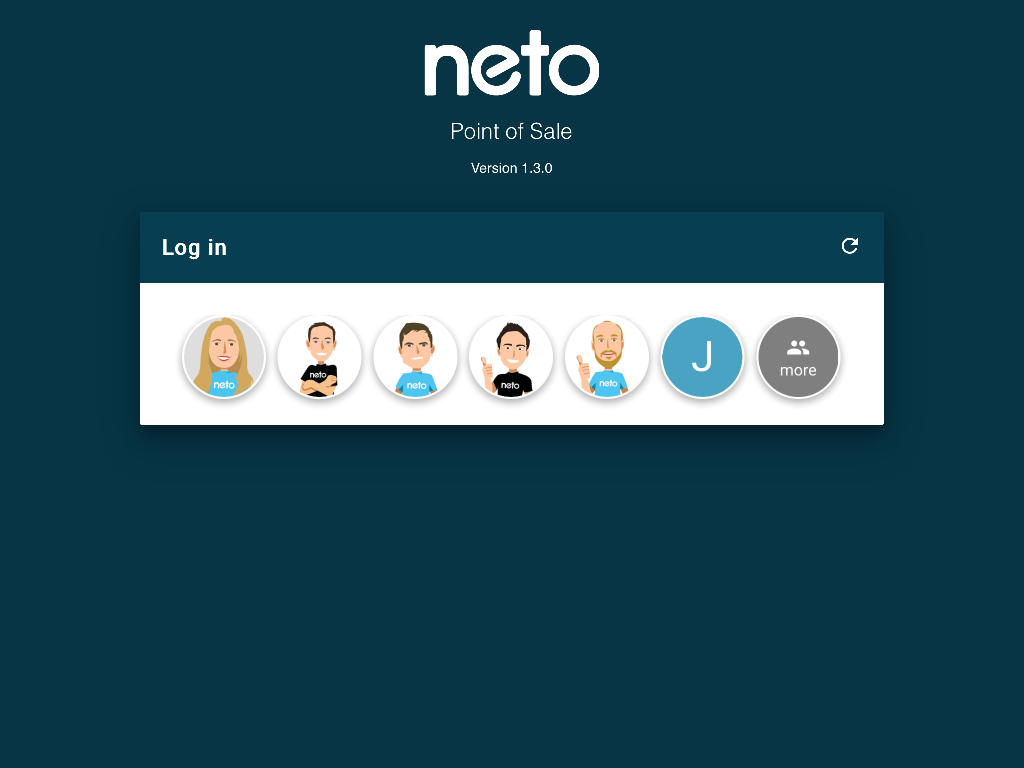
- You are now on the log in screen, ready to log back in for your next transaction.
Automatic Logout
You can also set your register to automatically return to the login screen after a specified time of inactivity. This can be a useful security precaution. You can customise how long before a user is logged out from the register configuration in your Neto control panel. To set the timeout on a register:
- In your Neto control panel, navigate to Point of Sale > Manage Registers.
- Select the register you want to customise.
- Adjust the register timeout.
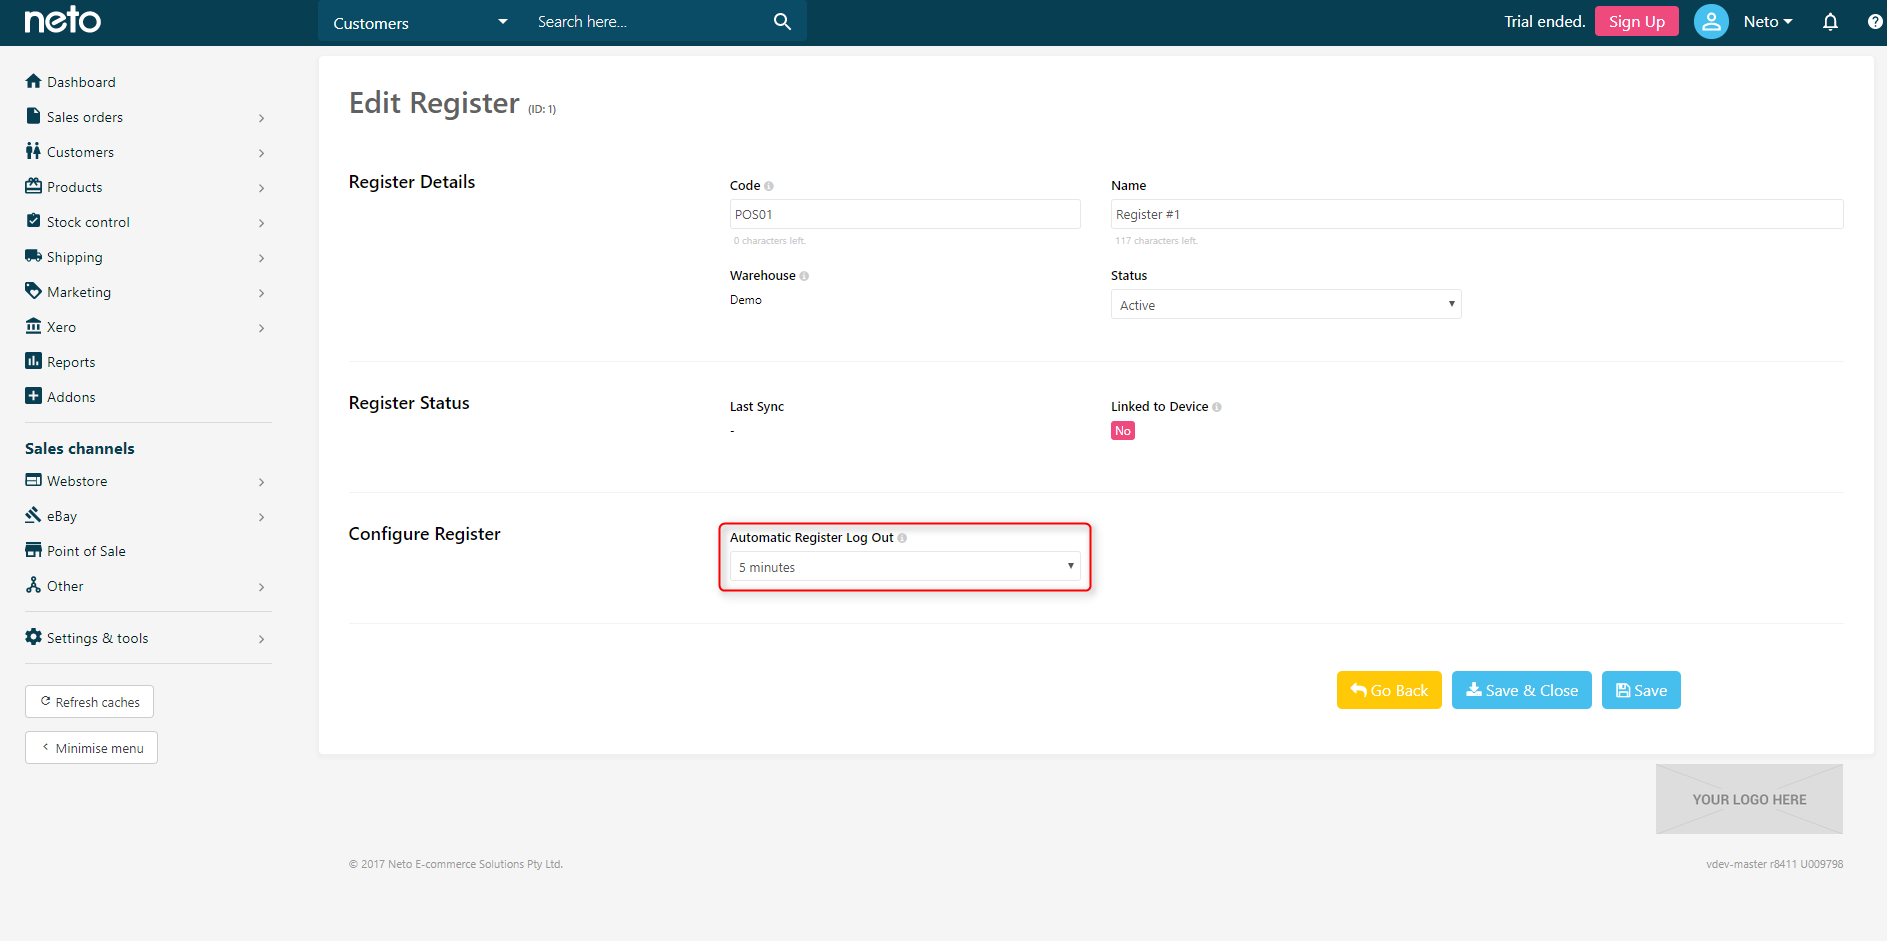
- Click Save.
- Synchronise your register.
Navigate Categories
Organise your inventory into an easy to navigate catalogue. Create and assign products to multiple product categories in your Neto control panel.
Your top level categories will be listed along the side of your register. Simply tap on one of the categories to start navigating through the hierarchy.
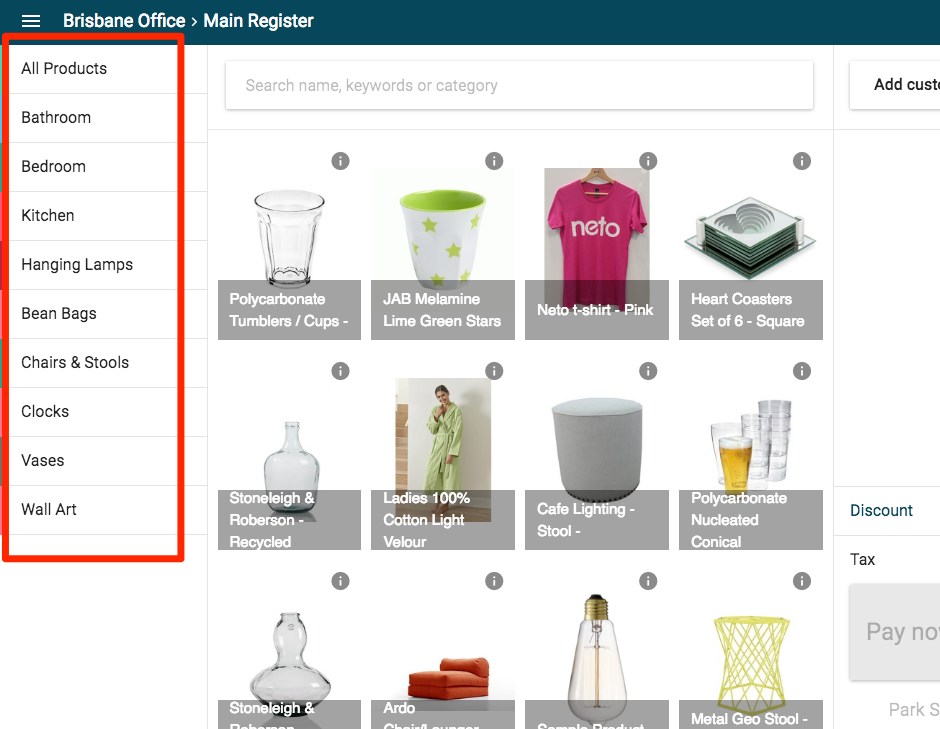
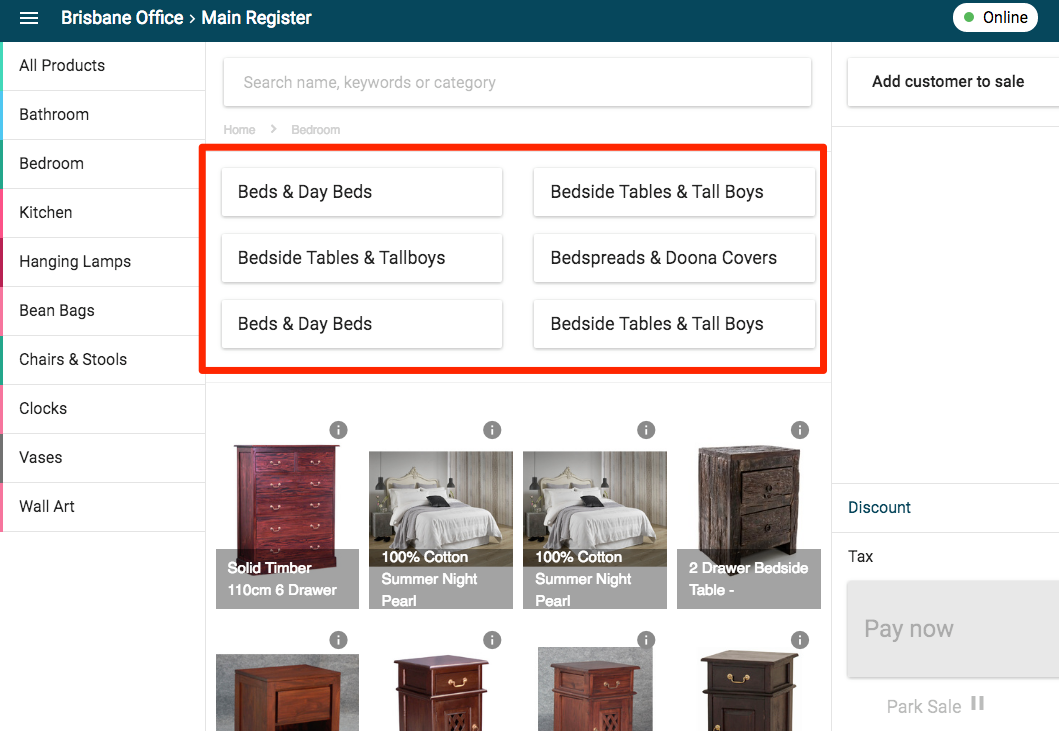
Once you select into a top level category, you can continue to click or tap through sub categories. All products within a category will be displayed below the category list. Simply click or tap on a product thumbnail to add it to the current sale.
To see all of your products again, simply click or tap on the All Products button at the top of the category list.
View Product Stock Levels
An active Internet connection is required on all POS terminals to view stock levels.
- Click/tap the Information icon in the top right-hand corner of the product tile.

A pop-up window for the product displays.
The pop-up window for the selected product displays different product variations, along with stock available, and any incoming stock you're expecting to receive.
The following table outlines the columns displayed within the pop-up window and the information displayed within them.
Column | Description |
|---|
Name / SKU | The name of the product or variation along with its SKU (Stock Keeping Unit). |
Colour / Size | If a product is a variation product, the various specifics will be displayed as columns along with the values of each specific. |
Stock on hand | The amount of stock currently on hand at the specified location. |
Incoming QTY | The total stock amounts that have been ordered from a supplier but not yet received.
This information is drawn from purchase orders created in Neto Commerce Inventory. |
Stock arrival | The date(s) expected to receive additional stock at the location.
This information is available only when drawing from purchase orders created in Neto Commerce Inventory. |
Location | The location (warehouse / outlet) which the stock relates to.
By default, stock information for all locations is displayed. This can be filtered to a specific location using the Location dropdown at the top of the pop-up window. |
Please Note: Incoming Quantity and Stock arrivals are not viewable when Neto Commerce Inventory is not installed. This is due to information which is captured on the Product page from the Maropost POS Home page is not segmented by location. Neto Commerce Inventory, however captures the warehouse where the stock is incoming.
View Transaction Details
Maropost POS records extra details about transactions which you might find helpful in the event of a chargeback.
Please Note: Refund details can only be accessed from your Neto control panel once transactions have synchronised.
Payments
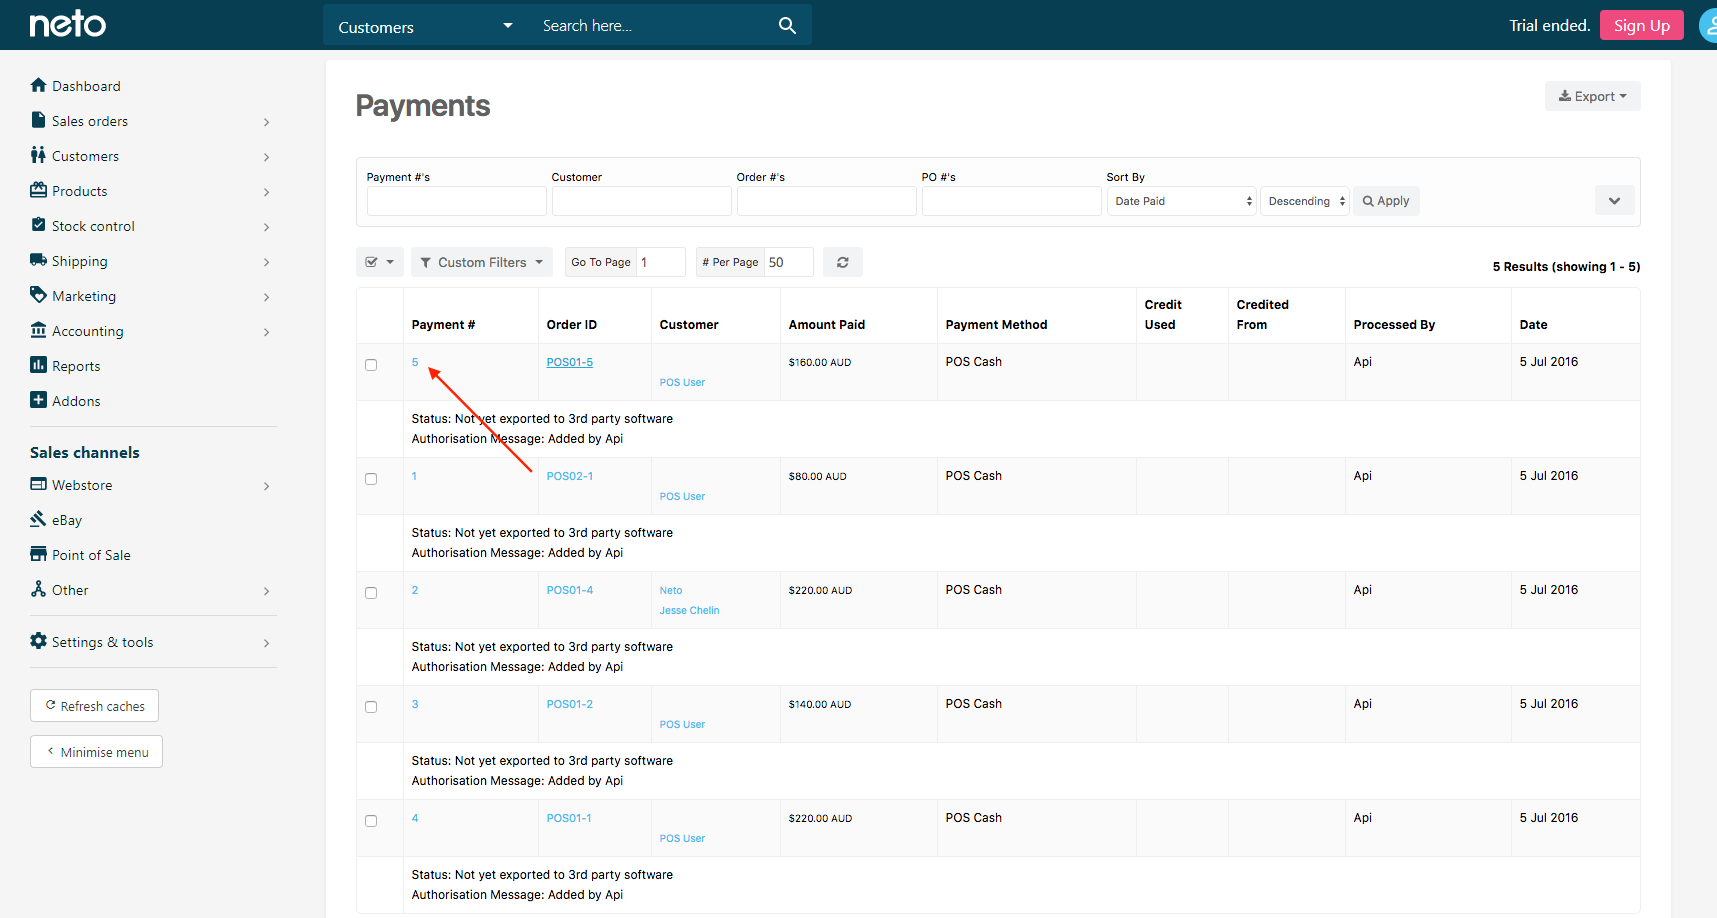
To view details about payments:
- In your Neto control panel navigate to Sales Orders > View payments.
- Search for the payment you want to view more details about.
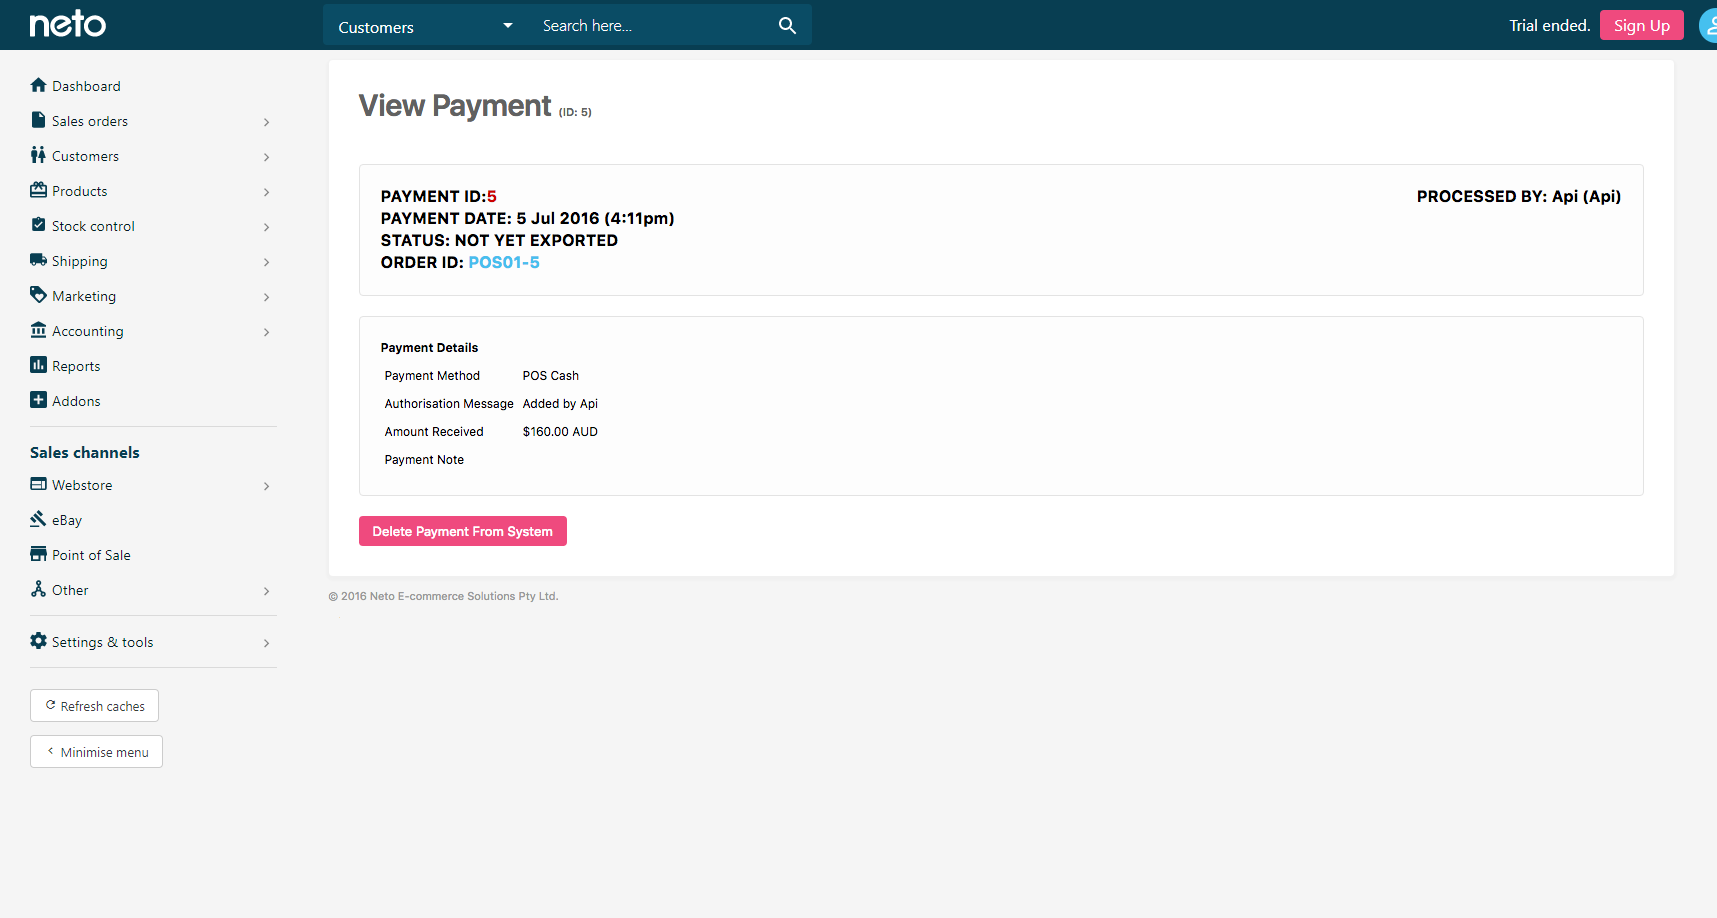
- Click on the Payment # to drill into the payment to view more details.
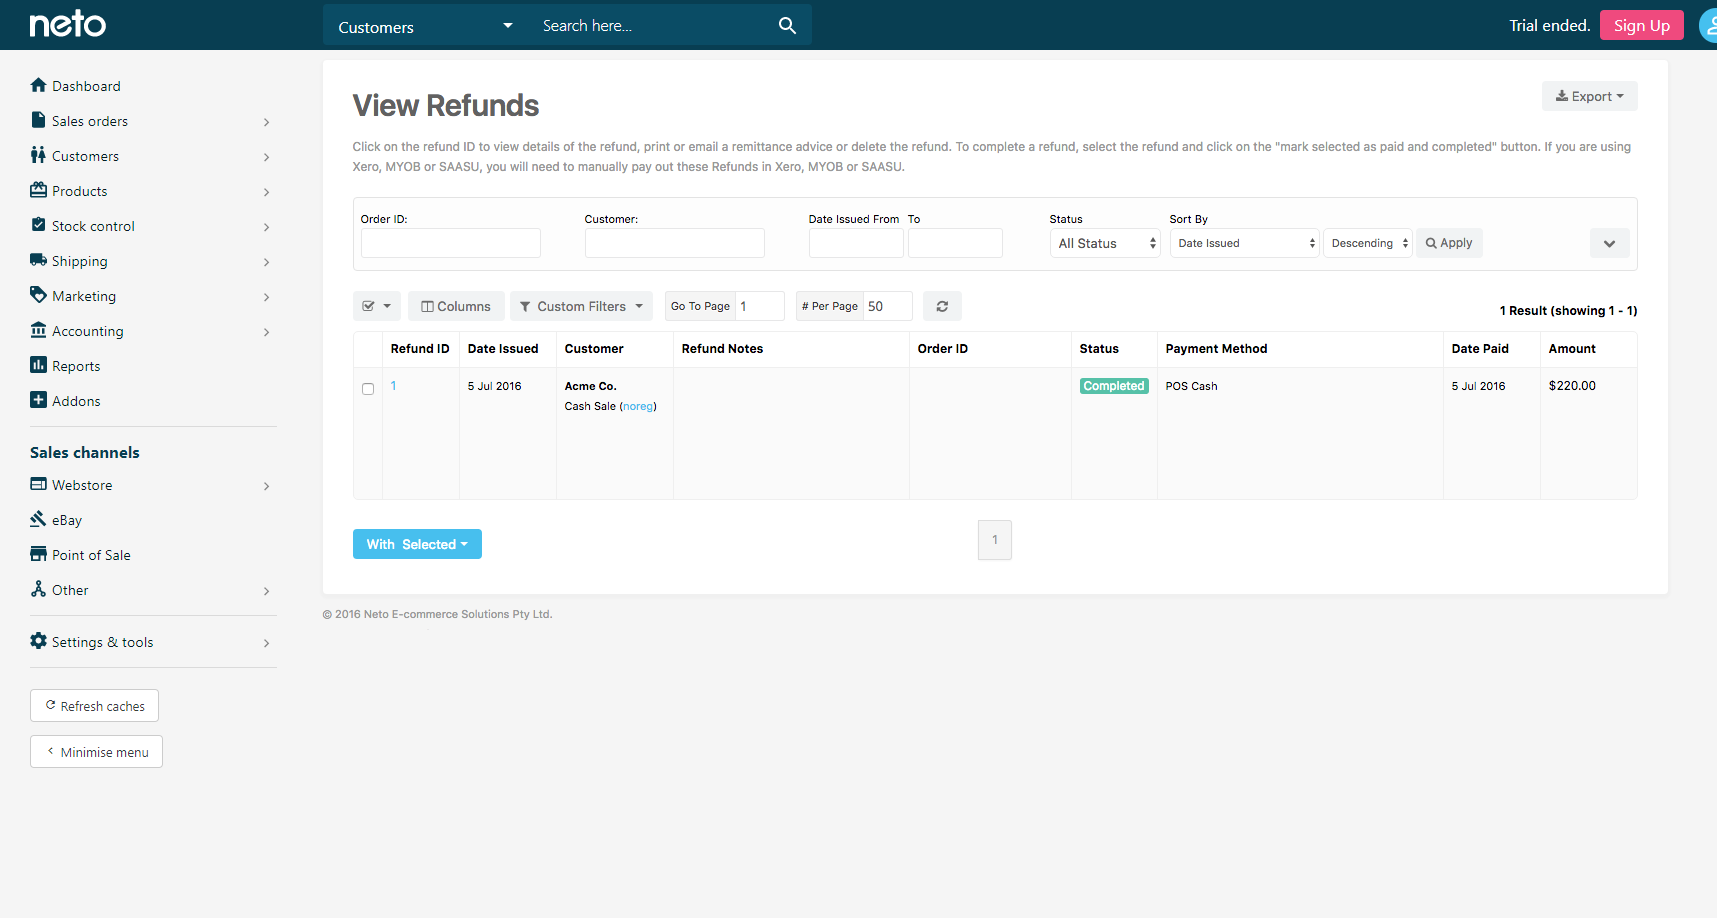
Refunds
To view details about refunds:
- In your Neto control panel navigate to Sales Orders > Refunds.
- Search for the refund you want to view more details about.
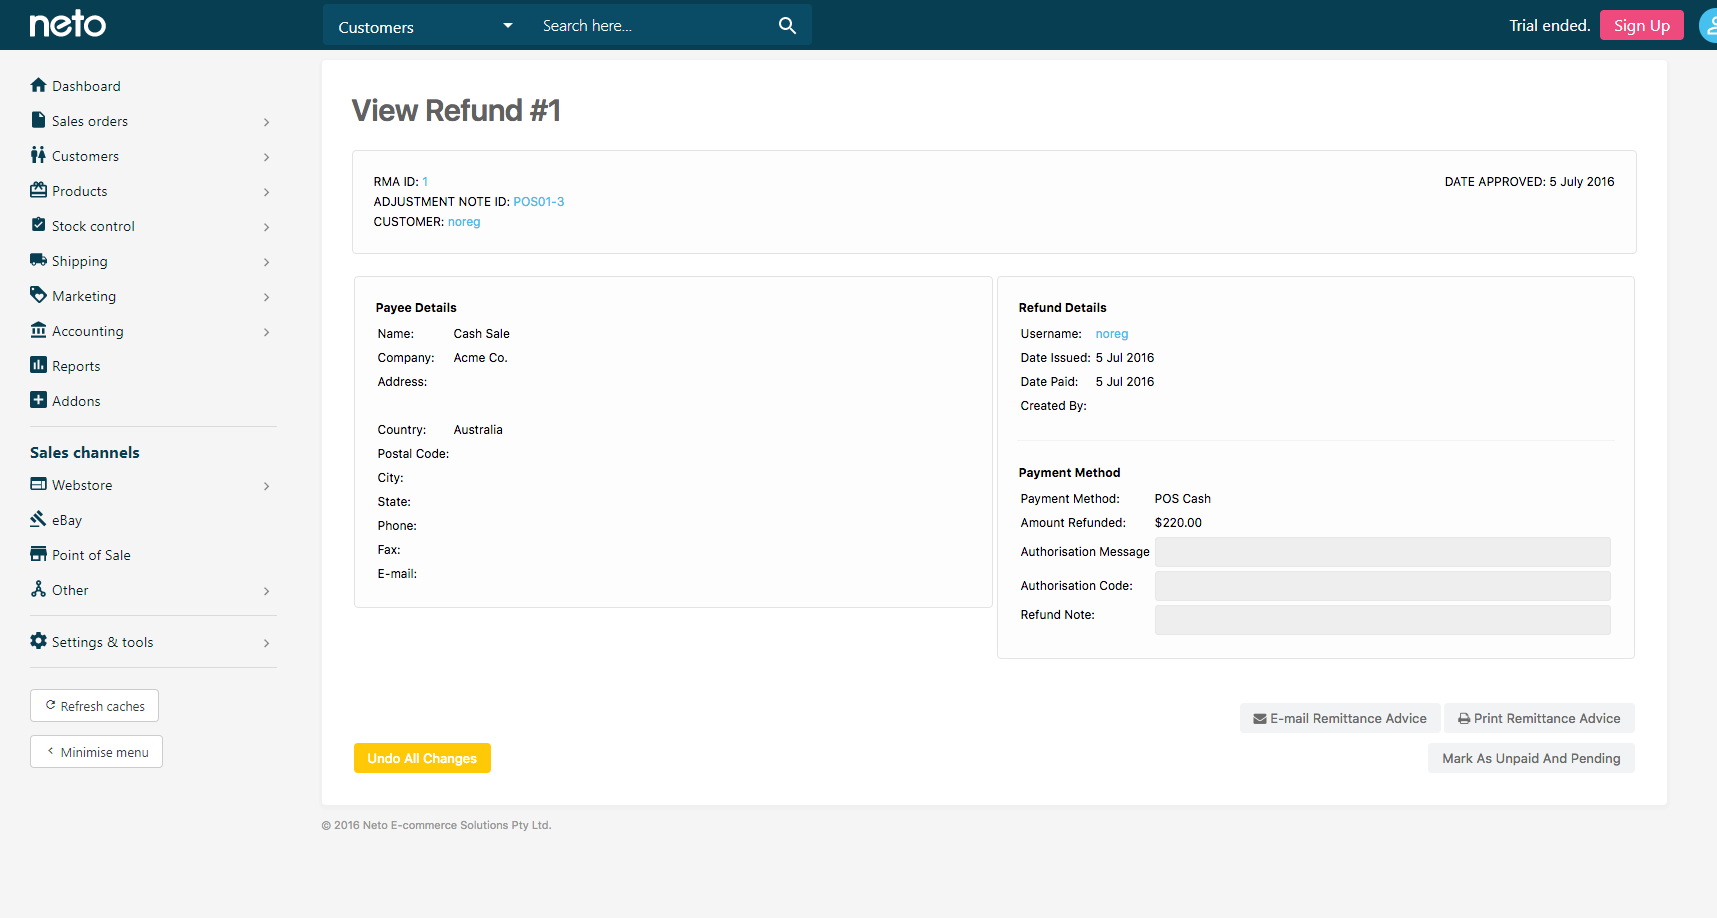
- Click on the Refund ID to drill into the refund and view more details.
Sort Products and Categories
Products
The product grid will sort your products alphabetically by name, but can be changed by tapping on the sort button next to the search bar.
Maropost POS currently supports sorting products by:
Categories
Your categories in Maropost POS will follow the sort order defined in your Neto control panel. The categories that appear first will be the categories with the highest sort order, and then categories will be sorted alphabetically by name. You can use this to ensure that your most important categories appear first in the list.