Link an eBay Account
The first step in using the Neto eBay integration is to link your eBay account to Neto:
- In your Neto control panel click the Addons menu.
- Locate the eBay add-on and click the Install button beneath the eBay add-on.
- Click the Install button in the pop-up and the eBay add-on will be installed to your Neto control panel. Click the close button when complete.
- Click on the eBay menu.
- Click the Start by linking your eBay account button. You will be re-directed to eBay to log in and authorise your account.
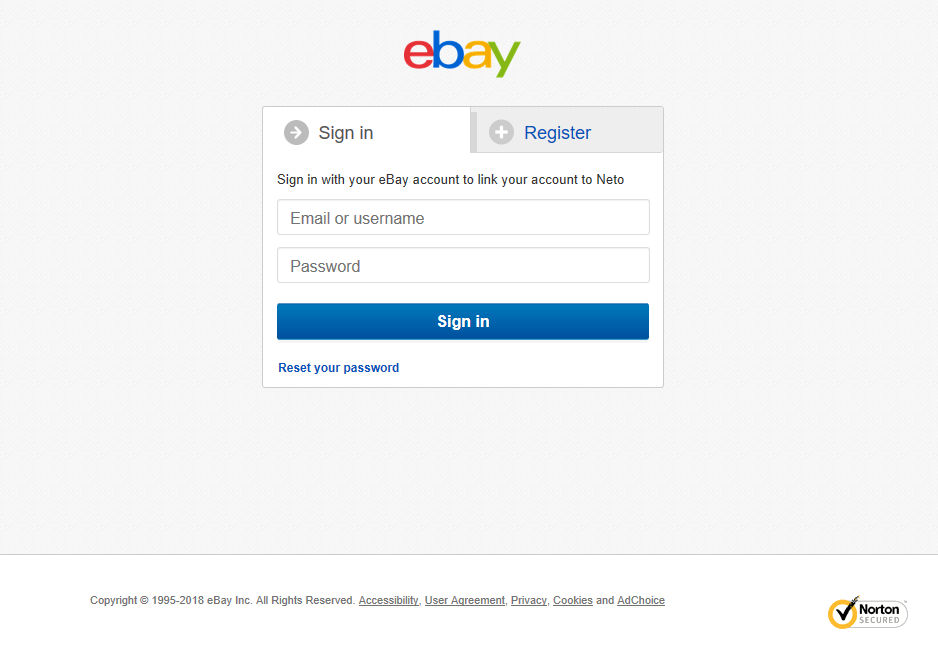
- Enter your account details and click the Sign in button.
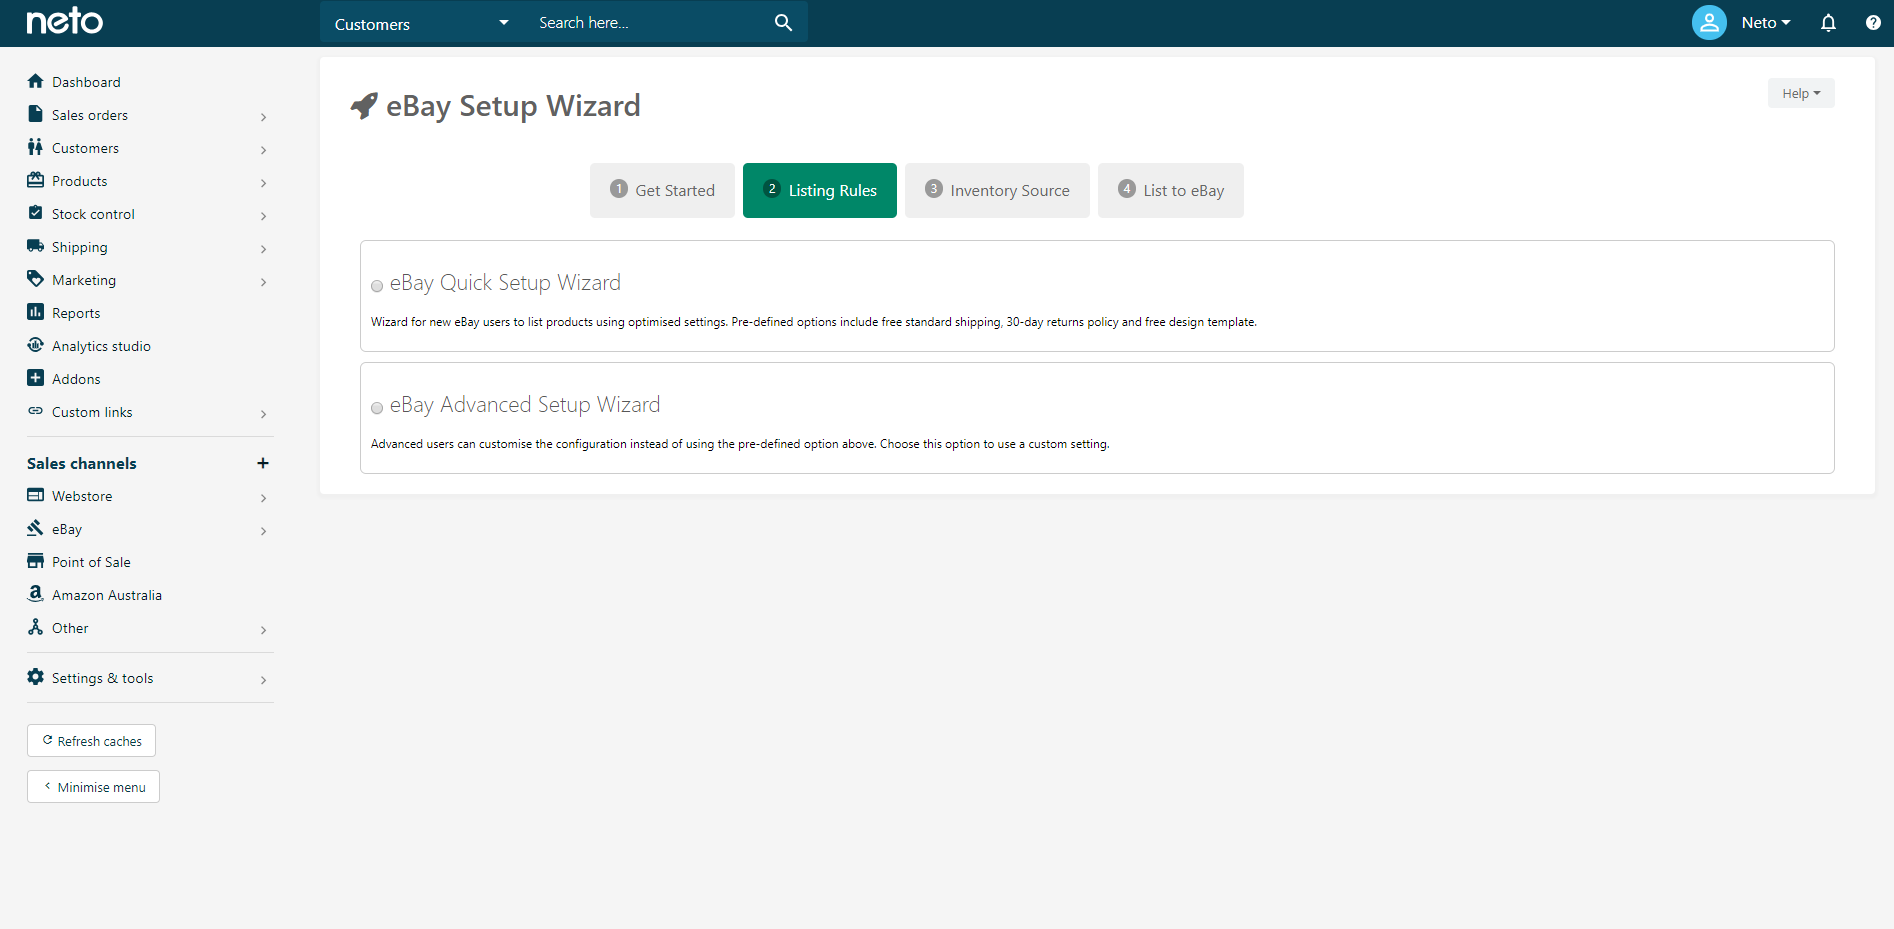
- Click the Agree button to authorise the link between Neto and eBay. eBay will redirect you back to Neto and display the eBay Setup Wizard page.
Generate eBay Setup and Authorisation Tokens
When you integrate your Neto account with eBay, an eBay token is generated. This token lasts approximately one year and enables Neto to access your eBay account. When this token expires, customers stop receiving eBay orders in Neto.
It's highly recommended to note the expiry date and set a diary reminder a day or two beforehand so you can renew the token without any interruption. Neto will send reminders when the token is about to expire as well in case you forget.
You can generate a new tokens at any time by following the instructions below:
- In your Neto control panel navigate to eBay > Setup & Tools.
- Click on Store Manager.
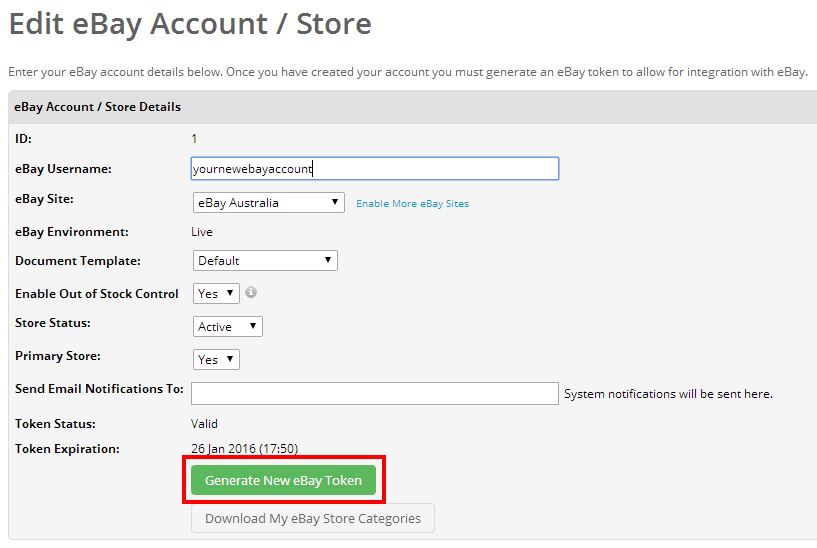
- You can see the token expiration dates for your eBay accounts on this page. Click on the eBay store you wish to update.
- Click on the Generate New eBay Setup Token button. You will then be directed to the eBay site to login and authorise Neto to access your account. Once you have completed this step a new token will be automatically generated.
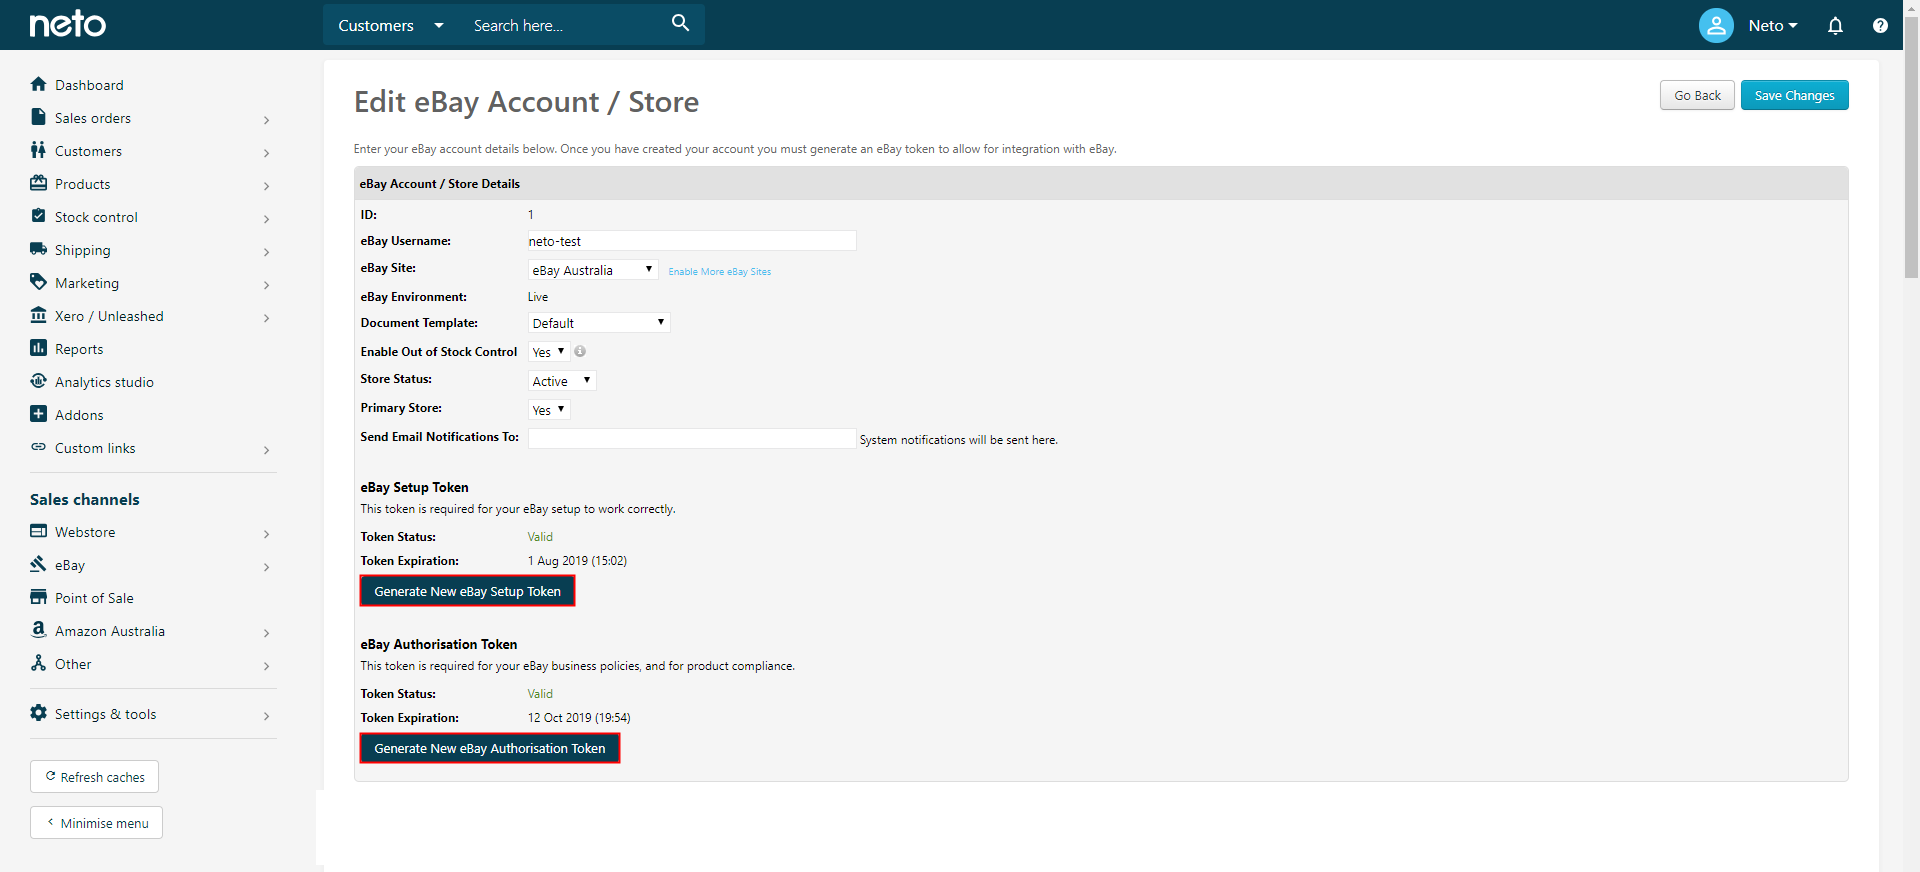
- Clicking the Generate New eBay Authorisation Token button as well, and repeat the login process.
- Click the Save Changes button.
Your eBay access tokens are now renewed. Make note of the new date they expire, and set a reminder to renew them before they become invalid.
Link Multiple eBay Accounts
The Neto eBay integration allows you to add an unlimited number of eBay accounts. To add additional accounts:
- In your Neto control panel navigate to eBay > Setup & tools.
- Click on Store Manager
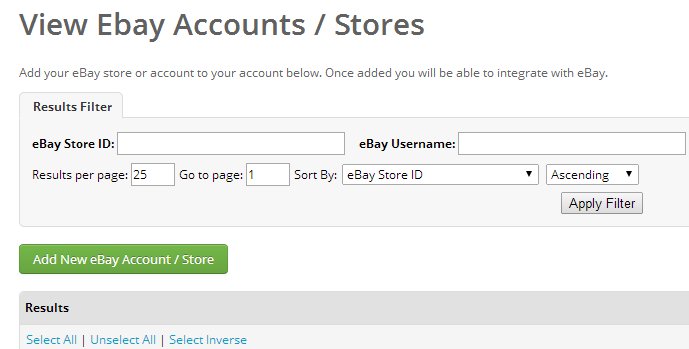
- Click the Add New eBay Account / Store button.
After you add another eBay account you will have to generate the access tokens for it.
Cross Border Listing
Under UK and US listing rules templates you may see option below:
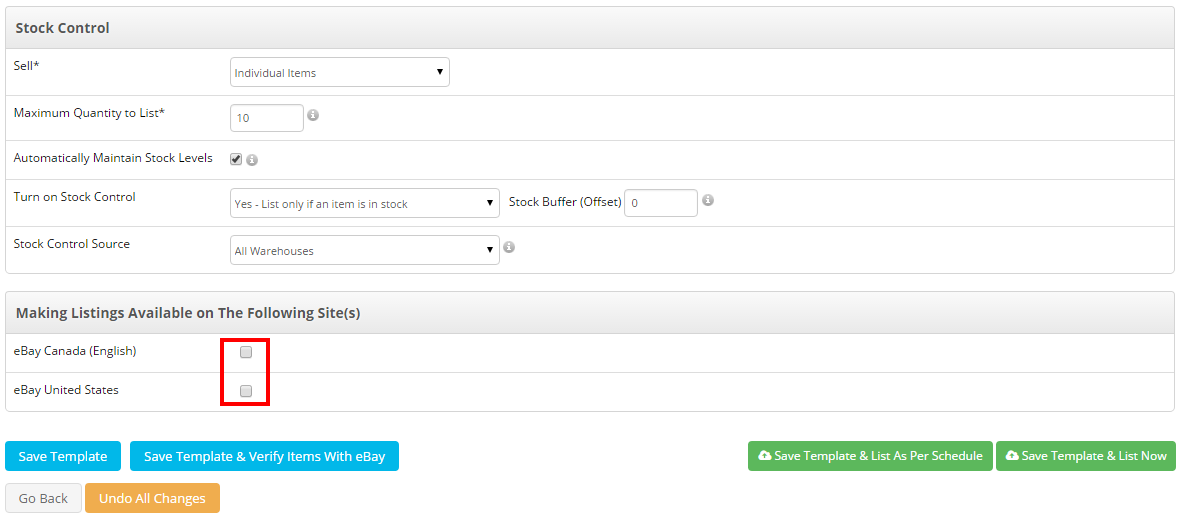
This field is used by sellers who want their listing to be returned in the search results for other eBay sites. This feature is currently only supported by the US, UK, eBay Canada, and eBay Ireland sites. See Getting exposure on international sites for full requirements on using this feature. There is a small listing fee for each country specified as a Cross Border Trade country.
US listings that offer shipping to Canada, North America, or worldwide are automatically returned on eBay.ca at no extra charge, so US listings that offer shipping to these locations do not need to specify Canada as a Cross Border Trade country.
Multiple Invoice Templates
The Neto eBay integration allows you to add multiple eBay accounts and the option to use unique invoice templates with different email accounts. Templates must be stored in your site files, more information can be found here.
Once the templates are created, you need to add a template set, and assign it to your eBay account:
- In your Neto control panel navigate to Settings & Tools > All Settings & Tools.
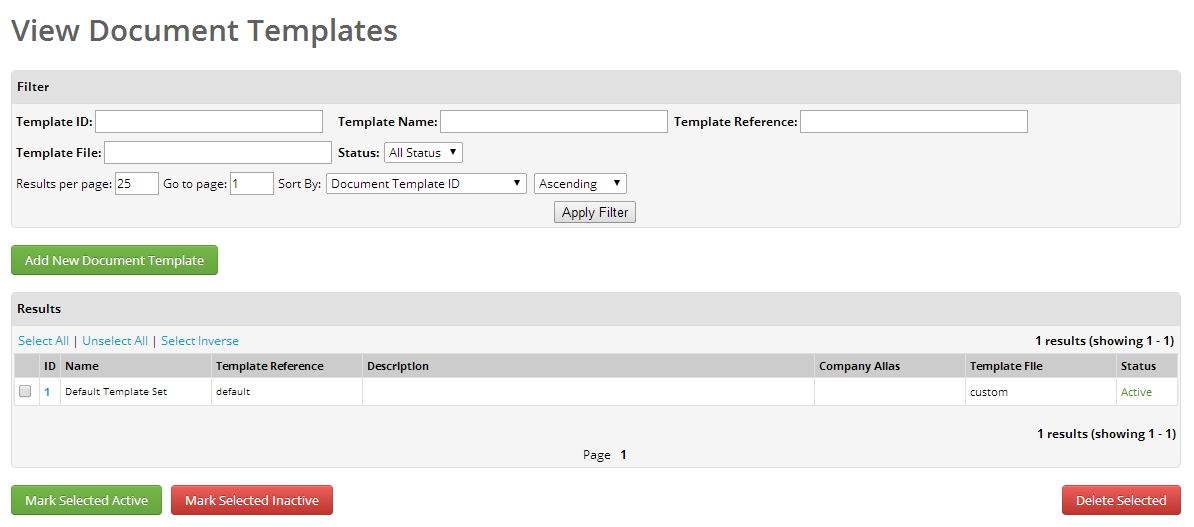
- Click on the System Templates tab and click Custom Invoice Templates.
- Click Add New Document Template.
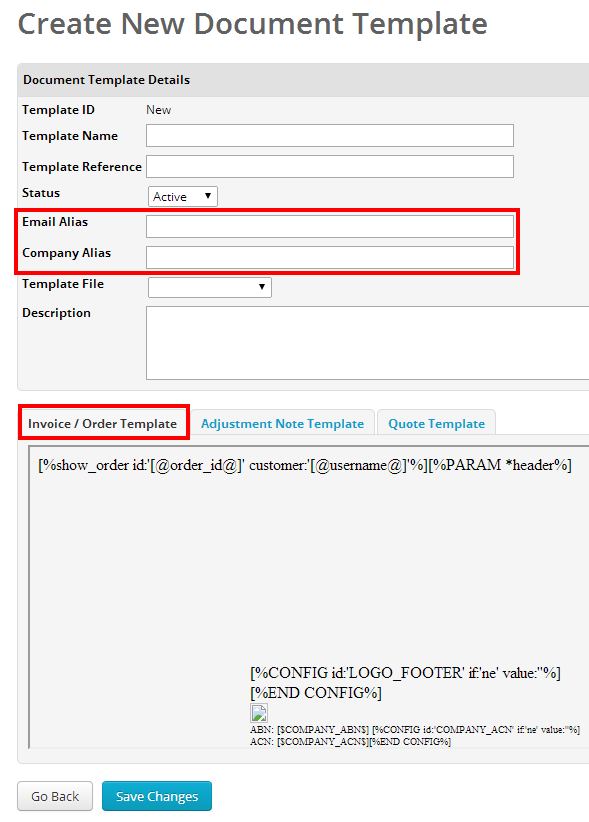
You can then create email and company alias so each eBay store looks independent of the other.
The Invoice/Order Template is the only one that needs to be customised as it is used as the email upon order dispatch from the system.
Once you have created a new document template set you assign it to your eBay account.
- To do this, navigate to eBay > Setup & Tools > Store Manager.
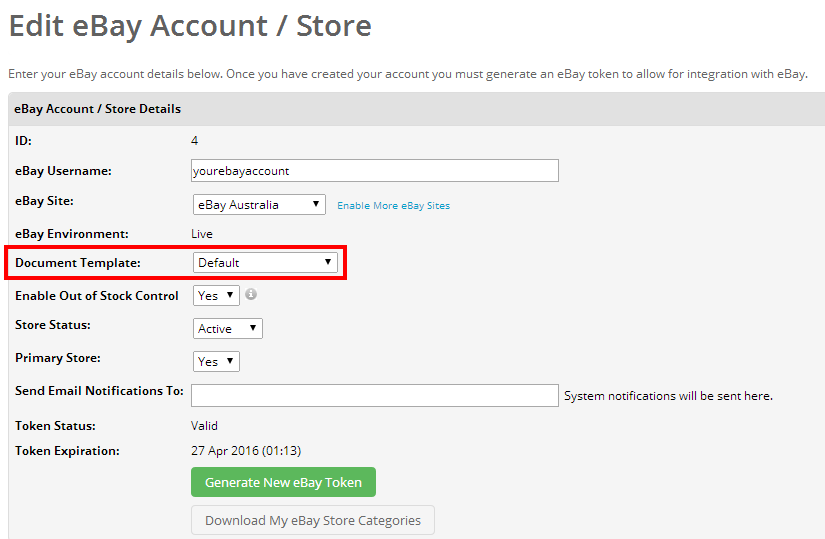
- Click on the eBay account you wish to edit.
- Under Document Template, select your new document template from drop down.
Change your eBay Account Name
eBay allows you to change your username once every 30 days. If you do change your eBay username you will also need to update Neto as well.
Do not link your account to Neto a second time under the new name. This can issues with listings not updating correctly or causing errors.
- In your Neto control panel navigate to eBay > Setup & Tools.
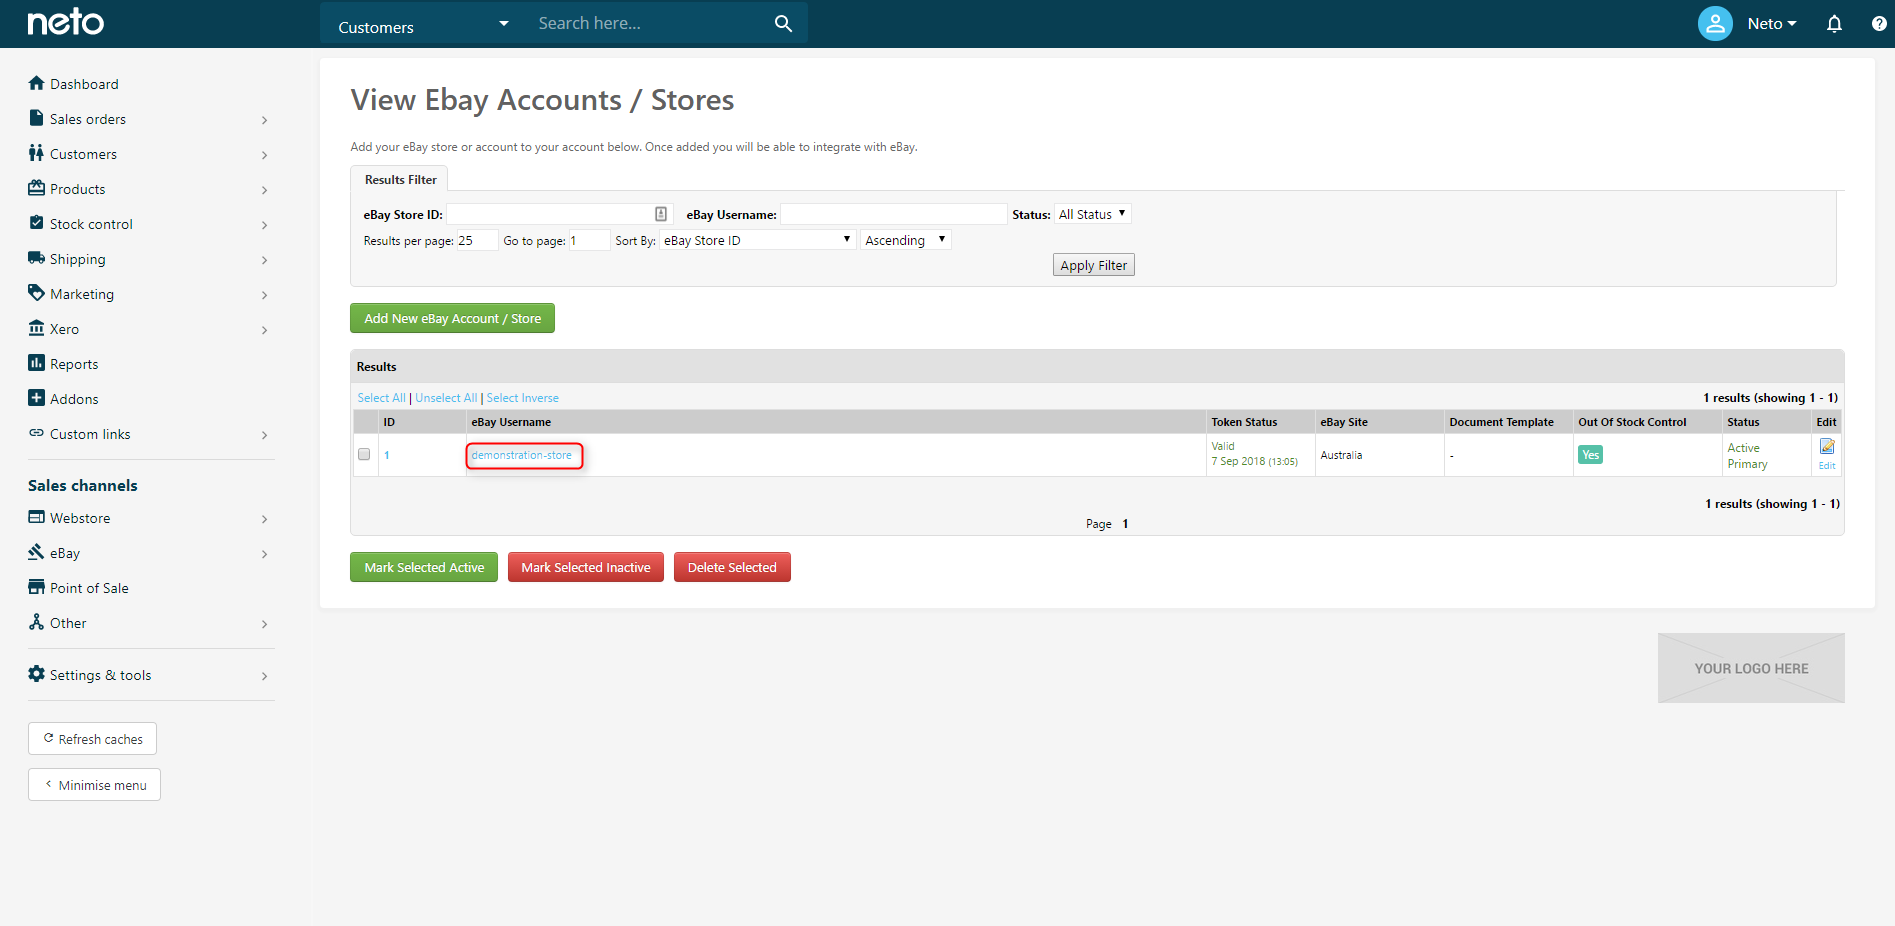
- Select Store Manager.
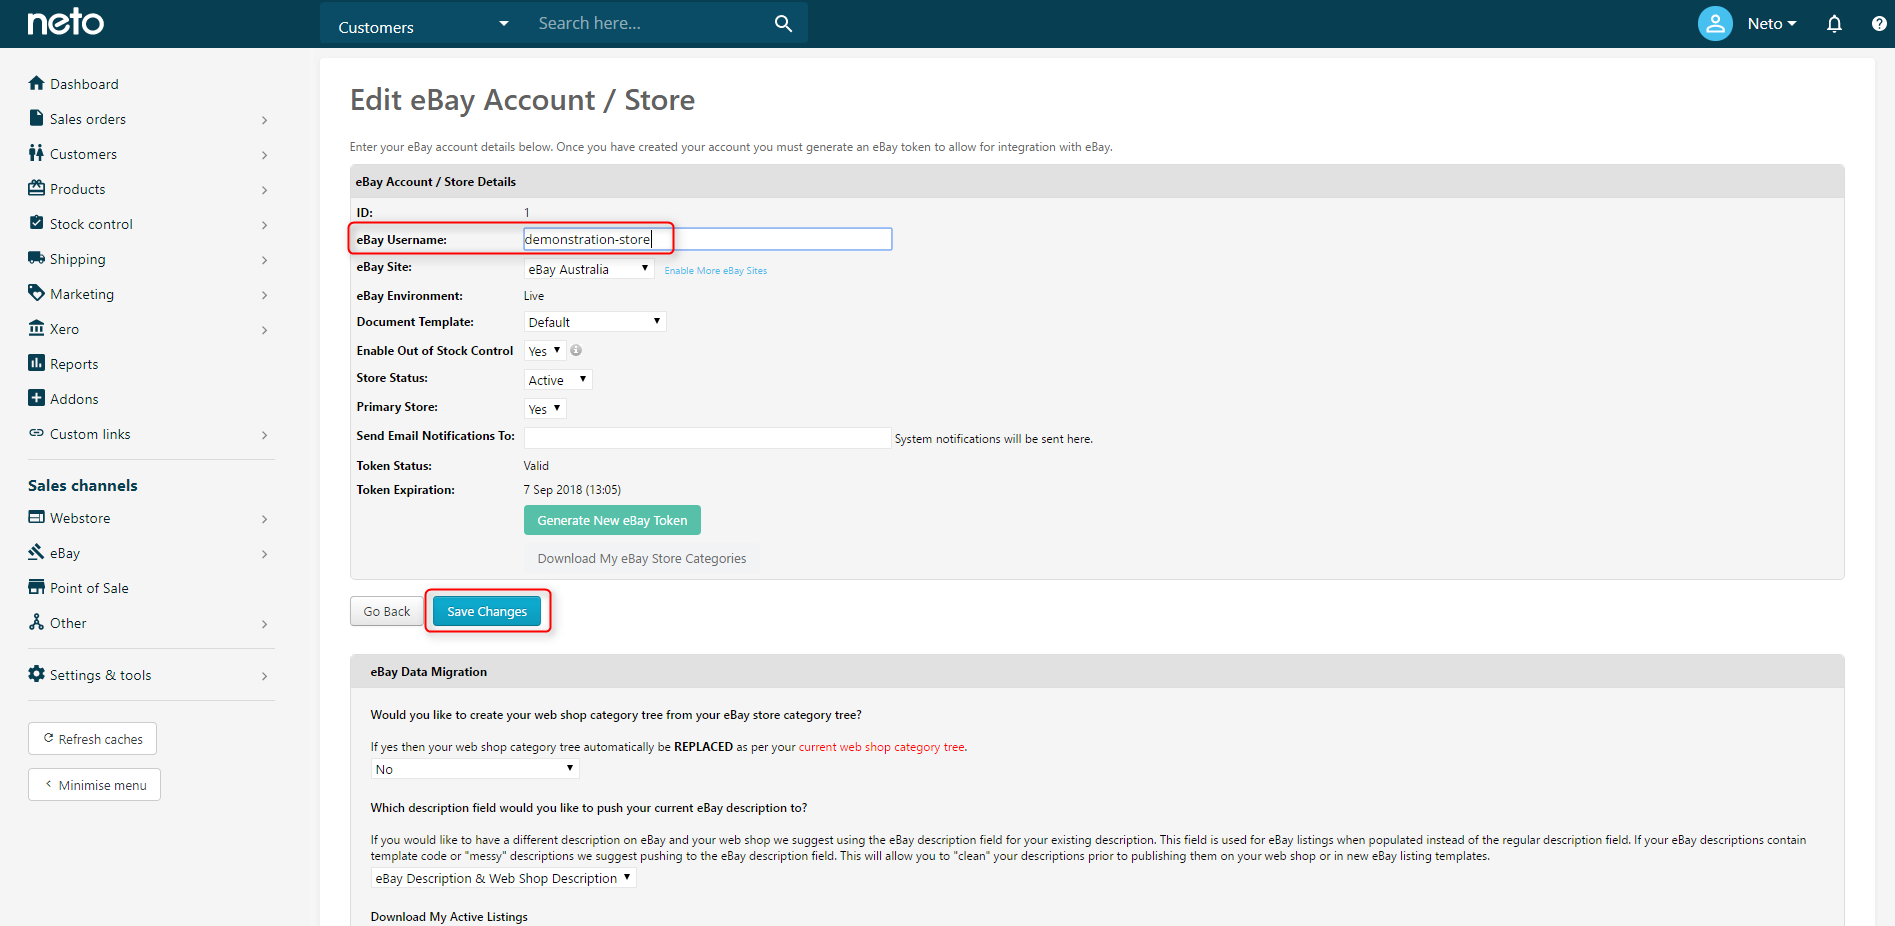
- Click on the eBay Username you have changed.
- Type in your new eBay Username, and Save.
Increase eBay Seller Limits
Many eBay sellers have limits placed on their account or on particular categories and items until they confirm certain information or establish a positive selling history.
eBay has three types of limits:
- Accounts limits
- Category limits
- Item limits
If you've exceeded your seller limits, you may receive errors when listing such as:
11524: Error 21919188: It looks like you've reached the number of items you can list.
We can assist you with unlocking these limits. Before this occurs, you will need to ensure your Paypal account is linked within eBay. To do this from the eBay dashboard, go to the My Account tab > Click PayPal account link from the left hand side menu.
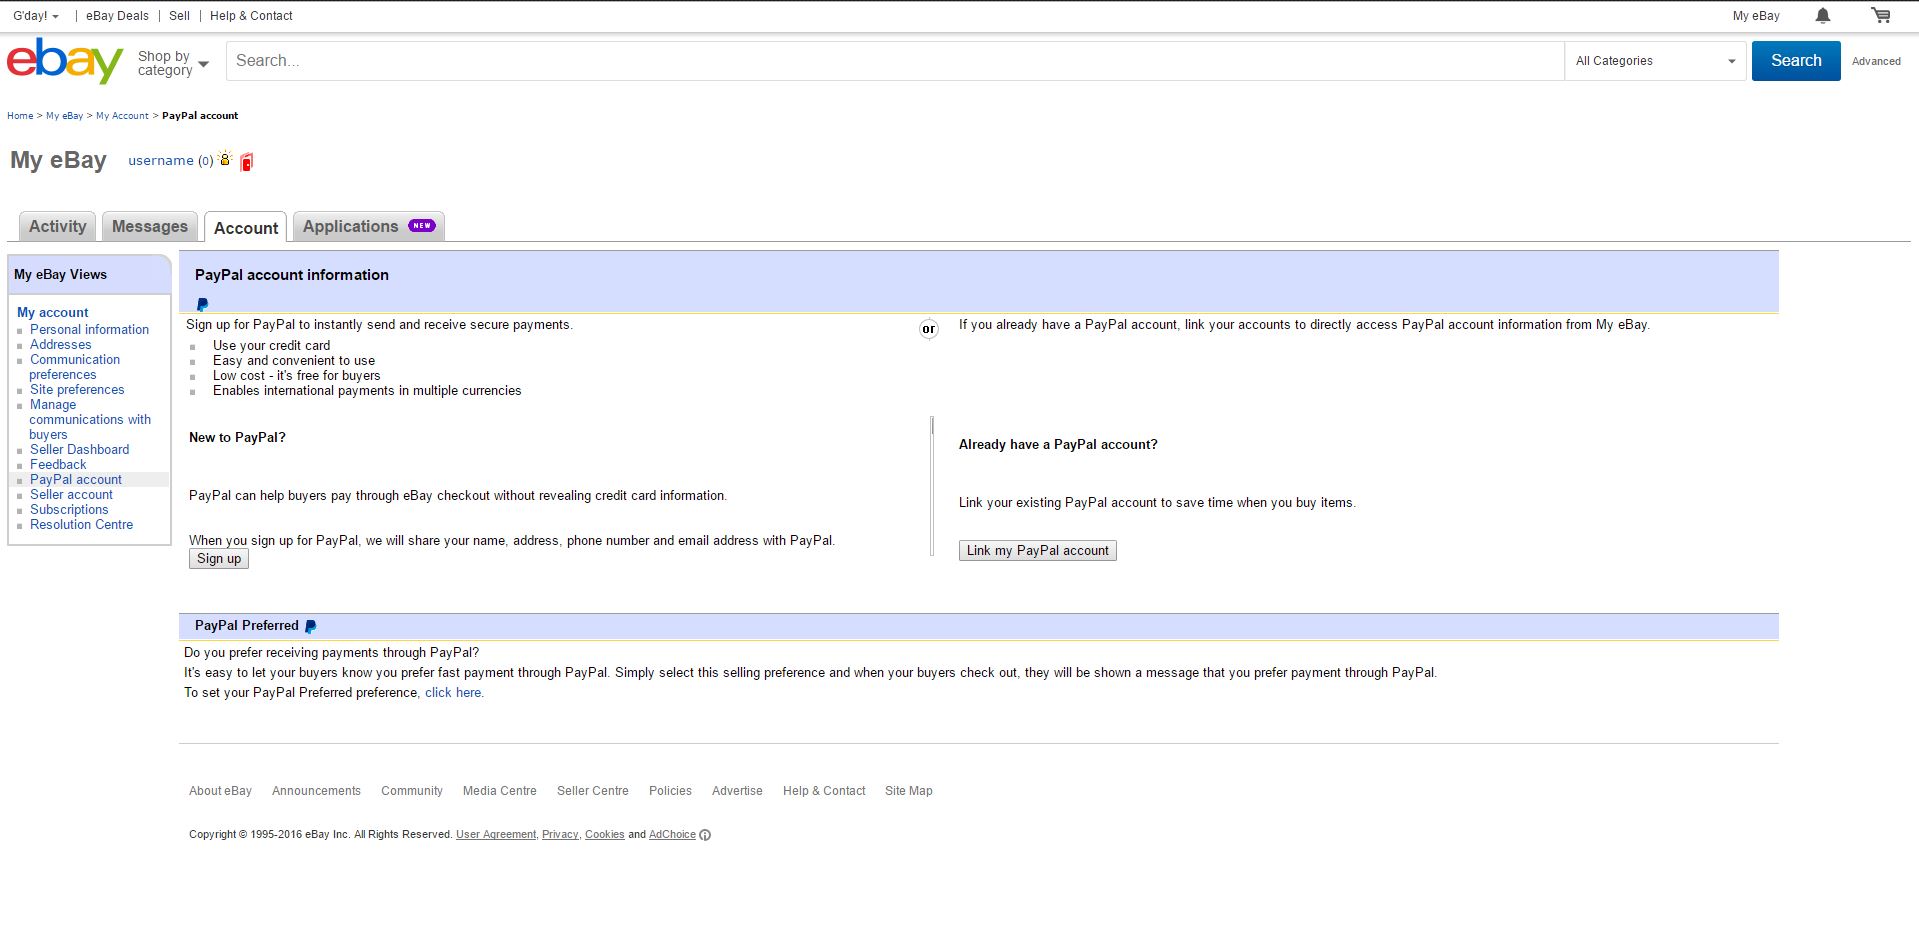
On this page, click the Link my PayPal Account button on the right hand side and follow the steps to link your account.
Once you've followed these steps and you've hit an eBay seller limit please contact us to help unlock your selling account.
Enable eBay Business Policies
Enabling business policies for an eBay account will permanently remove any existing shipping, payment and returns settings on the rules templates. If you decide to switch business policies off later, these settings will need to be reconfigured.
Once enabled, you must assign policies to your listing rules templates. If you don't, any listings currently using these templates will fail to revise.
Business policies are created and managed in your eBay account. If you haven't already, log in and create your postage, return, and payment policies here.
To enable business policies:
- In your Neto control panel navigate to eBay > Setup & Tools.
- Click on Store Manager.
- Click on the store to turn on the business policies.
- In the eBay Business Policies section, click the Use my eBay business policies to set my payment... checkbox.
- Click the Save Changes button.
You will be prompted to authorise Neto to access your business policies, by logging into your eBay account.
- Click the Authorise button.
eBay will redirect you back to Neto.
Your business policies will now sync from eBay to Neto a will take approximately 10 minutes to complete. They will then be available in your listing rules templates.
Please Note: Business policies will now need to be assigned to the listing rules templates associated with the recently enabled eBay account.
Remove an eBay Account
Neto design templates use assets associated with the eBay integration. When you remove eBay from Neto, these assets are no longer available and cause your listings to display the descriptions incorrectly. Install the Your description field design by following the steps here and apply it to all of your listing rules templates. Remember to click the Save & revise active listings button at the bottom of each template.
Once the listings have been revised so they're no longer using Neto assets you can disconnect the eBay account from Neto:
- In your Neto control panel navigate to eBay > Setup & Tools.
- Select Store Manager.
- Select the account you wish to make inactive, and click Mark Selected Inactive. This will prevent any processes running in your Neto account from updating your listings.
- You now need to remove the access from your eBay account. Log into your eBay account and go to My eBay.
- Under account select Site Preferences.
- Within site preferences, scroll down to Third-Party Authorisations.
- Tick the Revoke Authorisation box next to the entry for Neto and click Apply.
- Lastly if you no longer require the eBay channel, go into the Addons section of the control panel and Uninstall it. This will effectively cancel your eBay service with Neto.
This will completely disconnect your eBay integration with Neto while still leaving your listings active on eBay.
To remove and eBay account completely it must have no templates, transactions or orders associated with it. If that is the case, click Delete Selected. and your eBay account will be removed entirely from Neto.
Automate Feedback
Leaving feedback can be automated through Neto or through eBay's automated feedback system.
Automate Feedback In Neto
Neto can be configured to automatically leave positive feedback for your eBay customers, once the order is paid for in full. You can set as many feedback comments as you like in the system and it will select one at random for each transaction.
To add and edit the feedback comments that Neto uses:
- In your Neto control panel navigate to eBay > Setup & Tools.
- Select Feedback Manager.
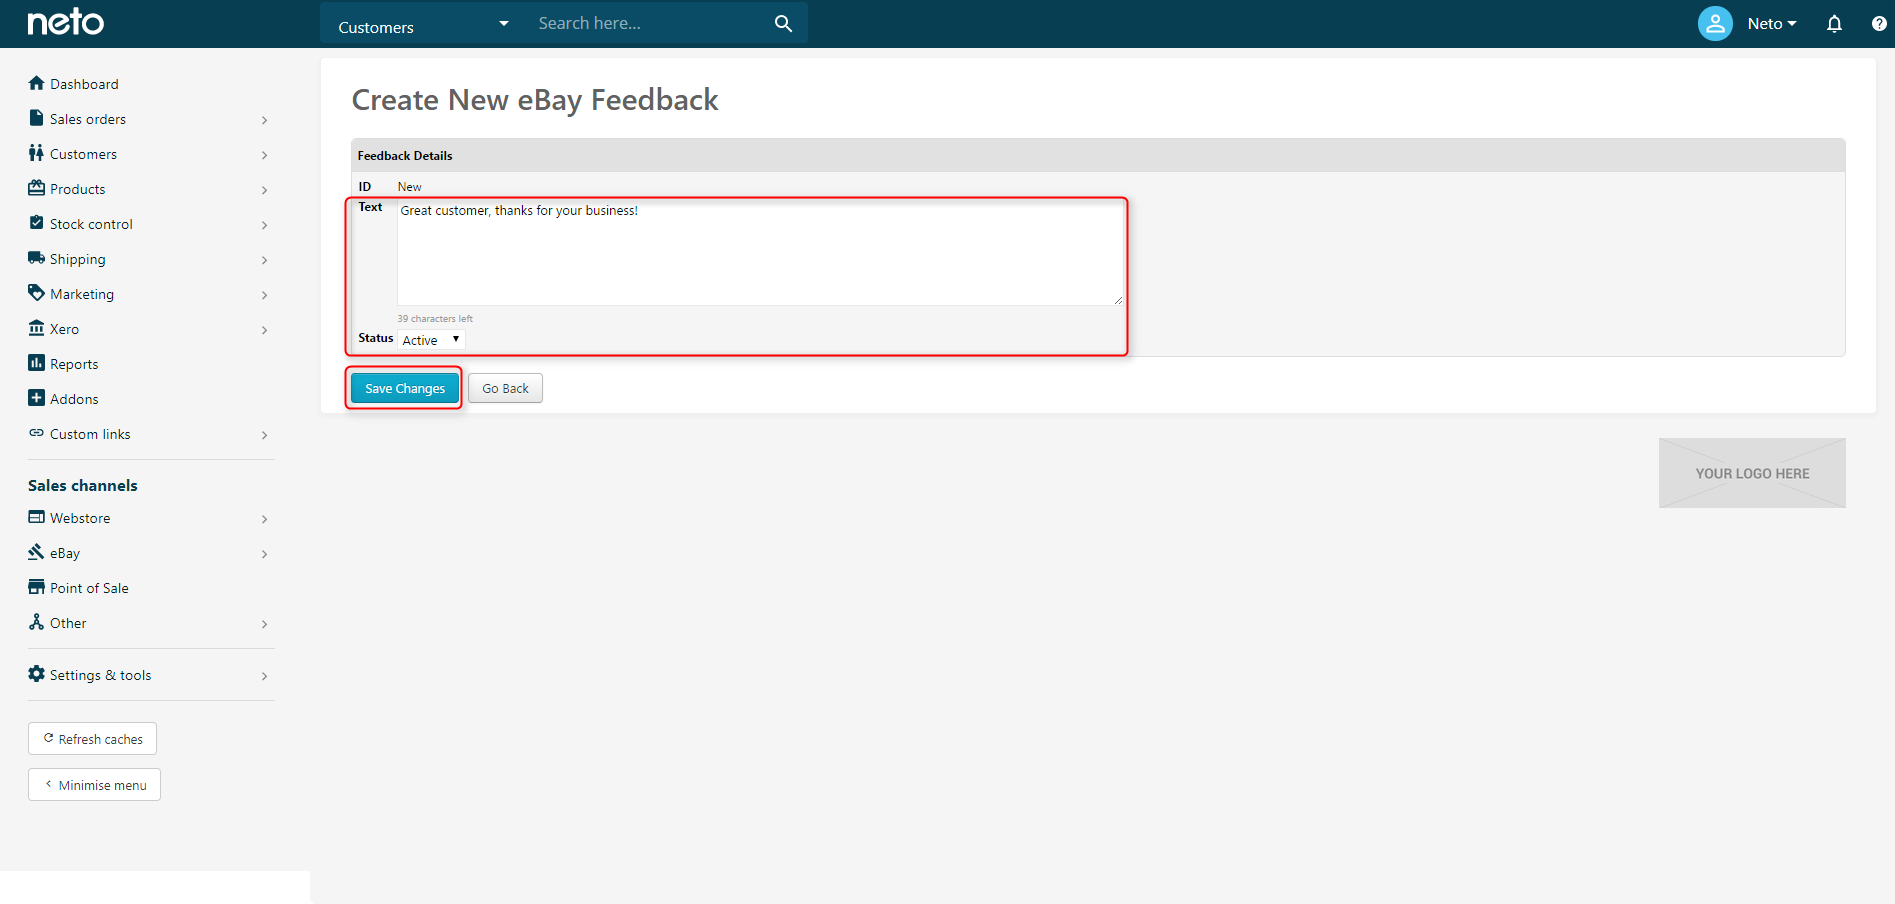
- Select Add New eBay Feedback Comment.
- Enter the Text for your feedback comment and set the Status to Active. When complete, Save Changes.
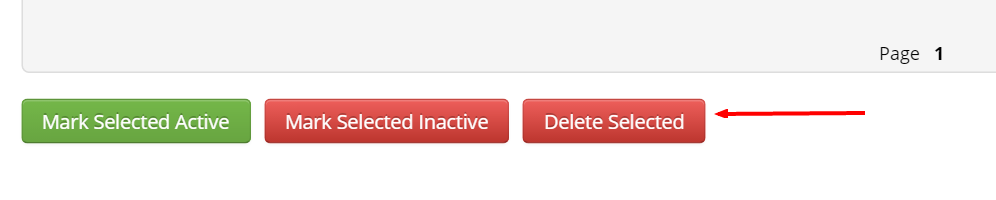
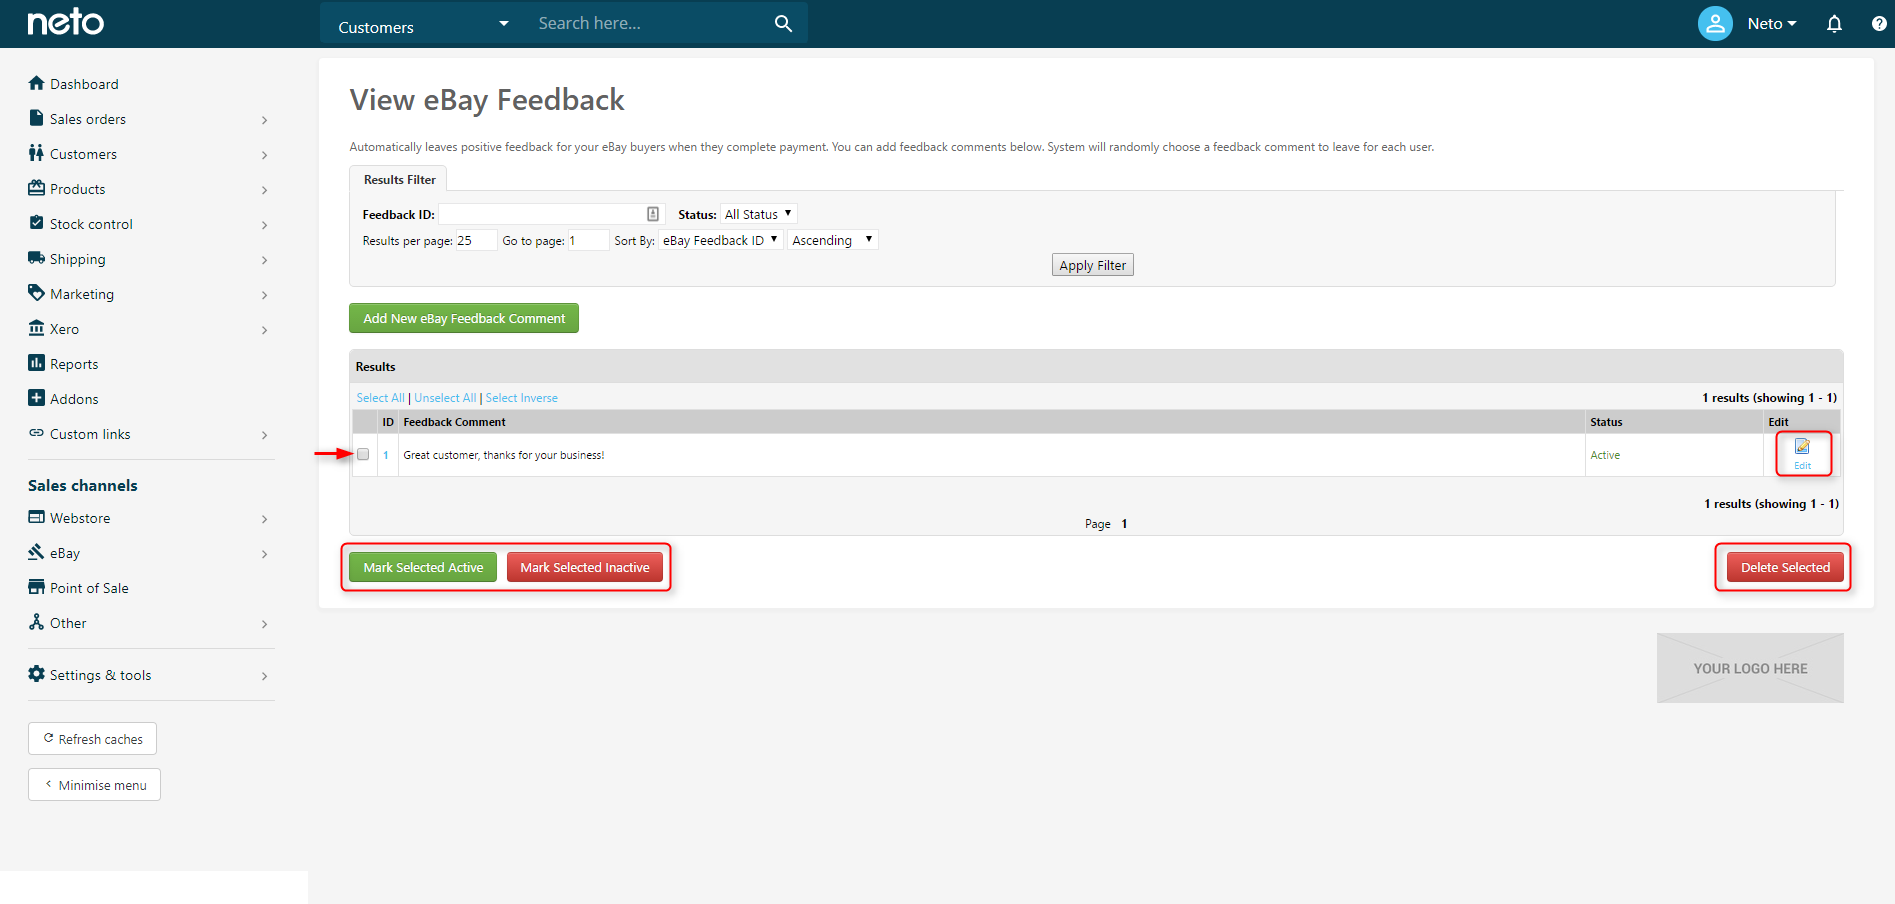
- You can now add more comments, Edit comments, and using the checkbox, mark them active, inactive, or delete them.
Automate Feedback Through eBay
As an alternative to using the Neto feedback manager, you can use eBay's automatic feedback system. This is available through eBay Seller Manager Pro's automation preferences section, a free tool for all eBay store subscribers.
To change your automation preferences in eBay please refer to eBay's relevant help article.