Contact forms are easily implemented from third party providers into your Neto webstore. We recommend using one of the following solutions, which we provide instructions for:
If you don't wish to use one of these providers, you can set up a basic contact from in Neto using the steps below:
This option includes basic form functionality only, and does not support CAPTCHA, or a dedicated interface to manage customer interactions.
Add a Form to the Webstore Menu
Please Note: If your Webstore menu already has Form or Contact Form you can skip this section.
- In your Neto control panel navigate to Settings & Tools > All Settings & Tools.
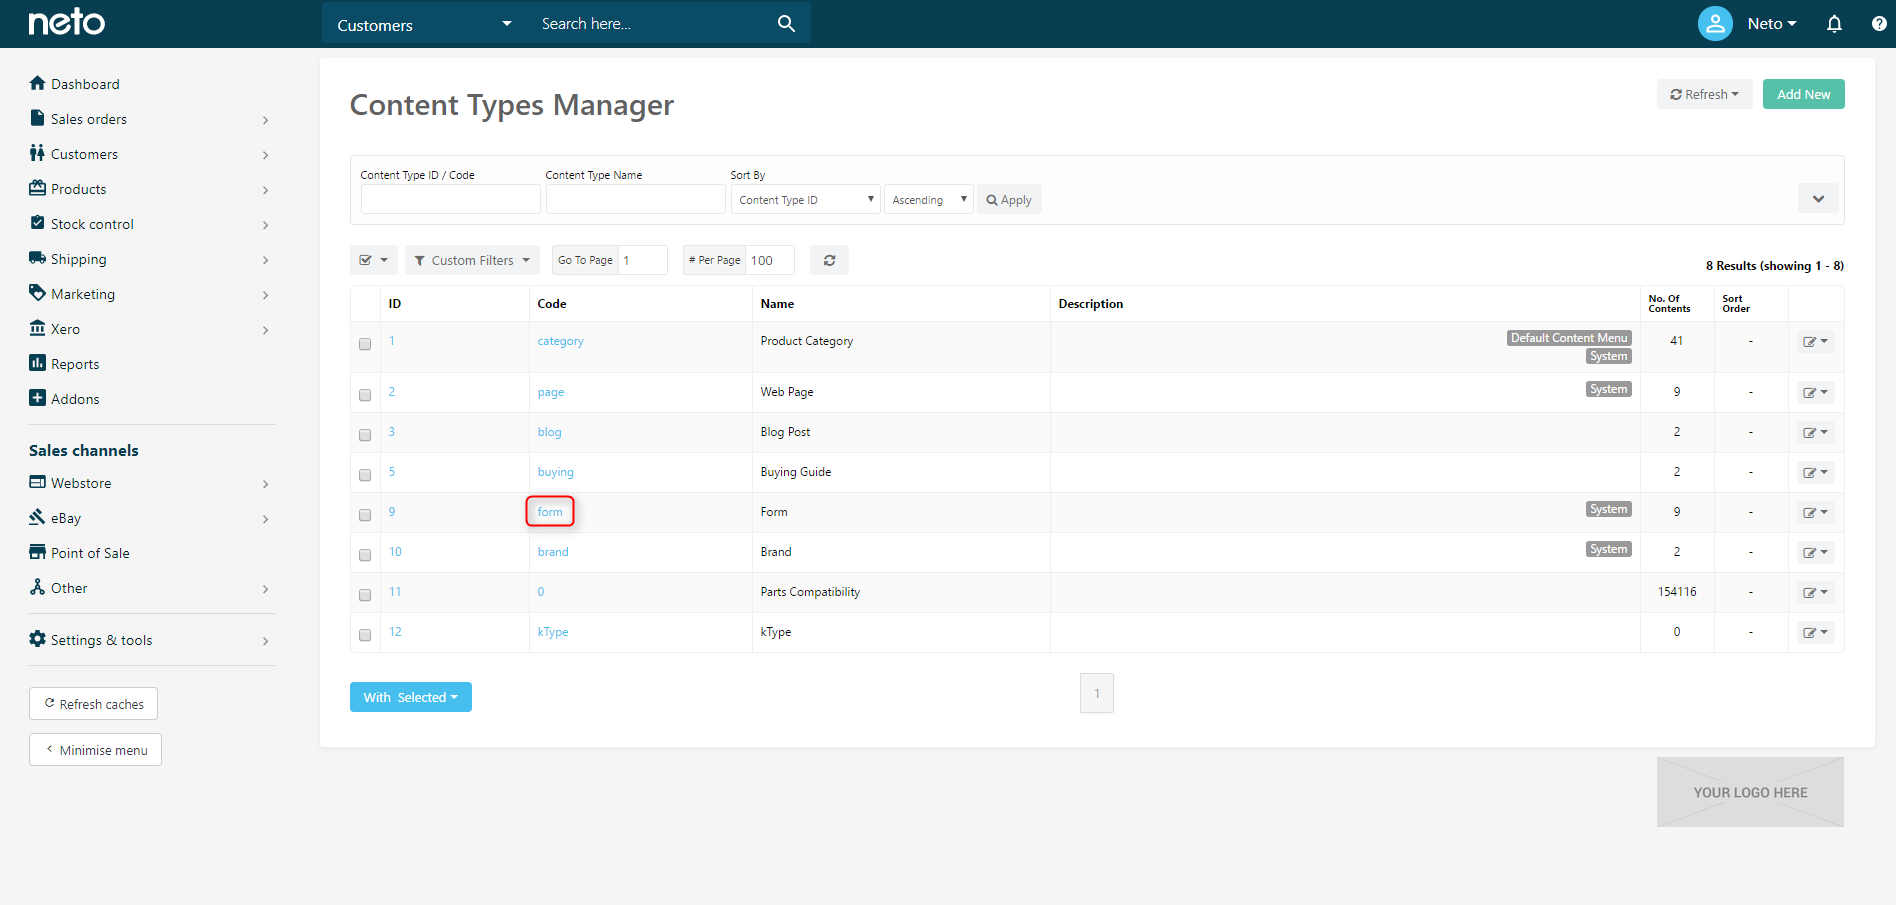
- Select Control Panel from the side menu and click on Content Types Manager.
- Click Form.
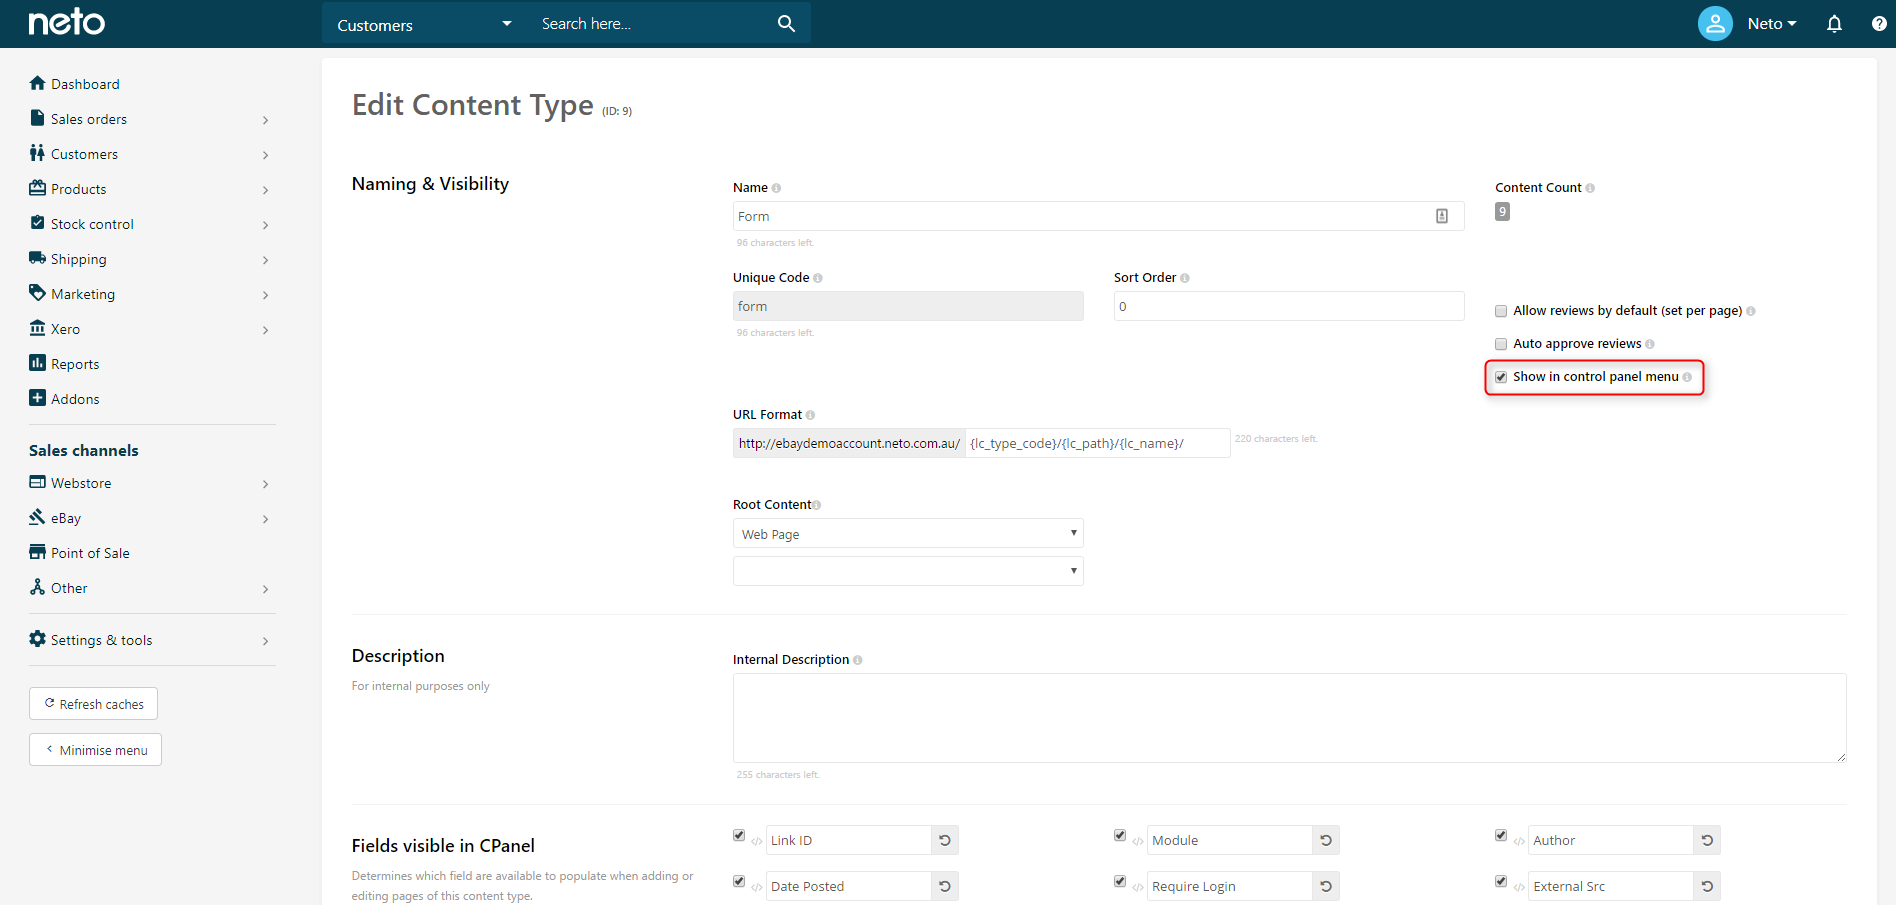
- Select the Show In Control Panel Menu checkbox and click the Save button.
Edit the Contact Us Form
- In your Neto control panel navigate to Webstore > Forms.
Please Note: If your Webstore menu has Contact Form, select it and move to step 3.
- Locate and select the Contact Us Page. The default ID / Ref for the form is named contact_us.
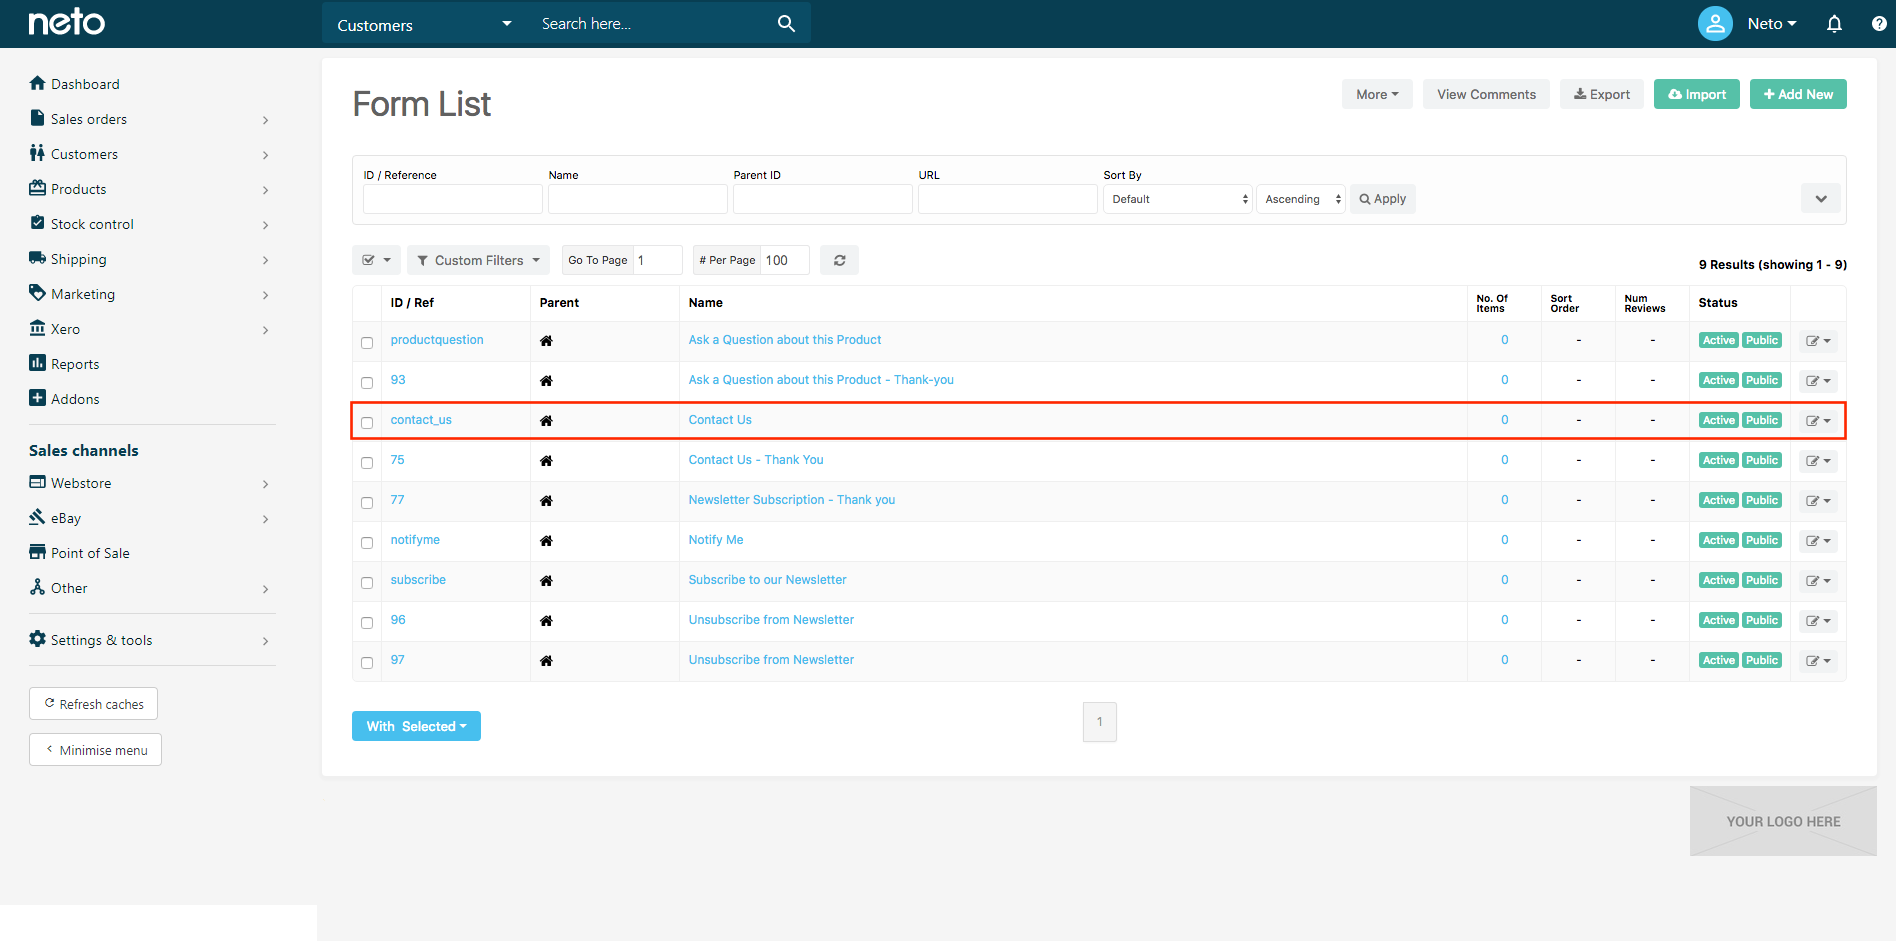
Please Note: You will notice another form which is called Contact Us - Thank You which is the message that appears to customers once they submit their contact form. You may wish to edit this page as well.
- Scroll down to the Page Content section.
We recommend selecting the Require Login checkbox to mitigate spam enquiries.
Click on the Form tab, then Source. Paste the below into the text field.
<form action="[%URL type:'page' id:'[@content_id@]'%][%END URL%]" enctype="multipart/form-data" method="post"><input name="inp-submit" type="hidden" value="y" />
<h3>Email Enquiry Form <small>Complete this form to email us your enquiry.</small></h3>
<div class="form-group"><label for="inp-first_name">First Name </label>
<p class="small text-danger"><label for="inp-first_name">Required</label></p>
<input class="form-control" id="inp-first_name" name="inp-first_name" required="" size="40" type="text" value="[%nohtml%][@inp-first_name@][%end nohtml%]" /> <input class="hidden" name="inp-title" type="text" value="" /></div>
<div class="form-group"><label>Surname</label> <input class="form-control" name="inp-last_name" size="40" type="text" value="[%nohtml%][@inp-last_name@][%end nohtml%]" /></div>
<div class="form-group"><label>Contact Phone Number</label> <input class="form-control" name="inp-phone" size="40" type="text" value="[%nohtml%][@inp-phone@][%end nohtml%]" /></div>
<div class="form-group"><label>Email Address </label>
<p class="small text-danger"><label>Required</label></p>
<input class="form-control" name="inp-email" required="" size="40" type="email" value="[%nohtml%][@inp-email@][%end nohtml%]" /></div>
<div class="form-group"><label>Preferred Method of Contact</label> <select class="form-control" name="inp-contact_method"><option data="" end="" value="Email">Email</option><option data="" end="" value="Phone">Phone</option> </select></div>
<div class="form-group"><label>Message</label><textarea class="form-control col-xs-12 col-md-6" name="inp-msg" rows="5">[%nohtml%][@inp-msg@][%end nohtml%]</textarea></div>
<div class="form-group"><label>File Upload</label> <input class="form-control" name="inp-file" size="40" type="file" value="" /></div>
<div class="form-group">
<div class="clear"> </div>
<p><input name="state" type="hidden" value="email_sent" /></p>
<p><input class="btn btn-lg btn-default" type="submit" value="Send Email" /></p>
</div>
</form>
- Click the Save button.
Your form is now created. Click the View on Webstore button to see how it looks, and send a test enquiry.
Edit the Thank You Page
After a customer submits their contact request, they're presented with a thank you page. To edit this page:
- In your Neto control panel, navigate to Webstore > Form.
- Click on the Contact Us - Thank You form.
- Edit the page, and save your changes.
Edit the Contact Form Email Template
The email that you receive when the form is submitted can be edited via SFTP or in your control panel:
- In your control panel navigate to Settings & tools > All settings & tools.
- Search for and click on Email templates.
- Click on Contact Form Emails.
- Click on contact_us.
If no templates appear click the Refresh Template Files button.
You can now edit the email that is sent to you from the contact form.