Overview
Like Maropost Commerce, Shopify has an product export function that can be used to populate your entire product list in Maropost Commerce. It's important to note that this process does not import all product information exactly as it was in Shopify, due to differences in how products are structured.
You will still need to perform some data entry tasks in the file you download from Shopify. The process in this article creates a template to import your Shopify data, so any changes you make in the CSV file can be easily imported without needing to go through the wizard each time. These tasks are discussed further at the end of this article.
Create a Shopify Product File
- In Shopify navigate to Products > All Products.
- Click the Export button.
- A pop-up will tell you where the product file link has been emailed.
- Open the email and download the file.
Modify the Shopify File
- Open the csv file in excel (or a similar program).
- You'll notice that product variations will be missing a large amount of information that can be easily copied down the columns by dragging the field down.Hold the Ctrl key, and double click in the corner of the selected field you want copied (as demonstrated in the Vendor field).
- Once complete, save your file.
Create the Import Template in Maropost Commerce
- Follow the steps in the import wizard to upload your file and map the fields to Maropost Commerce. The table below provides a good match between Maropost Commerce and Shopify fields.Maropost CommerceShopifyNotesNameTitle DescriptionBody (HTML) TypeType ActivePublishedVariations will need this data filled.SpecificsOption 1 Name:Option 1 Value;Option2 Name:Option2 Value;Option3 Name:Option3 Value;Item specific fields need to be joined together with the appropriate character (: and ;).SKU*Variant SKU Weight (Shipping)Variant GramsJoin to
/ and a static value 1000 to convert grams to kilograms.Qty In Stock (Default)Variant Inventory Qty or Variant Inventory TrackingStock level can also be mapped to a specific warehouse.VirtualVariant Inventory PolicyRequires two find and replace entries on the virtual field.
Find continue replace with 1.
Find deny replace with 0.Price (Default)Variant PricePrice can also be mapped to a specific price group.RRPVariant Compare At Price Tax Free ItemVariant TaxableRequires two find and replace entries on the Tax Free Item.
Find TRUE replace with 0.
Find FALSE replace with 1.UPC/EANVariant BarcodeCan also be mapped to another UPC/EAN field (UPC/EAN1, UPCEAN2 etc)Image URL (Main Image)Image Src SEO Page TitleSEO Title SEO Meta DescriptionSEO Description - At the Process File step, ensure you save the settings as a template, then process the file.
Your file will import however not all products will be created correctly. These issues are easily fixed with some manipulation of the template.
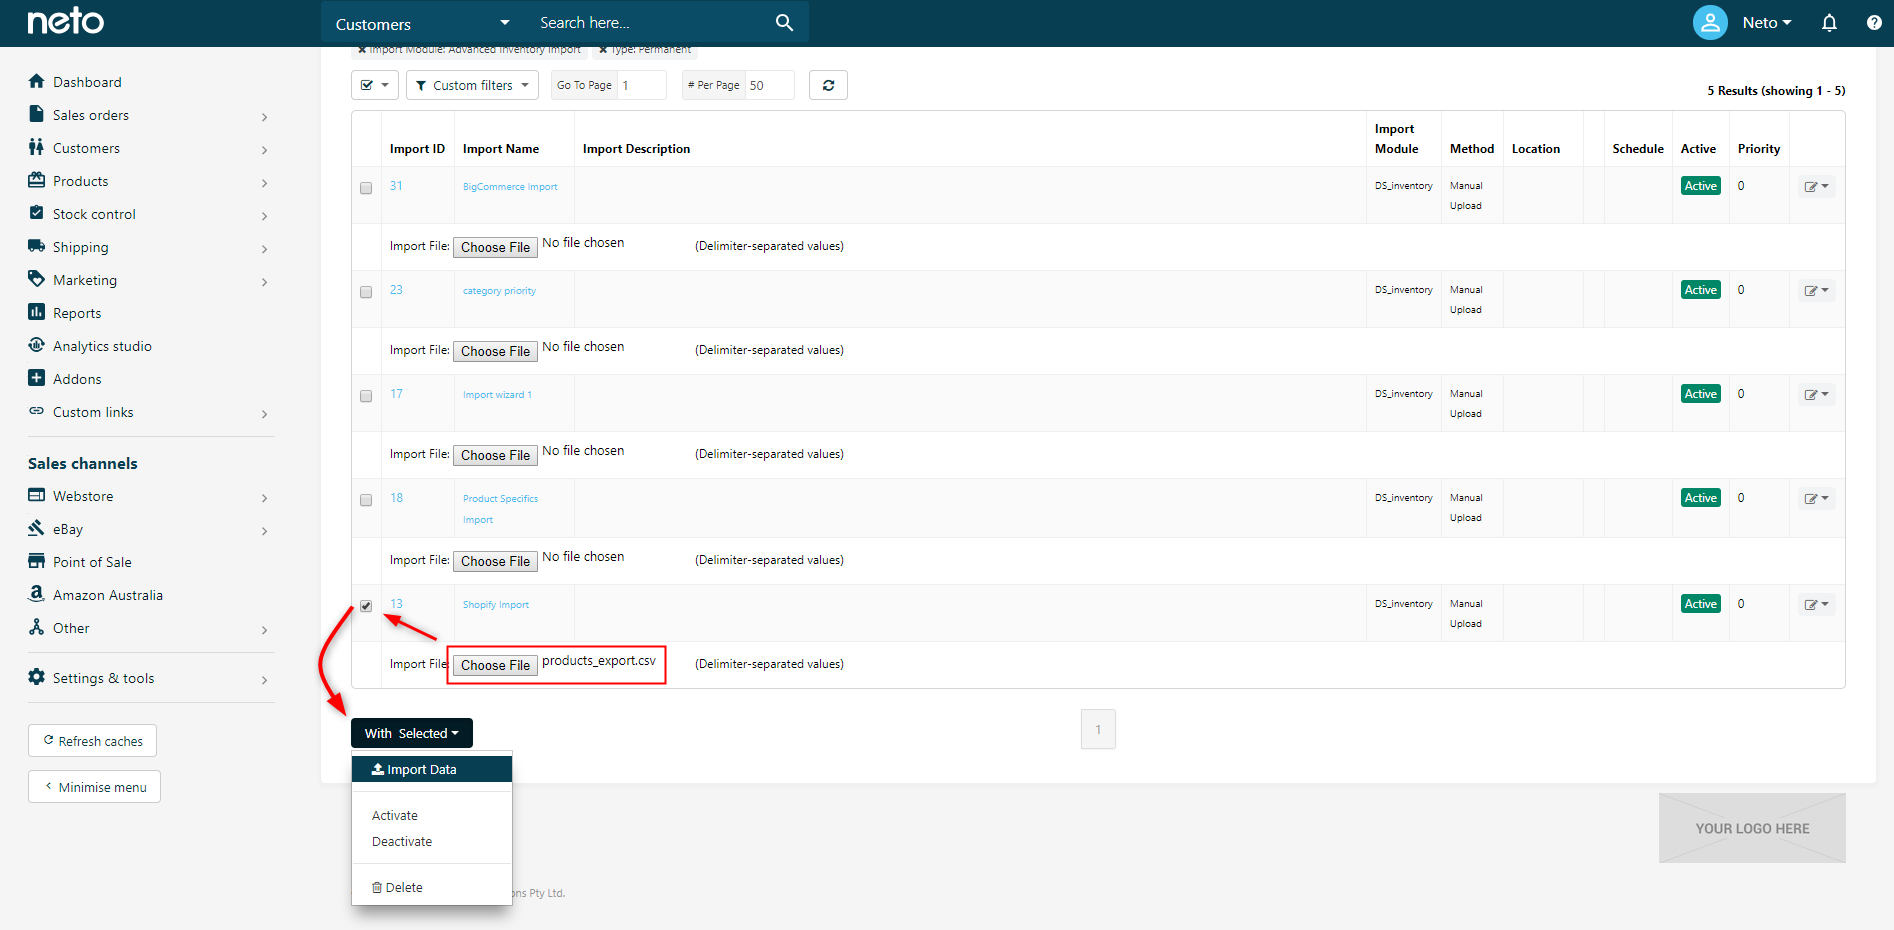
- Navigate to Settings & Tools > Import Data.
- Click Complex Import and choose Use Existing Custom Import Templates.
- Find your Shopify template and click on it to edit the settings.
- Click on the Find & Replace tab and add the four find and replace entries mentioned in the above table, so that it matches the image below.

- Save the template. You can now click Go Back to upload your file again.
Next Steps
Before you start selling product on other sales channels, you may want to update your products further to fill the gaps not covered by this process. You can do this by manually changing the CSV file, performing an export & import from Maropost Commerce, or manually editing products. Some of the steps we suggest are: