
This addon was built by Maropost
Add-ons and Integrations built in-house by Maropost are documented and supported by our customer service team. If you're having issues with this integration, let us know!
There are four steps to add an IPEC shipping option and labels to your Neto control panel.
Import IPEC Shipping Zones
Postcodes and suburbs that are close to each other geographically are grouped into shipping zones. Each zone can then have shipping costs associated with it in the rates table.
The IPEC zones file can be downloaded here.
To import the IPEC shipping zones file, follow the steps in this article.
Prepare your Rates File
IPEC will provide your rates in either a PDF document or a spreadsheet. These steps assume that you have received a spreadsheet. If you have a PDF document, you will need to convert it to a spreadsheet using a service like smallpdf.com
Your first step is to create a rates file that is compatible with Neto, and populate it with your data from IPEC:
- Download the Neto rates template file here and open the file.
- Open the rates file you have received from IPEC as well, and copy the data across to the Neto template file (below the existing data). Use the table below to copy the data into the correct fields:
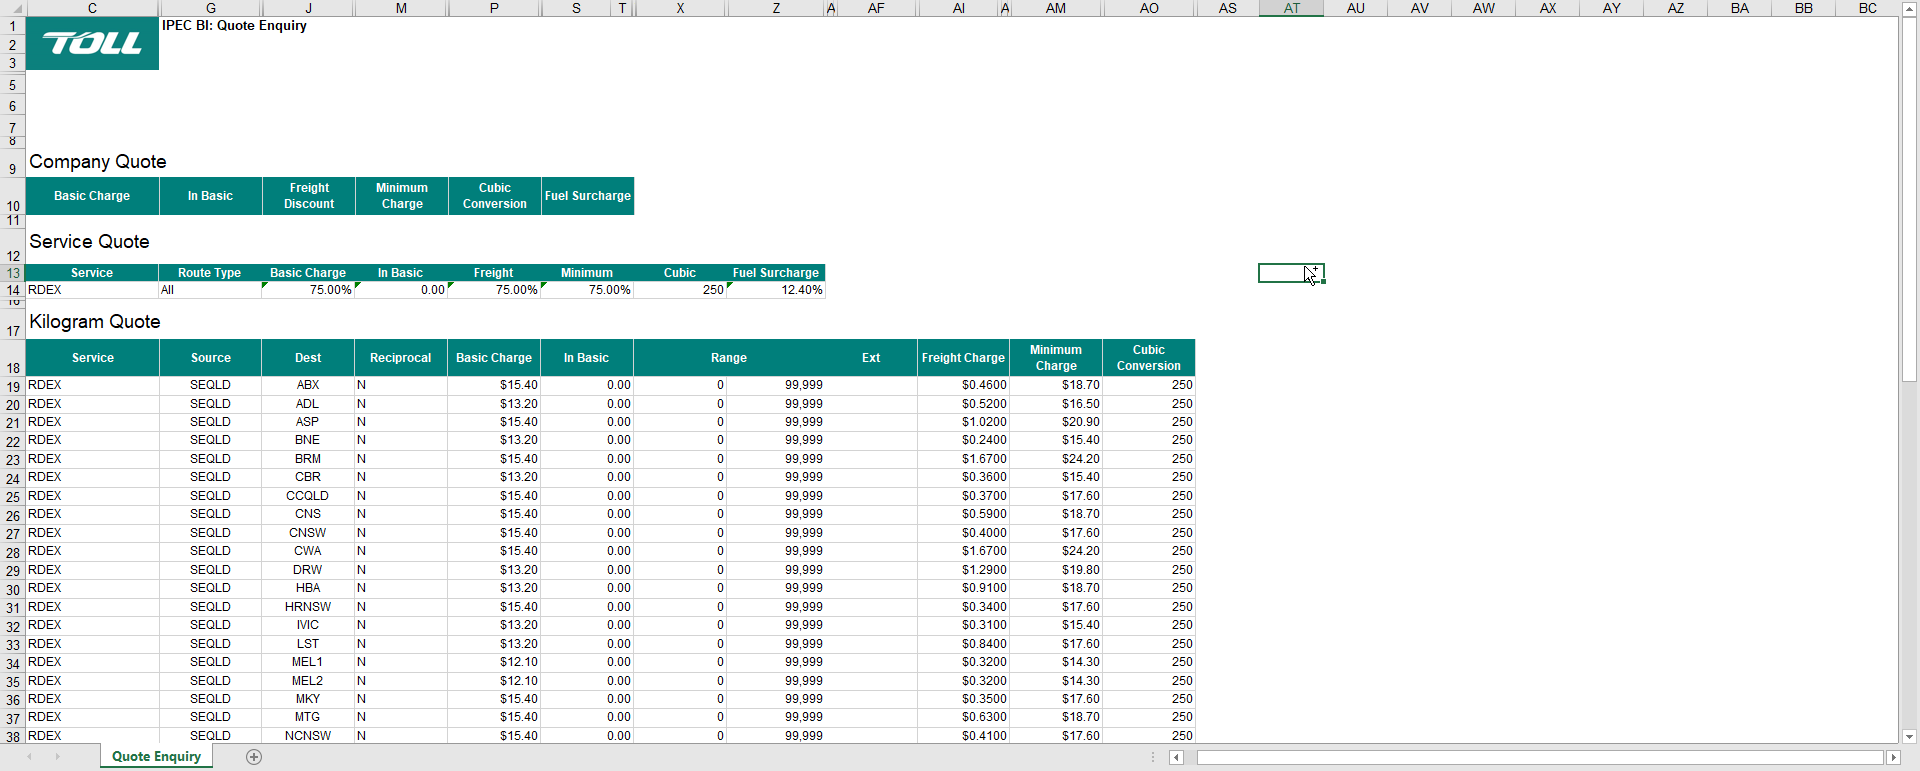
IPEC Column Name | Neto Template Column Name |
|---|
Dest | Zone code |
Dest | Zone name |
Basic charge | Per Subsequent Parcel |
Freight charge | Per Kg |
Minimum charge | Minimum charge |
- Enter
Toll Ipec* into the Courier Name column and copy it down the page for each row. - Sort the zone code column alphabetically using Excel's sort and filter function.
- Your goal is to find the rows where the Minimum charge, Per Subsequent Parcel and per kg fields are empty. For each one that is empty, copy the data from the row above into it.
- Click into cell E2 (1st Parcel) and enter the following formula
=F2+L2.
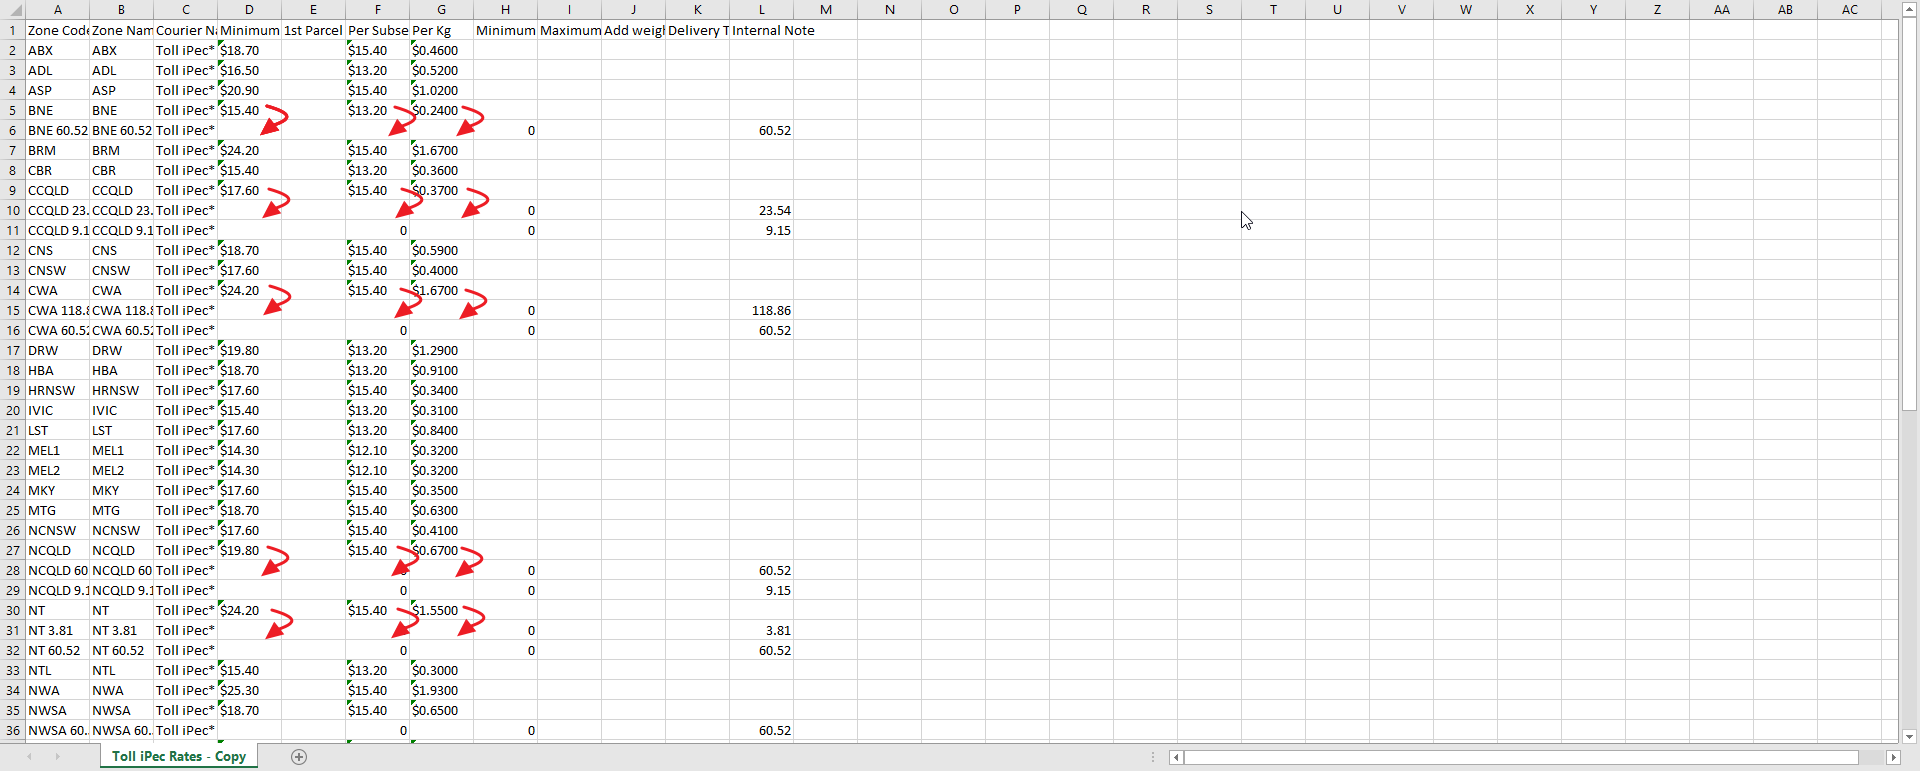
Once complete, you will have no empty fields for these three columns.
Repeat this formula for the entire column (i.e. E3=F3+L3, E4=F4+L4 etc). This will populate the Per Subsequent Parcel cost for most of the rows. Any remote regions that require a surcharge will have their additional cost added from column L.
- Save your Neto rates template file.
With the rate file created, you can now upload this file into Neto.
Create a Shipping Rate Table
The rates file created can be uploaded into a Neto rates table, which works out the cost based on the zone the package will be shipped to. To create a shipping rate table:
- Follow the steps in this article to create your shipping rate table. Use the table below to populate the required fields:
Field Name | Recommended Value |
|---|
Name | Ipec |
Status | Active |
Charge Type | Weight Cubic |
Tracking URL | Ipec |
Round Up to Nearest kg | True |
- The rates file from Team Global Express has other details that also need to be entered into the rate table:
Team Global Express File | Neto Field |
|---|
Fuel Surcharge | Fuel levy (in the percentage field) |
Cubic | Cubic weight modifier |
The other fields can be set as desired, but are fine to be left as their default values.
The Ipec rates table is ready to be added to a shipping option.
Create a Shipping Option
So that the costs can display on your web store or be used on sales orders, you need to create a shipping option.
Follow the steps in this article to create a shipping option.
You'll select the IPEC rates in the Map Shipping Categories section.
Shipping Labels
Complete the shipping carrier label setup form and Neto staff will configure your labels for free.