You can create custom reports to enable data-driven decisions and measure campaign effectiveness through detailed performance analytics. This helps optimize your email marketing ROI by providing insights into campaign performance, delivery statistics, and revenue attribution that identify improvement opportunities.
When properly configured, custom reports streamline your workflow by automating recurring performance analysis and can substantially improve campaign optimization through consistent measurement and tracking.
With the help of Custom Reports, you can generate a summary record depending on the type of report you have chosen. In a custom report, you can filter the information to be included in it, and the report can be generated on a recurring basis. These custom reports can be shared with multiple email addresses as well.
Navigation and Custom Report Management
From the Navigation panel, go to Analytics and select the Custom Reports option. The index page contains all of your previously created custom reports. Also, you can create a new one by clicking the New Report action button. The Index page consists of the following details:

- Name: Displays the name of the custom report.
- Type: Classifies the report category.
- Status: Mentions whether the report is being generated on a scheduled or recurring basis.
- Updated At: Determines the date and time at which the custom report details were created or modified.
- Actions: Allows you to duplicate, download, report, delete, and edit a particular custom report.
Note: You can make changes to a recurring report via the Actions tab. For a scheduled report, however, you’ll need to duplicate it and then edit the report accordingly.
Viewing Custom Reports
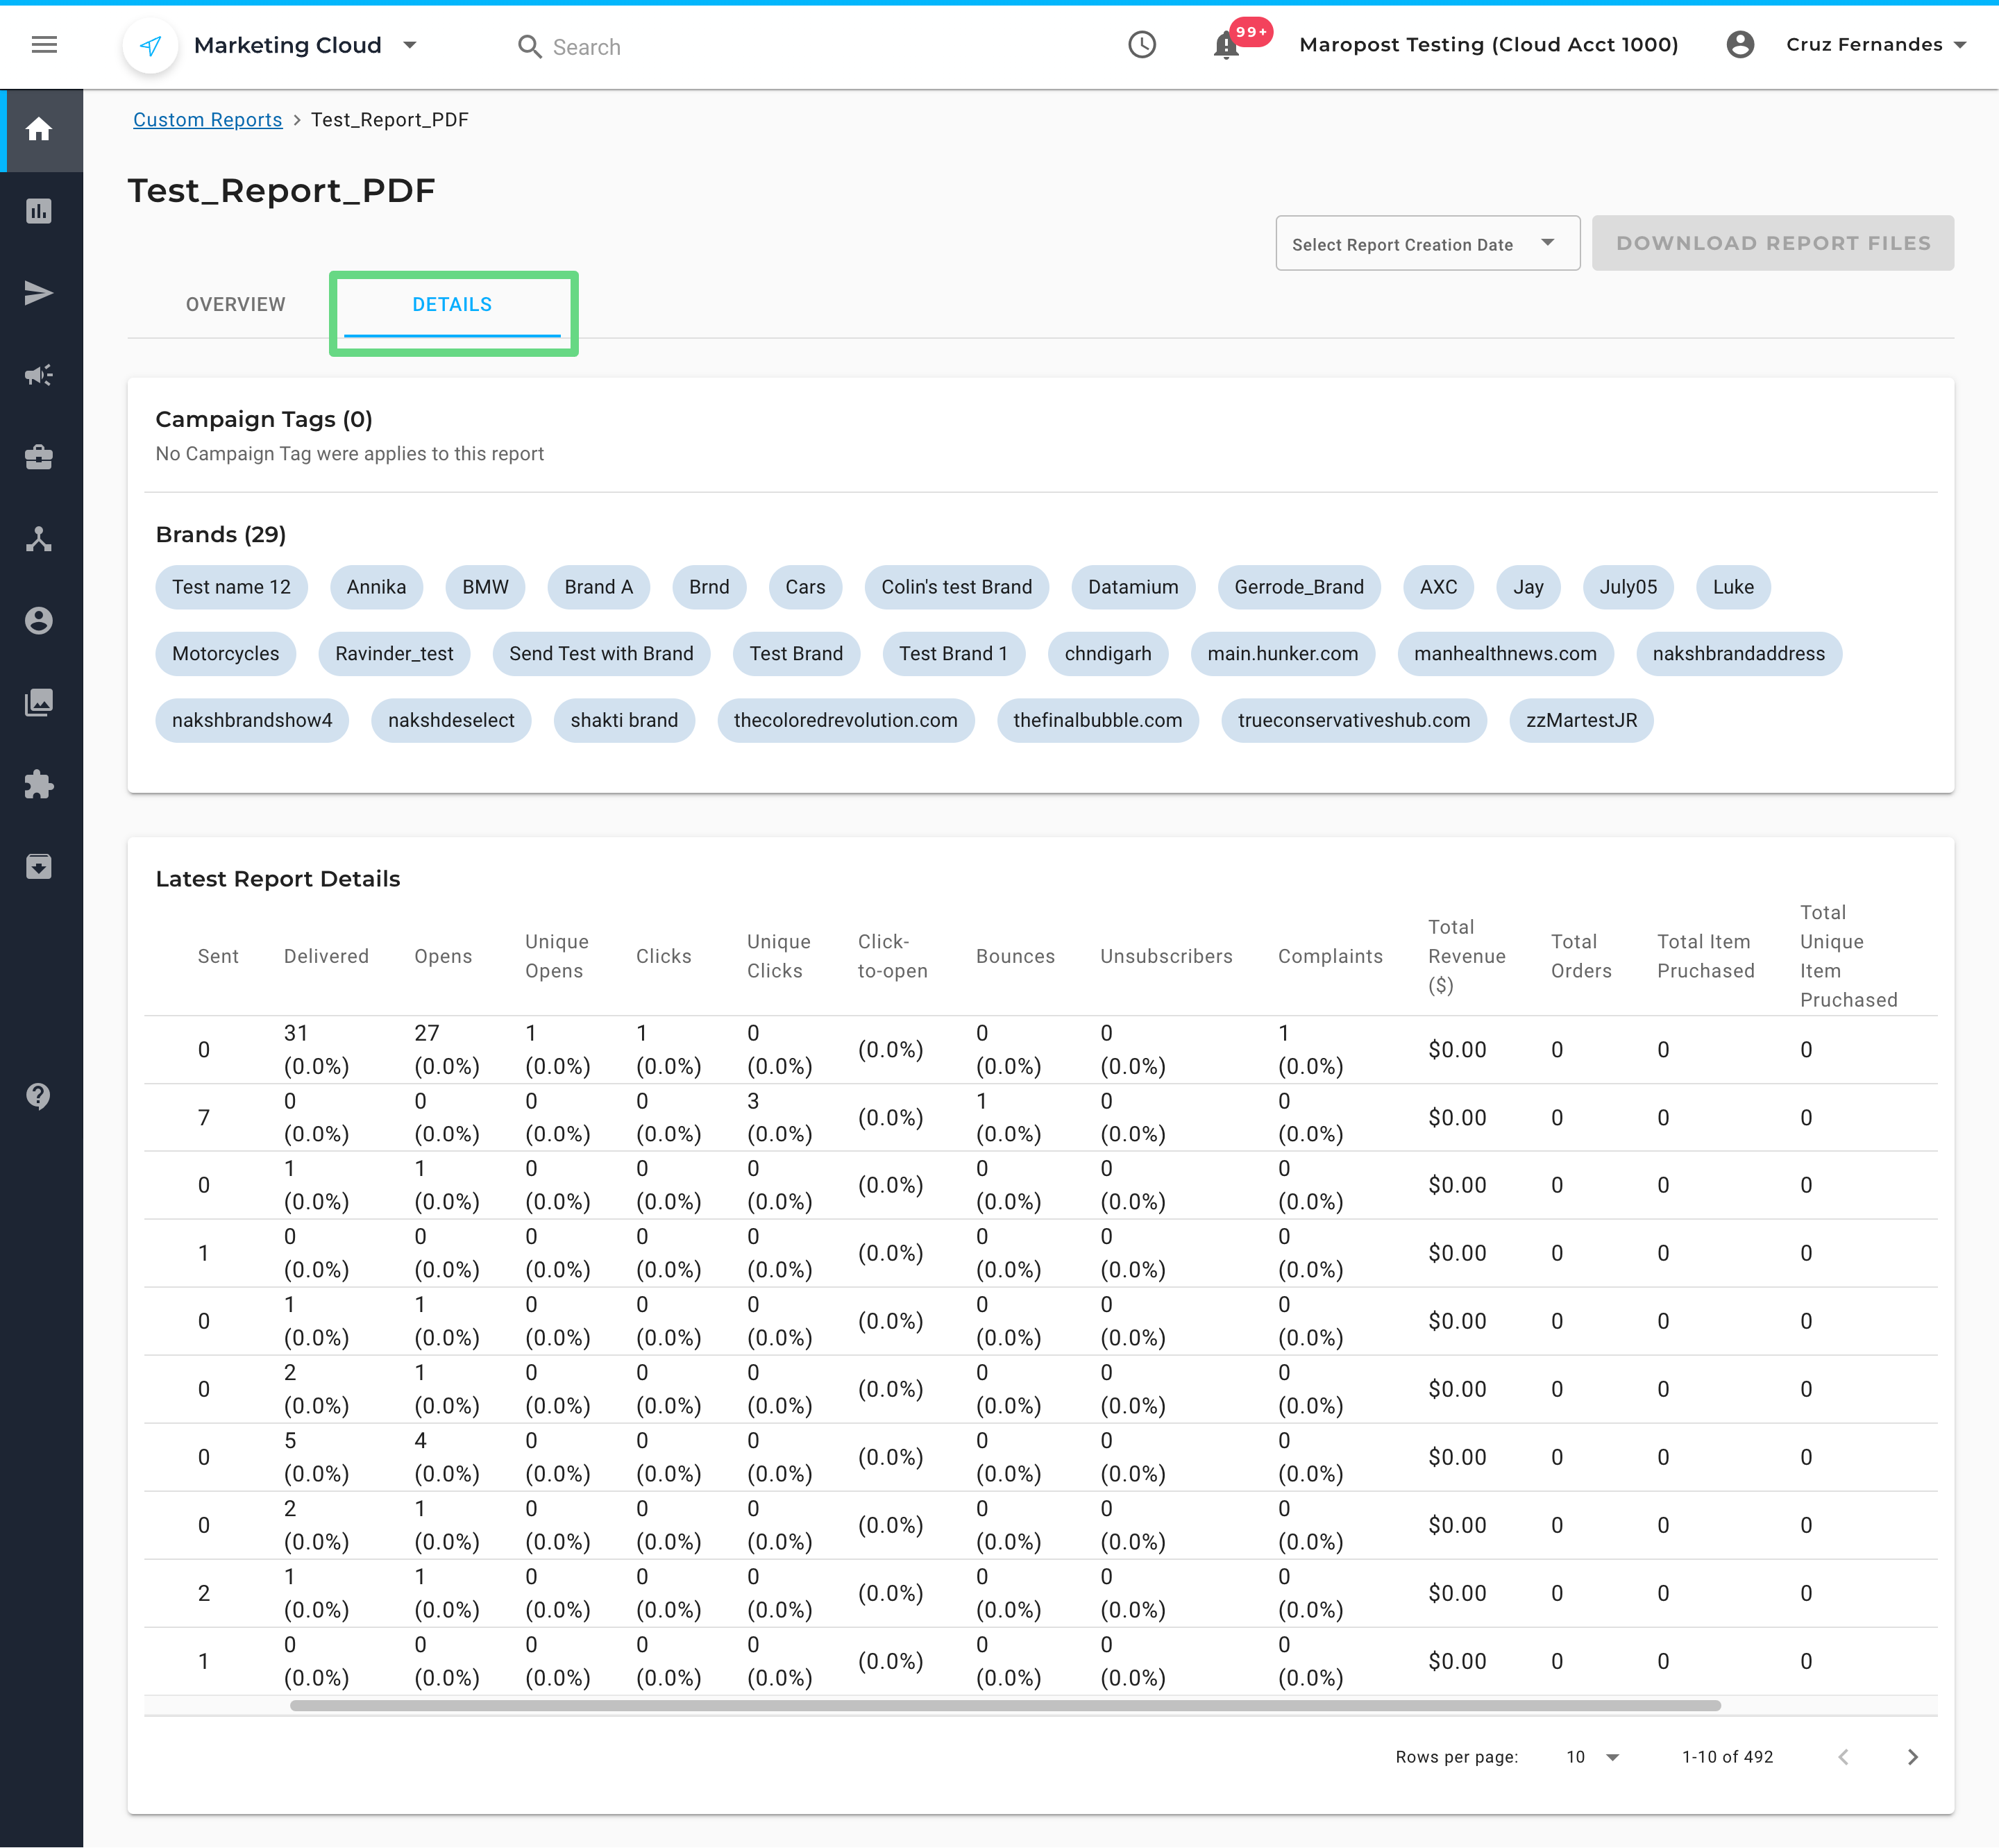
Once the report is generated as per the specified date, you can click on the campaign name from the index page and view its information in the following format:
Overview section: Displays insightful data such as the total revenue generated from the campaign, overall user interaction, delivery-related statistics, and many other response metrics. The overview page reflects the effectiveness of the campaign that you have sent.

Details section: Displays the total delivery and response metrics for each campaign in the report. You can jump to any campaign’s report by clicking on the campaign name. Apart from campaign reports, you can check the campaign tags and brand details that you have filtered while creating the campaign.
Types of Custom Reports
Below are the types of custom reports you can create in Marketing Cloud.
Related Articles
Campaign Performance:
Advanced Analytics:
Campaign Optimization: