With a few simple steps, you can create an integration setup between Maropost Marketing Cloud and Neto By Maropost. Once created, the integration automatically imports and synchronizes orders and customer information from Neto to Marketing Cloud.
Note: The integration imports important information, such as customer data and order details, from Neto. It also imports Neto subscribers who have opted for your newsletters.
You can connect multiple Neto accounts with a single Marketing Cloud account; however, you cannot connect a Neto account to multiple Marketing Cloud accounts.
Synchronization Features
The following table shows what information is synchronized between Neto and Marketing Cloud:
Section | Synchronized Data |
|---|
Customers | - All customers are synchronized, regardless of whether they have made a purchase or not.
- Email and SMS Subscription status (subscriber or non-subscriber).
- Fields:
- Email
- First name
- Last Name
- Status
- Custom fields
Note: The phone number can be synced as a custom field.
|
Orders | - Orders are synchronized once an hour.
- Order status.
|
Abandoned Carts | - If a customer has abandoned their cart.
|
Recommendations | - Price
- Description
- Image
- Store URLs
- Image URLs
- Category (as per below)
|
Product Catalog | - The catalog will need to be imported via CSV upload. Any changes to the catalog in Neto will require products to be reimported.
- Categories: one product per category, randomly selected from the list of categories the product is assigned to.
|
The "Status" field in Marketing Cloud denotes a contact's email and SMS list subscription status. If the status is "true," the contact has subscribed, and if the status is "false," the contact has unsubscribed from the email or SMS list.
Managing Your Neto Integrations
On the Neto Integration index page, you can create new and manage existing integration connections. In Navigation, go to Integrations, and then on the Integrations page, select Neto By Maropost.
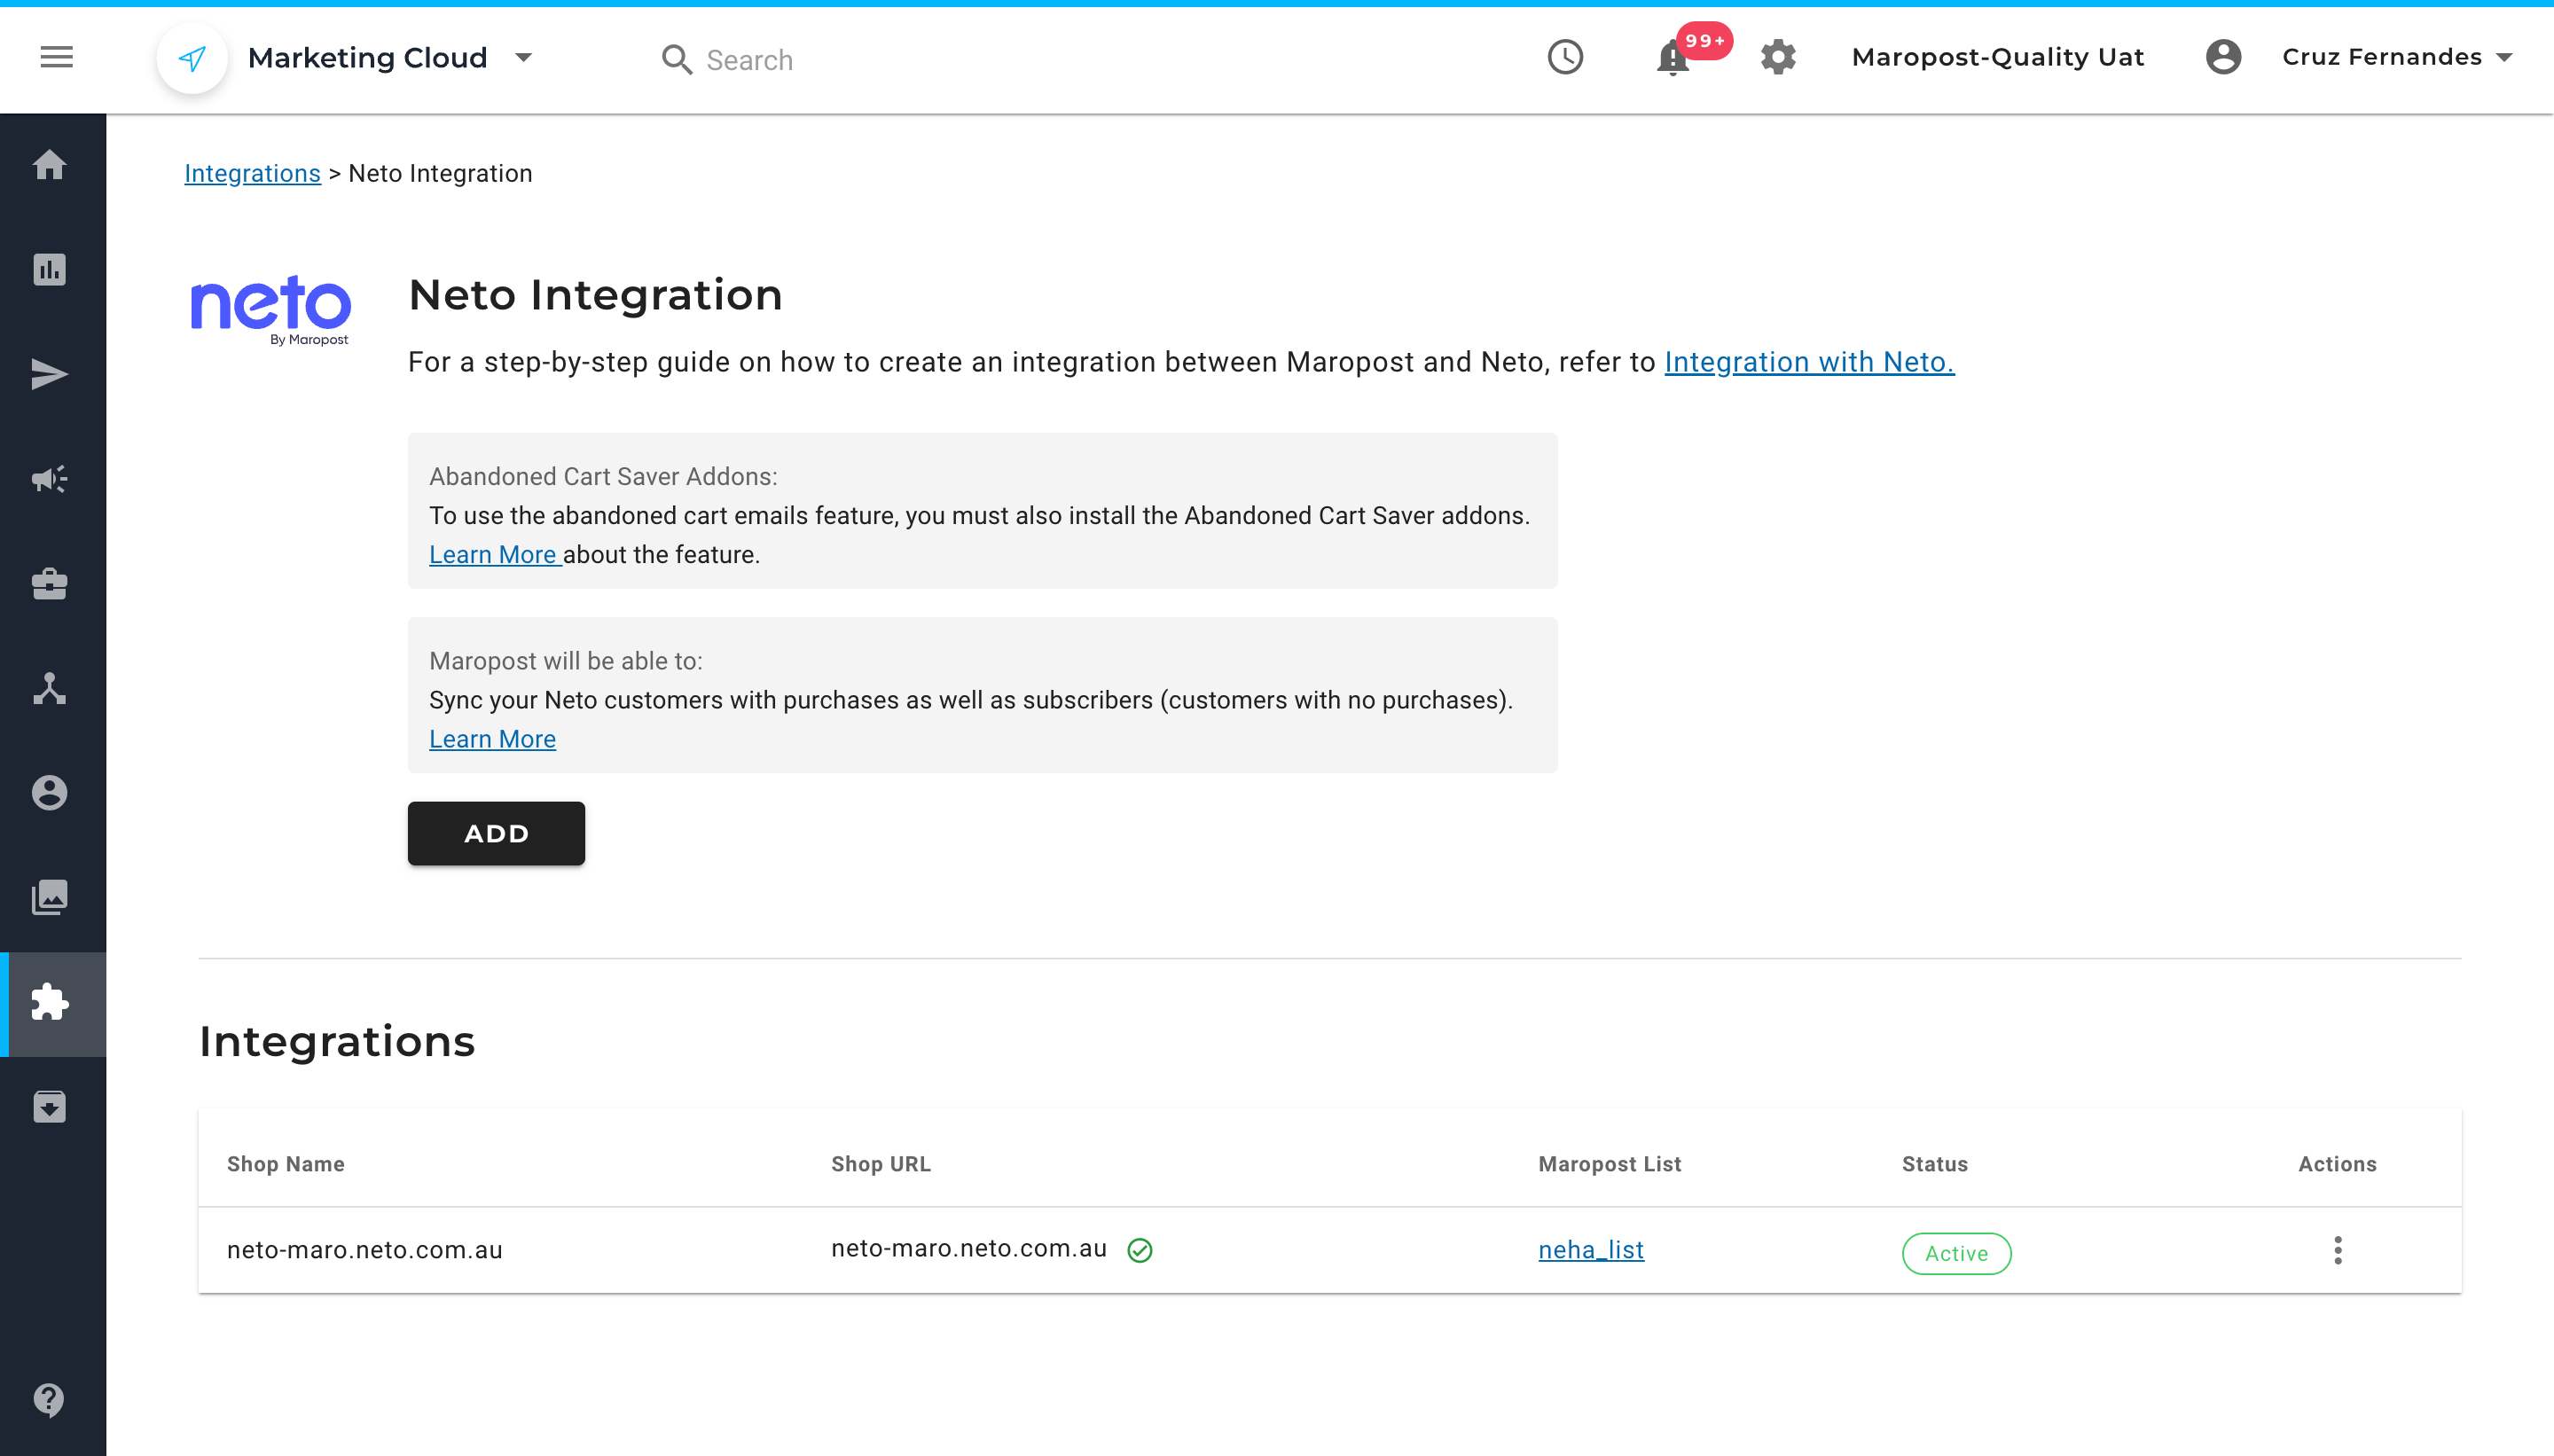
The Actions drop-down menu lets you edit the integration settings. You can update the list name, but not the store URL.
Creating an Integration With Neto
Perform the following steps in Maropost Marketing to create an integration with Neto:
- In Navigation, go to Integrations, and select Neto By Maropost.
- If this is your first Neto integration, the Integration Settings dialog box opens. However, if you already have any previously created integrations, the Neto Integration index page opens, where you can click the Add button to open the Integration Settings dialog box.
- On the Integration Settings dialog box, enter your shop name and Neto store's URL. Then, in the Integrate with Maropost List text drop-down list, select the Maropost for Marketing list to which you want to import the Neto purchasers and other details.

- If a customer has abandoned their shopping carts and you would like to send emails to alert them of their pending purchase, select the timing information under the Abandoned Cart Delay section. This option allows you to send timely reminders to your potential customers and nudge them to complete their orders.

Note:Neto will trigger an alert and notify the account owner if a user leaves their cart abandoned for approximately an hour. Maropost Marketing Cloud fetches abandoned cart information from Neto accounts every 30 minutes. - You can also select the Sync historical data checkbox to import the historical data from Neto to Maropost Marketing.
- Optionally, if you want to import more Neto data than what the integration imports by default, use the Custom Field Mapping section to import custom fields created on your Neto account to the Marketing Cloud custom fields.
Note:With the help of frontend and backend implementations, customers can manually create and map fields (including custom fields) in their Marketing Cloud accounts.

Note:The "Custom Mapping" functionality imports additional Neto information, such as username data, login credentials, email addresses, personal details registered on Neto, identification and registration information, payment settings, website URLs, order, invoice, and shipping data, and any additional custom sections created on Neto accounts. - Click Connect.
- You’ll be prompted to log into your Neto account (if not already logged in), and once authenticated, the integration is created.
Verifying Imported Data in Maropost Marketing
Once you have the integration set up, the orders and the purchaser data start flowing into your Maropost Marketing account. The purchasers are added as contacts to the Maropost list that was selected during the integration setup, and their order details are included as part of the contacts’ engagement record.
To see the imported contacts in your Maropost Marketing account, do the following:
- In Navigation, go to Audience, and select Contact Lists.
- On the Contact Lists index page, find the list that you have selected during the integration setup.
- From the Actions menu, select View Contacts. The List Contacts page shows all the contacts added to the list. You’ll find the details of the contact imported from your Neto account.

To see the imported order details, do the following:
- Follow the steps listed above to go to the List Contacts page.
- On the List Contacts page, click the email ID of the contact in the list to see a 360-degree overview. The customer engagement journey on the contact overview page shows the order details imported from Neto, which include the latest order status. For more information on the order statuses, see the Sales Orders Overview article.
