The Contact 360 Overview page displays a consolidated view of a contact’s information in a single place.
It provides insights into a contact's engagement with your emails/SMS messages, products, or services at an individual level, without requiring them to click through multiple pages or tabs. You can also manage the contacts in various lists by adding or removing them, thereby subscribing or unsubscribing them from the lists altogether.
Note: The Tickets tab and ticketing metrics on the overview page are visible only with a Maropost Service Cloud subscription.

Viewing the Contact 360 Overview page
To quickly access the 360 listing of a specific contact, use the Contact Search widget on the Dashboard. (For more information, see the Contact Search section in the Dashboard Walkthrough article.) The overview page can also be viewed from the contact module and the contact list section. Here’s how:
- To view a contact’s overview page, visit CDP > All Contacts from the navigation panel.

- The Contacts index page displays a list of all contacts registered by the system. Select a contact from the list to be redirected to its overview page.

- Furthermore, go to the navigation panel and click on CDP > Contact Lists.

- The Contact Lists index page shows all the lists created in the account, which contain both email and SMS subscribers. To view all contacts in a specific list, select View Contacts from the Actions drop-down menu.

- The Total Contacts page displays all the contacts in the list. Click on a contact to view its listing page.

Breakdown of the Contact 360 Overview Page
Contact Card
The contact card shows all the attributes (such as UID, name, phone number, city, creation and modification dates, etc.) associated with a contact at a glance. You can edit and delete the contact by clicking on the vertical ellipsis (⋮).
Important: As per GDPR guidelines, you can erase a client’s record in response to a customer’s request. To learn more about this regulation act, read our Exercising the Right to Erasure article.

While editing the contact details, you can show or hide the default and custom contact fields and rearrange their order. Any changes made to the contact field arrangement are applied to all the contacts.

Note: The "Email" field is a mandatory option. It can only be edited and is displayed by default under the contact's name.
Customer Interaction Cards
The interaction cards in the Overview section provide quick insights into the contact's dealings with your brand through the following metrics:
- Response Rate: The frequency with which the contact opens and interacts with your email and SMS campaigns.
- Ideal Response Time: The ideal time it takes for the contact to open the email and SMS campaigns.
- Lifetime Value: The total spending done by the contact. It also displayed the total average expenditure of all your contacts.
- Number of Orders: Number of orders placed by the contact. It also displayed the total average orders placed by all your contacts.

Clicking on the Orders interaction card displays additional details about the contact’s order list. The order details page includes the order number, order status, total order value, order date, and the source from which the order details were captured.

Under the Campaigns section, you can find a drill-down report on a list of email and SMS campaigns sent to a contact. The Details tab provides additional campaign information. It also displays the current status for each campaign and allows you to resend them as needed, depending on your marketing strategy.

If you have subscribed to our Maropost Service Cloud application, an additional Tickets section will be visible on the contact’s 360 listing page.

The Orders tab shows all the orders placed by the contact. The order information includes the order item details, order total, and shop URL. For Neto and Shopify orders, you also have the option to navigate the store and view the order quickly.

If you have set up a cart integration with your account, you can access the Abandoned Cart List section to view a list of carts currently abandoned by customers on your Shopify, Neto, and ClickBank stores. It includes information like the cart ID, store name, its website URL, cart value, and the date and time at which the cart was abandoned.

Note: To acquire abandoned cart information from your Neto, Shopify, and ClickBank stores, kindly integrate your store accounts with your Maropost Marketing Cloud accounts. To learn more about integrations, kindly visit and read our Neto, Shopify, and ClickBank integration articles.
For Neto and Shopify accounts, click on the More Info tab to see the various products, their quantities, and pricing details for a particular cart. To view the cart details for a ClickBank account, you must click on the store URL link to view the product information directly.

We have also made provisions to send timely notifications (via campaigns) to customers whenever they leave their cart before checkout. Remember to create an abandoned cart journey template from your Marketing Cloud account to initiate such reminders. Once the campaign is sent, you’ll see its highlighted status below the cart value. More importantly, if the campaign is not sent, you’ll see its status being grayed out.

To learn more about creating such journeys, visit and read the Abandoned Cart Journey Template article.
Customer Engagement
This section gives a detailed account of each customer interaction with your campaigns or brand, listed in chronological order from most recent to oldest.
The contact's engagement section is subdivided into three sections:
- Emails: Important email customer engagement metrics such as Sends, Opens, Clicks, & Bounce rates are shown here.
- Orders: The order name, the order's total cost, the purchased products, and the order date are displayed. Besides, metrics such as Orders Placed, Product Purchased, Total Items Purchased, & Total Revenue give you a brief synopsis of a contact’s overall contribution towards your business.
- SMS: Similar to the “Emails” sub-section, insightful parameters such as Sends, Opens, Clicks, & Bounce rates are shown along with an option to review the SMS campaigns you’ve sent.
Additionally, web tracking data, such as website visits and web sessions, gives a comprehensive understanding of how effective your marketing efforts are in reaching out to a broader audience.

For email campaigns, a Re-send Campaign tab is available, thus making it easier to resend the campaign to a contact with just a click. You can also view a list of recently sent email campaigns and journey attributes (such as name and trigger dates) by clicking the Details tab.

The "Resend" option will not be available if:
- The campaign gets hard-bounced.
- The campaign is sent through Journey.
- The contact has added themselves to the DNM list.
You can use the Filters menu to see broad-term engagements based on your selection.

The filters enable you to view engagements for a specific date range, and you can select or deselect the engagement types as per your requirements. Click on Apply to save the changes made.

List Management
In this section, the lists (email and SMS) are color-coded to show whether a contact is subscribed or unsubscribed from a list. You can insert or remove contacts from multiple lists and manage their subscription status as well.
The following steps explain how to manage contacts in a list:
- Under the Lists card, click the Add to Lists button (if the contact is not added to any email or SMS list) or the edit icon (if the contact is added to at least one email or SMS list) in the Lists section.

- On the Manage Contact Lists slider, you can do the following:
Under the Unselected Lists tab, select the lists to which you want to add the contact. The selected lists are moved under the Selected Lists tab.
Under the Selected Lists tab, deselect the lists from which you want to remove the contact. The deselected lists are moved under the Unselected Lists tab.
Similarly, use the toggle button to subscribe or unsubscribe the contact to an email or SMS list. Save the changes made to the list.

Note:You must first add a contact to a list before you can subscribe the contact to the list. When you add the contact to a list, the subscription toggle is turned on by default. - Subsequently, you can also add the contact to the Do Not Mail (DNM) list for email and SMS, respectively, by enabling the "Add to Do Not Email List" and "Add to Do Not SMS List" toggles. For contacts added to the DNM list, you can see the reason/method by which the contact has been added to the DNM list. For example, if the contact was added to the DNM list using the toggle button, the reason is displayed as “Manual Entry.”

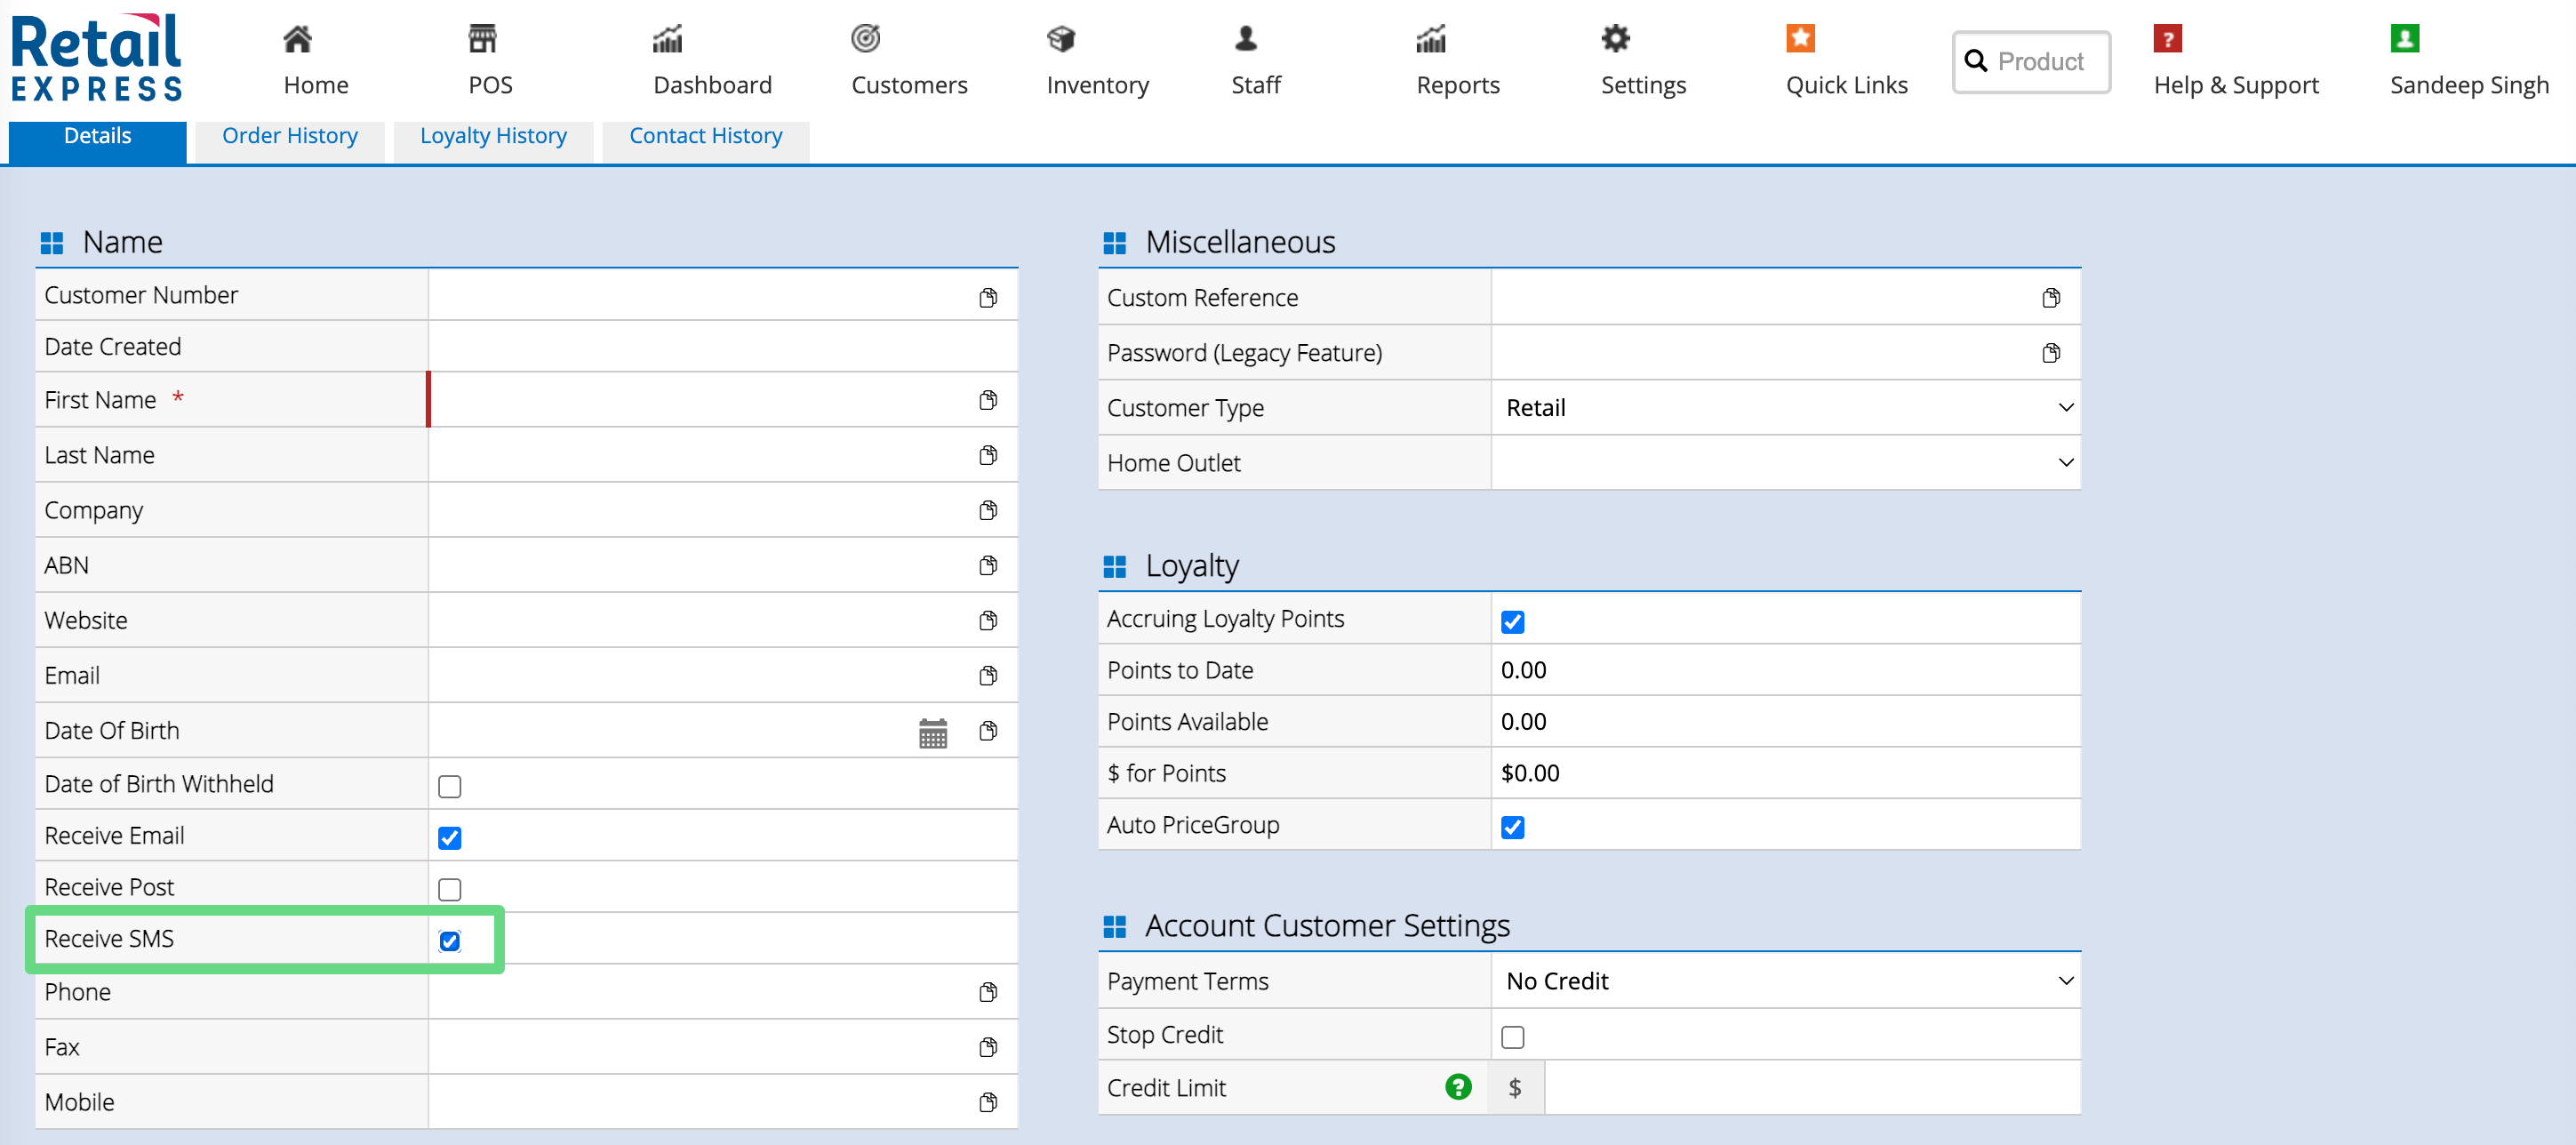
When you select the "Receive SMS" checkbox on your Retail Express account, Maropost syncs it with the primary contact field in Marketing Cloud, as chosen by you.
If a contact decides they no longer want to remain subscribed to your SMS campaigns, simply uncheck "Receive SMS," and Marketing Cloud automatically adds them to the Do Not SMS List, thus ensuring they won't receive future SMS messages.
Contact Tag Management and Branding
Furthermore, each contact can be labeled with various tags and brands to fulfill certain requirements.
You can click the Add to Contact Tags button (if the contact is not added to any tags) or the edit icon (if the contact is added to at least one tag) in the Contact Tags section. You can assign contacts to multiple tags as desired. With the help of such tags, you can easily fetch contacts to create segments and onboard them to group-specific surveys or journeys. To learn more about classifying contacts based on your needs, read our Contact Tags article.

Similarly, to associate a contact with a brand, you must first add the contact to a list and assign the list to a brand. Upon completion, the Brands section will display the brand names associated with the contact. To learn more about the importance of branding in the context of business marketing, read our Brand Management article.

eRFM Analysis
In the eRFM section, you can view the RFM (recency, frequency, monetary) group to which the contact is currently assigned. The “RFM Group” status depicts the contact's importance in terms of their purchase history and financial contribution to your overall business, while the “Engagement Level” reflects the degree of a contact's activity with your campaigns, including page clicks, journeys, and notifications. Maropost updates both the RFM and engagement status for each contact on a daily basis.

To learn more about such analytics-based reporting, read our Unlock Customer Insights with eRFM Analysis article.
Keyword Management
Contacts that consistently use specific texts or phrases (keywords) in response to SMS communications are typically added to a Do Not Mail (DNM) list or unsubscribed/subscribed from a list linked with that keyword.
The Keywords section in the 360 overview page displays words that a contact frequently uses in response to an SMS message you sent.

You can associate contacts with specific keywords through promo code/coupon offers, price change alerts, purchase reminders, and other means. To learn more, read our Mobile Keywords article.