Email Re-Engagement Journey templates can be used to create journeys for sending timely updates to customers who have been inactive lately for a while (i.e., for over 90 days).
Usage Scenario
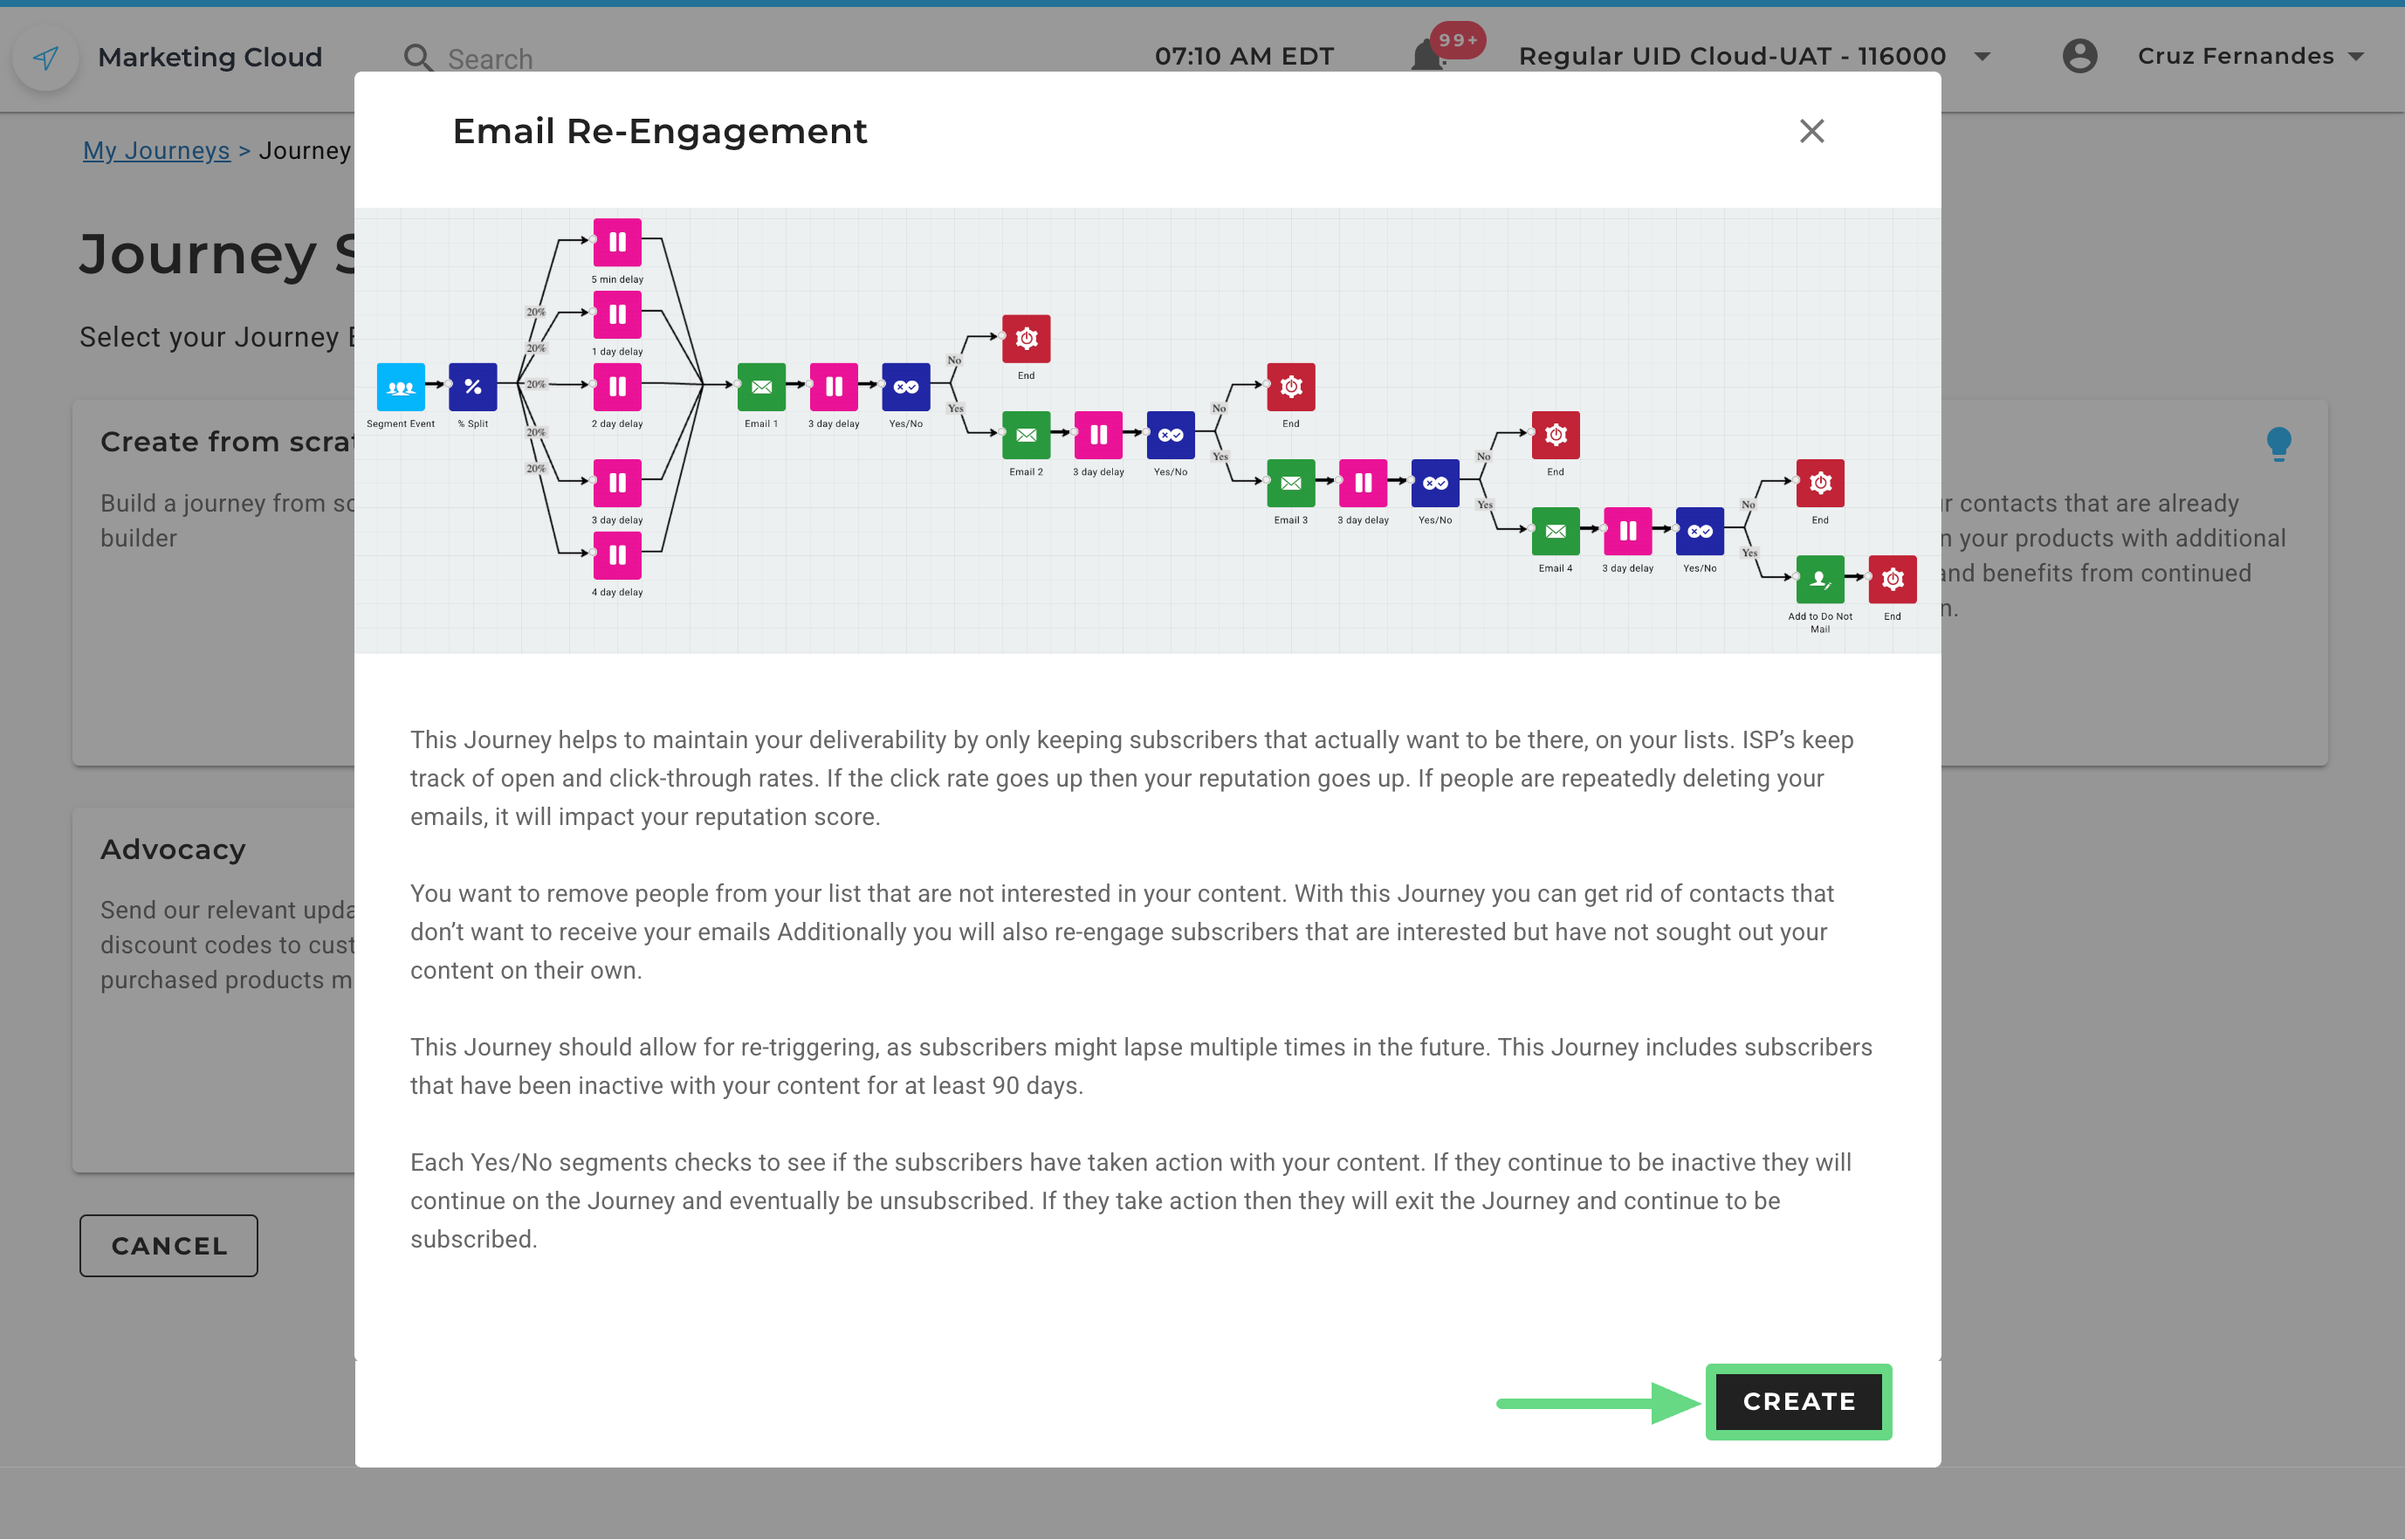
Your main objective is to maintain a high degree of reputation with your Internet Service Provider (ISP) by sending genuine and relevant information to the user’s inbox. By doing so, you increase the click rate of your incoming messages, which are opened and read by users who are actually interested in engaging with your business, and as a result, you achieve high deliverability in the process.
Apart from this, you also want to remove contacts that aren’t interested in reading your emails, as you run a risk of ISPs flagging your emails as “SPAM,” which can lower your reputation score.
The journey works on a “Yes / No” scenario and checks whether the subscriber has taken any action with your emails over the course of time. If they fail to interact, they shall continue on the journey and eventually be unsubscribed. However, if they promptly respond to your emails, they will exit the journey and remain subscribed to your promotional drives.
Before You Begin
In order to use the Email Re-Engagement Journey template, you must already have:
Segment: This action will trigger the journey for specific customer groups who have been inactive with your business or your email/SMS content for some time. To learn more about the segmentation process, read our Next-Gen Segment Builder article.
Branded List: It allows you to send brand-specific campaigns to contacts, thus allowing them to unsubscribe from a particular brand rather than unsubscribing from all lists in an account. To learn more about this feature and its overall implications in contact management, read our Brand Management article.
Email Content: These are the customizable messages or content used within the email campaigns to trigger the journey. To learn about email content, see Content Builders: Overview.
Step-By-Step Process
The Email Re-Engagement Journey template consists of two parts. The first is to configure the journey settings, and the second is to set the trigger and the email content to be sent.
Configure Journey Settings
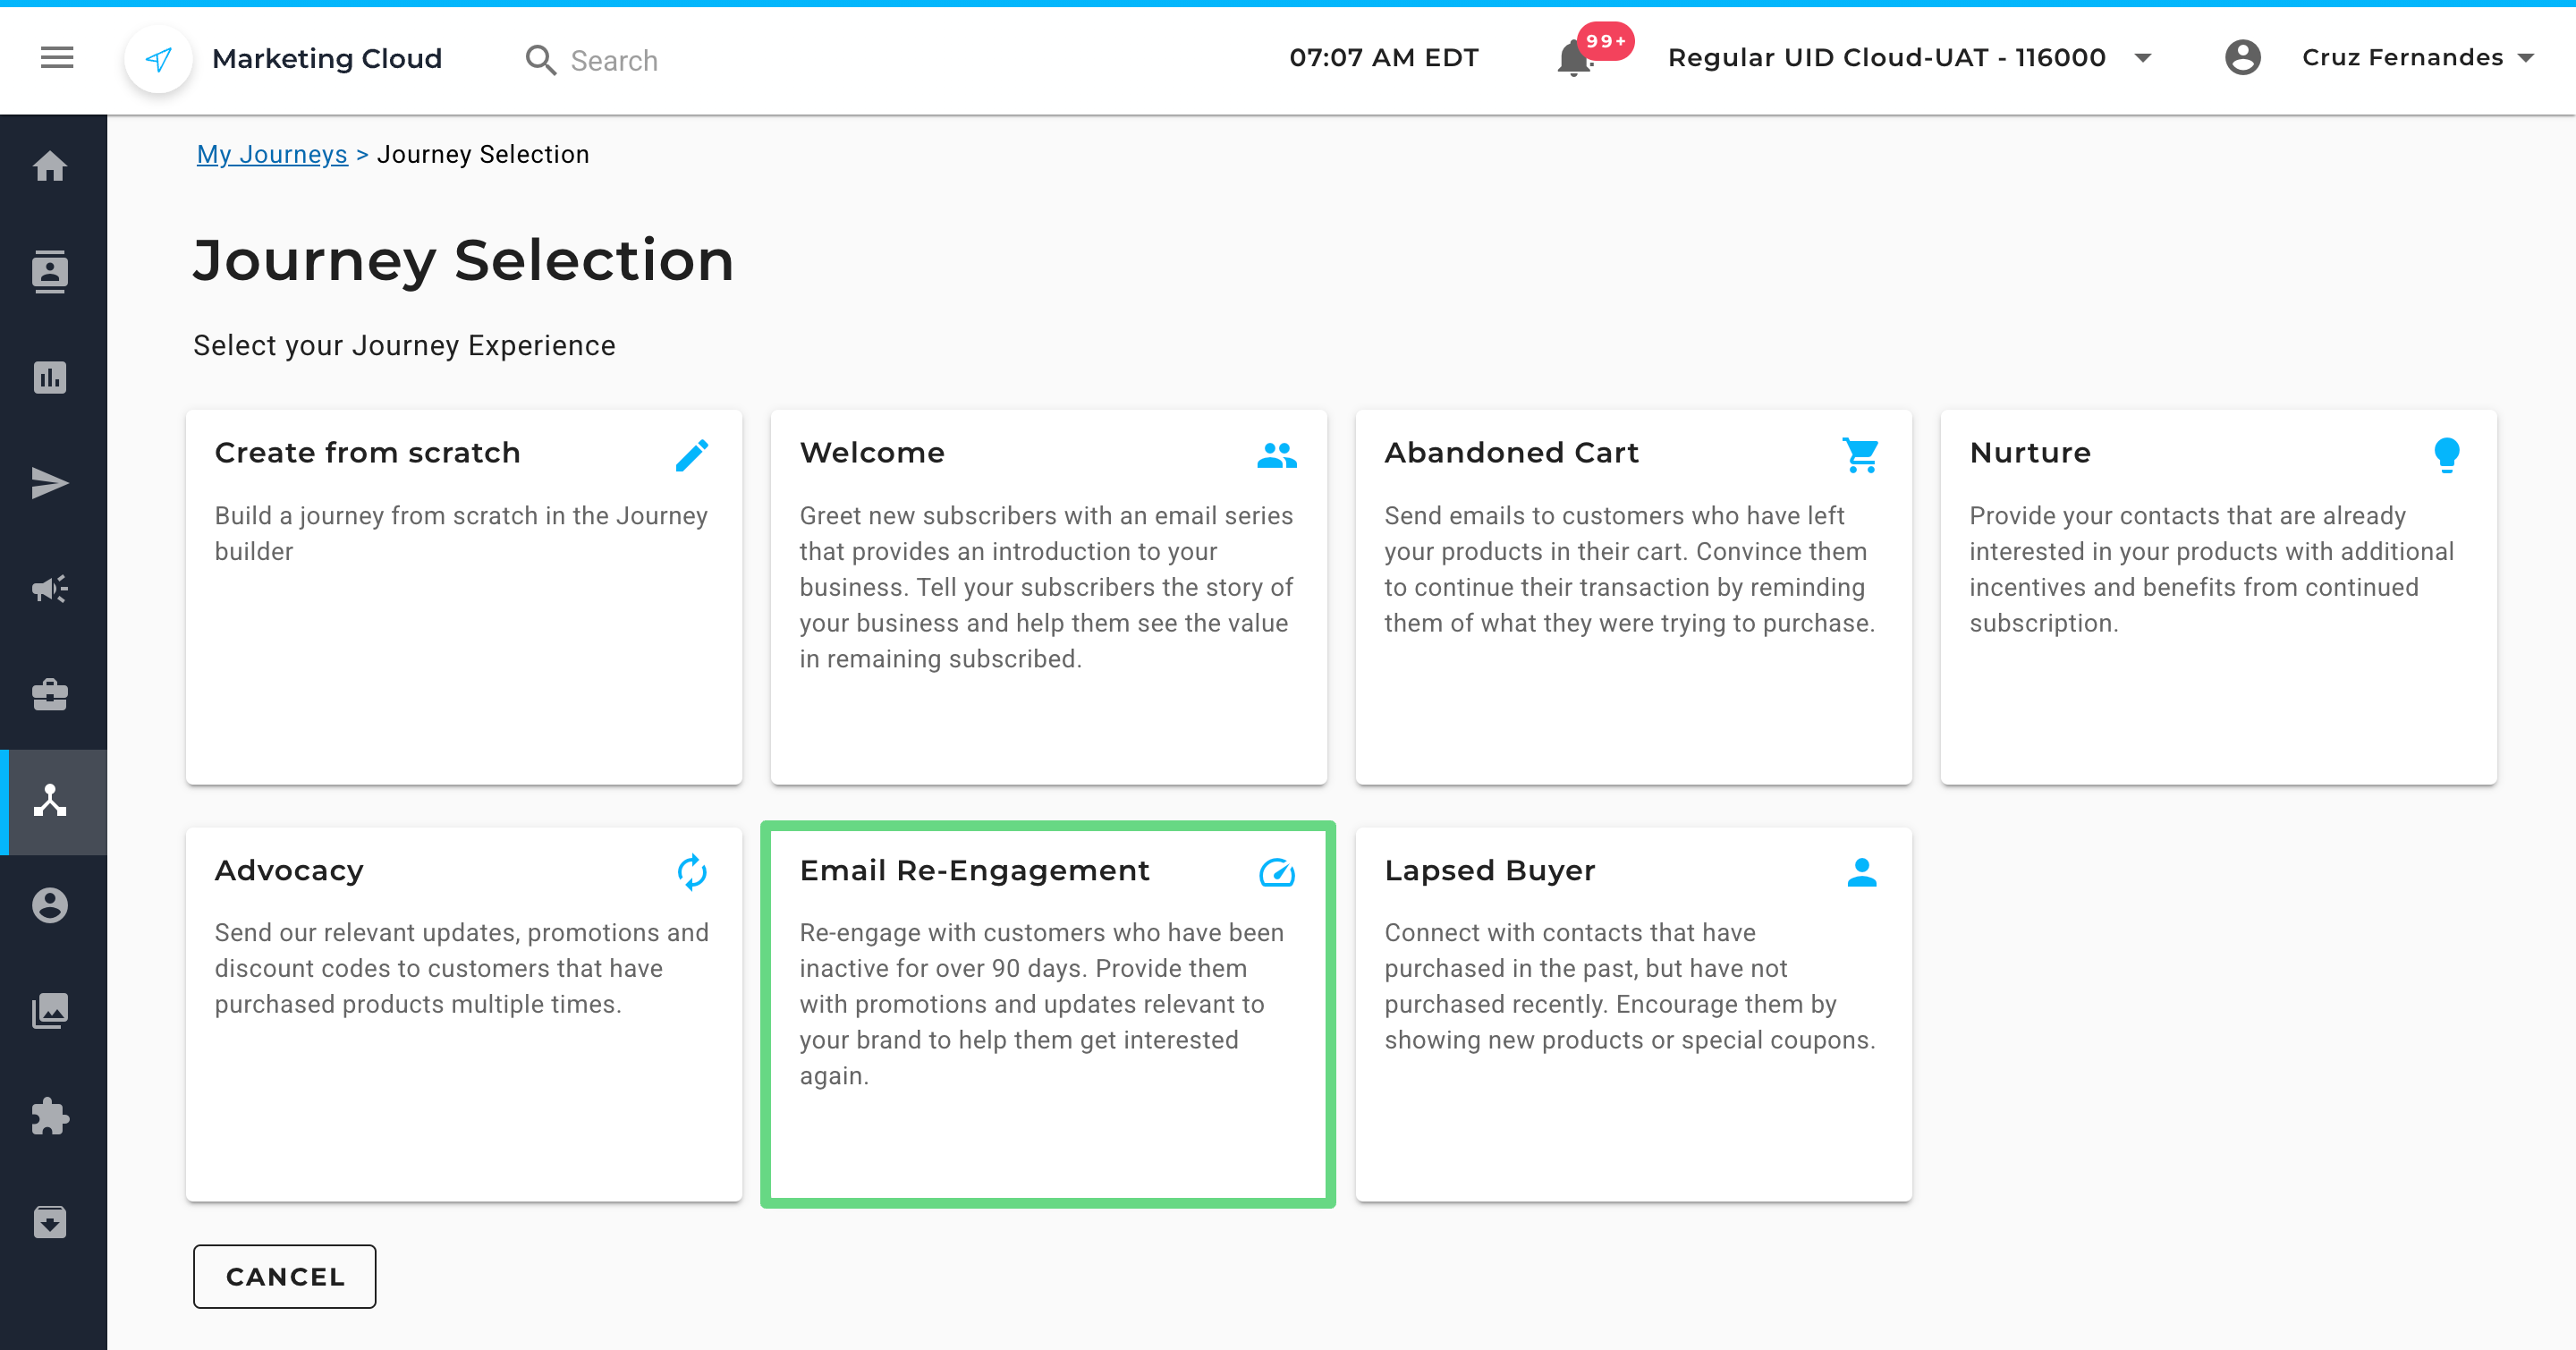
1. On the Journey Selection page, select Email Re-Engagement.
2. Click on Create.
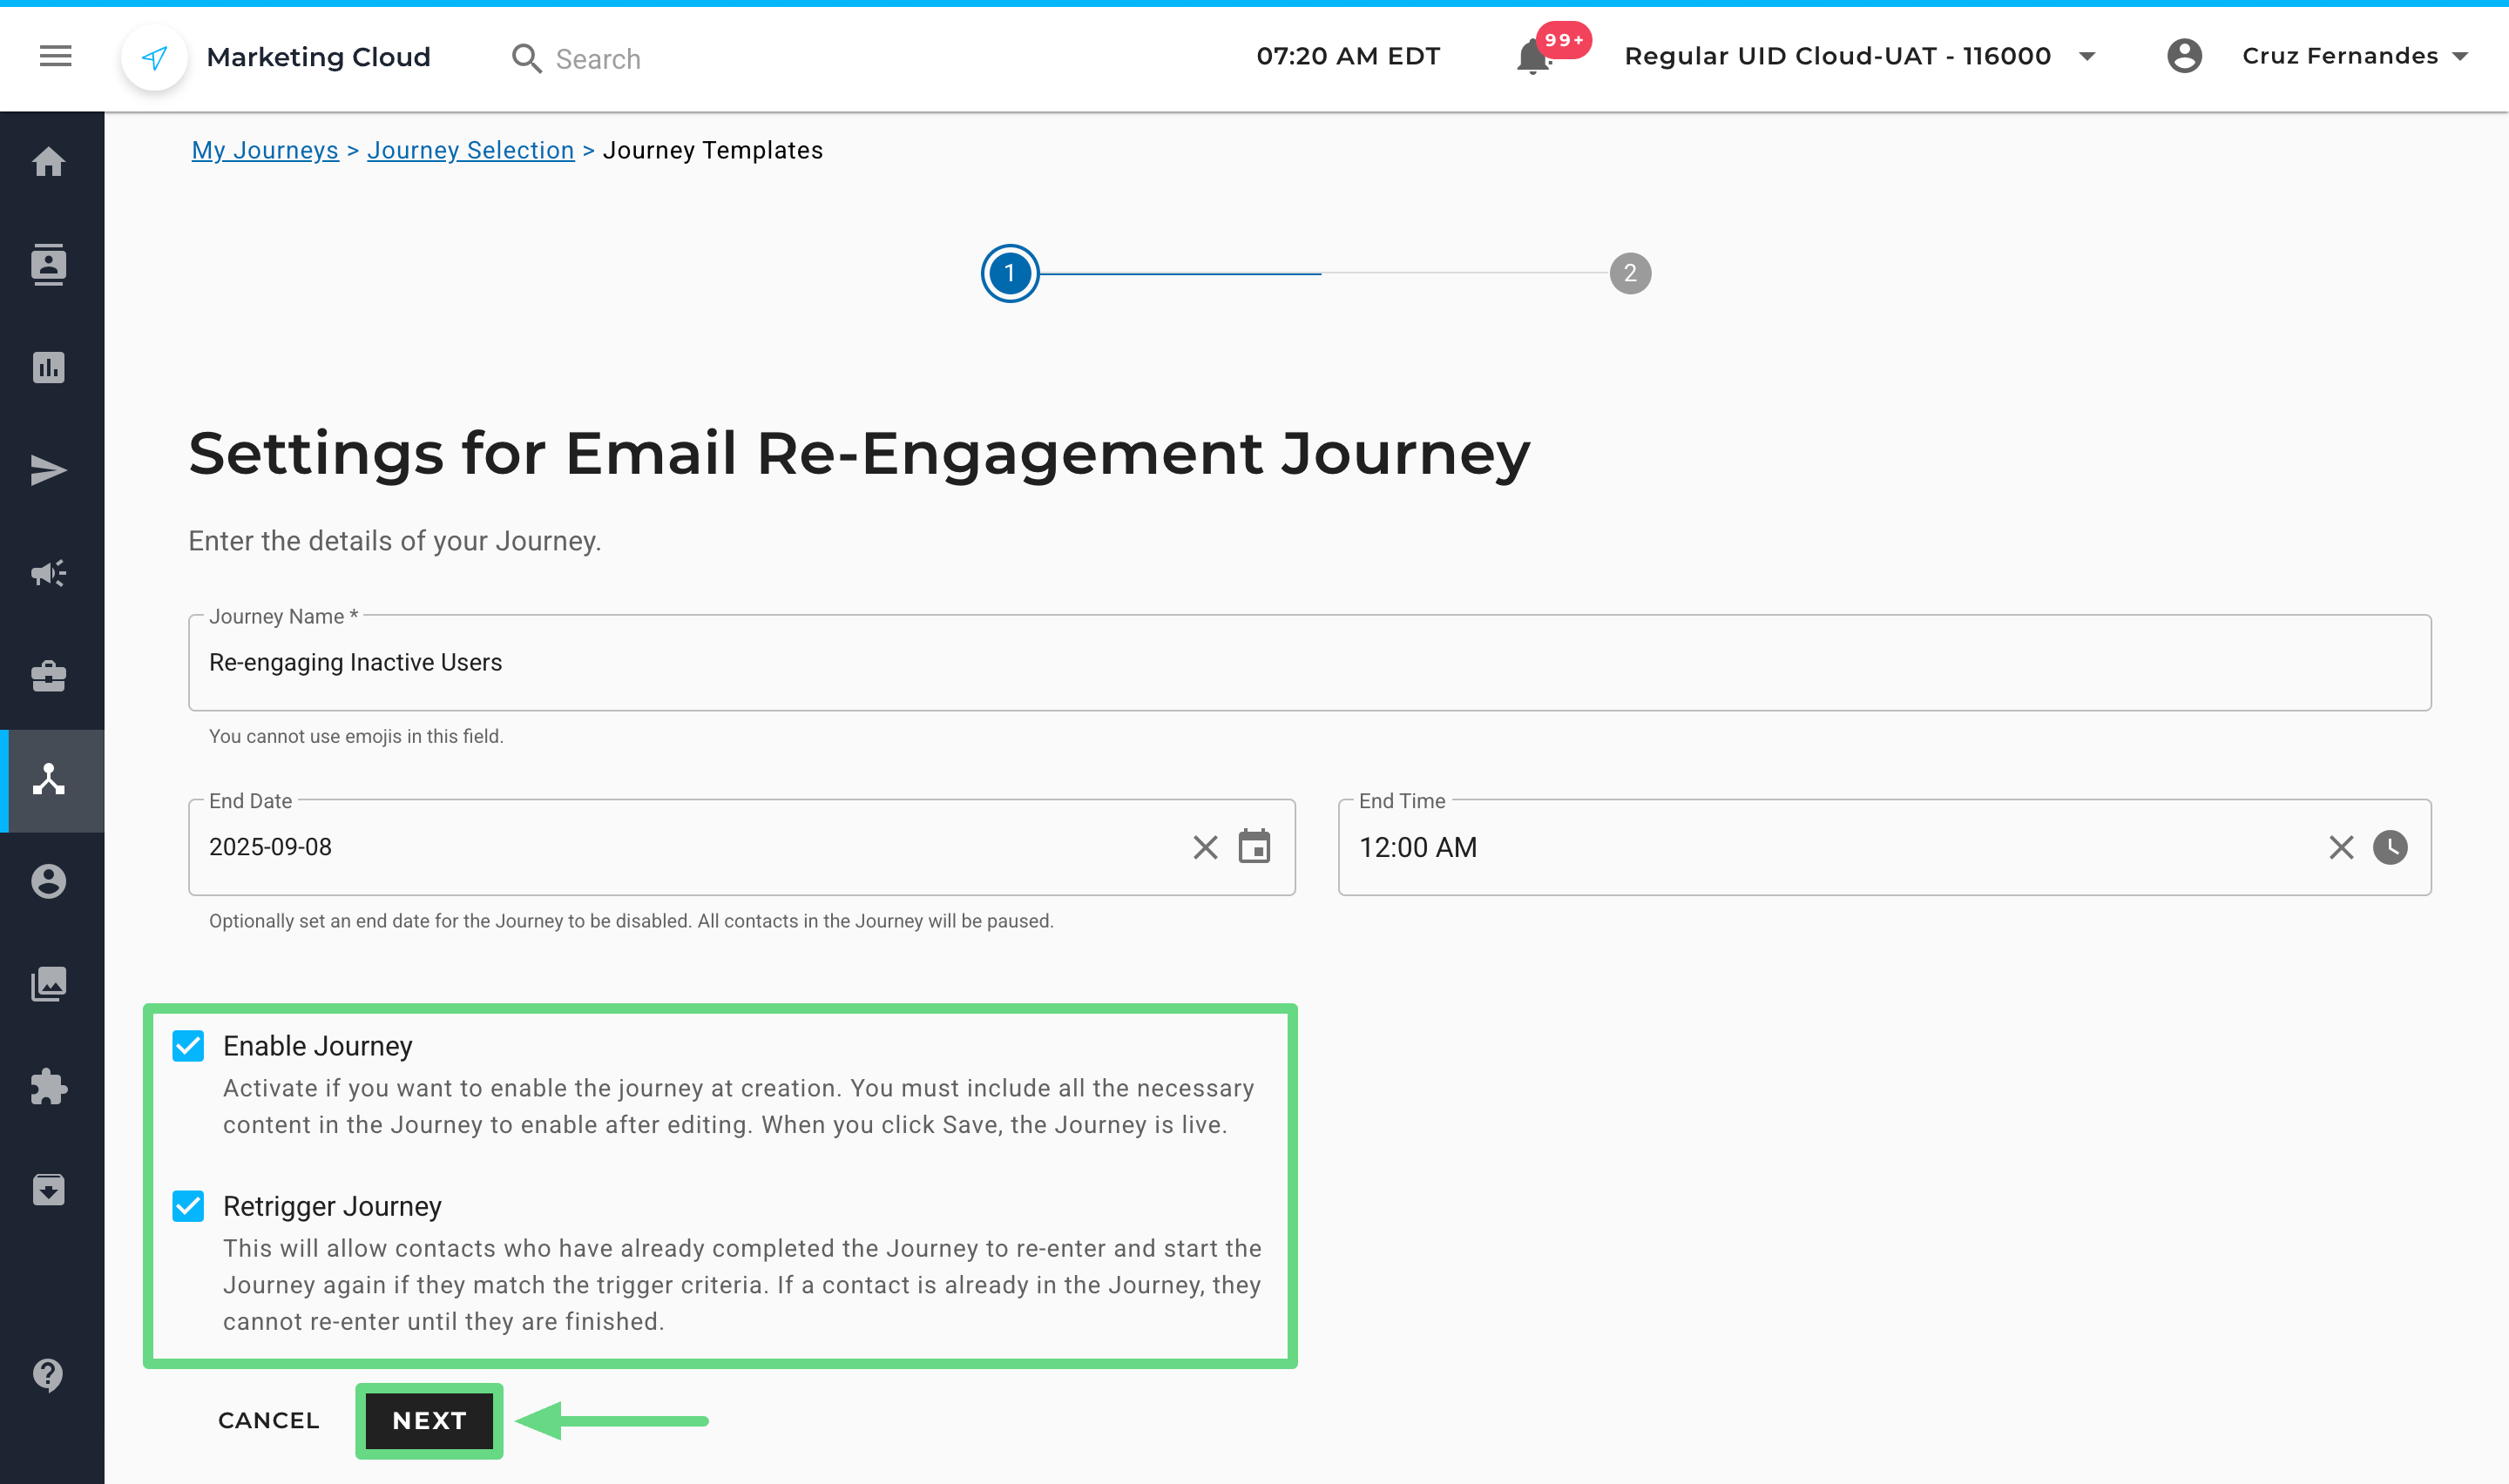
3. Firstly, enter a unique journey name. If you wish to deactivate the journey, mention the end date and time for the journey in the End Date and End Time fields, respectively. Once the journey reaches the mentioned date and time, the contacts within the journey will stop receiving new campaigns until further notice.
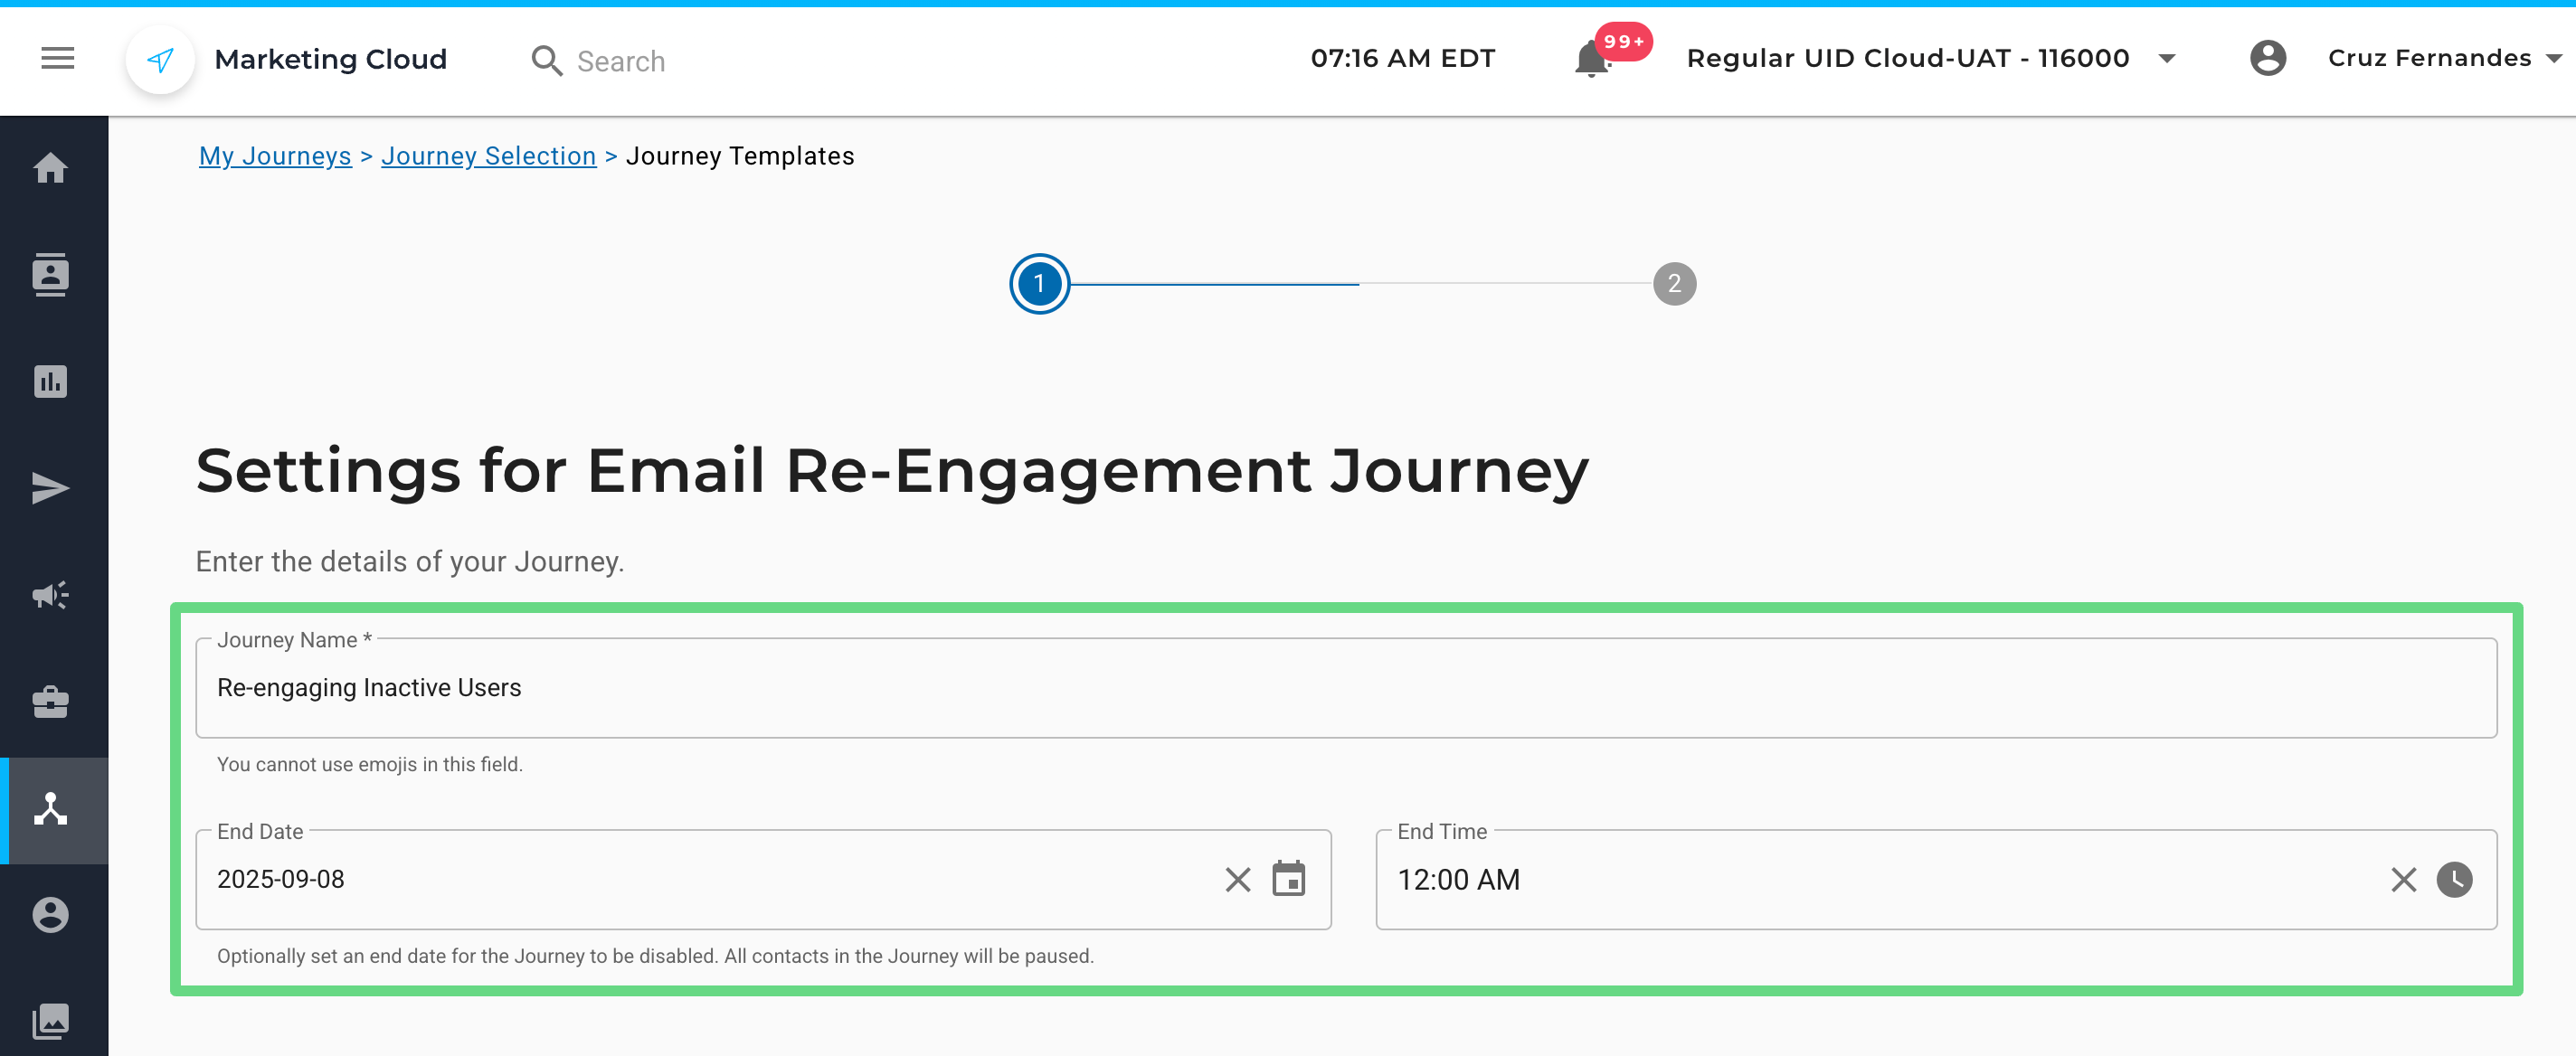
4. Optionally, you can enable the journey upon creation by selecting the Enable Journey checkbox. If you want contacts who have already finished the journey to re-enter again by meeting the trigger criteria, you can enable the Retrigger Journey checkbox. Click on Next to proceed ahead.
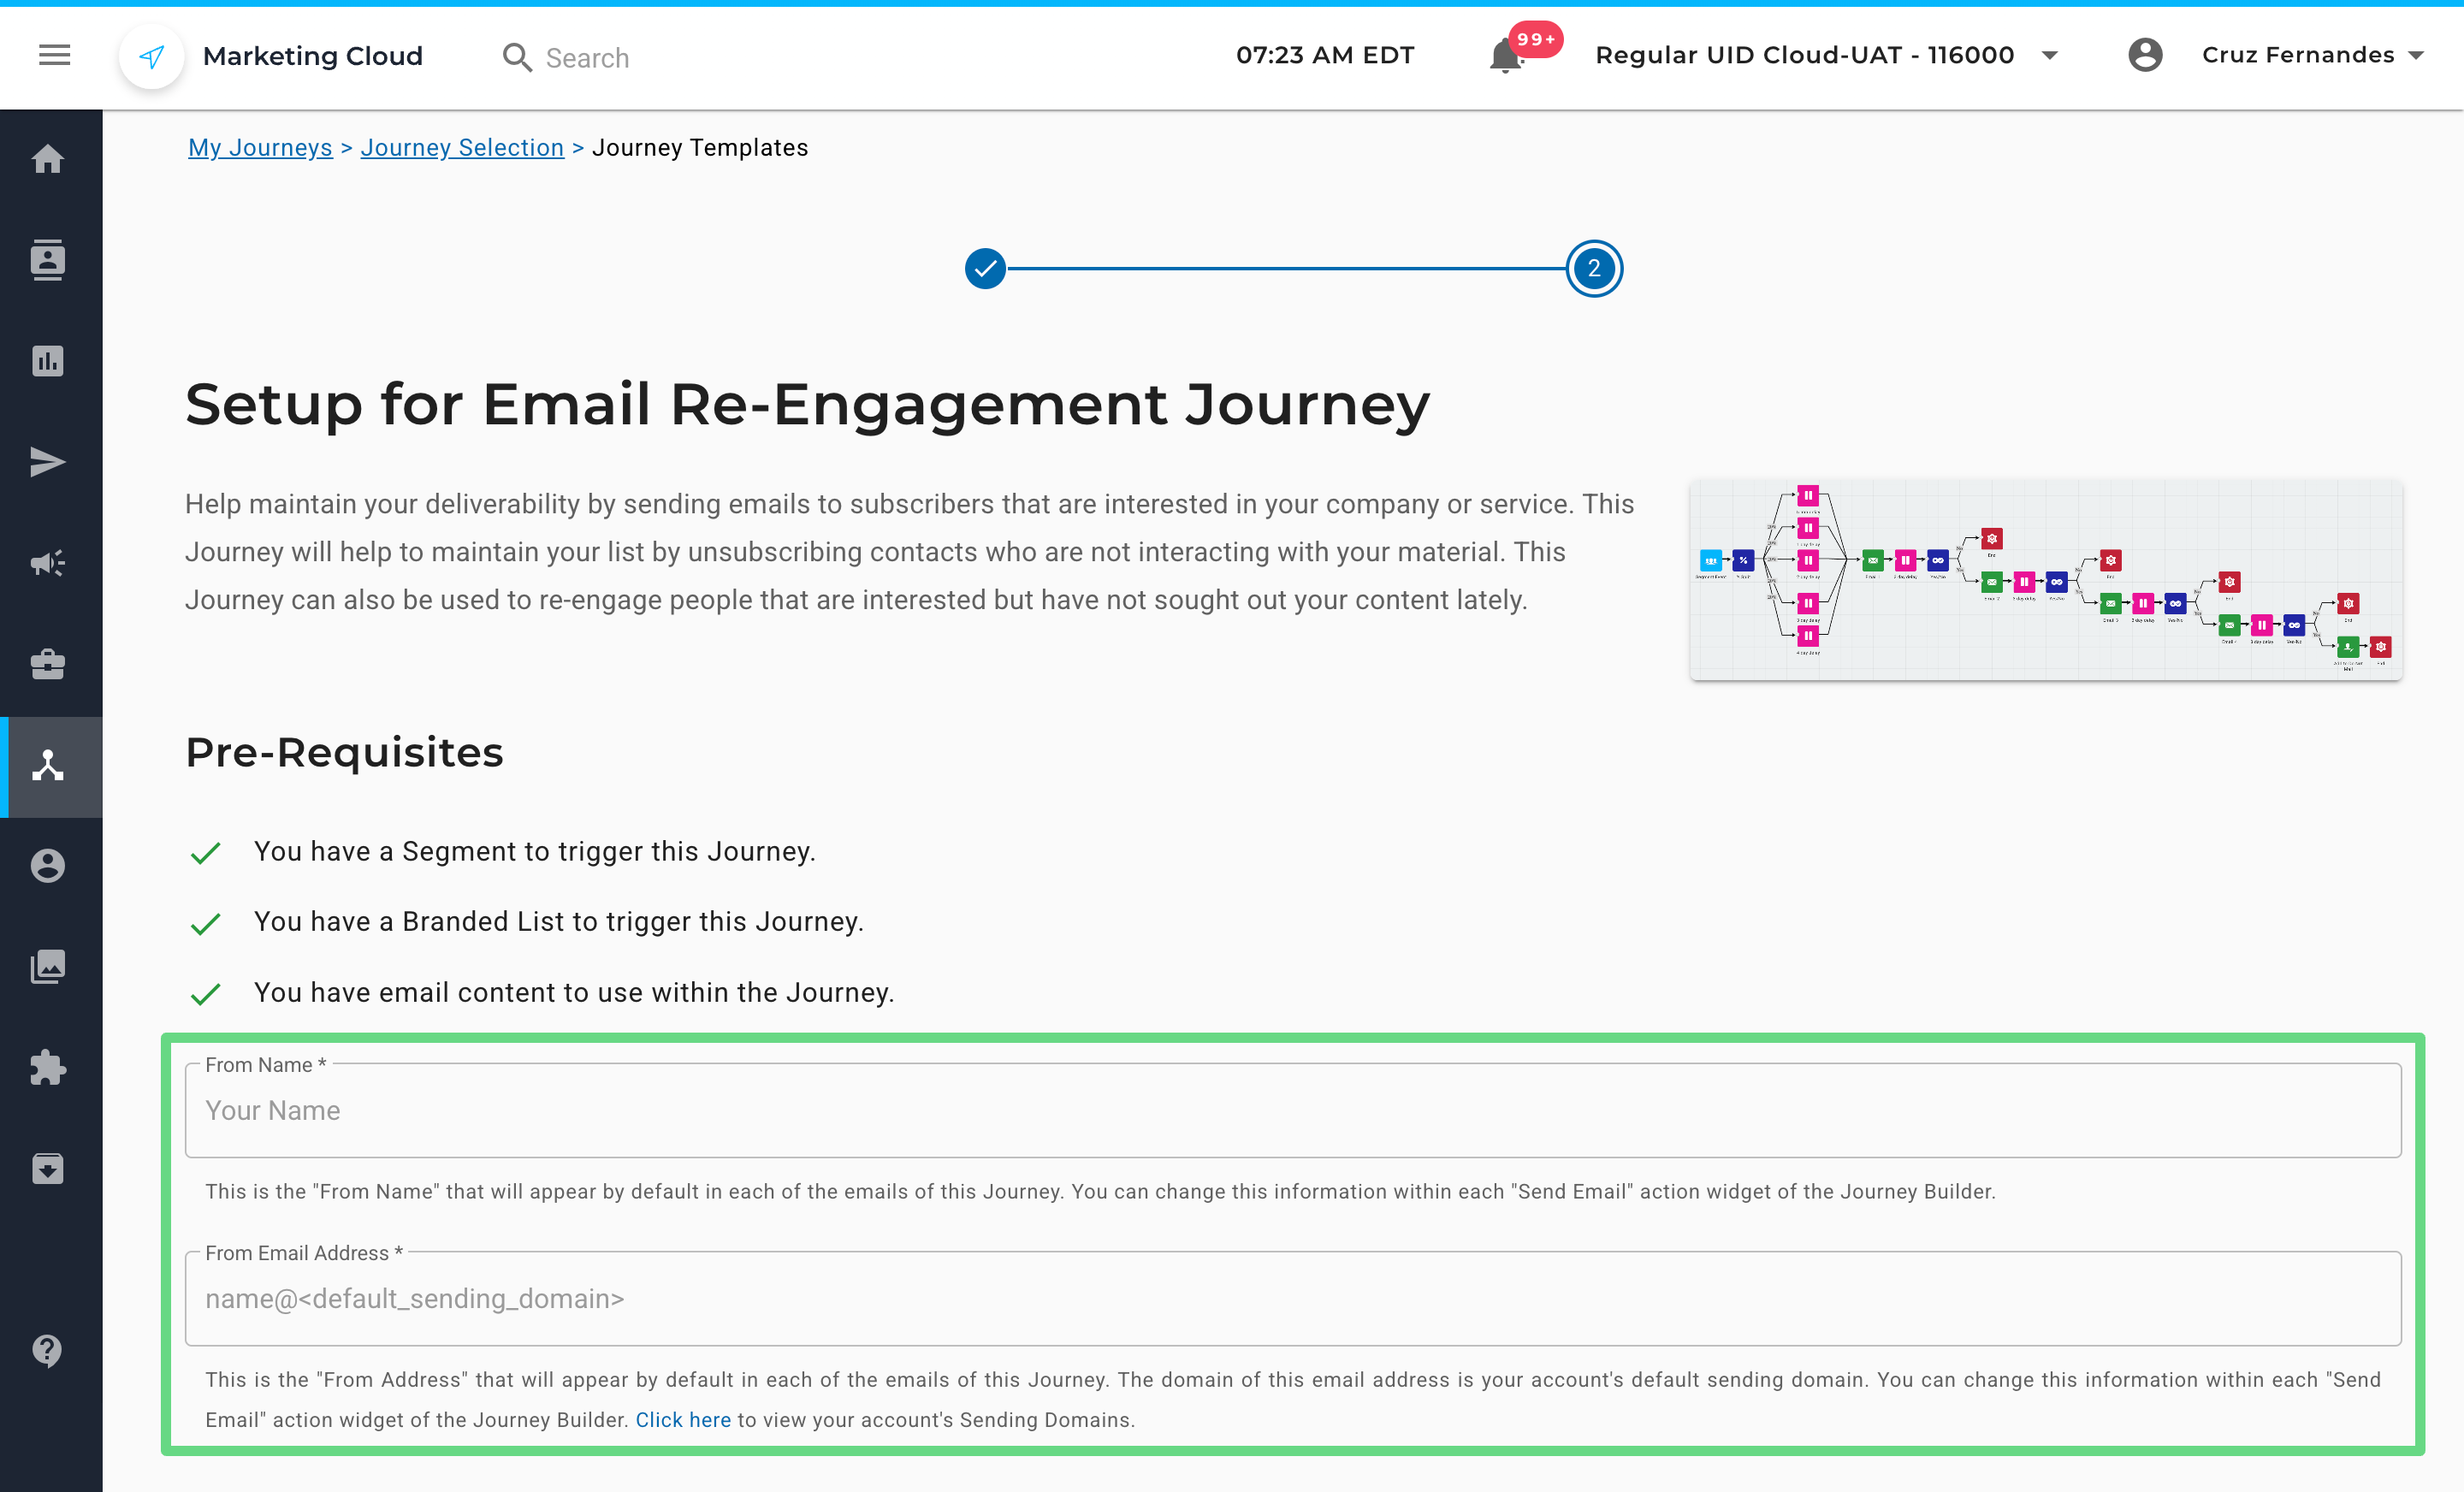
Set Up Email Re-Engagement Journey
1. Enter your name and email address on the Setup page in the respective text boxes. These details will appear in your trigger emails. The domain of the “From Email Address” is, by default, your account’s sending domain and appears within each email section of a journey. You can modify your existing sending domain by clicking on the “Send Email” action widget of the Journey Builder.
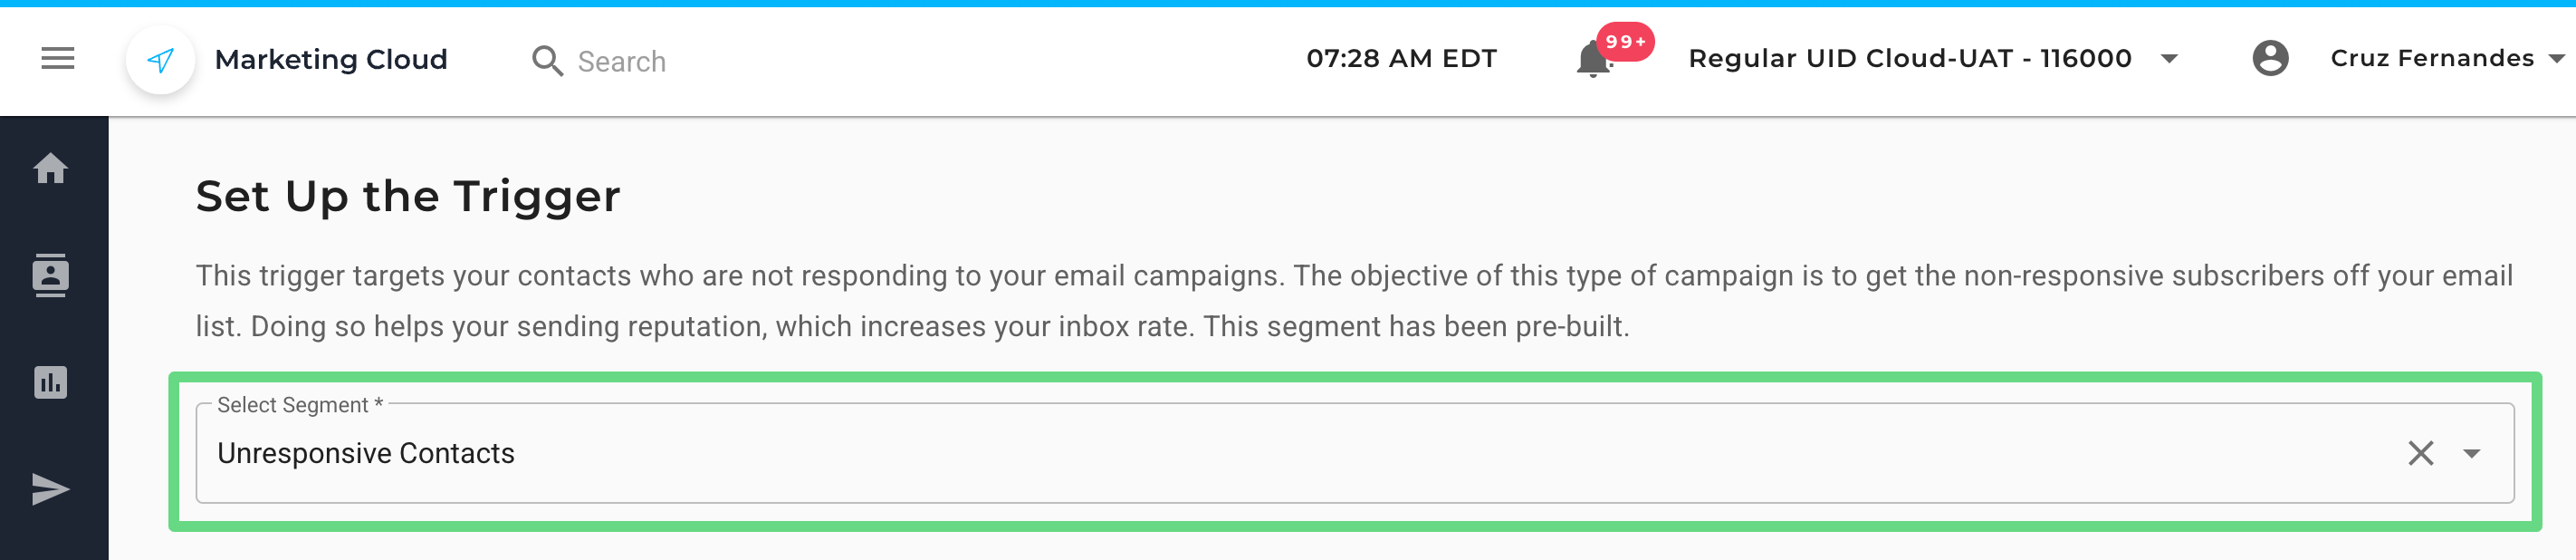
2. Next, select a segment from the dropdown list to initiate a trigger. The trigger targets contacts in a segment that seem to be unresponsive to your campaigns for over a period of 90 days.
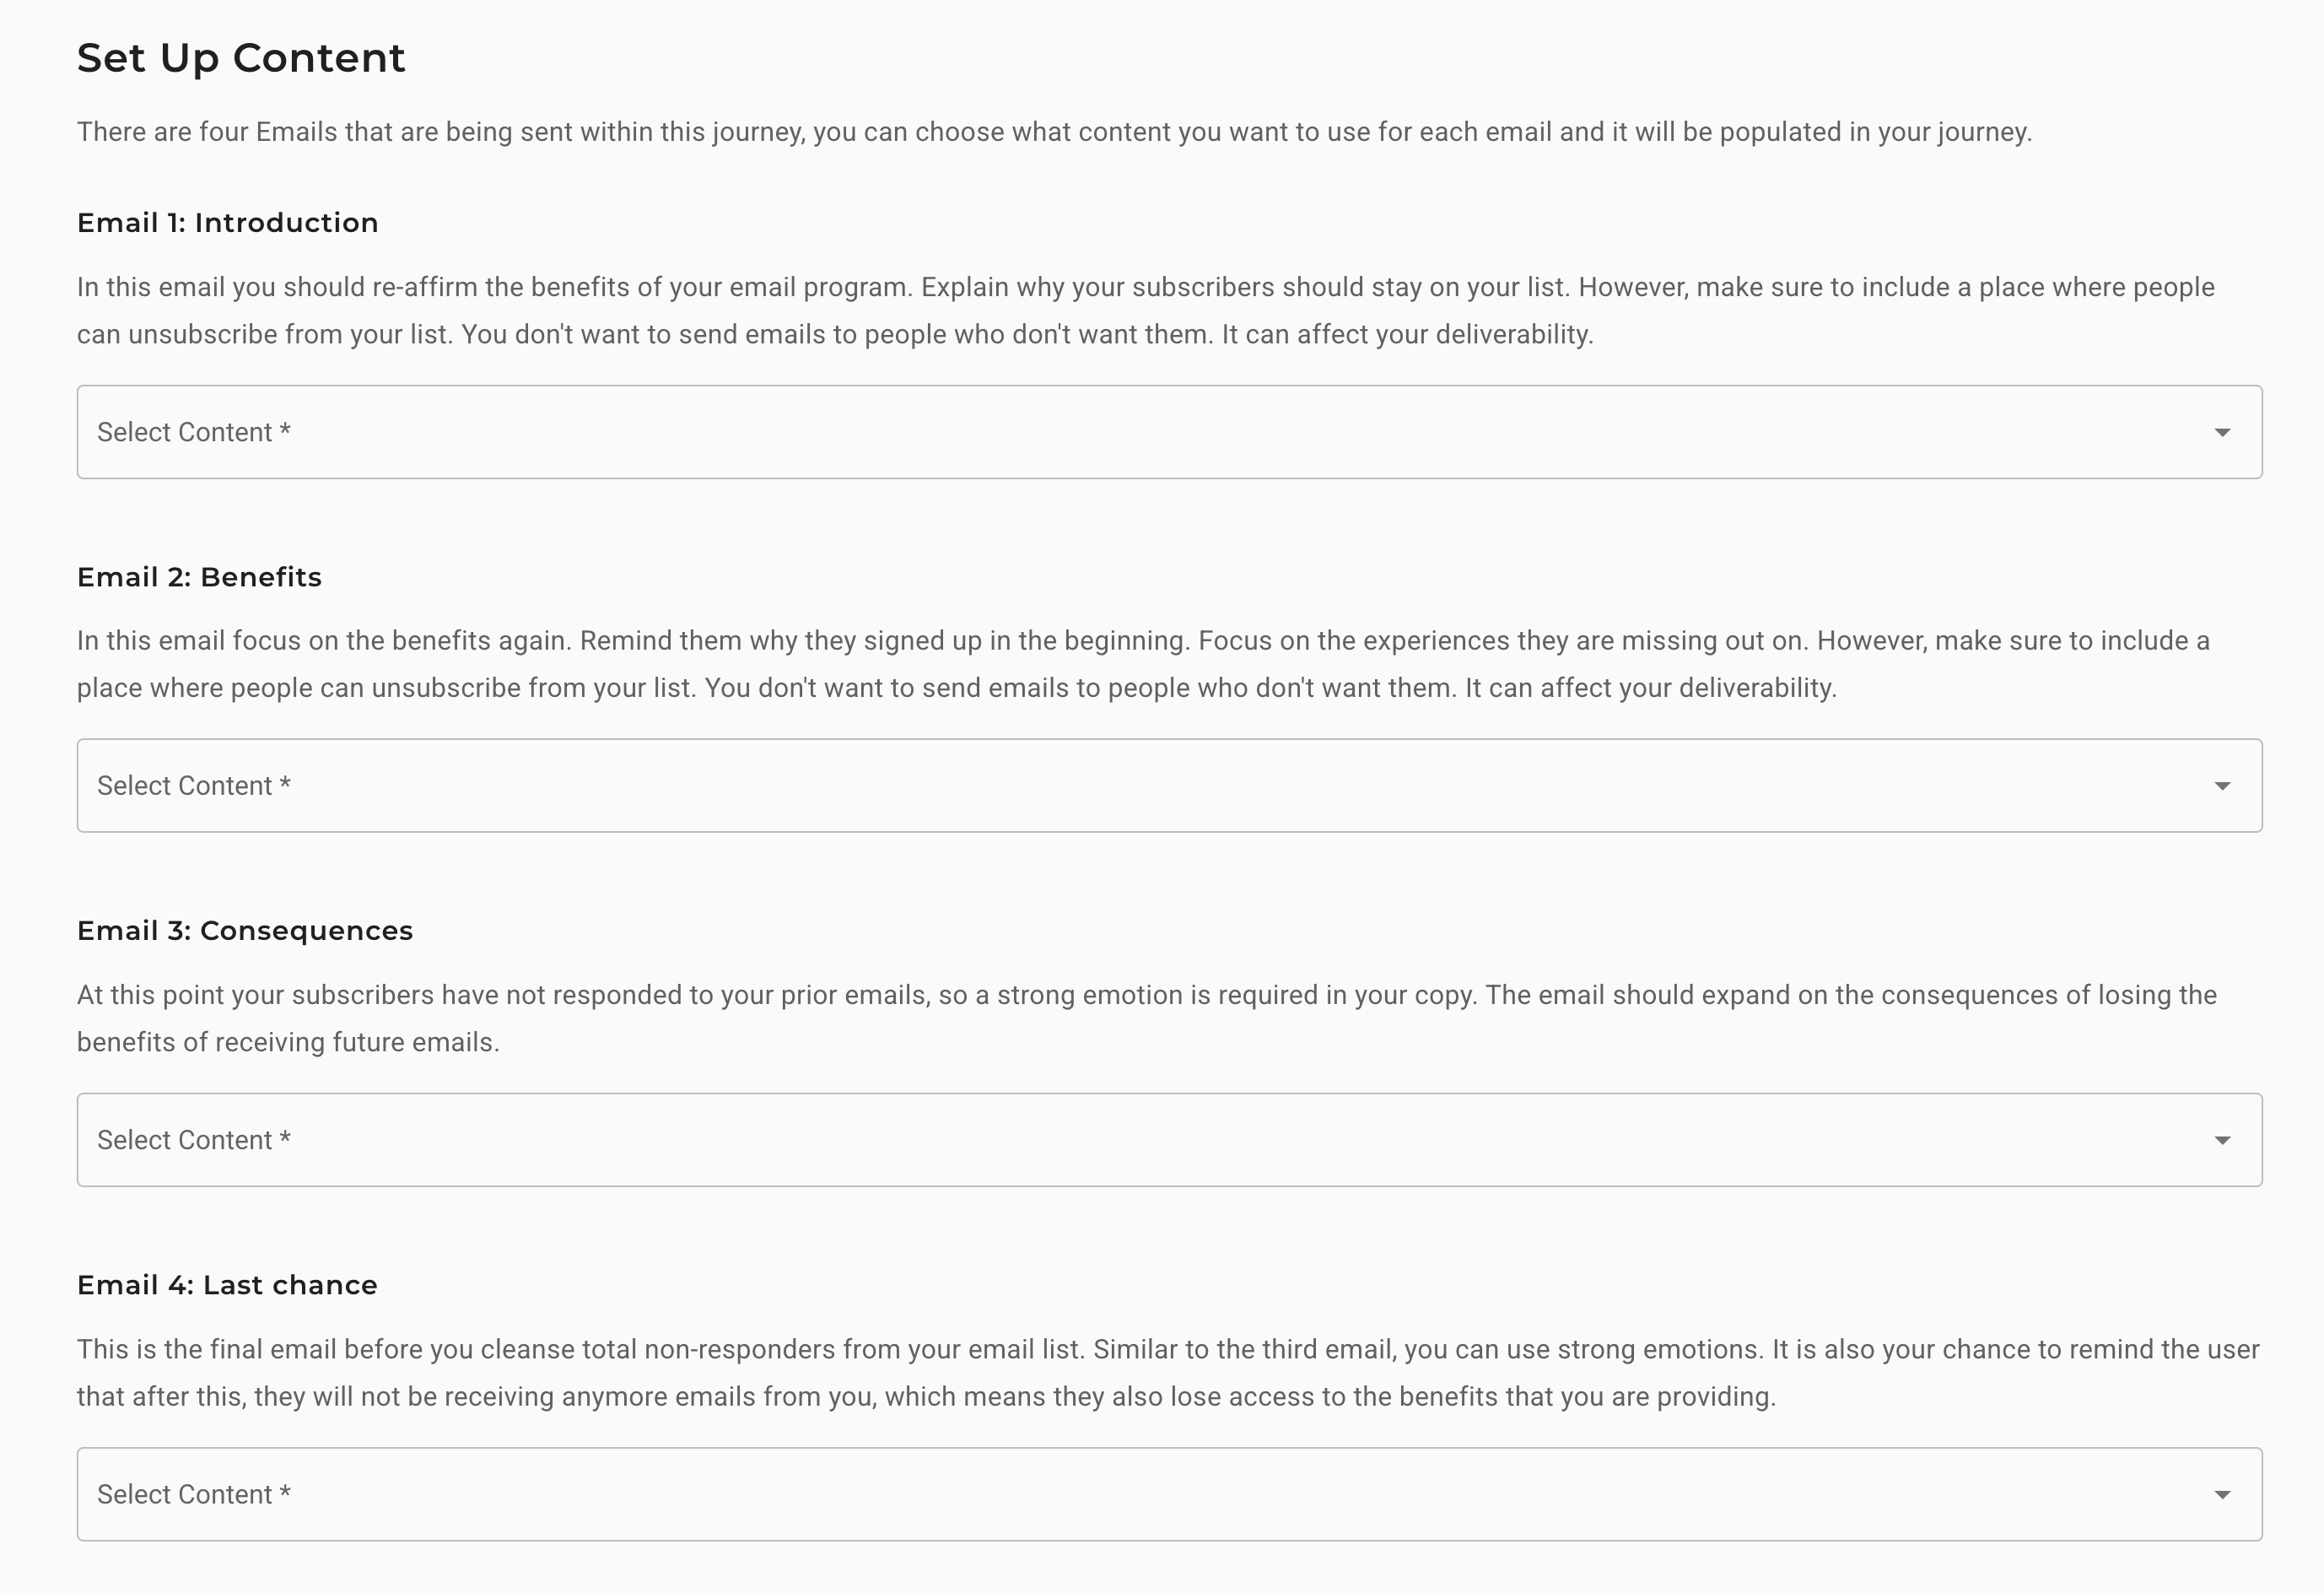
3. Email Re-Engagement Journey sends four email types to contacts within the chosen segment. They are namely:
- Introductory Email: In the first email, try to reason with your contacts as to why they should remain subscribed to your email newsletter. Besides, contacts should be able to unsubscribe from your email program whenever they like, since sending emails to uninterested users can sharply affect your deliverability rank in the long run.
- Benefits Type Email: In the second email, emphasize the benefits of staying associated with email campaigns, as well as the opportunities that contacts may miss if they unsubscribe too soon. Make sure contacts can unsubscribe if they want to.
- Consequences Type Email: In the third email, you can further elaborate on the impact the contacts may have to face if they stop receiving future emails.
- Last chance Type Email: This is the fourth and final chance for the non-responders to engage with your campaigns, after which they will be cleansed from the contact list. You can send a final reminder stating the perks that the contacts may lose access to if they are no longer subscribed.
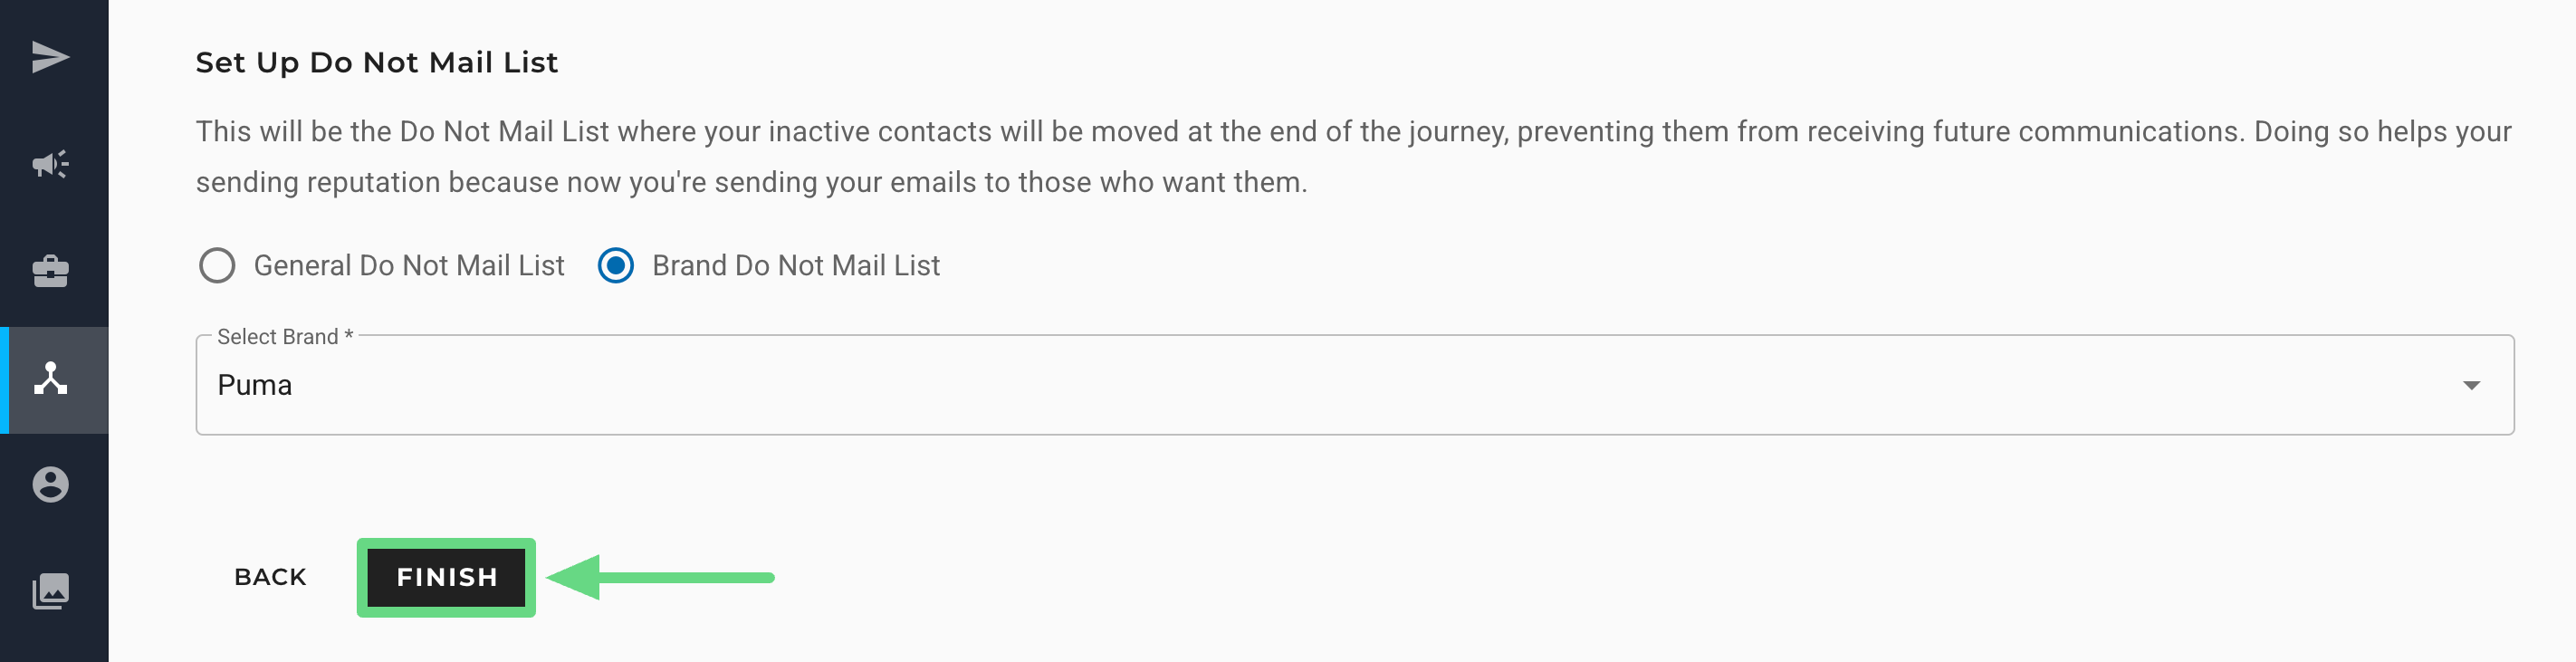
4. Once you have finished customizing your email content, choose the DNM list type (General or Brand DNM List) as per your requirement. At the end of every email re-engagement journey, the inactive contacts move to the selected DNM list. Upon selecting the Brand Do Not Mail List checkbox, choose the brand (DNM list) from the dropdown to which the inactive contacts need to be added.

5. Click on Finish to complete the setup.