Advocacy Journey templates can be used to create journeys for sending feedback-based campaigns to customers who have either recently purchased a product or availed themselves of goods and services on multiple occasions.
Usage Scenario
To foster a long-term relationship with your customers, consider sending campaigns requesting feedback on the products or services they have recently purchased from you. The goal is to cultivate a fairly positive response to your brand, which can garner the attention of newer customer groups. Such campaigns could be crafted in the form of testimonials, product reviews, or referral codes.
Implementing such methods bolsters your association with your loyal client base beyond purely transactional means, thereby growing trust and opening doors to unique business opportunities.
Before You Begin
In order to use the Advocacy Journey template, you must already have:
Segment: This action will trigger the journey for specific customer groups that you have created to send personalized review and survey campaigns, depending on the services and products they have bought. To learn more about the segmentation process, read our Next-Gen Segment Builder article.
Email Content: These are the customizable messages or content used within the email campaigns to trigger the journey. To learn about email content, see Content Builders: Overview.
Step-By-Step Process
The Advocacy Journey template consists of two parts. The first is to configure the journey settings, and the second is to set the trigger and the email content to be sent.
Configure Journey Settings
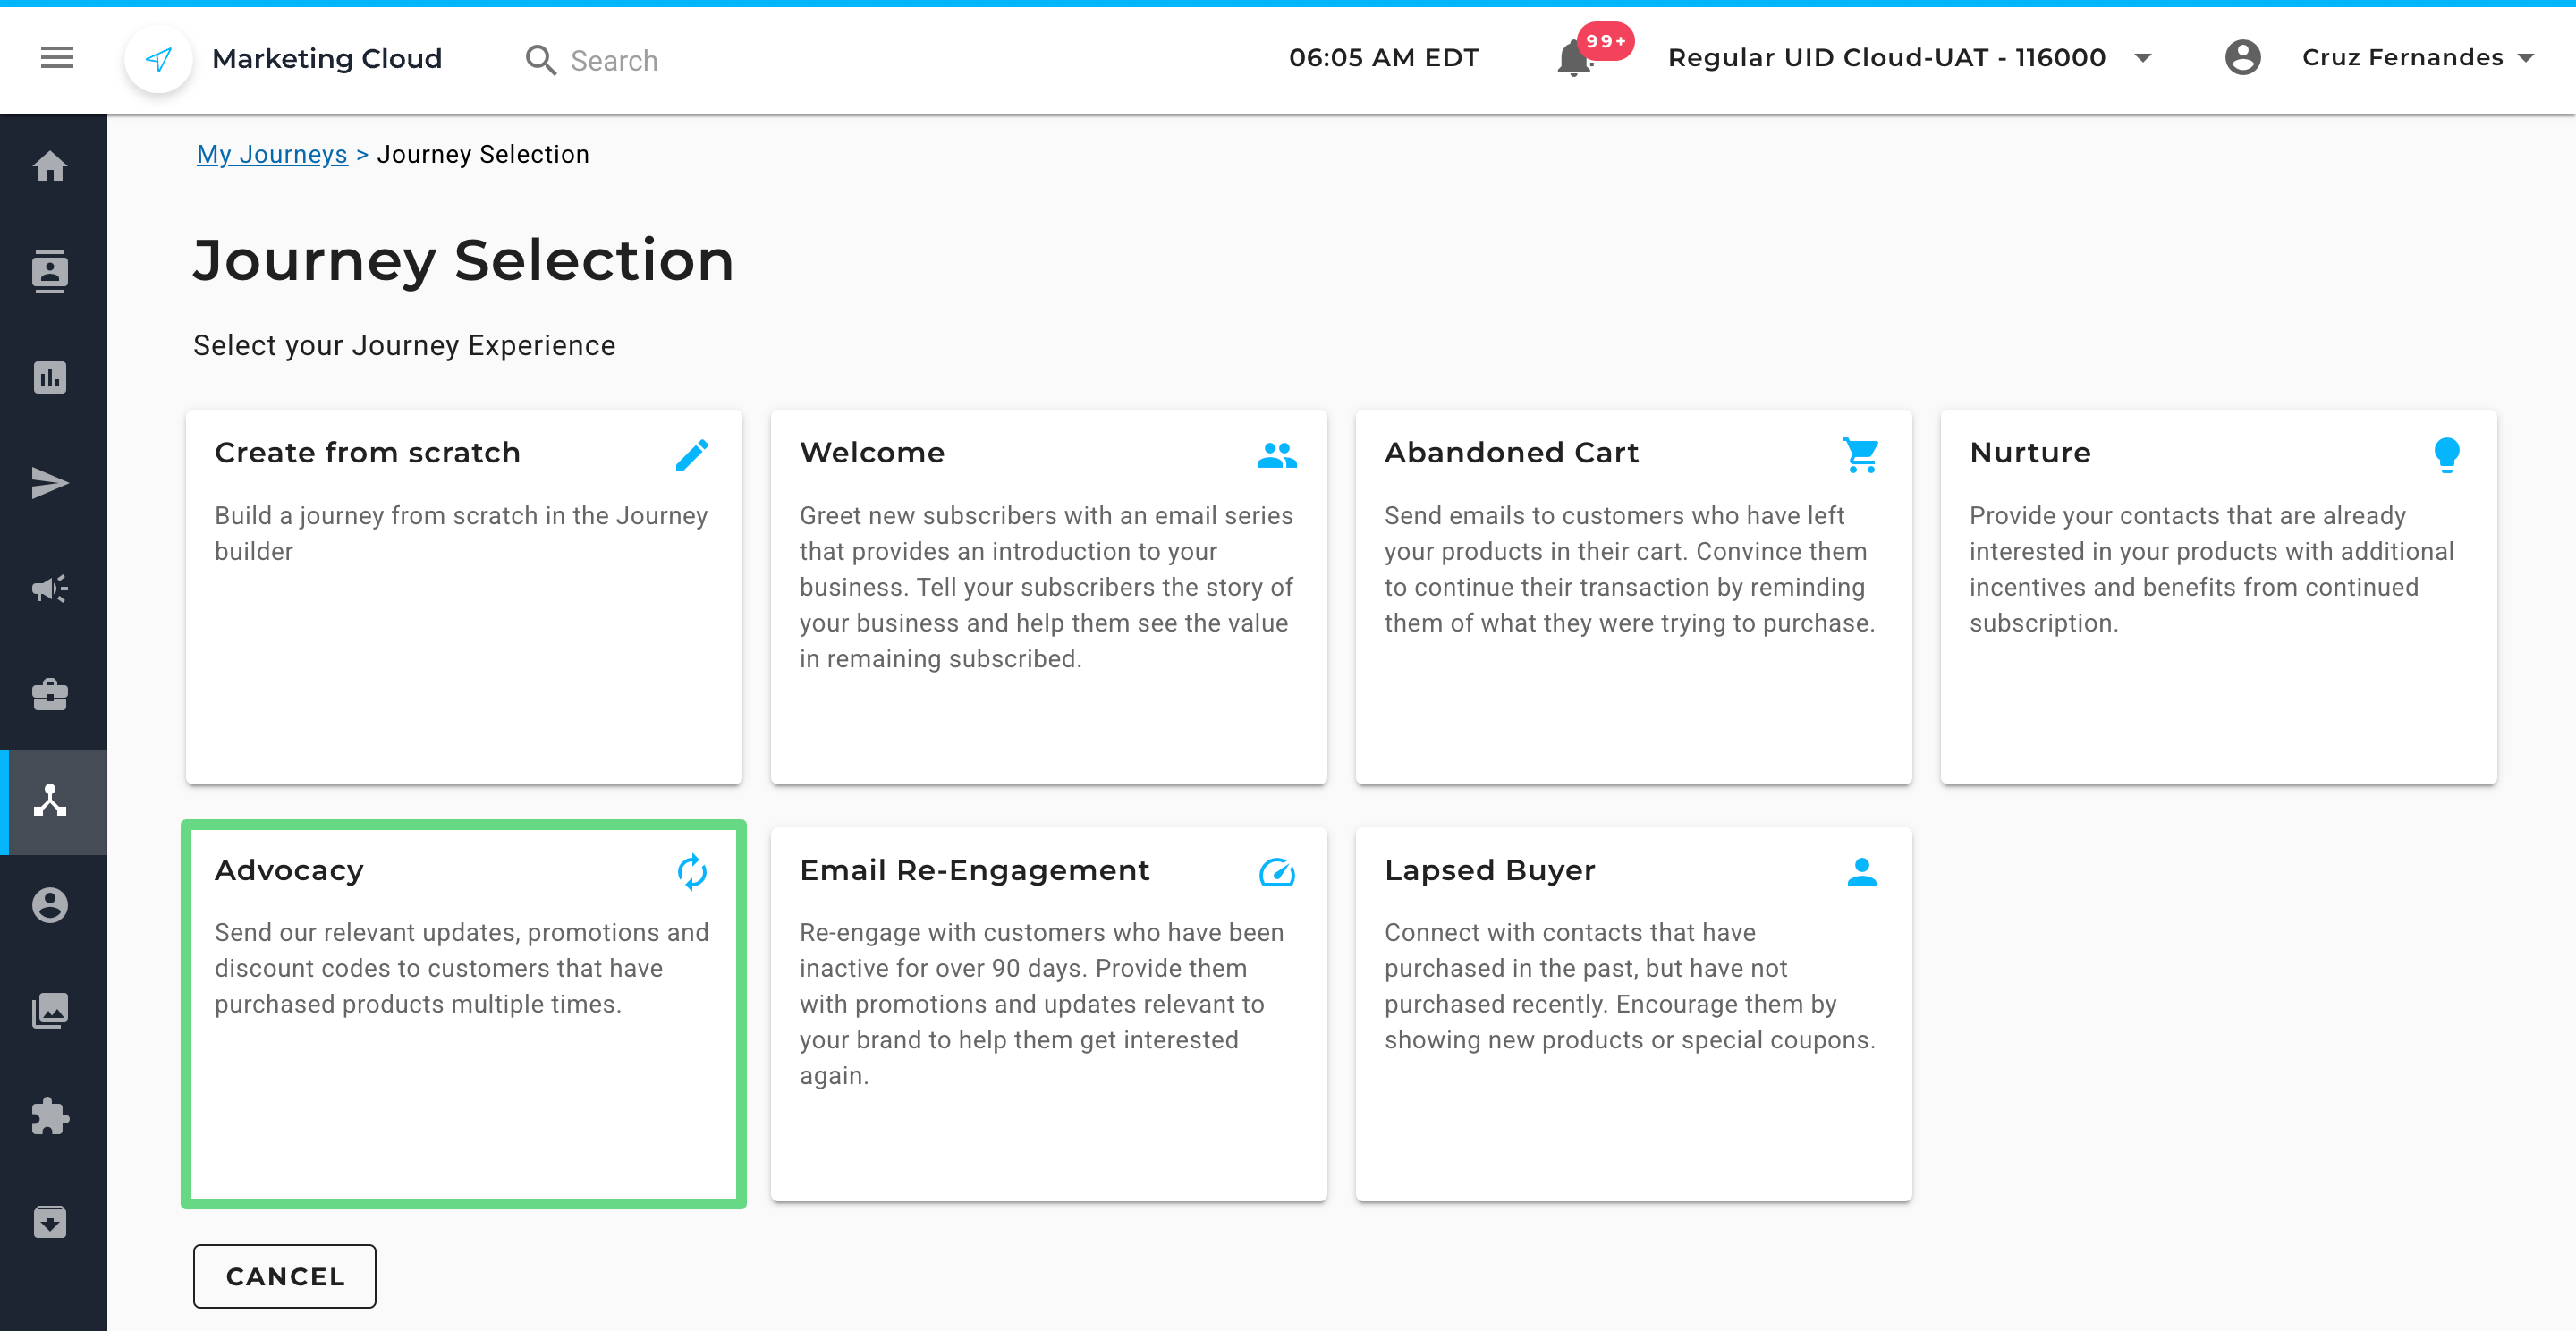
1. On the Journey Selection page, select Advocacy.
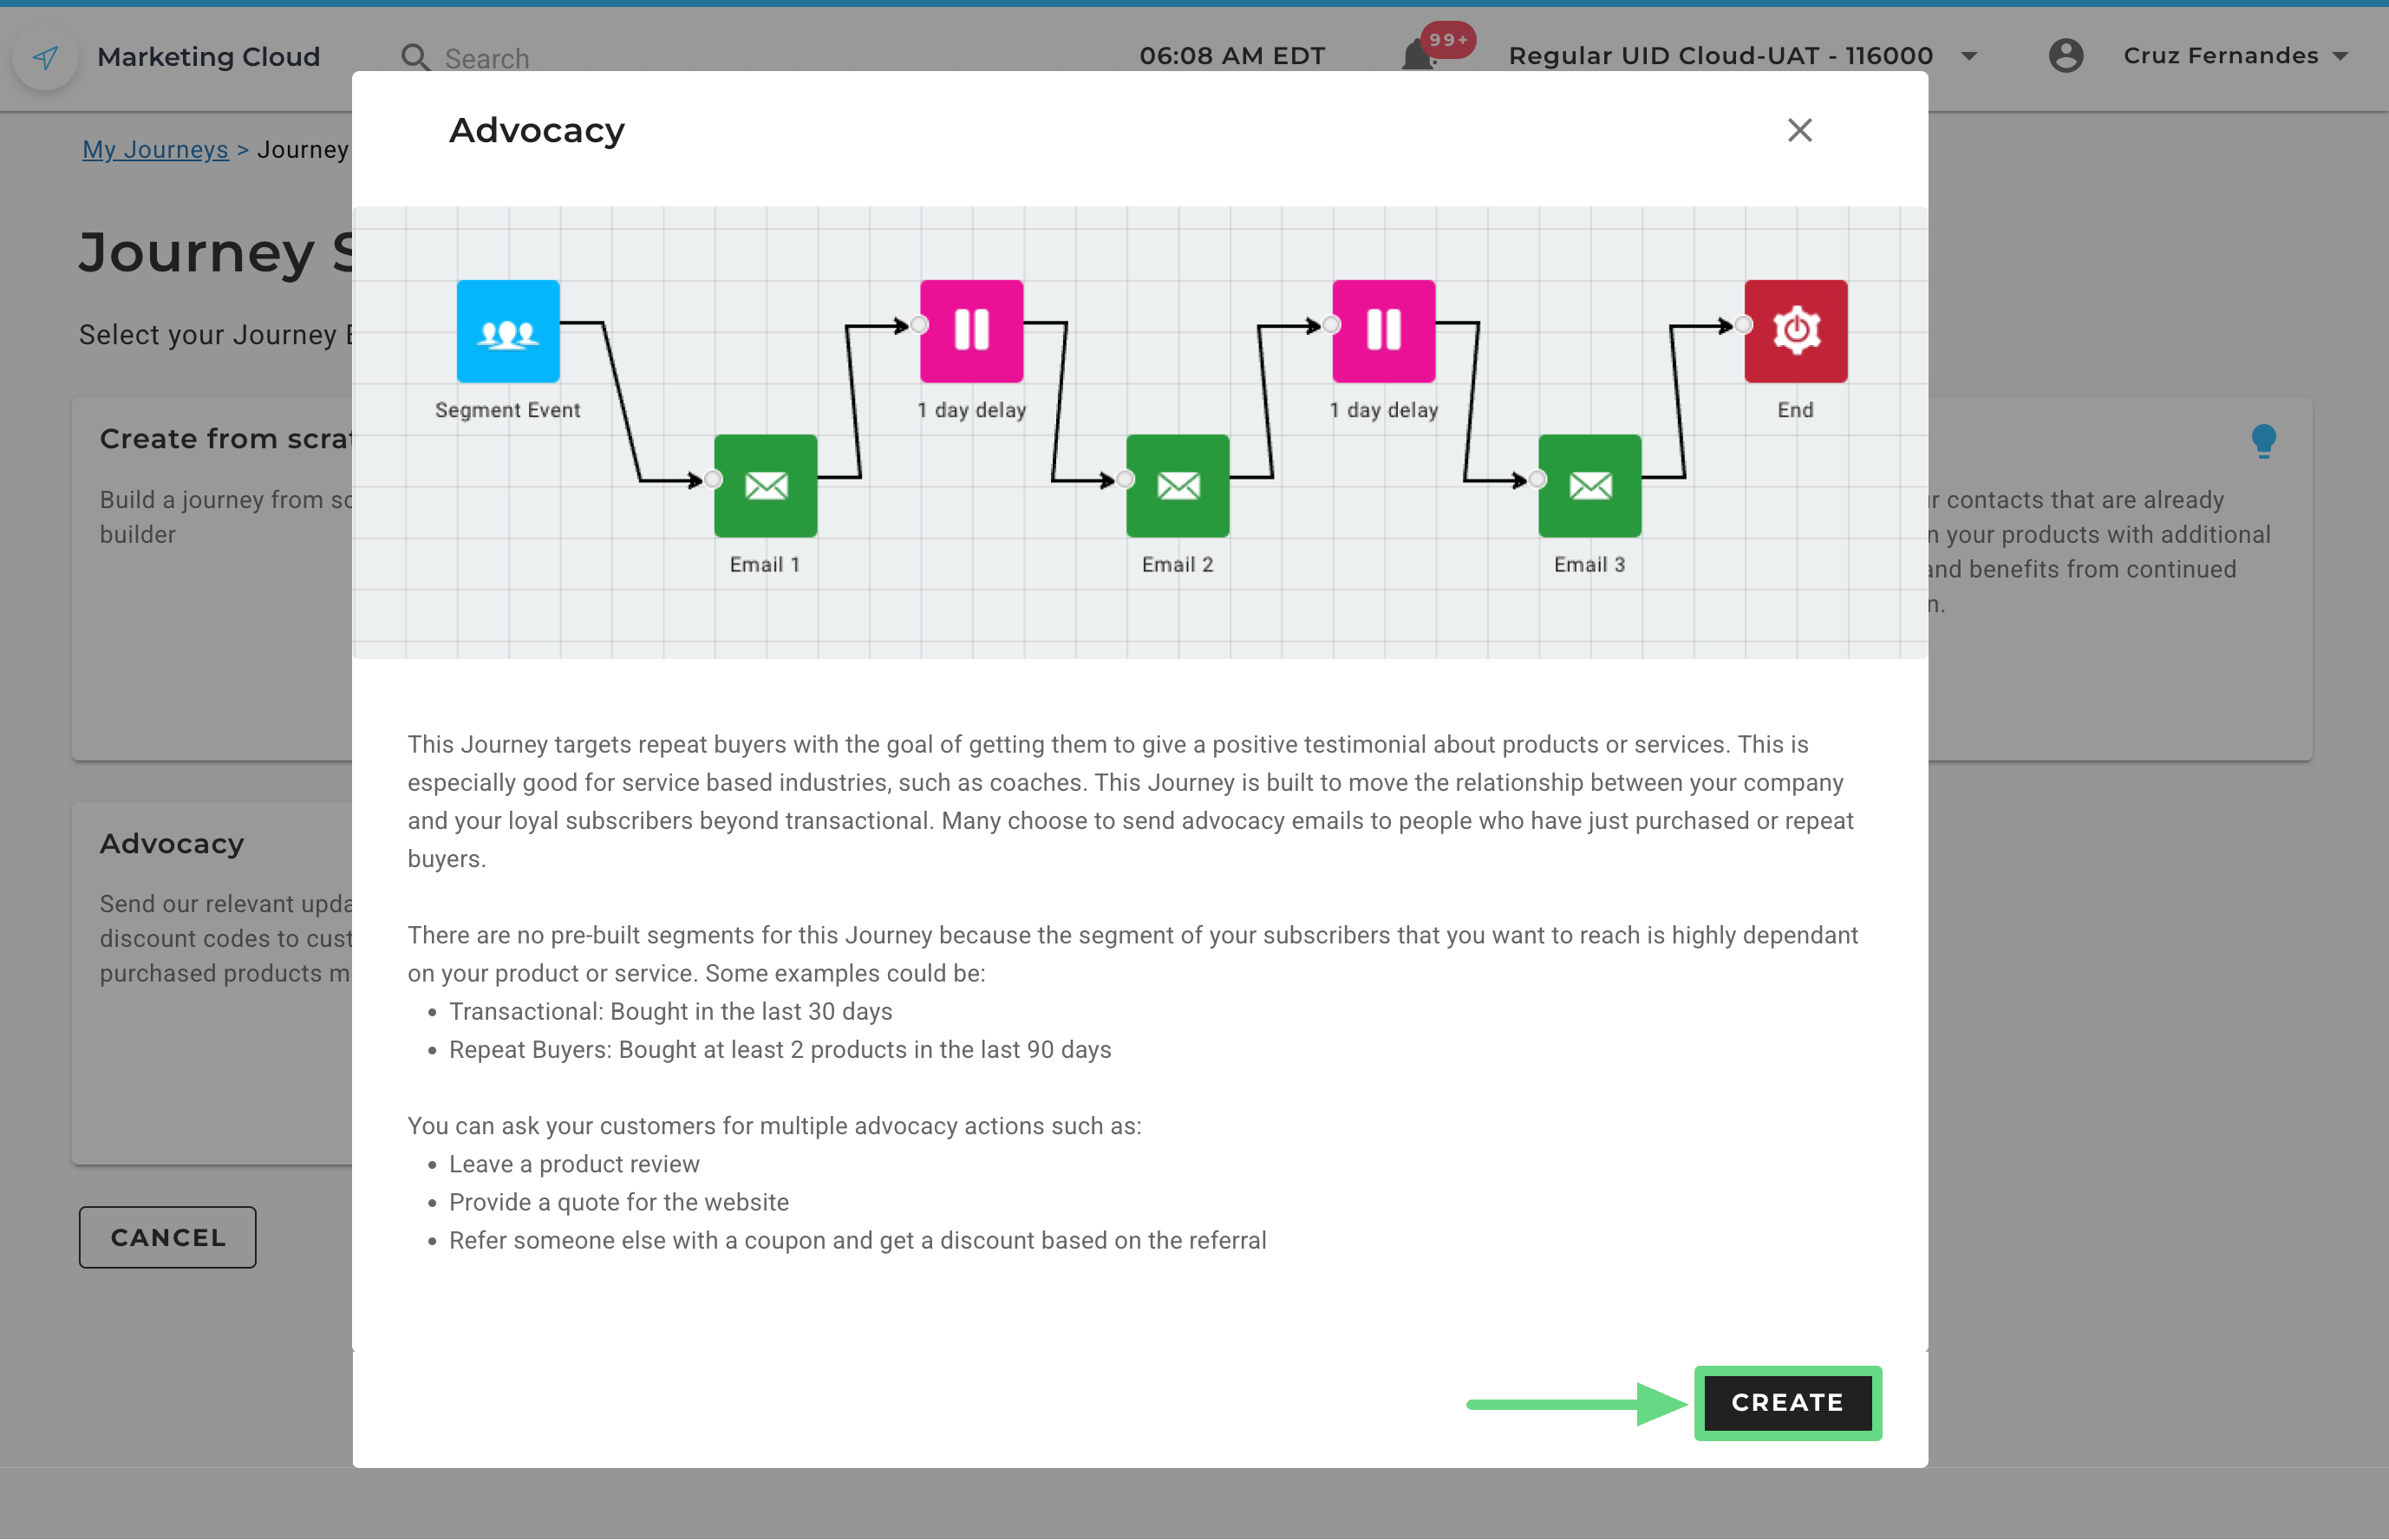
2. Click on Create.
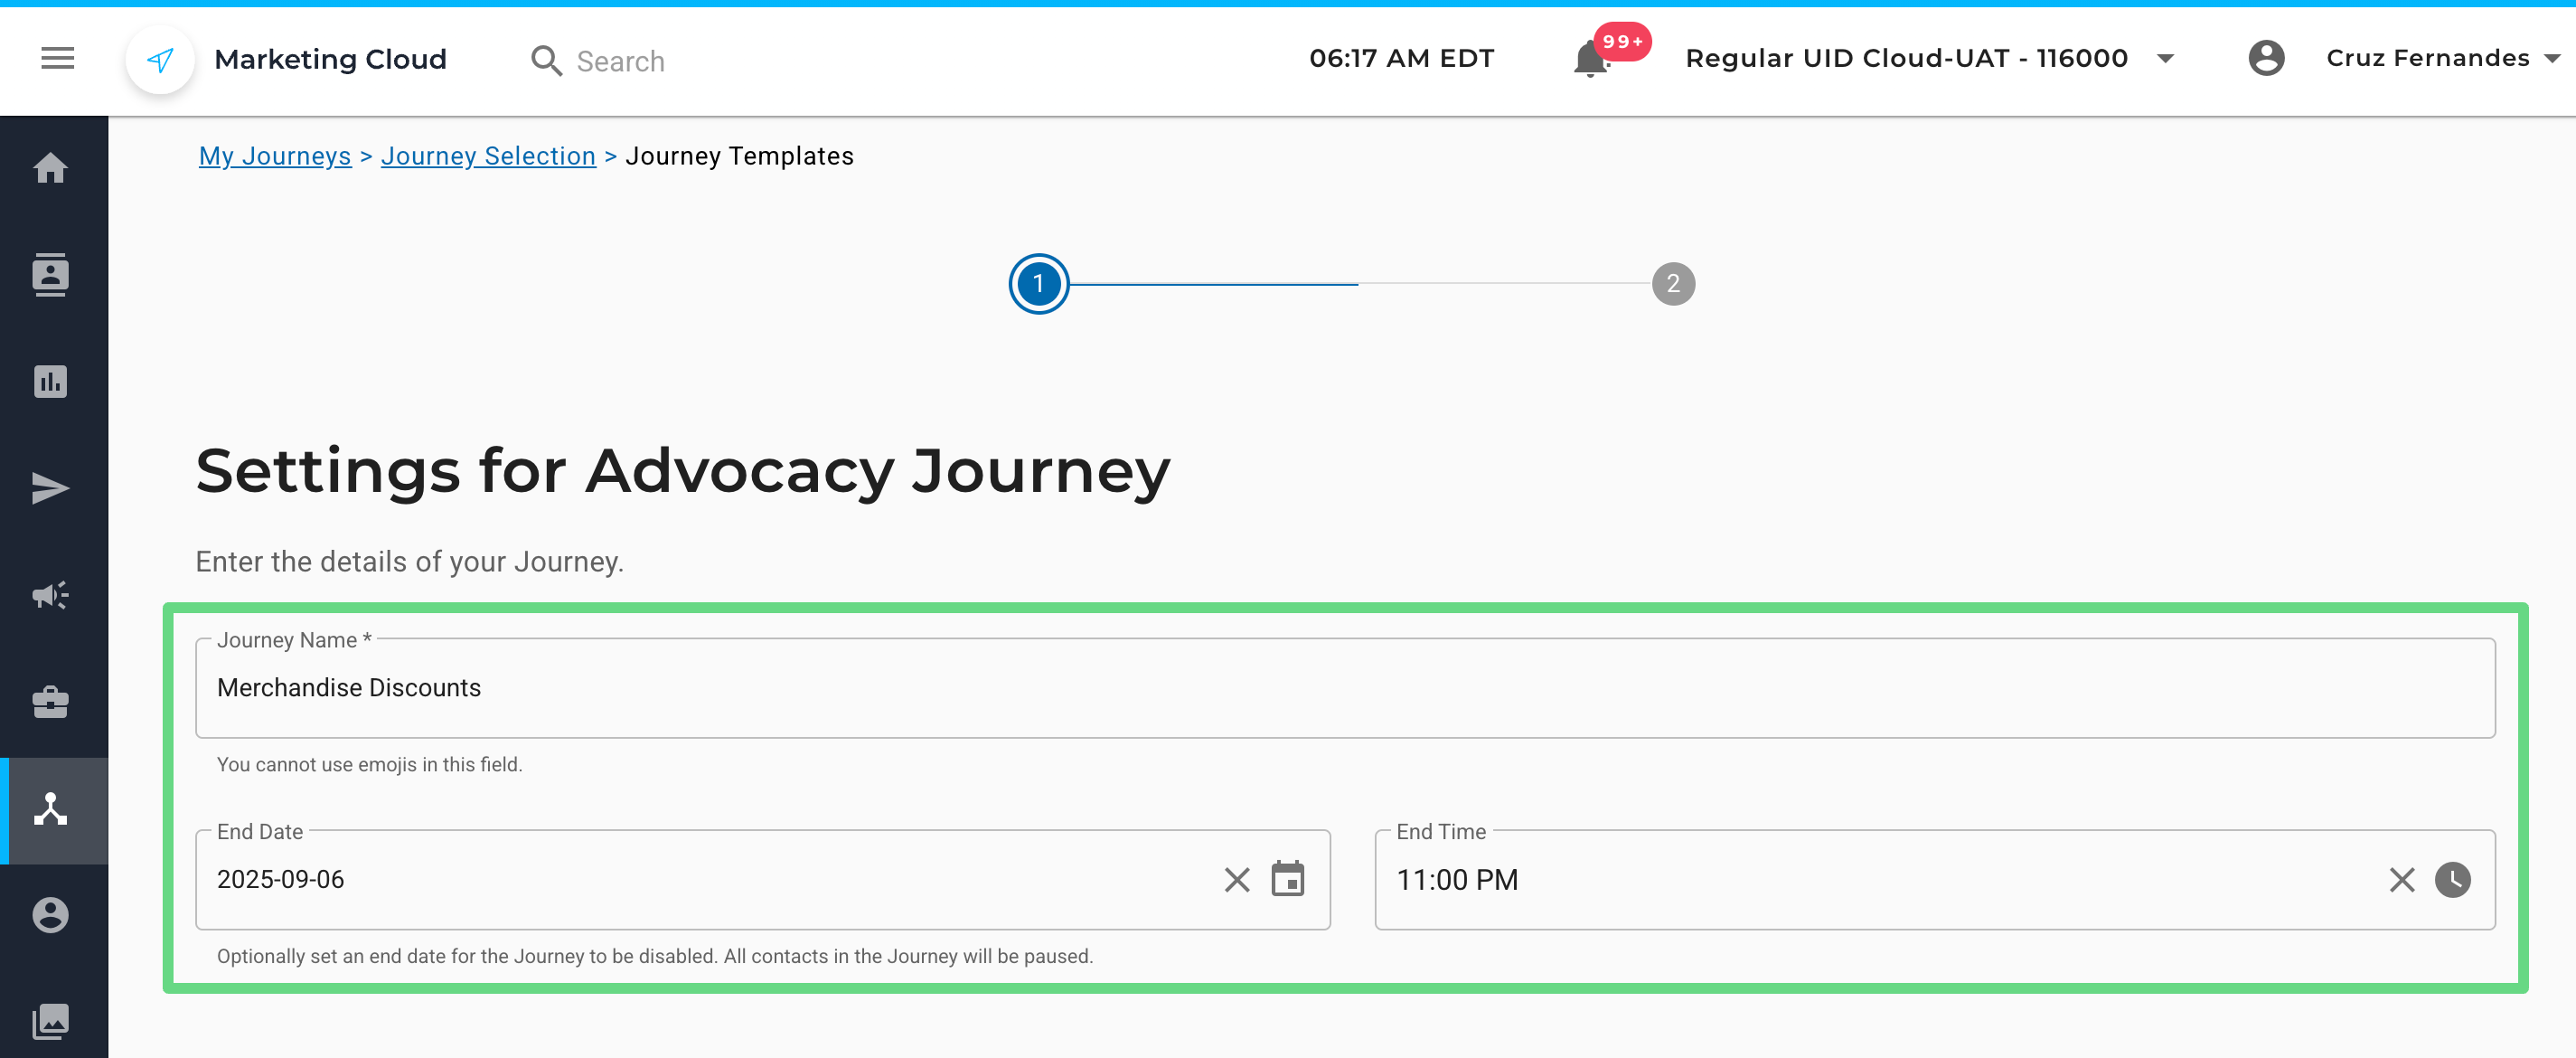
3. Firstly, enter a unique journey name. If you wish to deactivate the journey, mention the end date and time for the journey in the End Date and End Time fields, respectively. Once the journey reaches the mentioned date and time, the contacts within the journey will stop receiving new campaigns until further notice.
4. Optionally, you can enable the journey upon creation by selecting the Enable Journey checkbox. If you want contacts who have already finished the journey to re-enter again by meeting the trigger criteria, you can enable the Retrigger Journey checkbox. Click on Next to proceed ahead.

Set Up Advocacy Journey
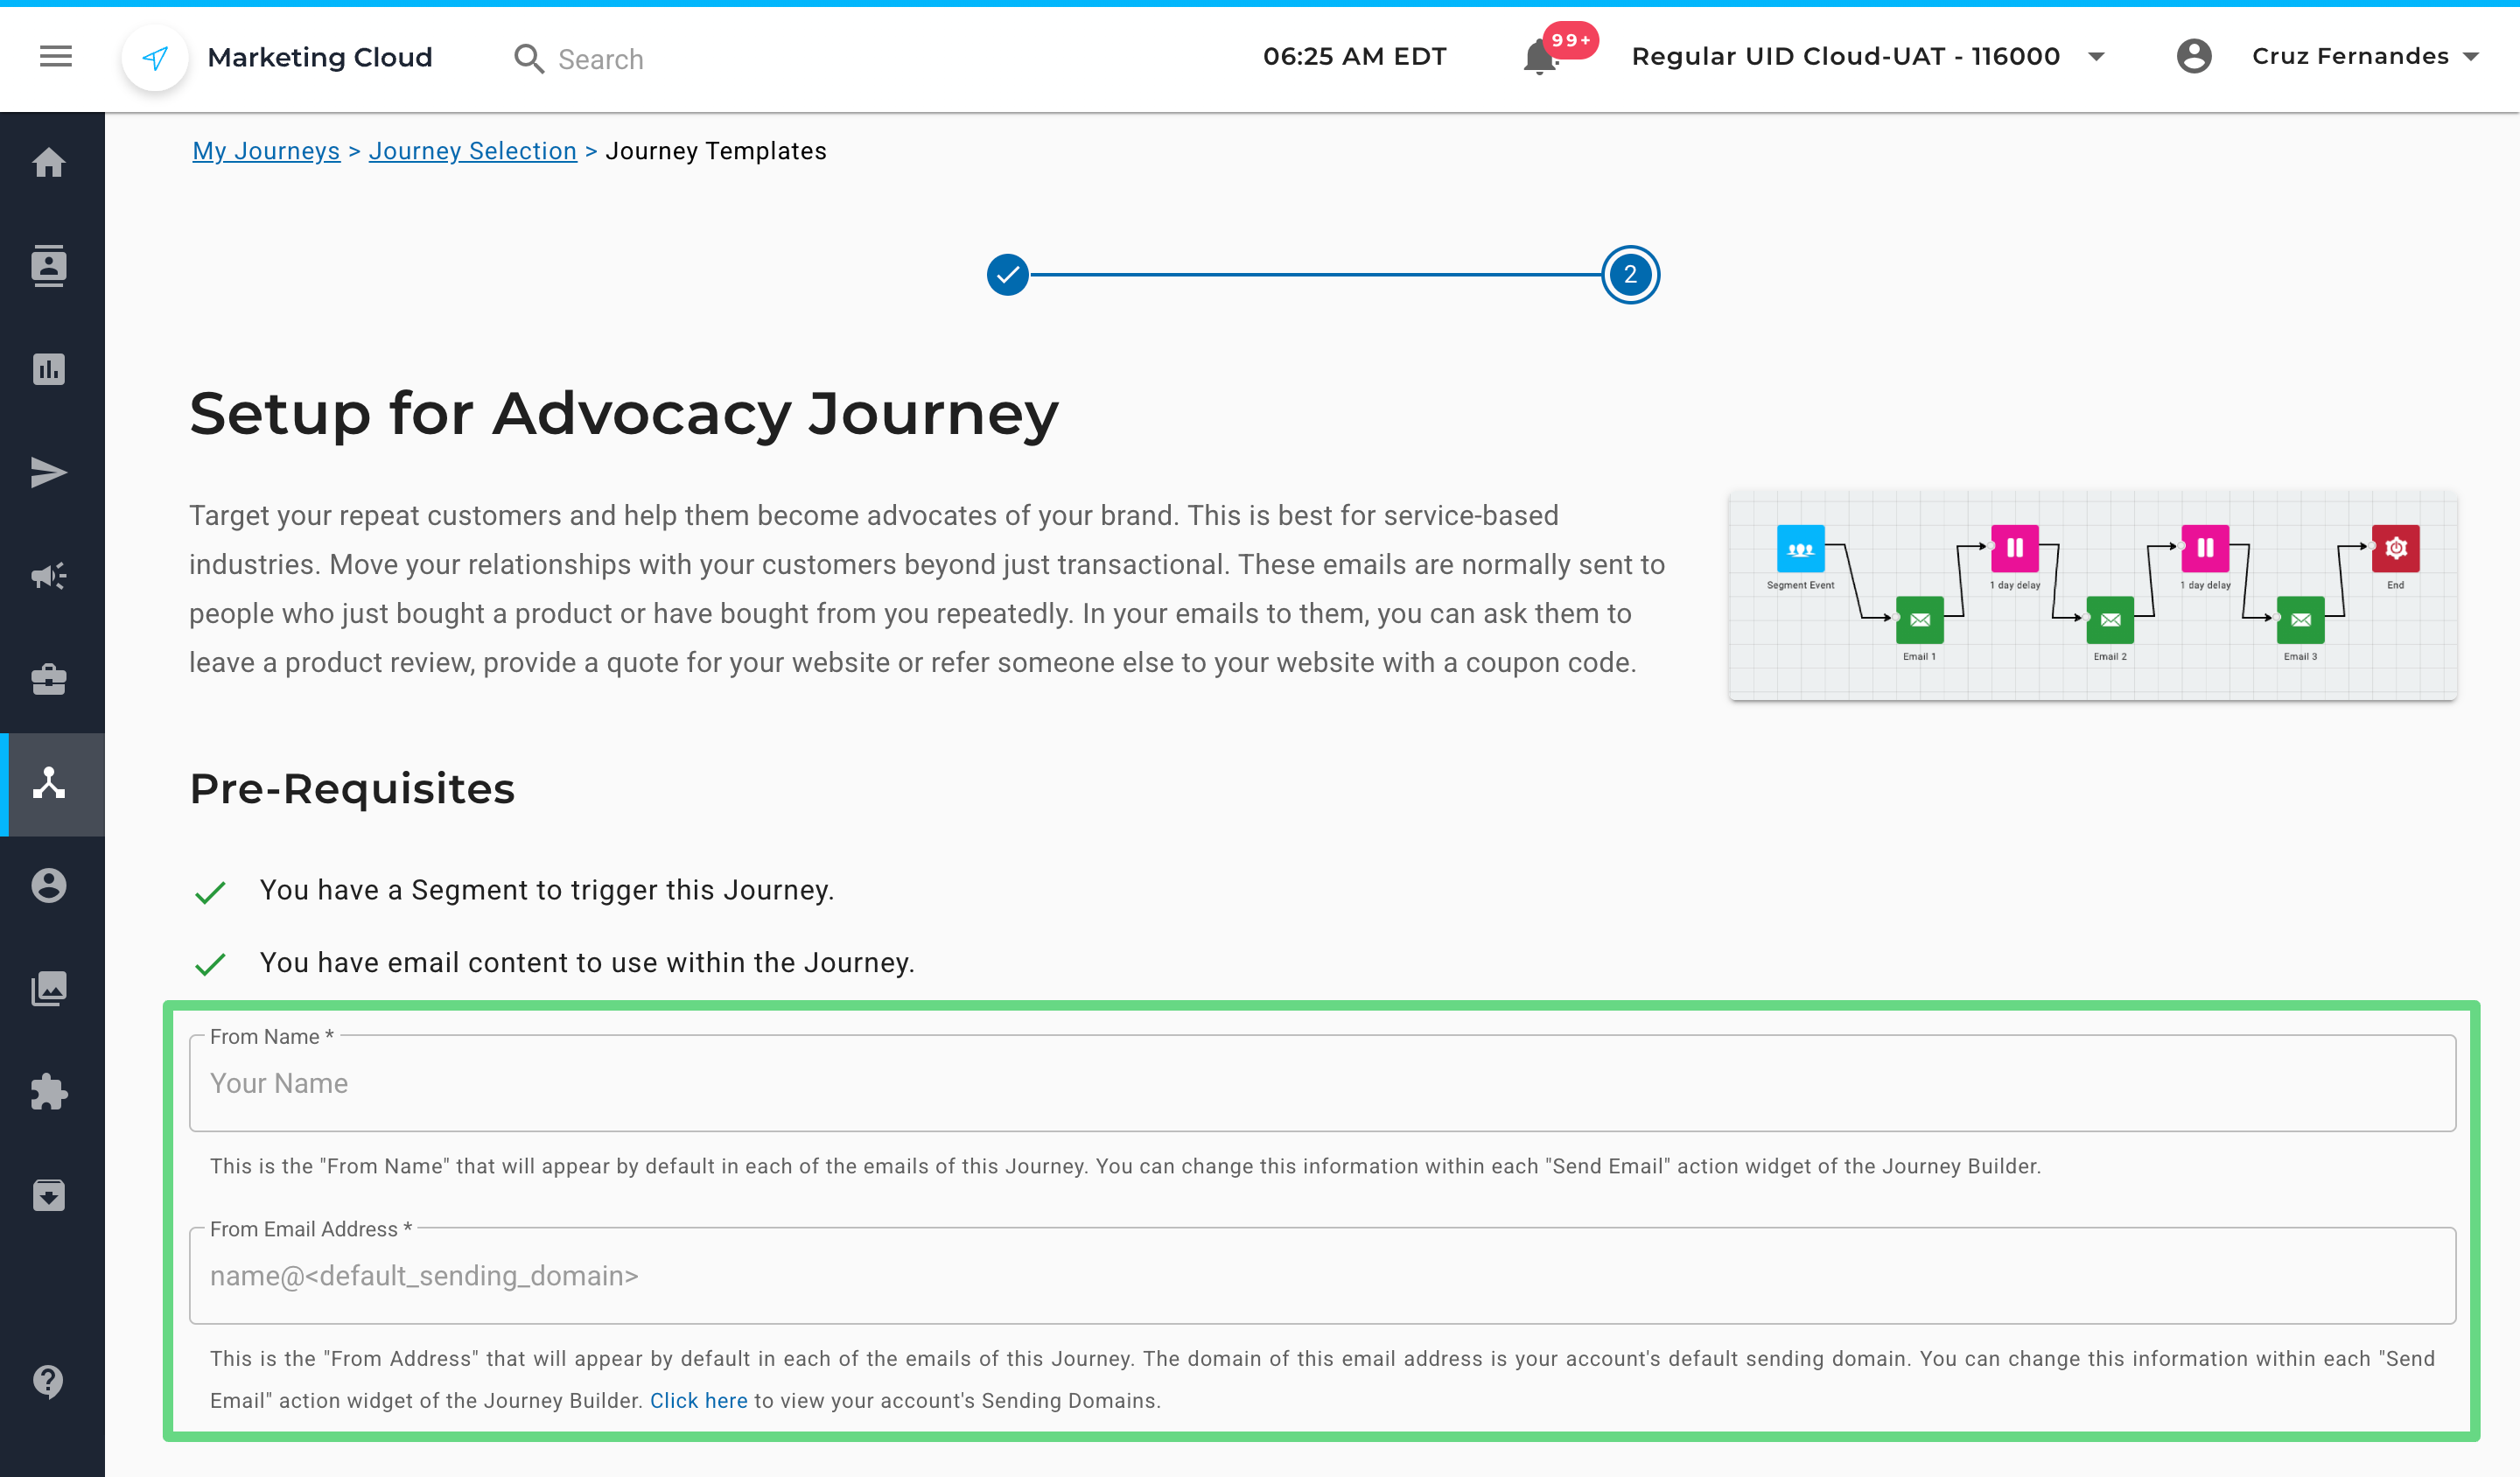
1. Enter your name and email address on the Setup page in the respective text boxes. These details will appear in your trigger emails. The domain of the “From Email Address” is, by default, your account’s sending domain and appears within each email section of a journey. You can modify your existing sending domain by clicking on the “Send Email” action widget of the Journey Builder.
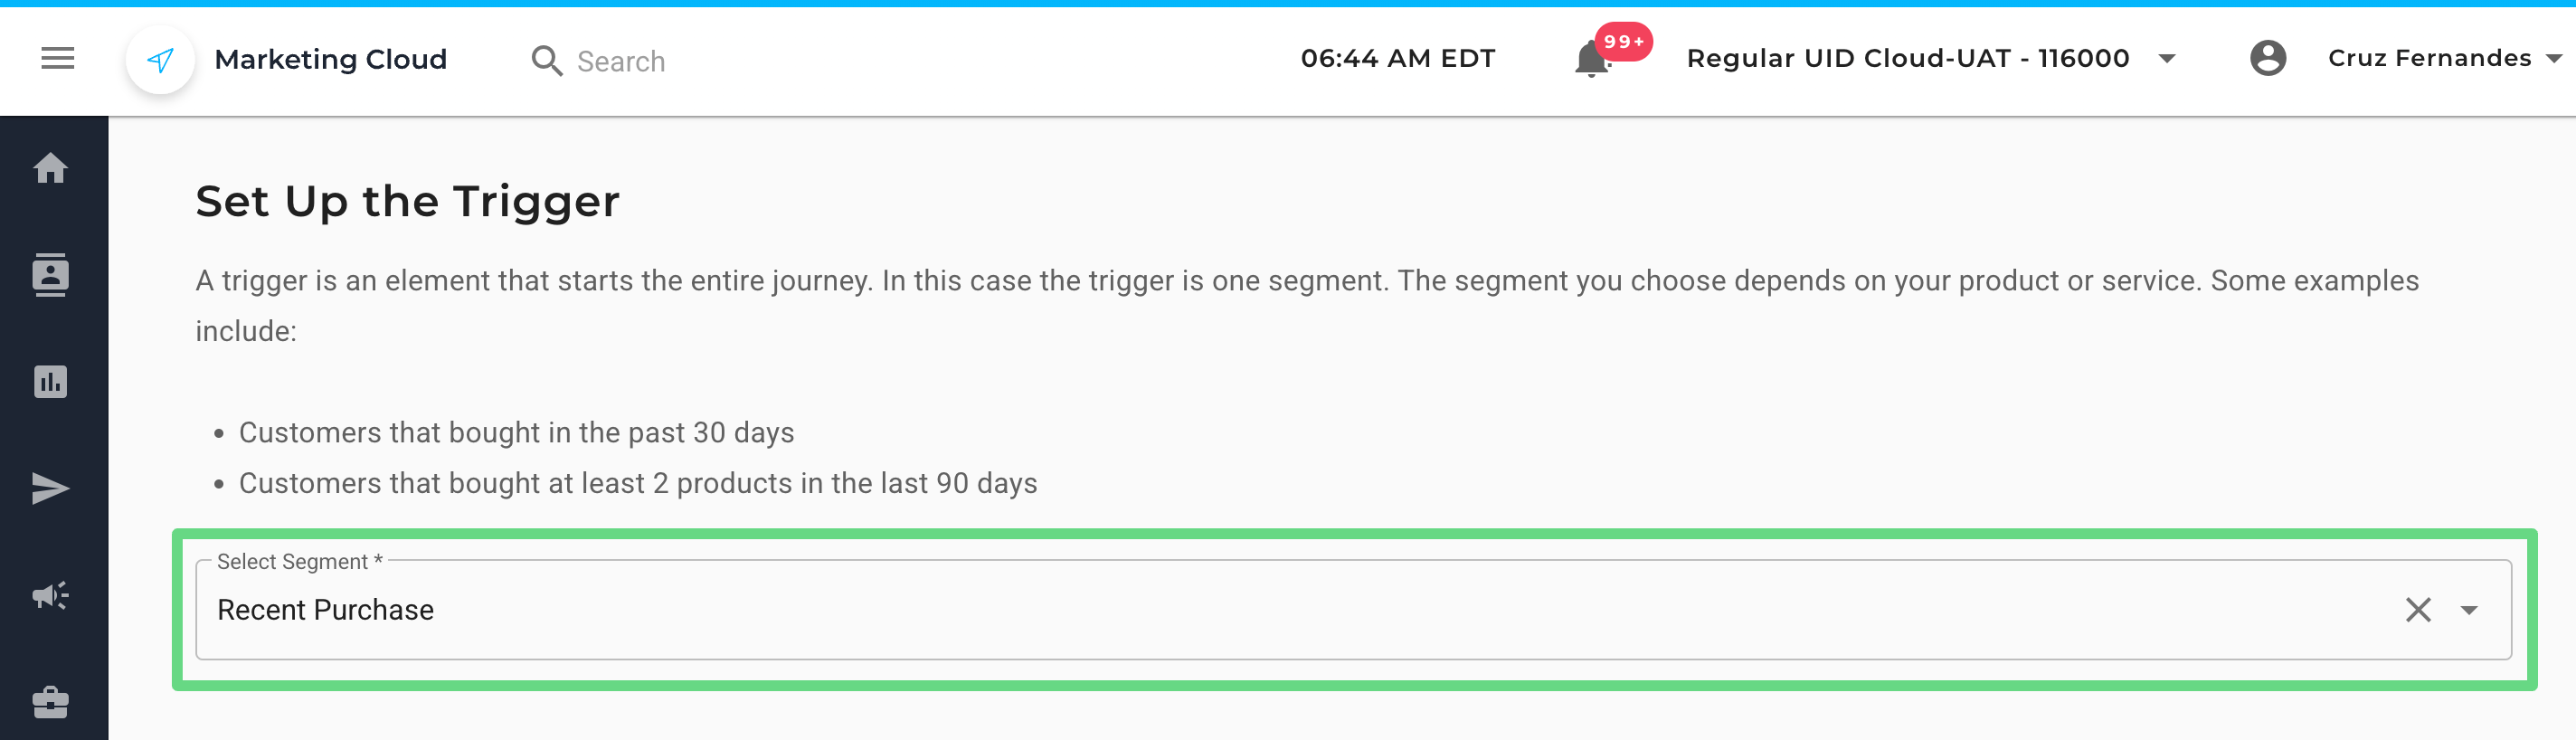
2. Next, select a segment from the dropdown list to initiate a trigger. The segments can include contacts that fulfill certain criteria, such as how recently or frequently they have bought a product from your store or website.
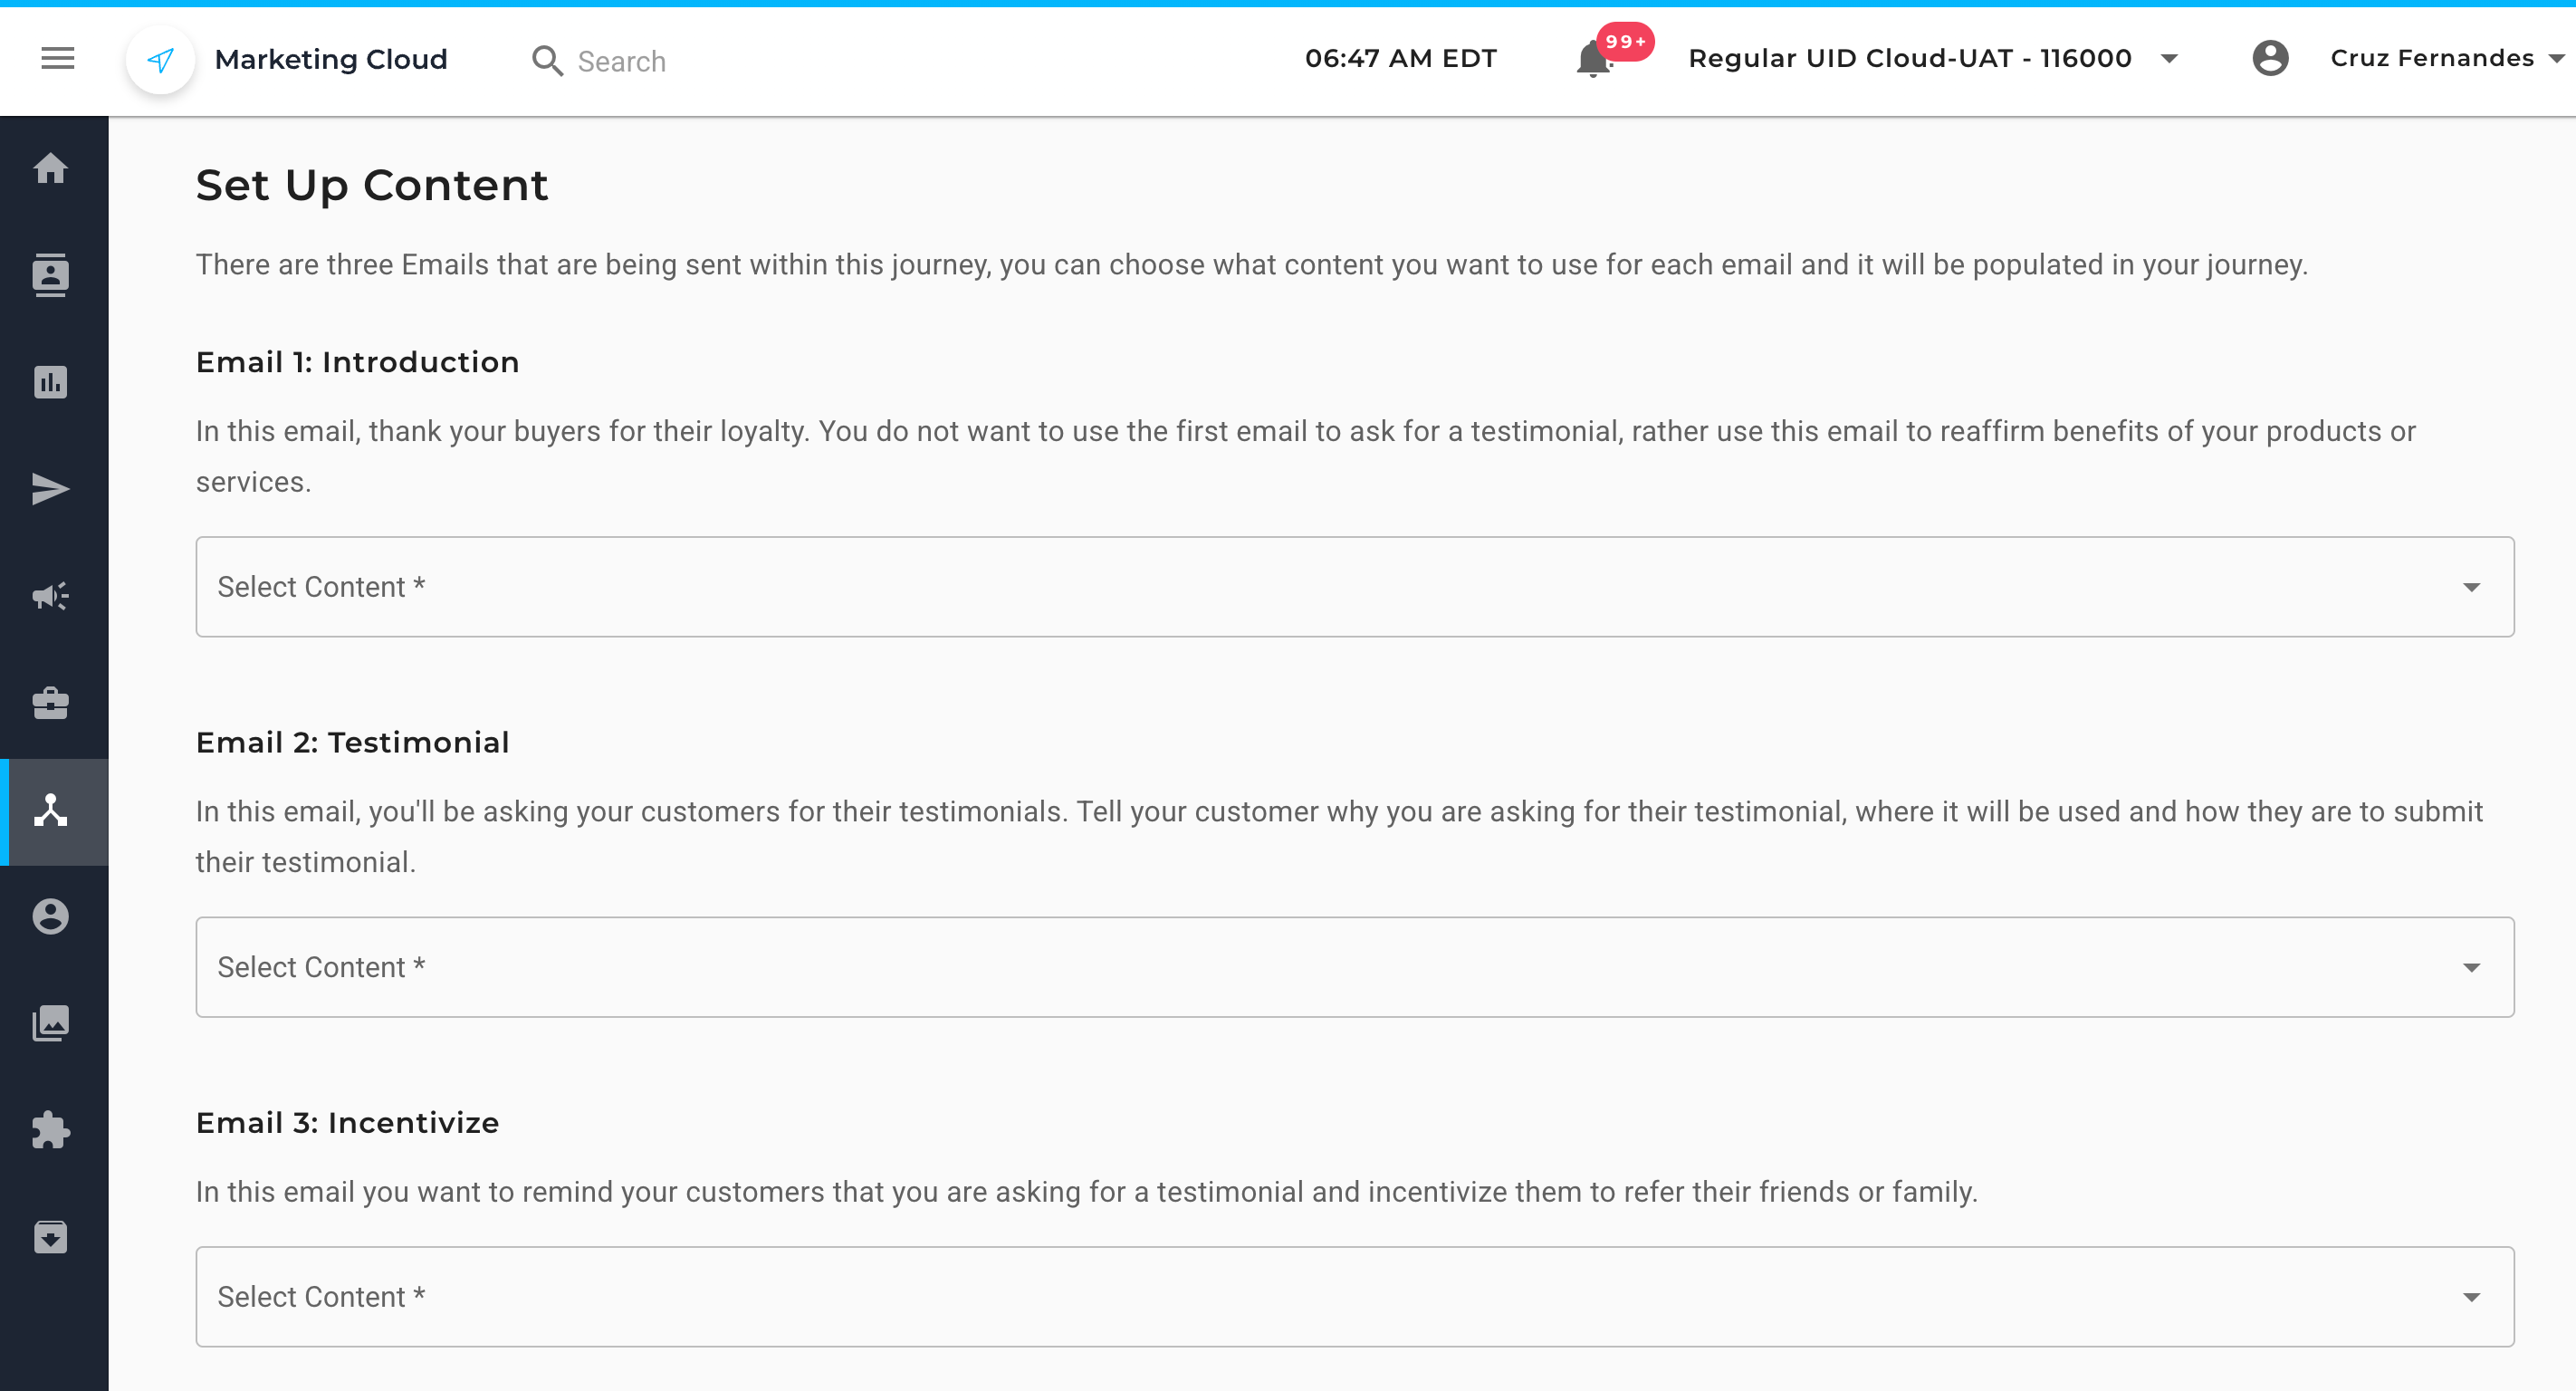
3. Advocacy Journey sends three email types to contacts within the chosen segment. They are namely:
- Introductory Email: This first piece of email campaign acts as a “Thank You” letter showing appreciation to buyers who have stayed loyal to you with their recent purchases. Additionally, you can help clients reaffirm their buying decision by mentioning the benefits of the items and thus reassuring them of your product and service quality.
- Testimonial Email: In the second email, you are going to ask buyers about their opinions on the products and services or the brand as a whole. Furthermore, you can cite the reasons as to why you are gathering feedback and how it will be used. Such actions create a sense of authenticity among customers towards your business, thereby helping you retain old clients as well as acquire new ones.
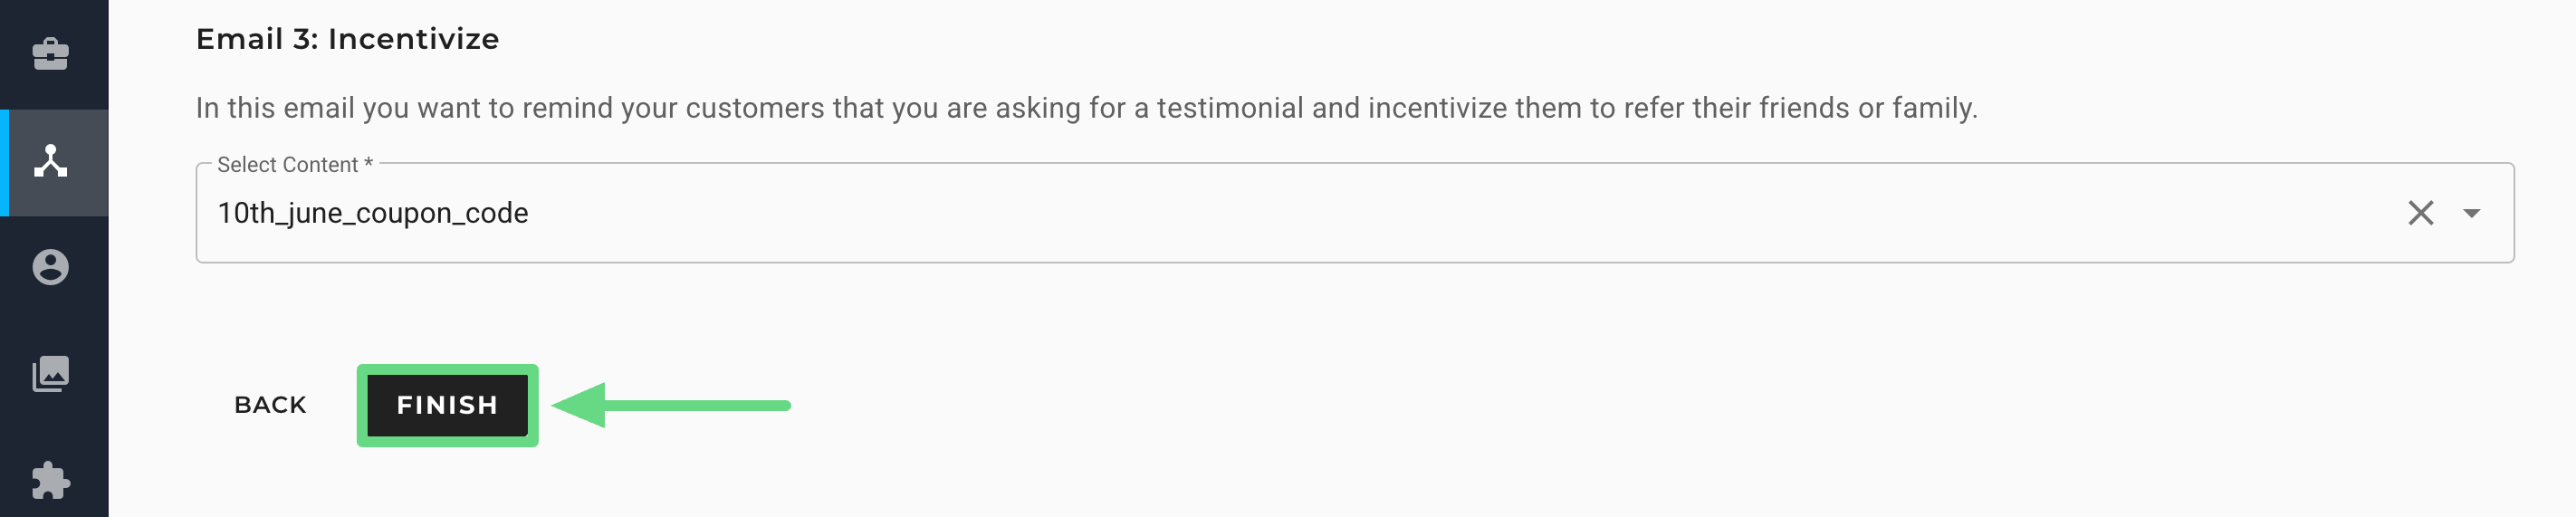
- Incentivize Type Email: The final email encourages contacts to submit their testimonials and refer your business to their relatives or family members in exchange for a discount code on their next purchase. This incentivizes contacts to promote your store to a wider audience, across demographics, age, location, preferences, and so forth, thus boosting your brand visibility.
4. Once you have selected your email contents, click on Finish to complete the setup.