File import functionality enables you to efficiently upload contact lists directly from CSV files while maintaining data accuracy through automated field mapping and validation processes. This contact management feature significantly improves operational efficiency by allowing bulk contact uploads with flexible formatting options, ensuring your contact database remains current while preserving data integrity.
You can leverage file import to streamlines your workflow when adding contacts from external sources or CRM systems, reducing manual data entry while ensuring proper contact segmentation and field mapping.
The CSV file must be formatted as per the following guidelines:
- There must be no spaces in the Header Column Names and always remove leading and trailing spaces.
- Follow UTF-8 encoding (note that we do not support UTF-8 BOM).
- The date format must be: in dd-mm-yyyy.
- The boolean type fields must use 0 and 1 to indicate false and true.
Additionally, when importing a CSV file, ensure you map the custom fields appropriately on the mapping step. For a brief context into all file import options and links to specific detailed instructions, see Importing Email Contact Lists.
Importing Contacts Using File Import
Perform the following steps to use file import to import contacts into a list:
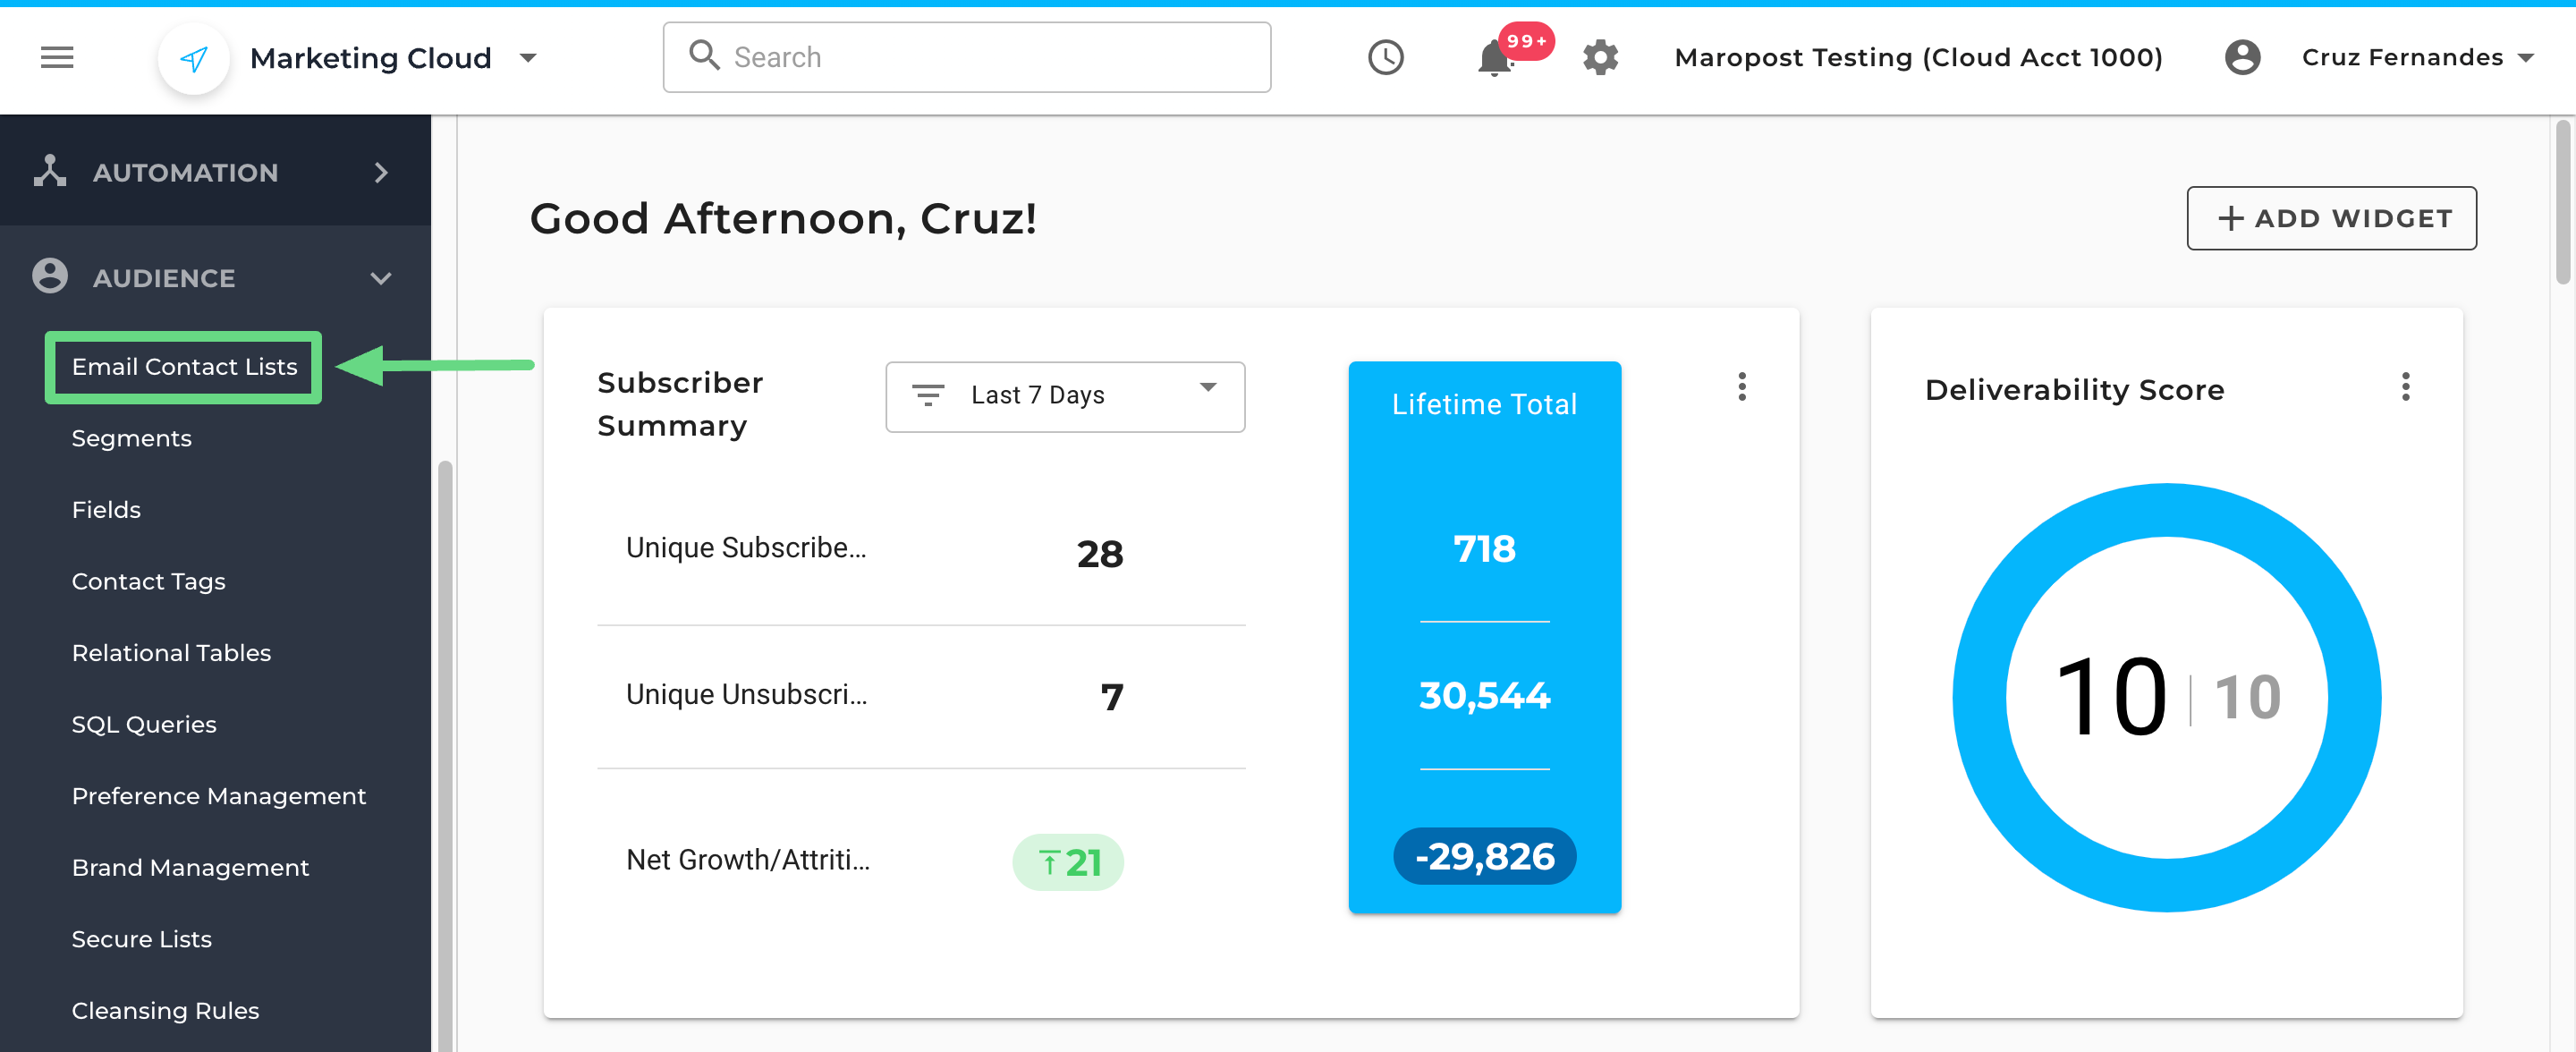
- In the Navigation panel, go to Audience, and select Email Contact Lists.
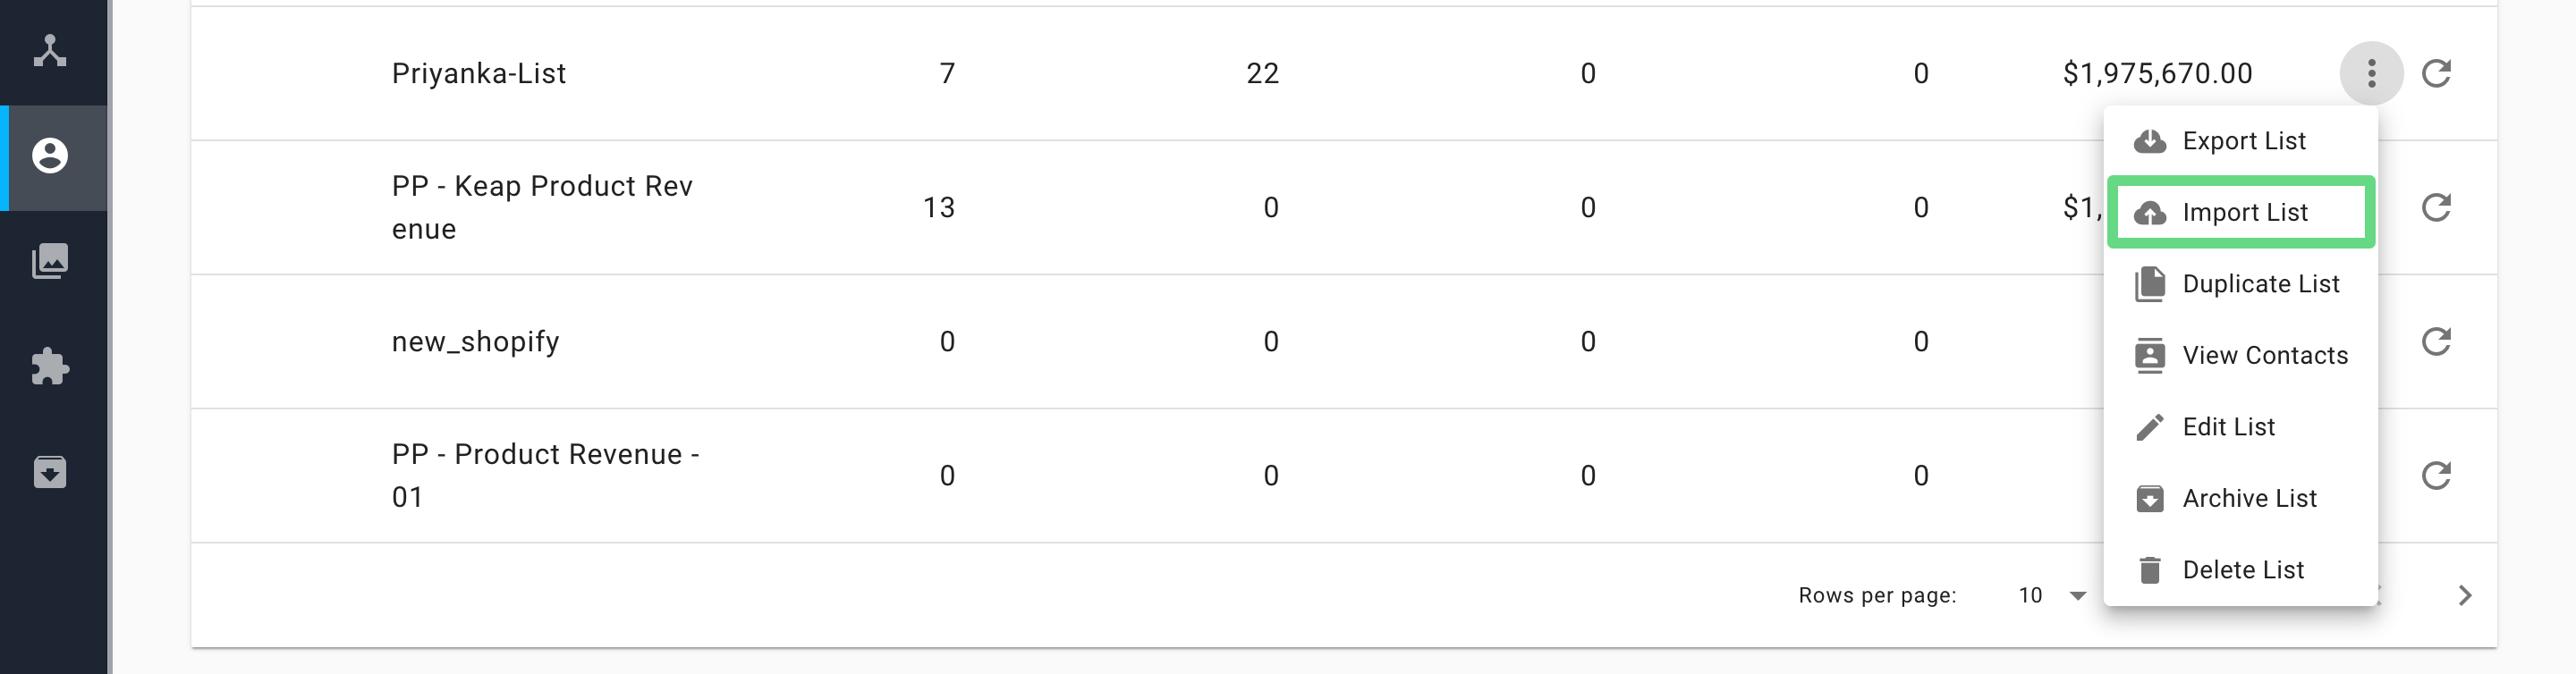
- On the Contact Lists index page, find the contact list into which you want to import your contacts. From the Actions drop-down list, select Import List.
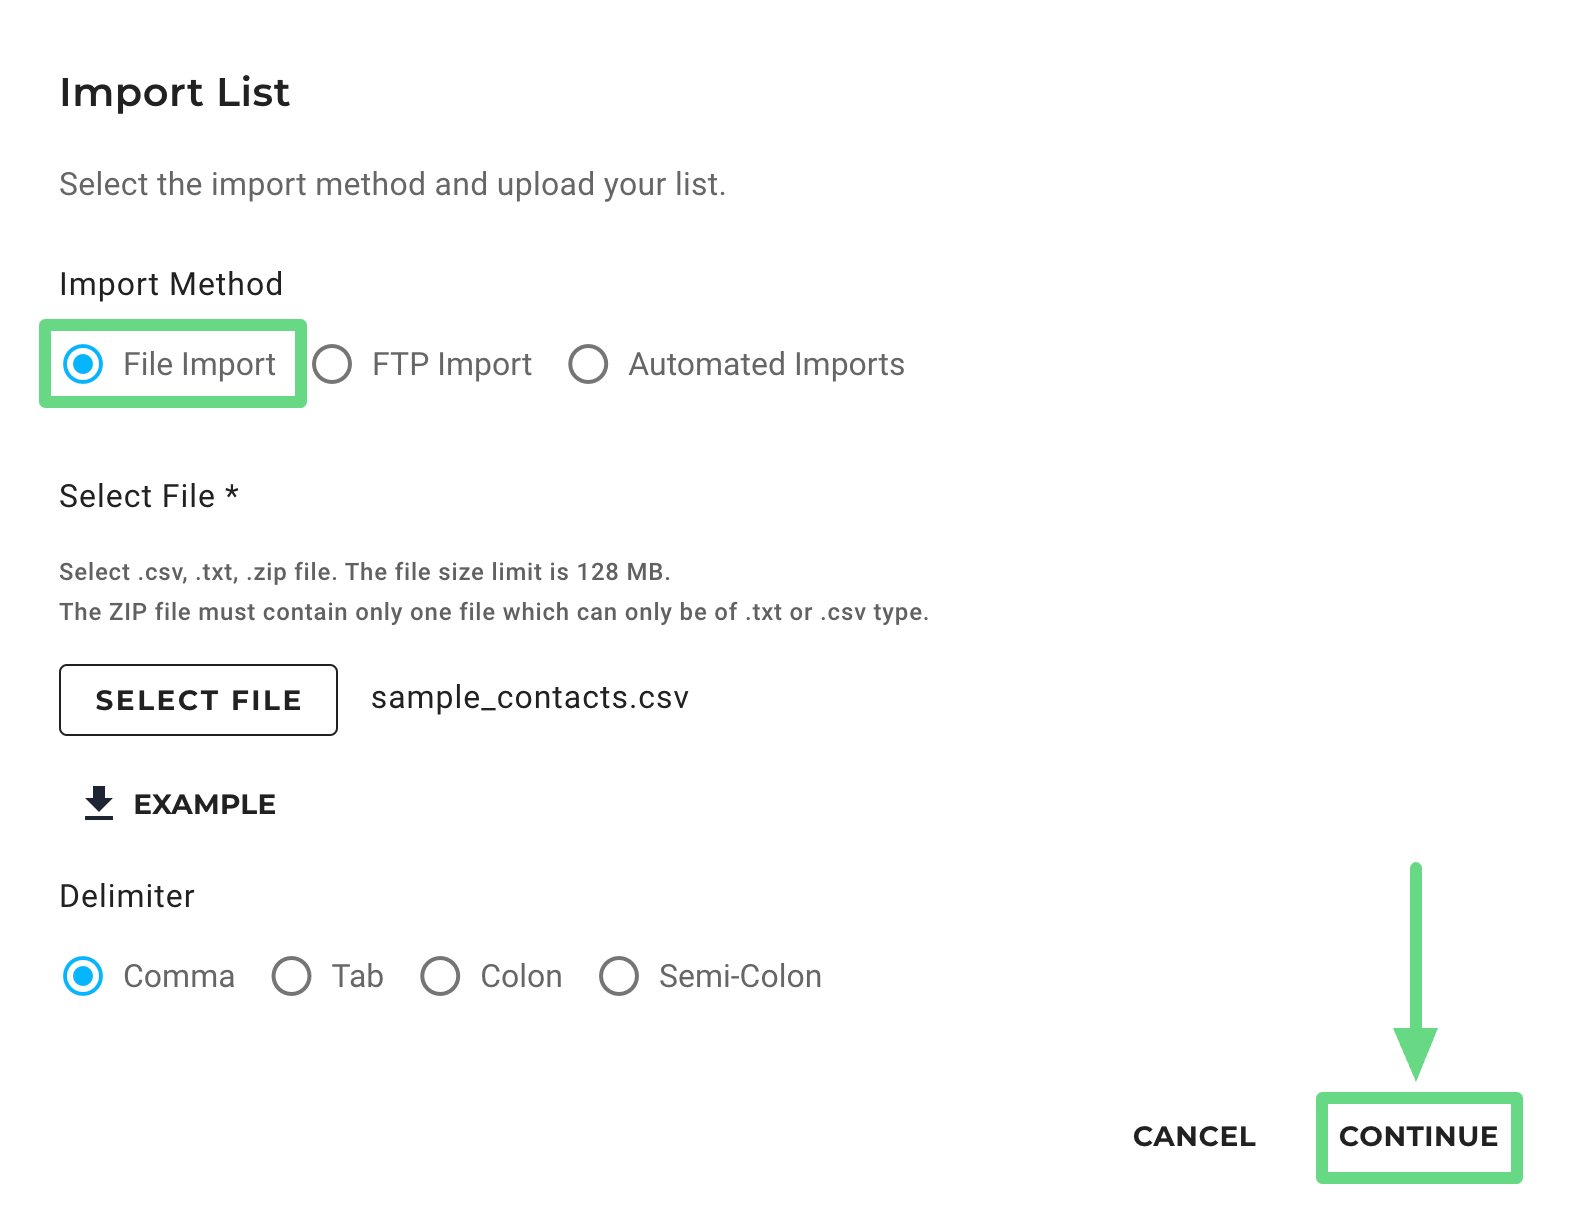
- In the Import List dialog box, retain File Import as the import method. Then, upload the file with the contact list. Also, select the field delimiter that is used in the file. Click Continue to proceed ahead.
In your file, email is the only mandatory field for importing contacts.
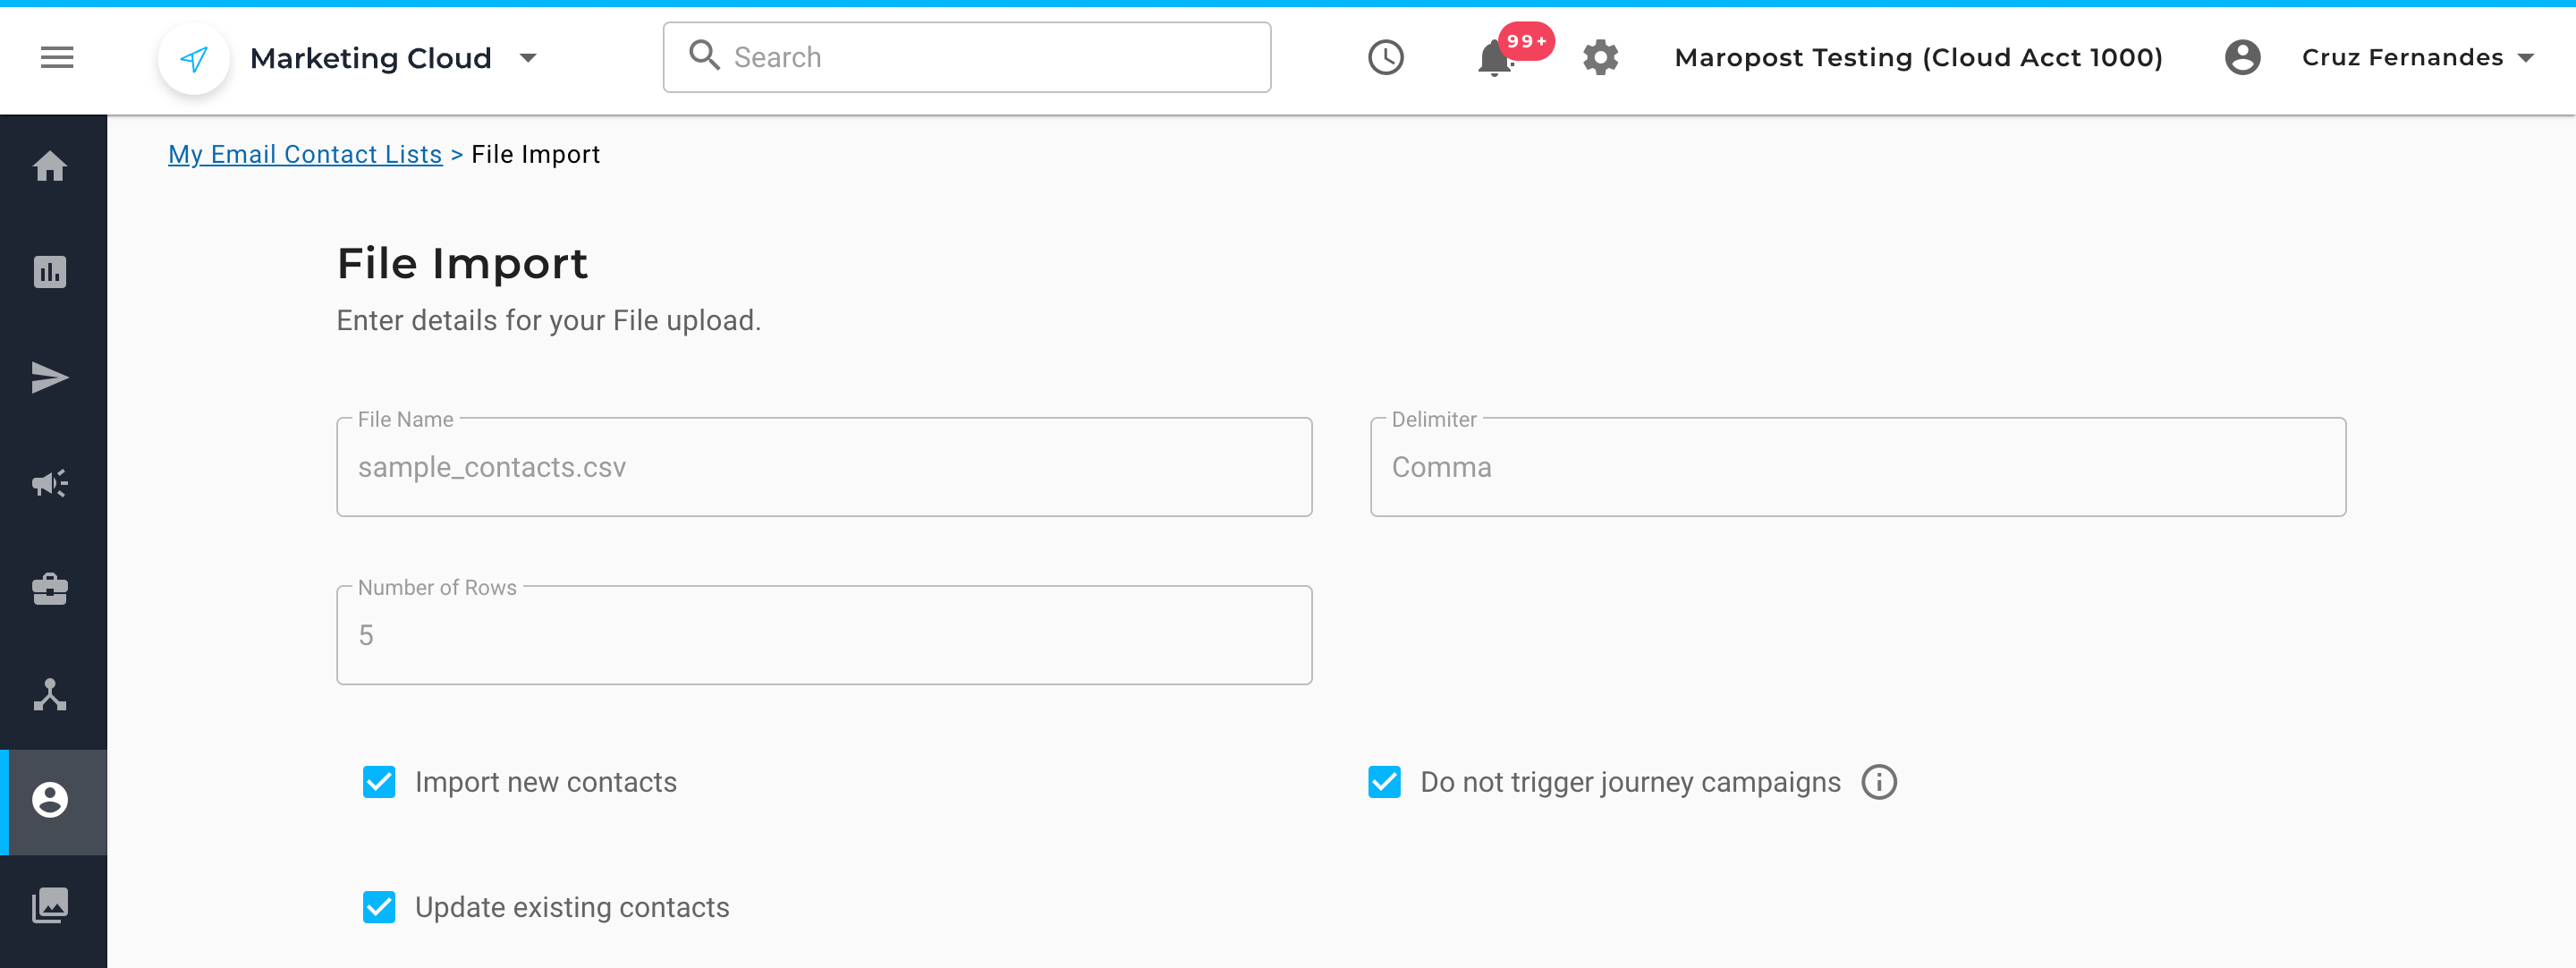
- On the File Import page, the uploaded file name, delimiter, and the number of rows/columns are automatically filled by the system. Next, select the following checkboxes, as applicable:
- Import New Contacts: This option imports new contacts only.
- Update Existing Contacts: This option allows you to update the existing contacts in a list.
- Do not trigger workflow campaigns: This option prevents any workflow from triggering the contacts involved in this list.
The journey campaign checkbox option is only available in workflows that use the "New Subscription" trigger widget and have this list chosen. If the checkbox is left selected, the contacts from the data file will not be entered in any of the workflows.
- On the contact mapping page, select the fields from which your file is to be matched with your previously created fields on the Maropost application. Optionally, if you have designated a custom field to be the unique identifier of your contact records, then select the name of the field in your import file that contains the member IDs, subscriber IDs, or any other type of profile IDs that your internal system is using to uniquely identify each contact record.
Once everything is mapped correctly, click Save. You can track the progress of the import in the Notification panel.

By default, the contact’s email address is used to determine whether a new contact record is created or an existing one is updated. However, if you’ve included the field containing your unique identifier in the file mapping, then that unique identifier field (for example, the member ID) is used to determine whether a contact record exists or not.