You can improve your email marketing analytics and maintain brand consistency by setting up link tracking domains that use your own domain for email links. This protects your sender reputation by ensuring all links in your emails appear to come from your branded domain rather than a third-party service, which typically leads to better engagement rates and inbox placement. When properly configured, link tracking domains enable comprehensive click analytics while maintaining subscriber trust.
Setting up link tracking domains is required before you can send any email campaigns, making this a foundational step for effective email marketing. This configuration helps ensure your emails reach intended recipients while providing the data insights needed to optimize campaign performance over time.
A Link Tracking Domain is a domain used to track the emails sent from your account. You can set up multiple link tracking domains in your account; however, you are required to set up at least one link tracking domain before you can send any emails.
Managing Link Tracking Domains
The Link Tracking Domains index page is where you can add and verify the domains for tracking your sent emails. The index page lists all the domains that have been previously added, and you can use the Actions widget to manage these domains.
Click your username in the top-right corner of the application, and from the drop-down menu, select Settings. Then, on the Settings page, in the DNS Setup section, click Link Tracking Domains.

For each added domain, the following actions are available:
- Verify Domain: Once you have added a domain, you can always go back to the verification process using this action menu.
- Set as Default: Select the domain as the default domain.
- Delete Domain: Use this option to remove the Link Tracking Domain from your account.
Setting Up Link Tracking Domains
The setup process includes:
- Adding a domain
- Verifying the domain
Adding a Domain
Follow the steps below to add a domain as a link tracking domain:
- Click your username in the top-right corner of the application, and from the drop-down menu, select Settings.
- On the Settings page, in the DNS Setup section, click Link Tracking Domains.
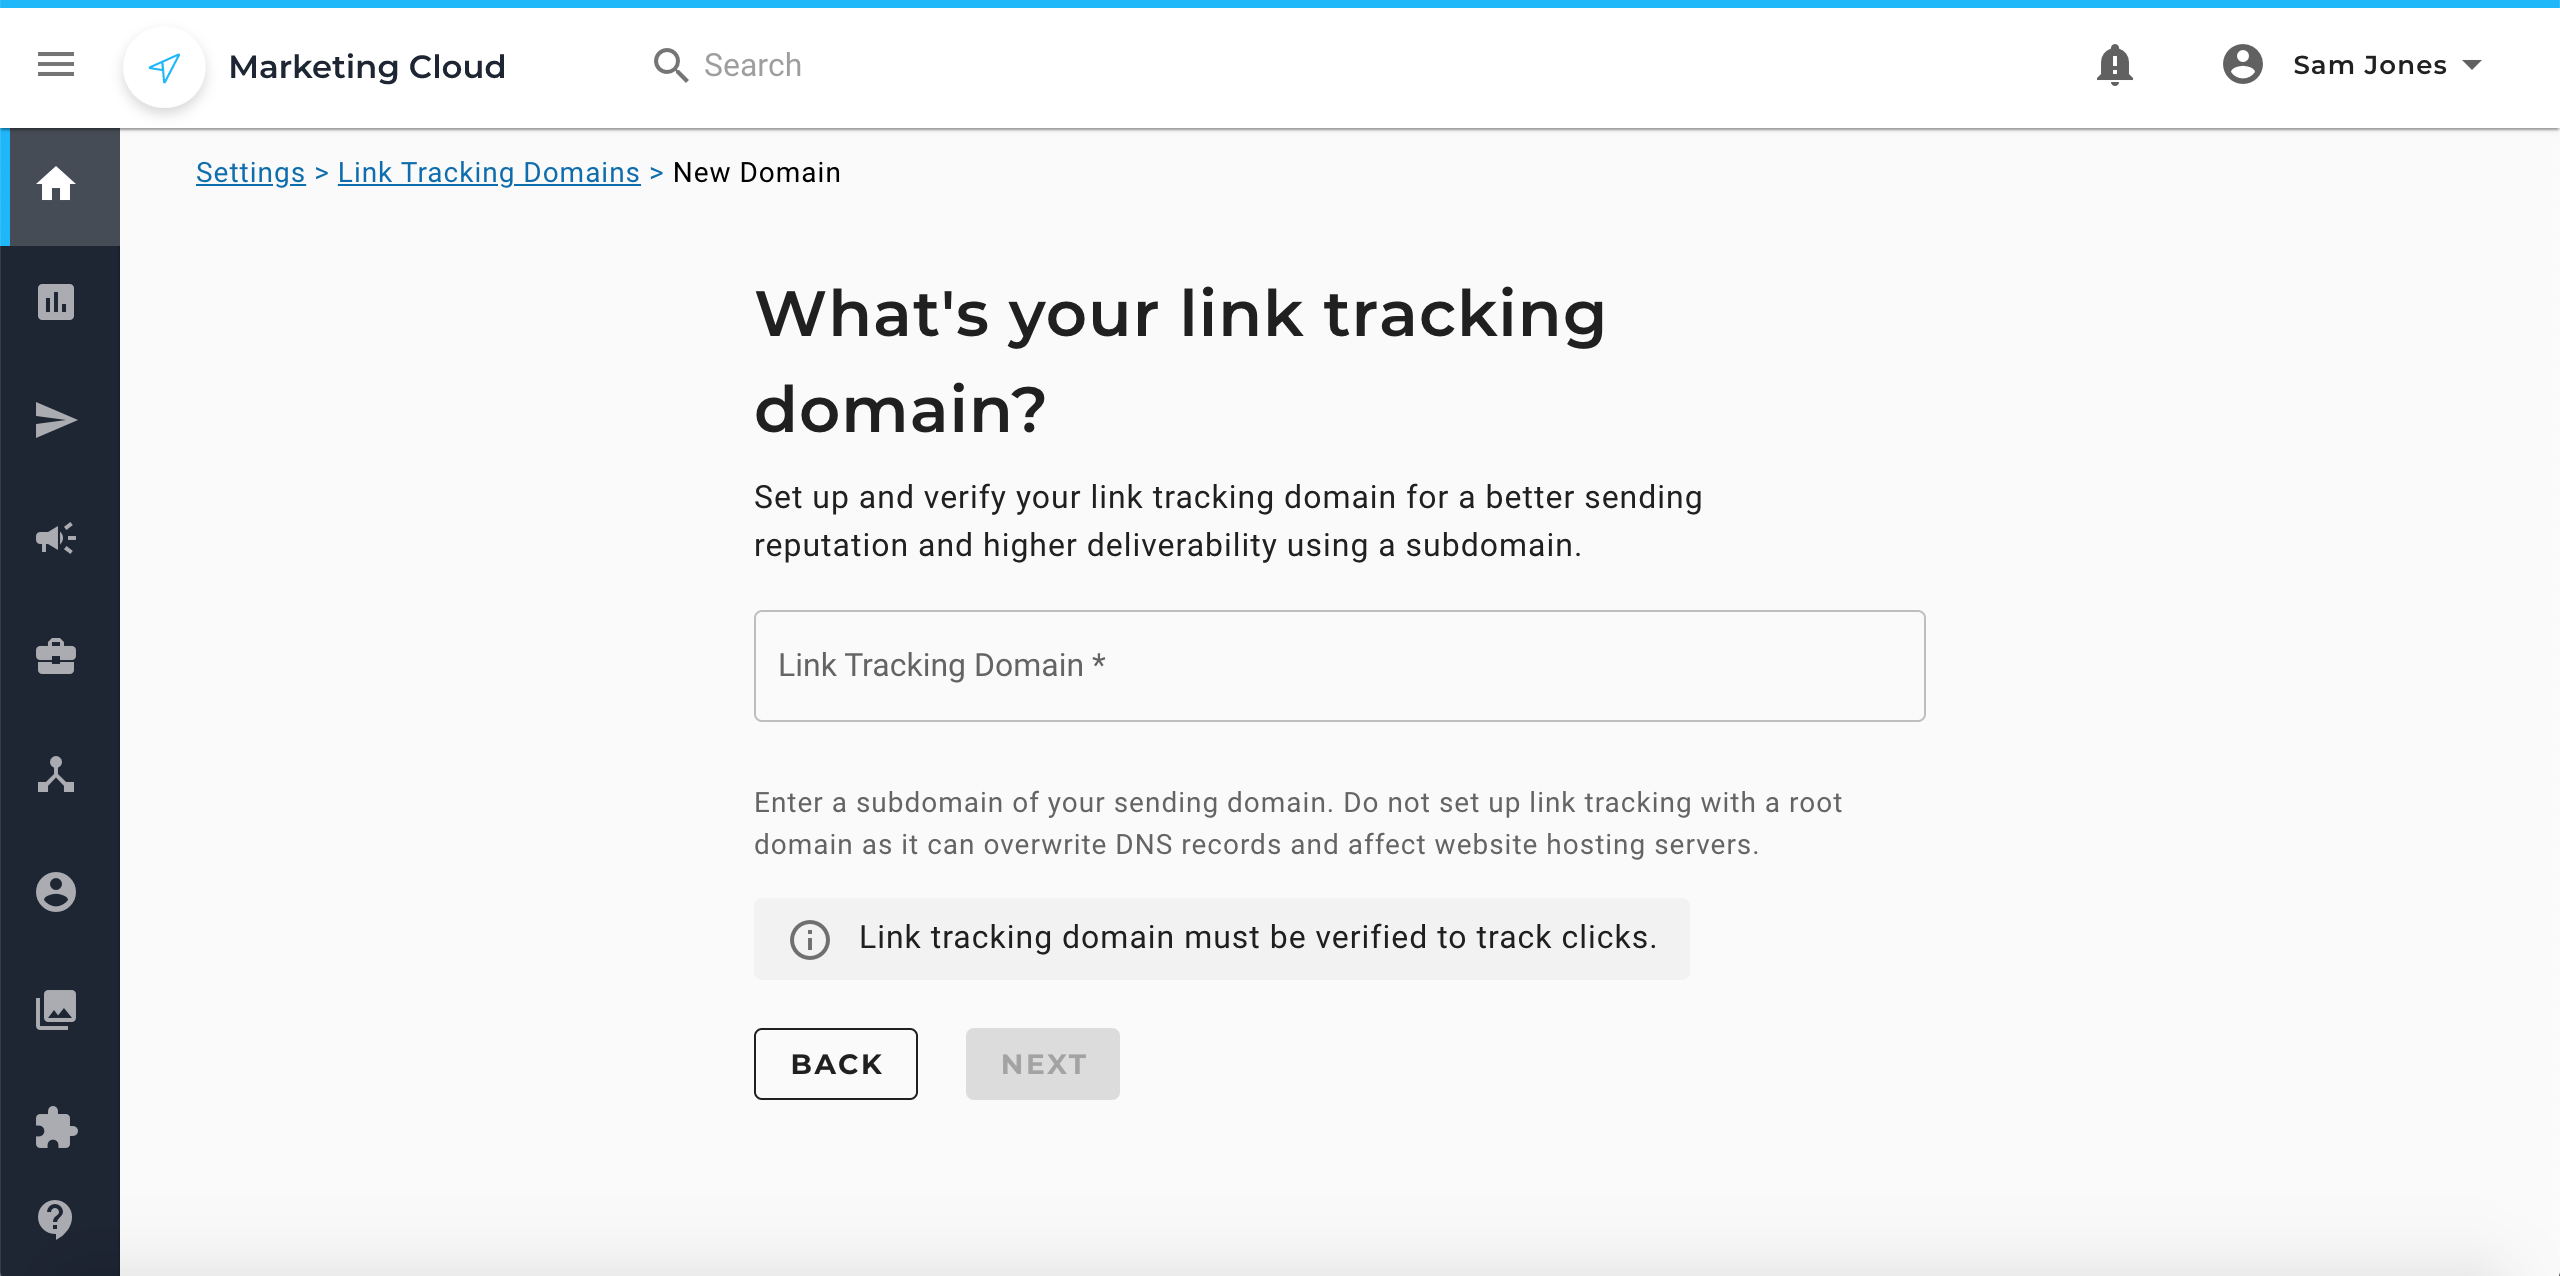
- On the Link Tracking Domains index page, click New Domain.
- Enter the domain name.

- Click NEXT to go to the verification page.

- You can initiate the verification process now or click DONE and do the verification process later.
Verifying the Domain
Only a verified domain can be used for tracking emails. Hence, you must verify the link tracking domain before you can start sending emails.
CNAME
CNAME (Canonical Name Record) is a DNS record that is used to alias a domain name to a different domain name. It is useful when you want to direct users to the same information delivered on a separate URL.
Do the following to verify the CNAME of your link tracking domain:
- Go to your domain’s DNS records.
- In the DNS settings, add a record with CNAME as the record type.
Copy the CNAME hostname from the Domain Verification page in the Maropost application and paste it into the Label or Host field of the DNS record.

- Copy the CNAME value from the Domain Verification page in the Maropost application and paste it into the Destination or Target field of the DNS record.
- Then, back on the Domain Verification page, click Verify TXT.
Related Articles
Email Infrastructure:
Campaign Management:
Analytics & Reporting: