Abandoned Cart Journey Templates enable you to recover lost sales and maximize email marketing ROI by automatically sending targeted follow-up emails to contacts who didn't complete their purchases. This helps optimize campaign effectiveness by re-engaging prospective buyers at the optimal moment, which can substantially improve conversion rates and revenue recovery compared to one-time promotional efforts.
When properly configured, abandoned cart journeys streamline your workflow by automatically monitoring shopping behavior and delivering timely reminders, reducing manual effort while ensuring no potential sale opportunities are missed.
Abandoned Cart Journey Templates can be used to create journeys for sending abandoned cart emails to your Neto, Shopify, and ClickBank contacts.
Usage Scenario
You want to re-engage with your prospective buyers and recover lost sales. And to do that, you are using Marketing Cloud's abandoned cart email feature to set up an automated process for sending follow-up emails to the contacts who did not complete a purchase.
The Abandoned Cart Journey Template enables you to create the Abandoned Cart Journey with minimal effort.
Before You Begin
For setting up the Abandoned Cart Journey, you'll need to have completed steps 1 to 3 (discussed in detail in the Sending Abandoned Cart Emails to Your Neto Contacts article):
You must have at least one connected web store to create an abandoned cart journey.
- Create an integration between your Marketing Cloud and Neto accounts. To learn about how to create the integration, see Integration with Neto By Maropost.
- Install the Abandoned Cart Saver add-on that is available on your Neto control panel. To learn more, see Abandoned Cart Saver.
- Create the content for the abandoned cart email using any of the Marketing Cloud's content editors. To learn about email content, see Content Builders: Overview.
- To acquire abandoned cart information from your Shopify and ClickBank stores, kindly integrate your store accounts with your Maropost Marketing Cloud accounts. To learn more about these integrations, visit and read our Shopify and ClickBank Integration articles.
Step-by-Step Process
When using the template, you can set up your Abandoned Cart Journey in just two steps. In step 1, you configure your Journey settings, and then in step 2, you select the Journey trigger and email content.
1. In Navigation, go to Automation and select Journeys.
2. On the Journeys index page, click New Journey.
3. On the Journey Selection page, select Abandoned Cart.

4. Then, on the Abandoned Cart dialog box, click Create.

5. In step 1 (Settings for Abandoned Cart Journey), enter a name for your journey in the Journey Name text box.
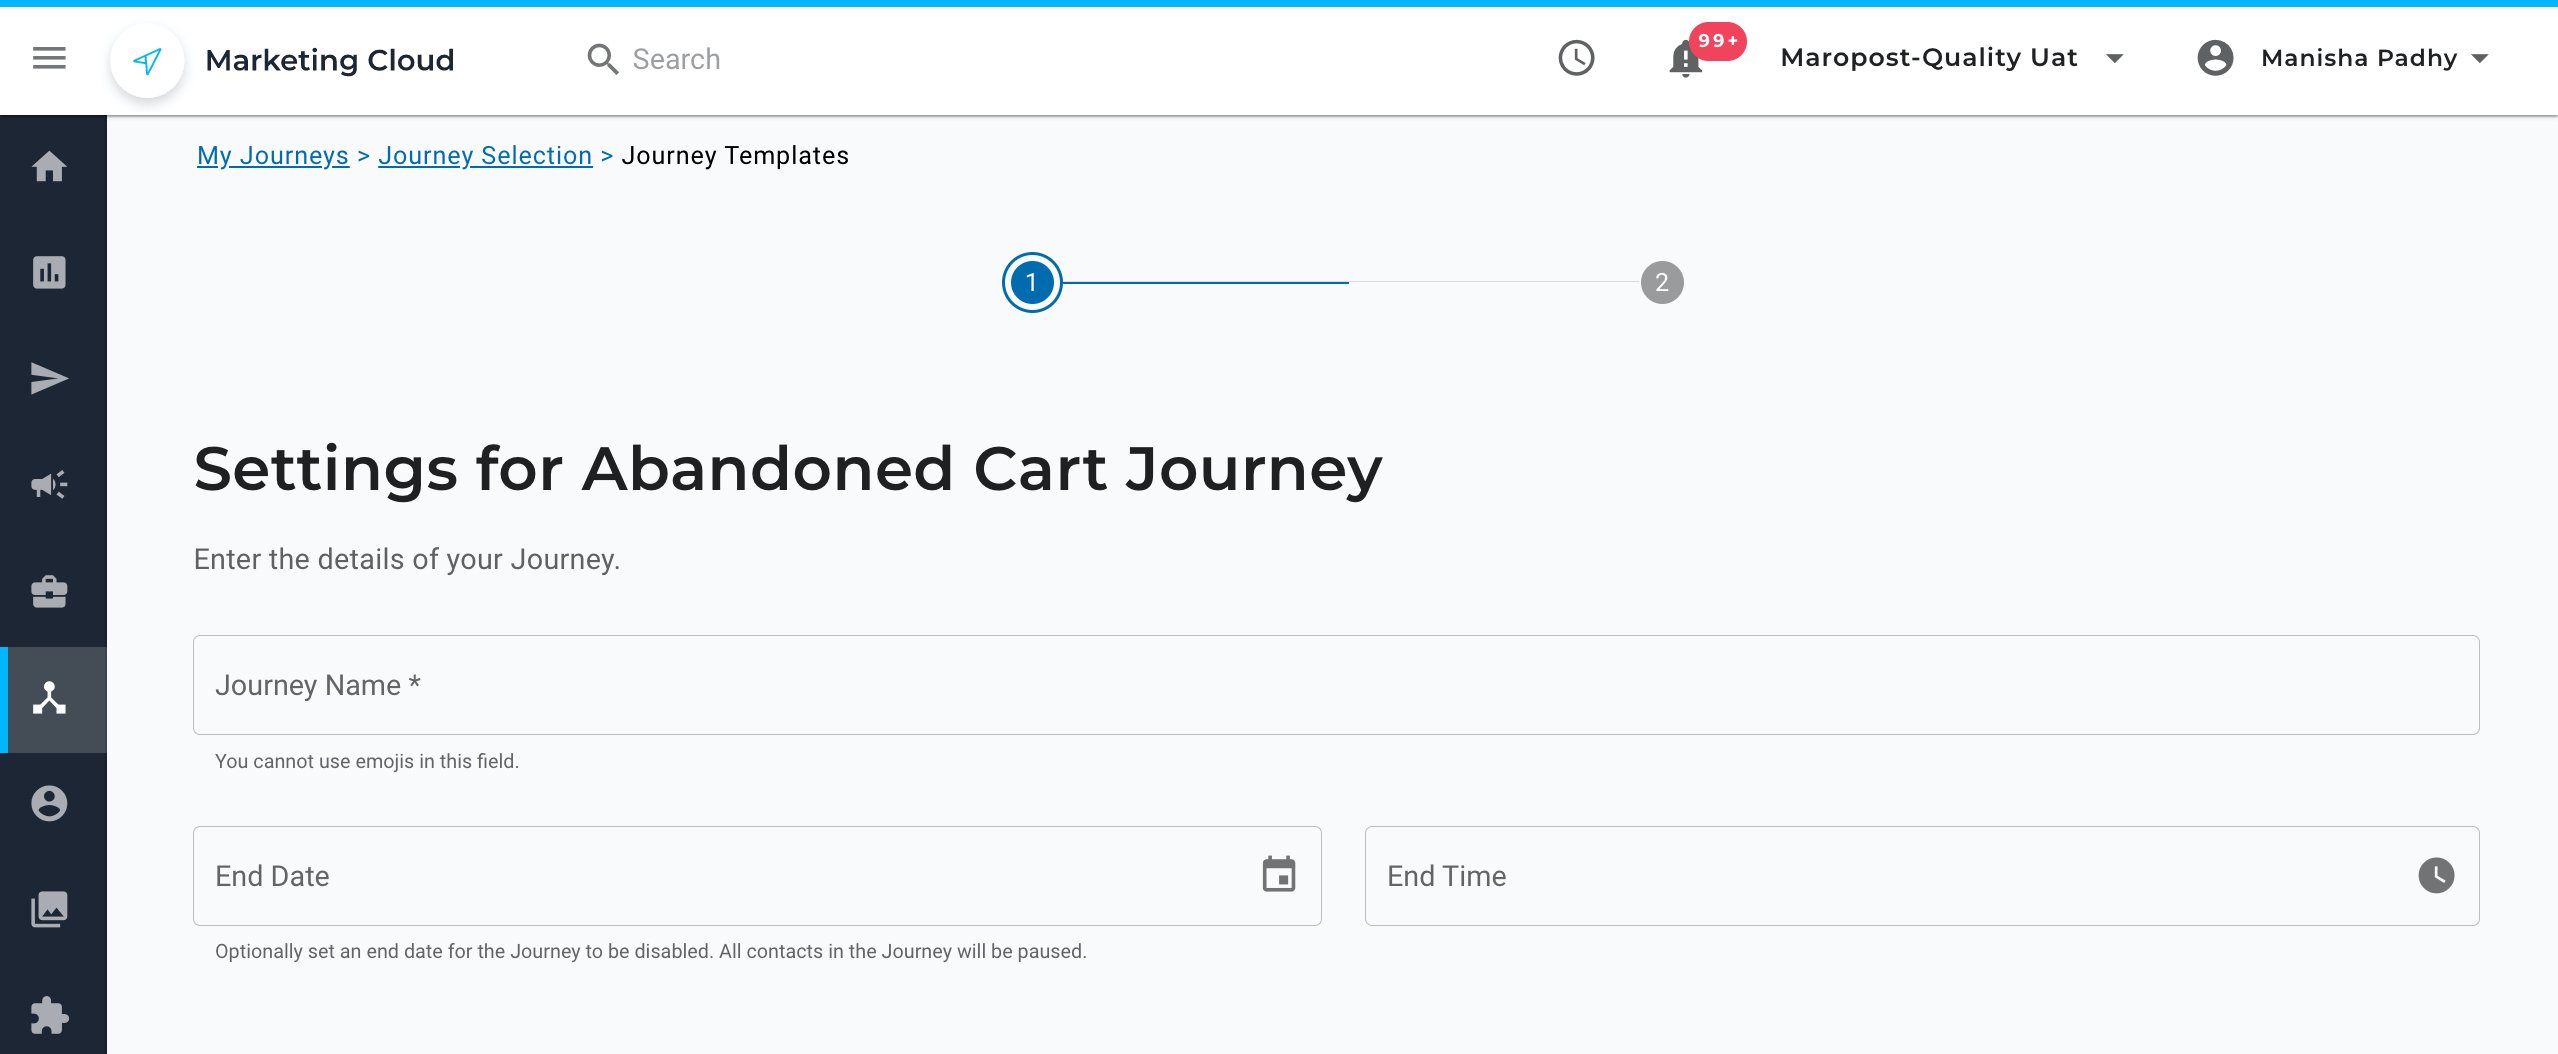
6. Optionally, enter an end date and time for the journey in the End Date and End Time fields, respectively. If you specify a date and time here, the journey becomes inactive on the specified date and time.
7. Optionally, select the Enable Journey checkbox to activate the Journey at the time of creation. If the checkbox is selected, the journey becomes active right after it is created.

8. Optionally, select the Retrigger Journey checkbox to enable retriggering of the journey. If the checkbox is selected, the journey is retriggered for the contacts who have already finished the journey if they match the trigger criteria again.
9. Click Next to go to step 2.
10. In step 2 (Setup for Abandoned Cart Journey), enter the sender's name in the From Name text box and the sender's email address in the From Email Address text box. The name and email address you specify here are used in the abandoned cart reminder emails.

11. Next, set up the trigger for the journey by selecting the web store connection from the Select Store drop-down list. A trigger here refers to the connected web store that will be monitored for abandoned carts.

12. In the Set Up Content section, select the content for the reminder emails to be sent. Following the industry standard, Marketing Cloud enables you to send out three welcome emails.

13. Click Finish to create the journey.