You can automatically import new contacts from InfusionSoft into Marketing Cloud while preserving subscription preferences and contact tags, ensuring seamless data continuity across platforms. This integration streamlines your workflow by eliminating manual contact transfers and enables immediate email marketing campaigns for new subscribers, helping you maintain engagement momentum and maximize lead conversion opportunities.
When properly configured with automatic import enabled, this integration helps optimize your email marketing effectiveness by ensuring daily synchronization of new contacts, enabling timely welcome campaigns and targeted messaging based on InfusionSoft tag data.
Using the Contact Import option, you can import new contacts from Infusionsoft into Marketing Cloud. The contacts you choose in Infusionsoft are imported into the Maropost list you've selected while setting up.
Note:
- The subscription status of the contacts remains the same. For example, if a contact has a subscribed status in Infusionsoft, then the contact is imported as subscribed into the Maropost list, and conversely.
- If you send a campaign from Maropost and a contact unsubscribes from here, then the status of the contact changes to unsubscribed in Infusionsoft as well.
Setting Up the Contact Import Integration
Perform the following steps to set up the integration for importing new contacts from Infusionsoft into Maropost's list:
- On the Connections page, in the Infusionsoft tab, click Add Settings.
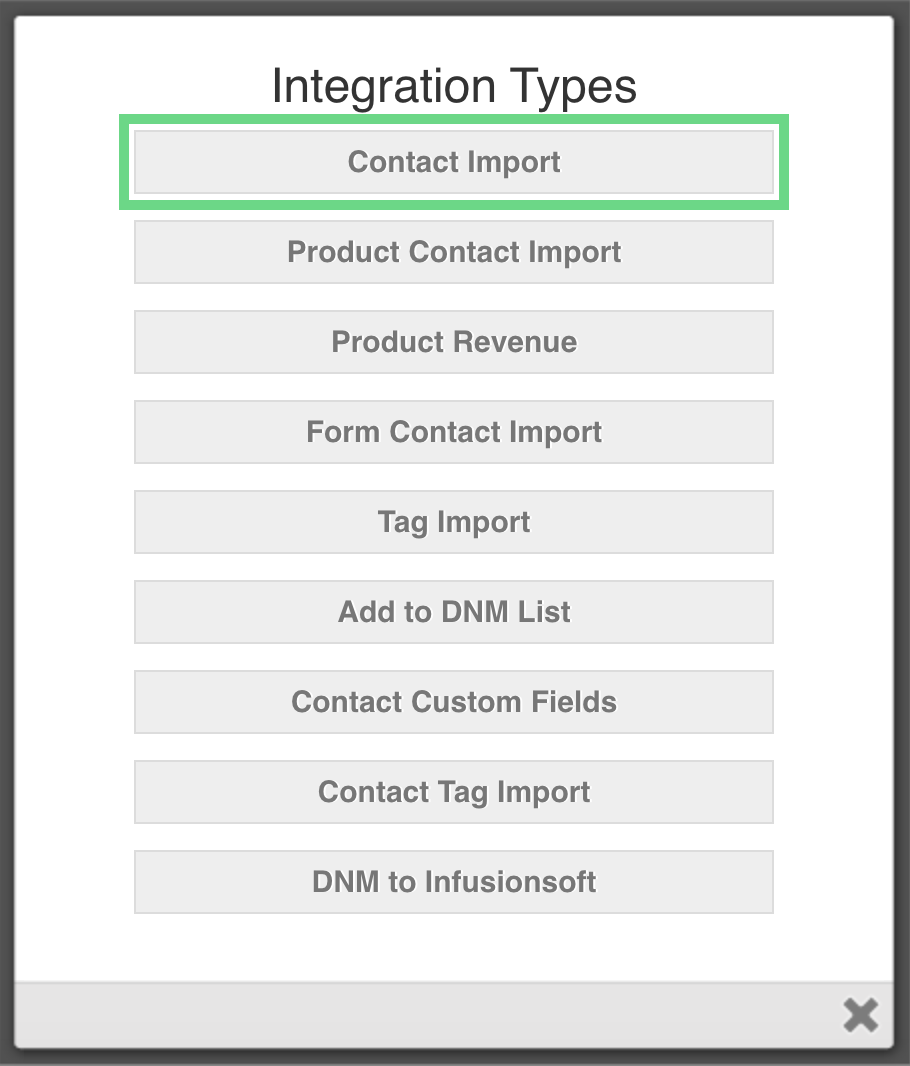
- In the Integration Types dialog box, click Contact Import.
- Name - Enter a name for the integration settings.
- API URL - Enter the URL of your Infusionsoft account. For example, https://pd208.infusionsoft.com.
- API Key - Enter your Infusionsoft API key. To find this key, log into your Infusionsoft account and select Admin >> Settings >> Application, then scroll down to the API section.
- Integrate with list - Select the name of the list to which you want to add the new contacts.
- Auto import - Select the option if you want Auto-Import to be enabled. Scroll down to the 'Enabling Automatic Import' section for more information.
- Import contact tags - Select the option if you also want to include the Infusionsoft tags during the import process. If selected, then the Infusionsoft tags will be created in Maropost and the contact records will show the corresponding tags.
On the Contacts Imports Settings dialog box, provide the configuration details for the integration, and then click Save.

You can select from or enter the details of the integrations as follows:
The import process begins and pulls all the selected contacts from Infusionsoft into Maropost's selected list.
Enabling Automatic Import
If enabled, the automatic import process runs every day at 08:00 AM Eastern Time Zone. It pulls all the contacts that were newly added to your Infusionsoft database in the last 24 hours.
If you have enabled the automatic import and want to stop it, you can edit the integration to deselect the Auto import check box.
To enable the automatic import for an existing integration, perform the following steps:
- After you've saved your configuration, you'll see the integration displayed in the list of integrations. Copy the full POST URL.

- Next, log into your Infusionsoft account and click Contacts >> Select All, or simply select the contacts that you want to import into the Maropost list.
- Click Actions and then select Apply Action Set.
- Select 'Send an HTTP post to another server' from the drop-down list. Paste the URL that you copied from Maropost.

- Click Save, and then click Process Action.
- In the integrations listed on the Infusionsoft tab of the Connections page, find the Contact Import integration that you want to enable for automatic import.
- Click edit to open the integration settings in edit mode.

- On the Contacts Import Settings dialog box, select the Auto import check box.

- Click Save.