To increase the flexibility of email content design, Marketing Cloud allows you to upload an HTML source code utilizing the HTML Code Editor. This feature eliminates the need to enter a source code manually, thus saving a significant amount of time.
By using an HTML Code Content Editor, you can create email content by simply uploading an HTML file. Once you upload an HTML file, you can make further edits in the editor. Also, you can use the tags available within content builders to include personalized information and real-time data in the content.
Note: When you upload an HTML file rather than copying the source code, you maintain a responsive template.
Creating Content Using HTML Code Editor
Perform the following steps shown below to access the HTML Code editor tool and use it to create email content:
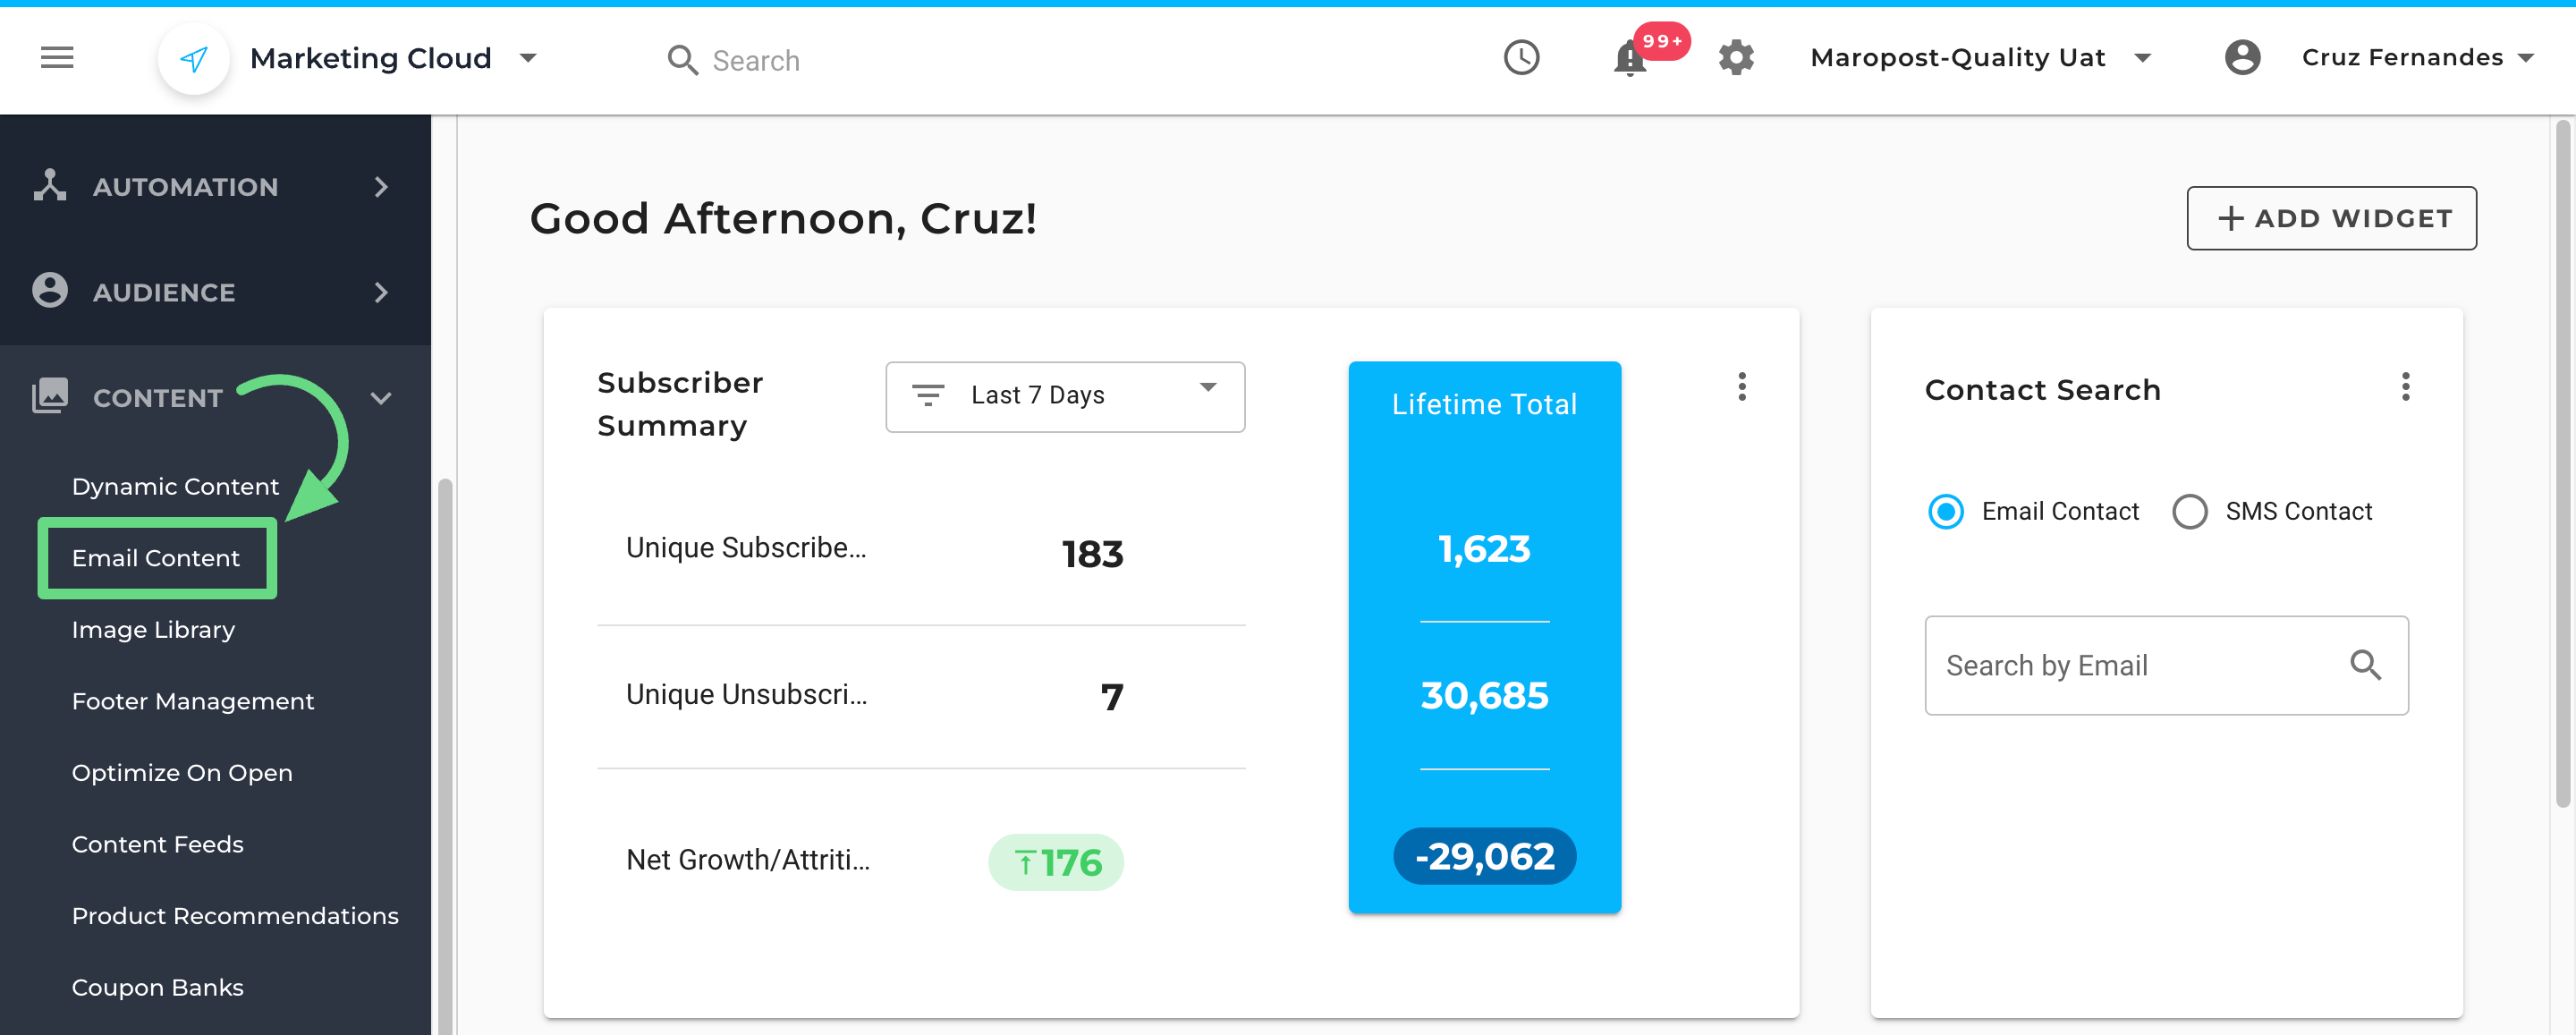
1. Under the Navigation panel, go to Content and select the Email Content option.
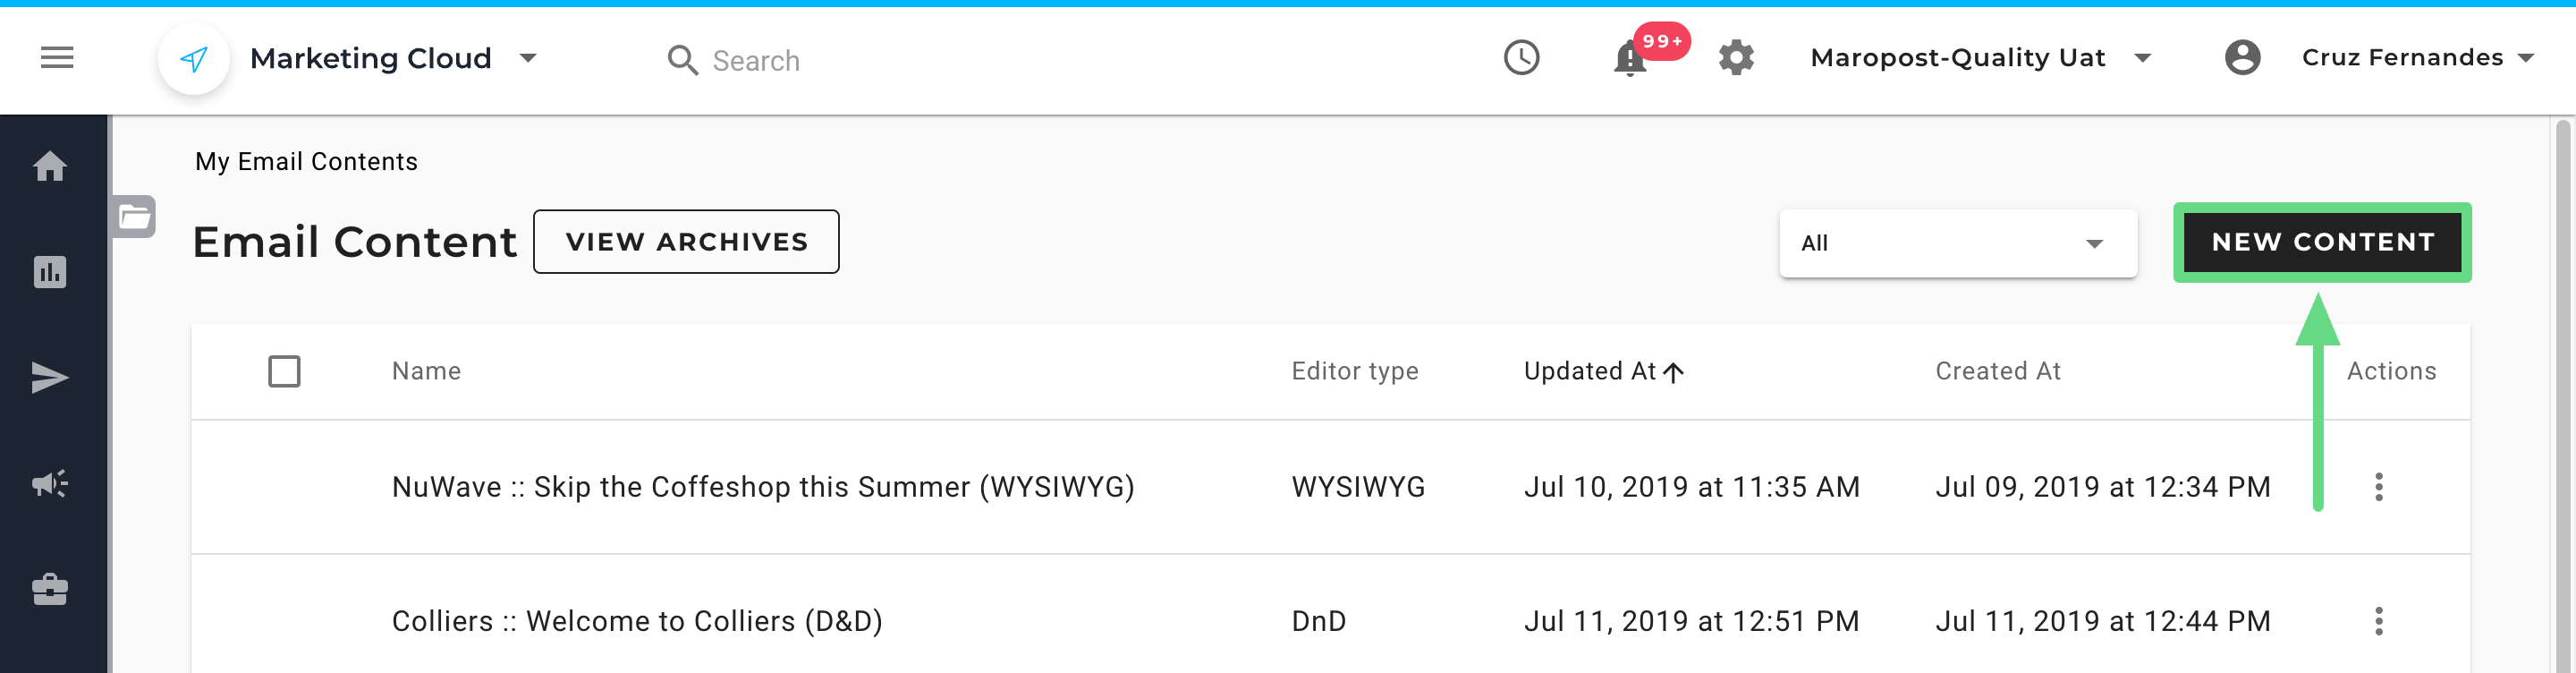
2. On the Email Content Index page, click New Content.
3. To create content from scratch, click the Start Designing button.

4. Choose the HTML Code Editor template.

5. From the editor panel that opens, enter a new title for your content draft in the Name field.

6. Next, upload an HTML file you want to use as a design template. Use the uploaded file to make any necessary changes to the content in the workspace region.
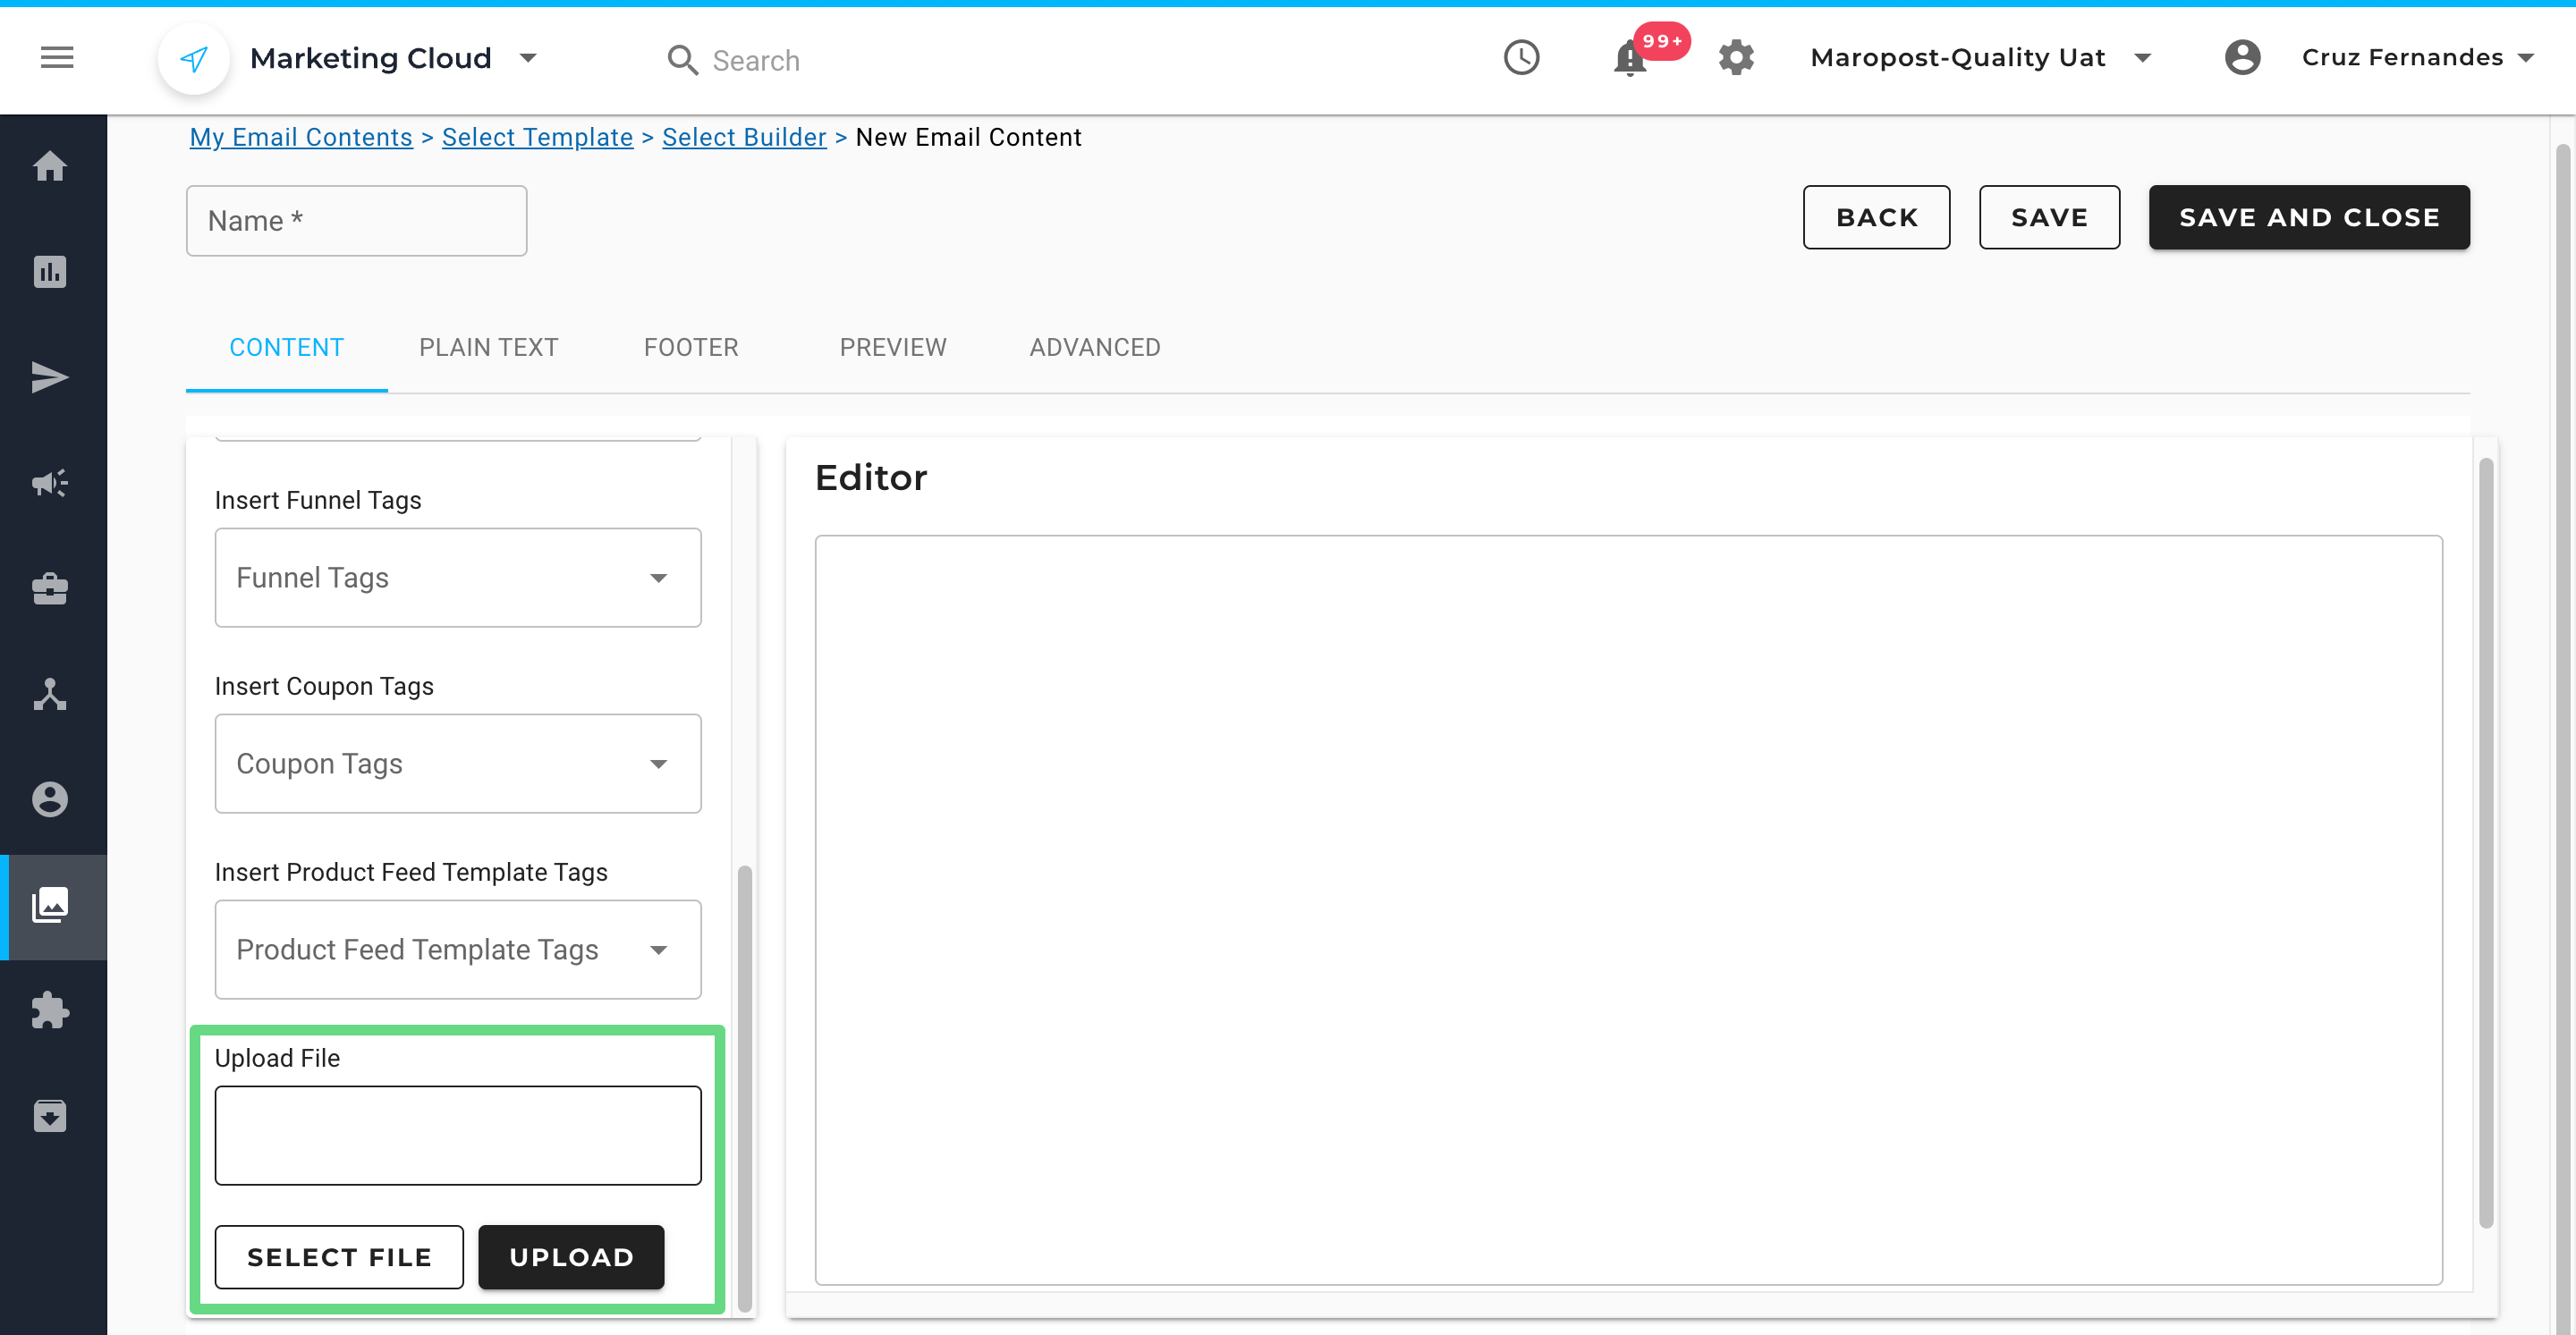
7. You can insert custom-made data into your HTML content by using the tags present in the editor.

The following is a brief description of the fields in the HTML Code editor:
- Name: The name of the content.
- Templates: A list of templates from your Template library that you can use for the content.
- Insert Contact Tags: A set of predefined Contact tags that you can include to personalize your email content.
- Insert Campaign Tags: A set of predefined Campaign tags that you can use to include campaign-related information and unsubscribe options.
- Insert Dynamic Areas: A list of your Dynamic tags that enable you to include dynamic content based on the audience.
- Insert Table Tags: A list of Table tags that enable you to utilize the data from a relational table.
- Insert Other Tags: A set of predefined Other tags that you can use to populate real-time data in the content.
- Insert Web Funnel Tags: A list of your Web Funnel tags that enable you to access the Web Funnel line items in the content.
- Insert Coupon Tags: A list of Coupon tags that include unique coupon codes from your coupon bank.
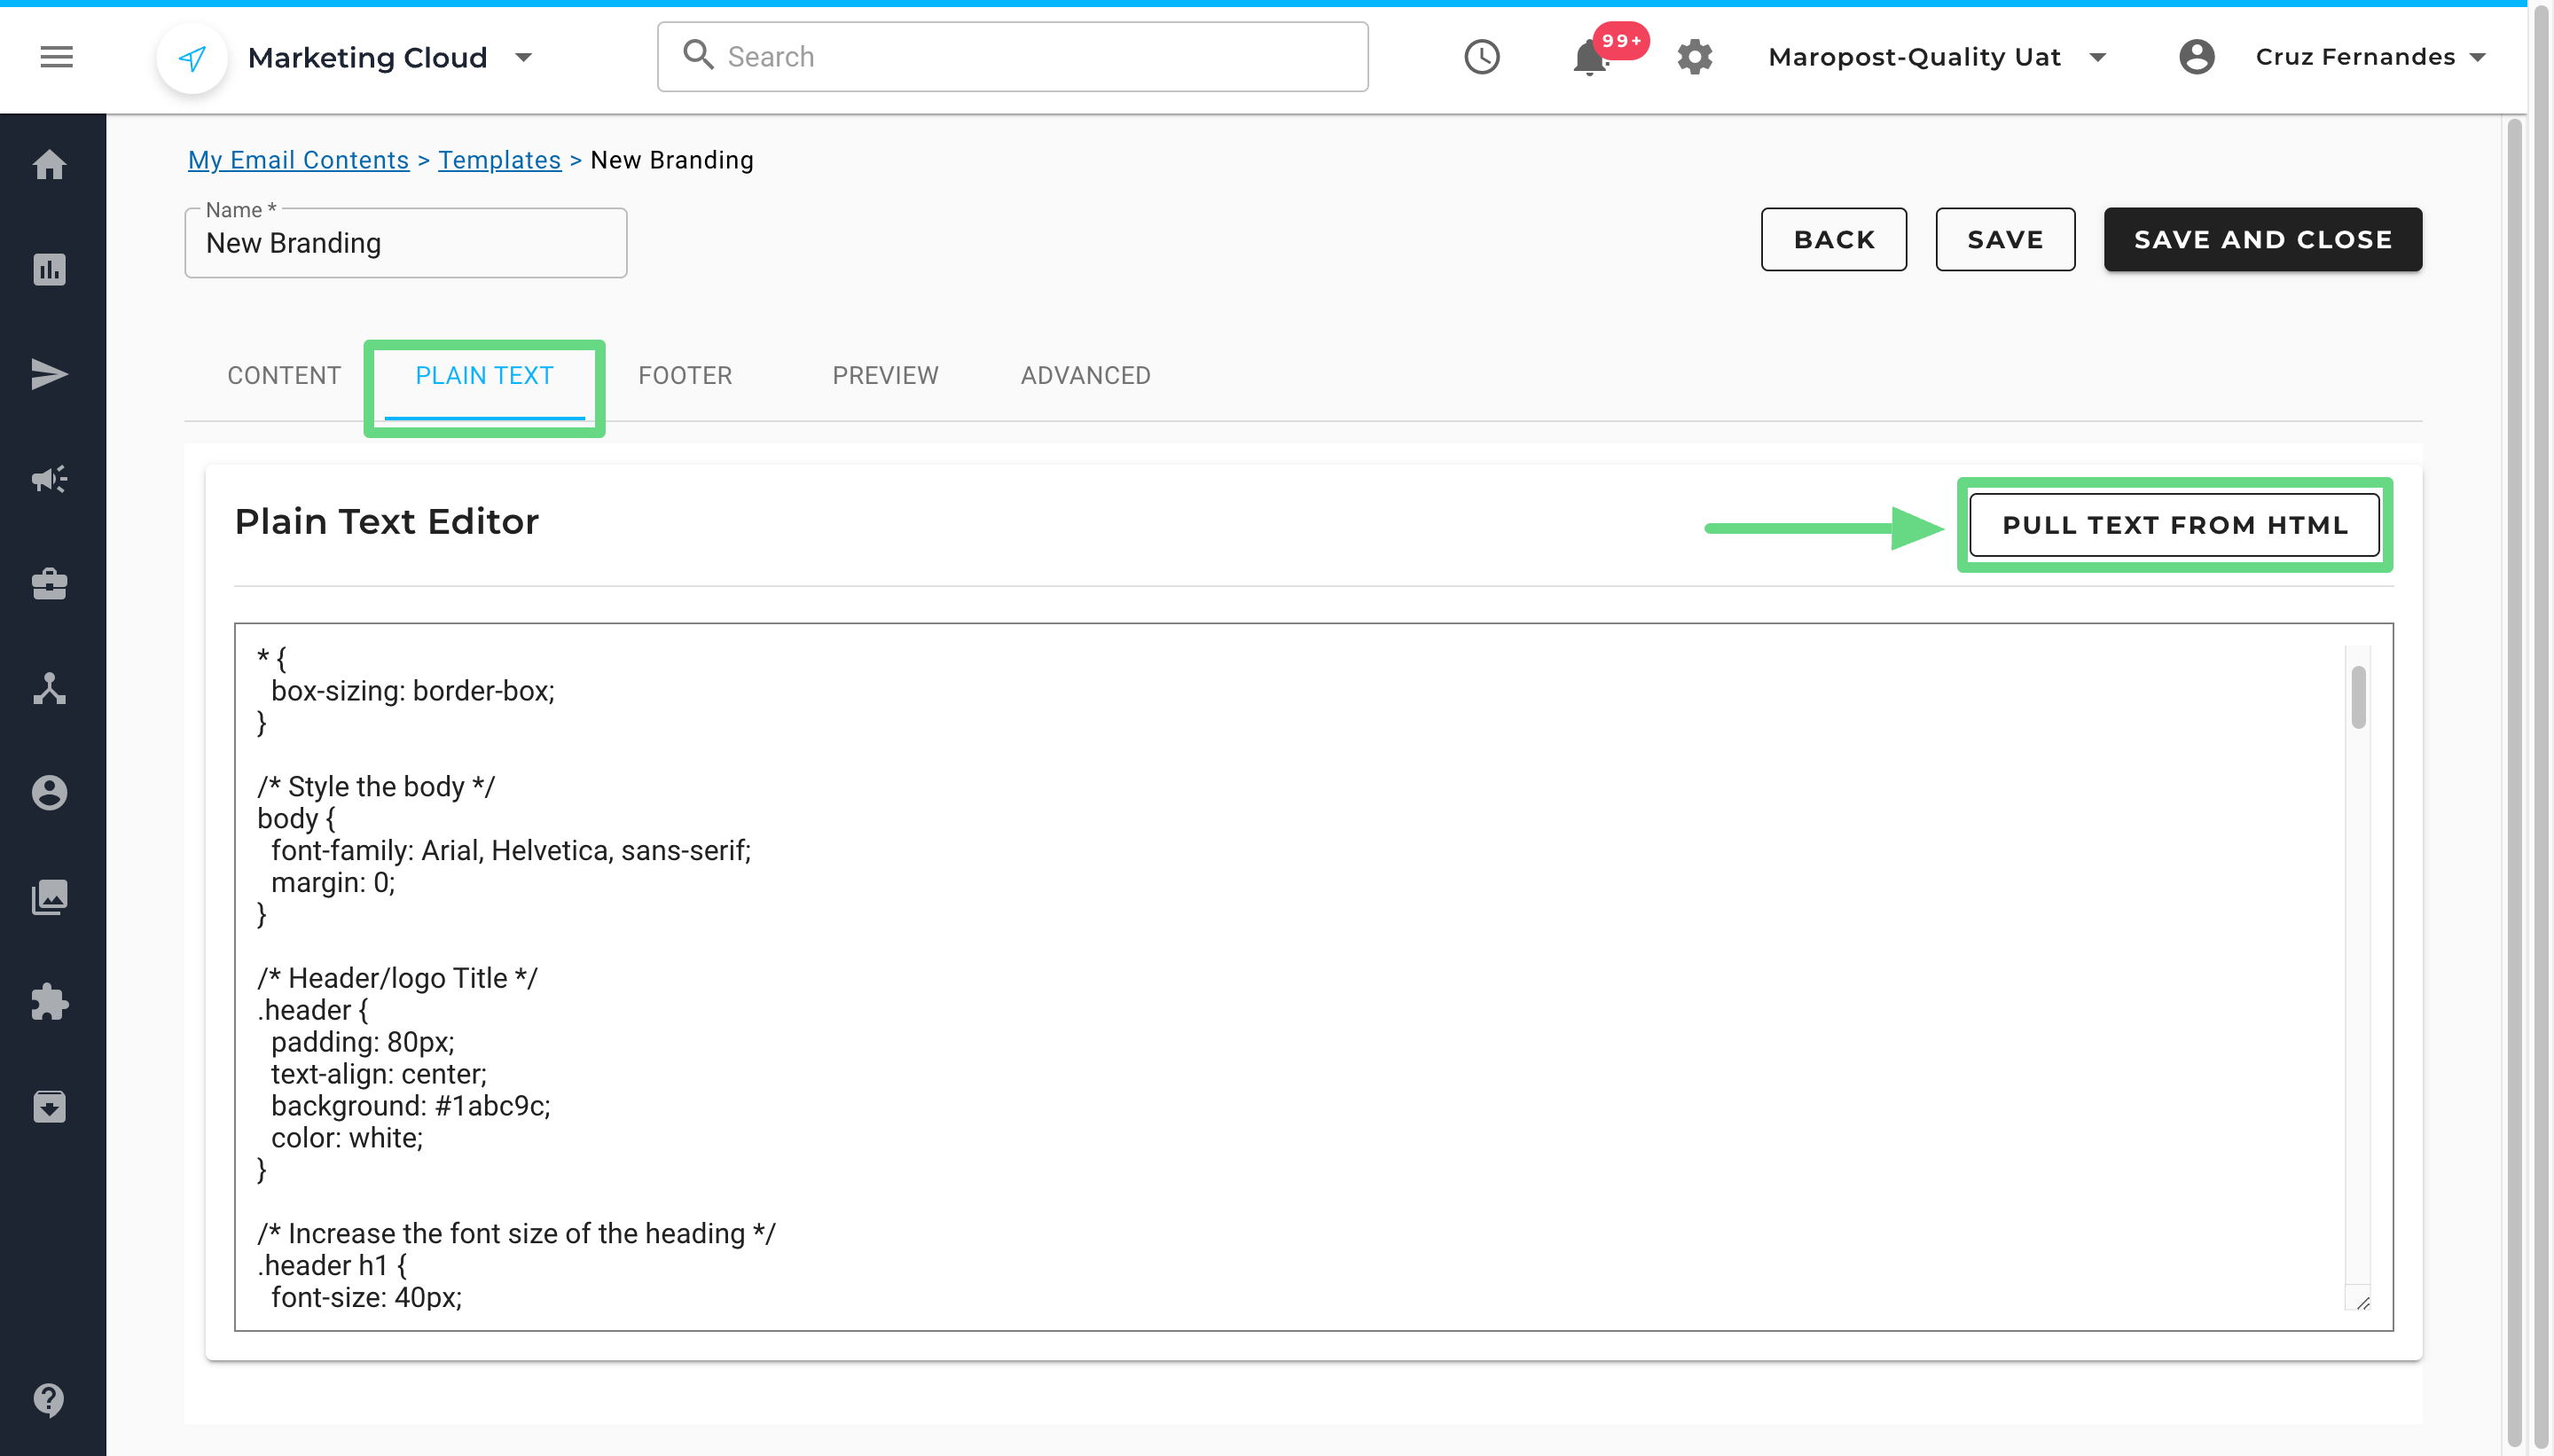
8. With the HTML Code template, you can use the Plain Text editor to pull in the HTML code you created in the content workspace region and insert additional code within the structure without disrupting the content flow and its function.
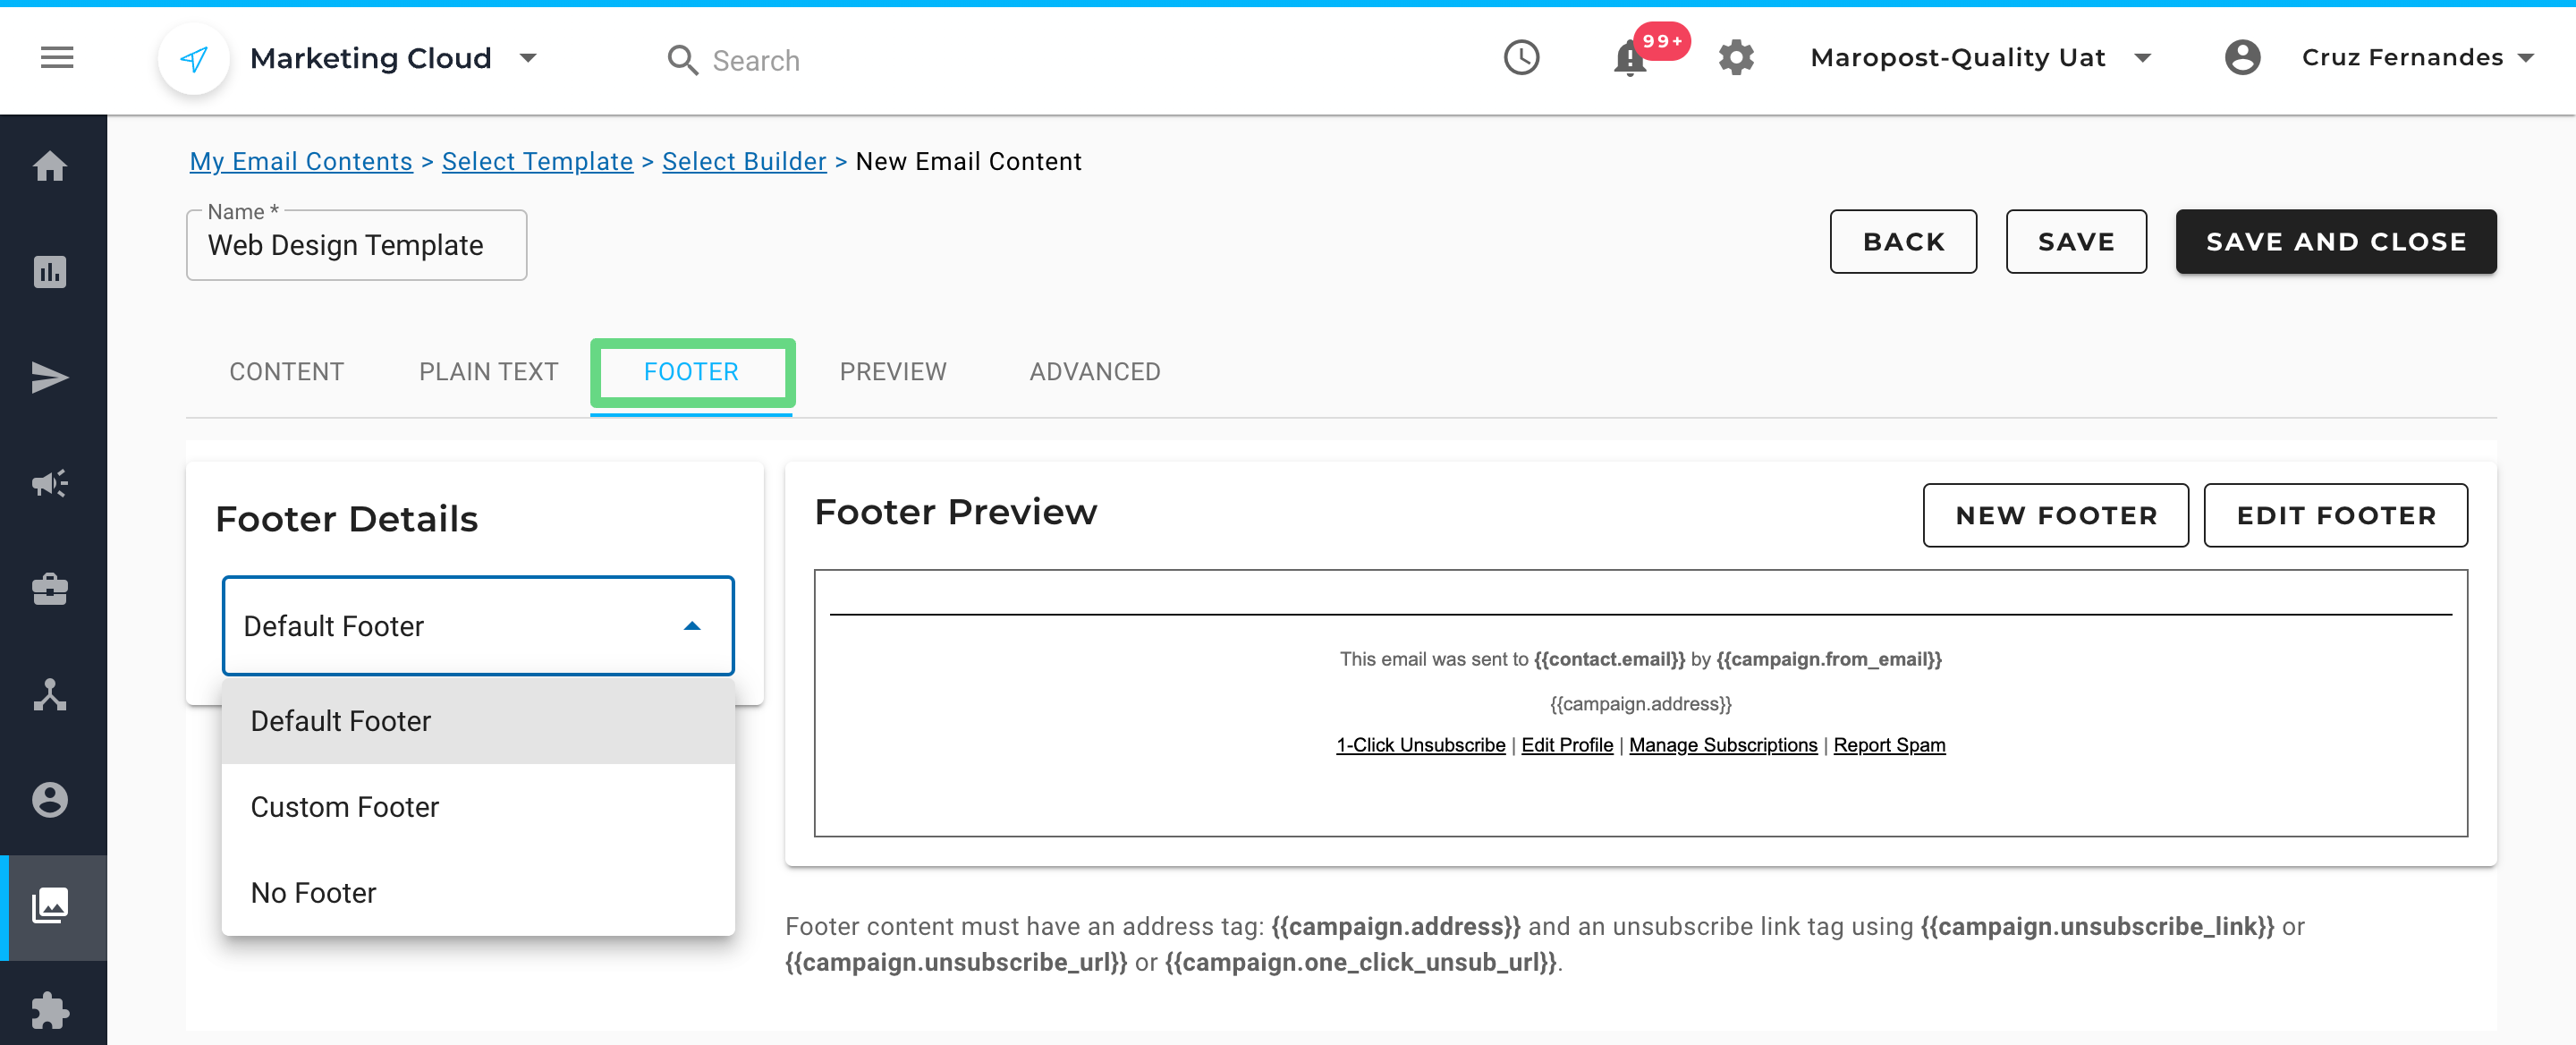
9. Once you have finished designing your email content, switch to the Footer section and either create a custom footer or choose a default one offered by Marketing Cloud. Make sure to add the necessary details that need to be mentioned in the footer of your emails. For example, in compliance with anti-spam email laws, an email content should contain the address information of the email sender “{{campaign.address}}”, and an unsubscribe link to a particular campaign “{{campaign.unsubscribe_link}}”, “{{campaign.unsubscribe_url}}” or “{{campaign.one_click_unsub_url}}”. To learn more about creating custom footers, see Footer Management.
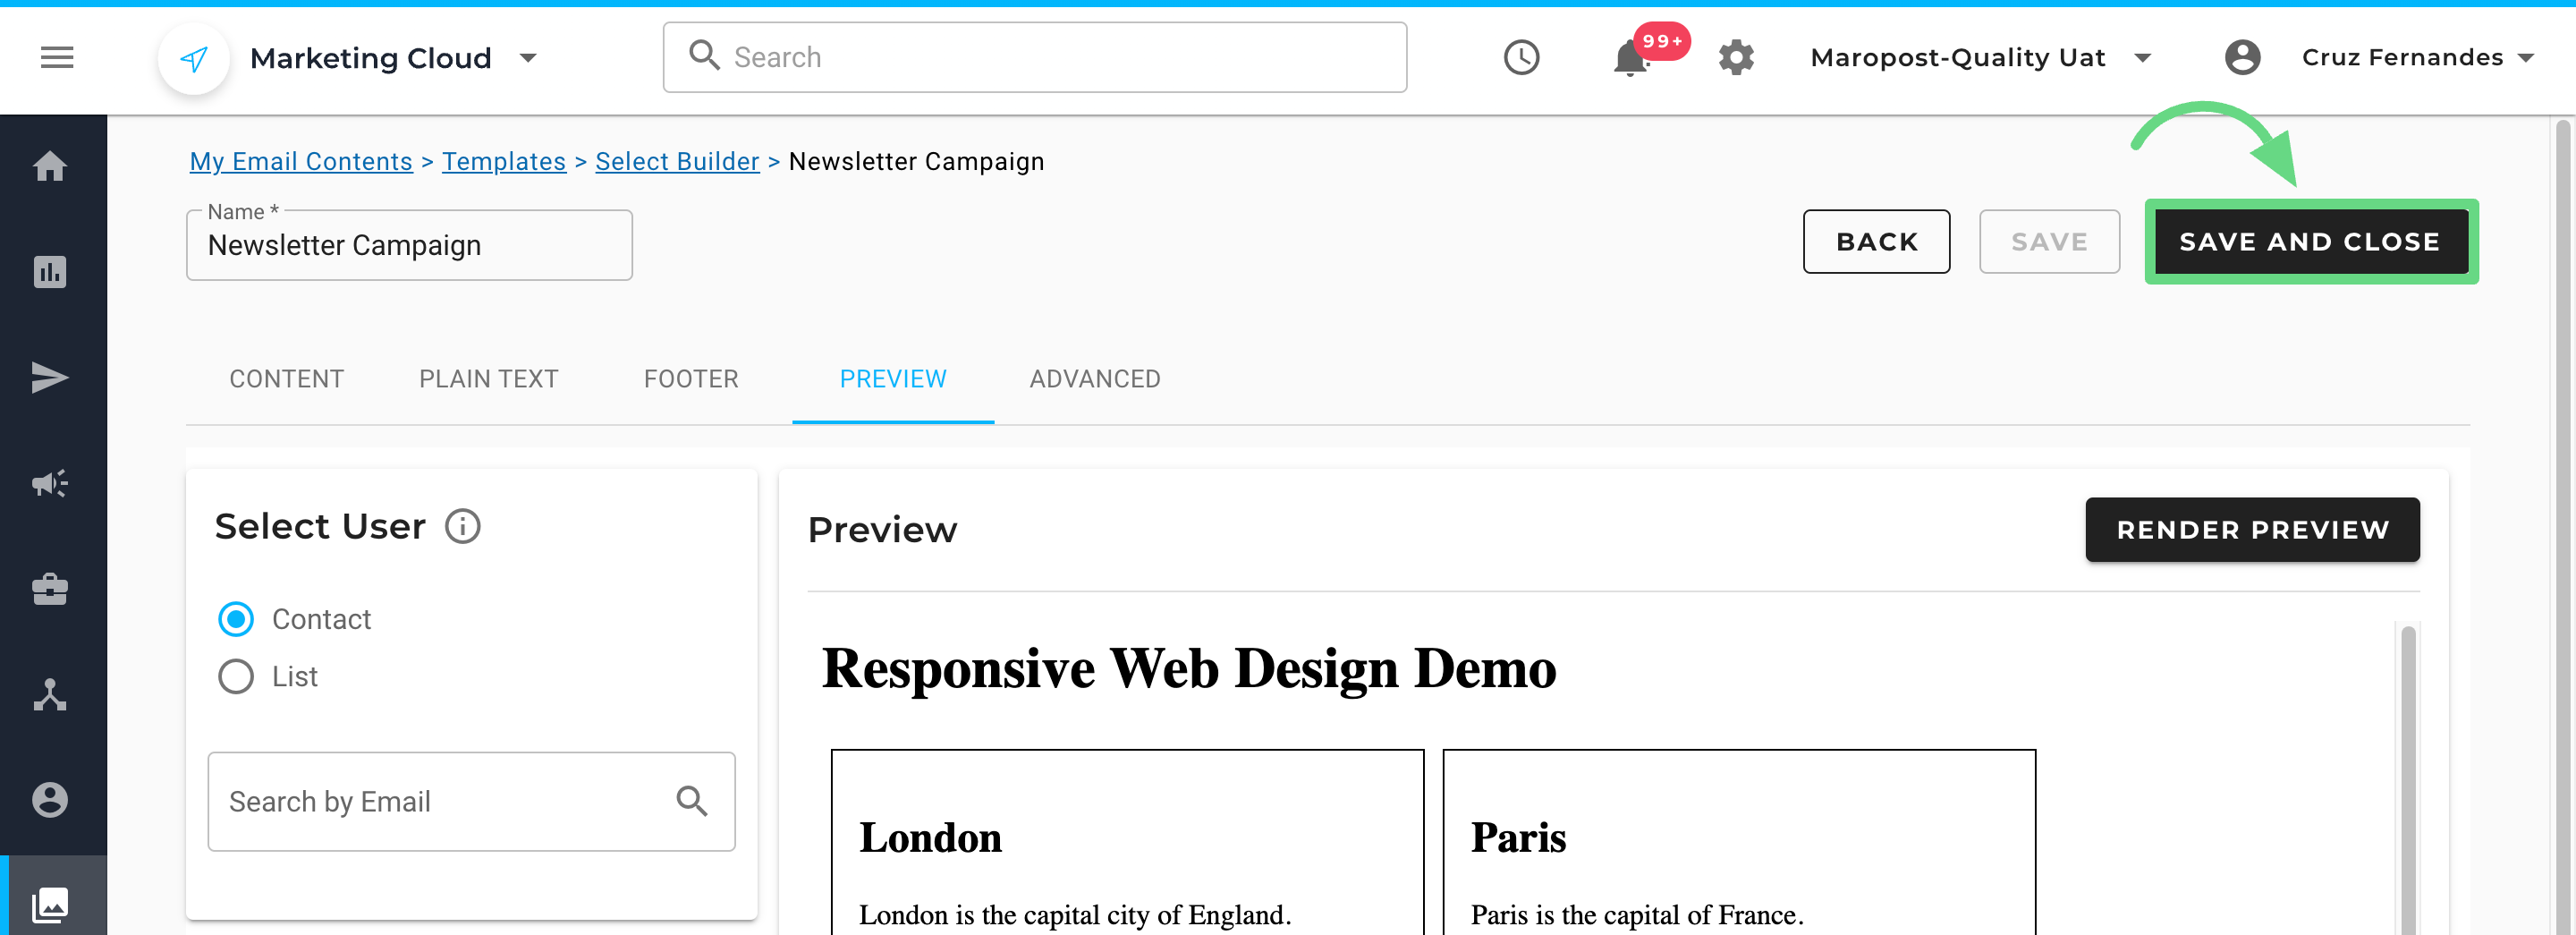
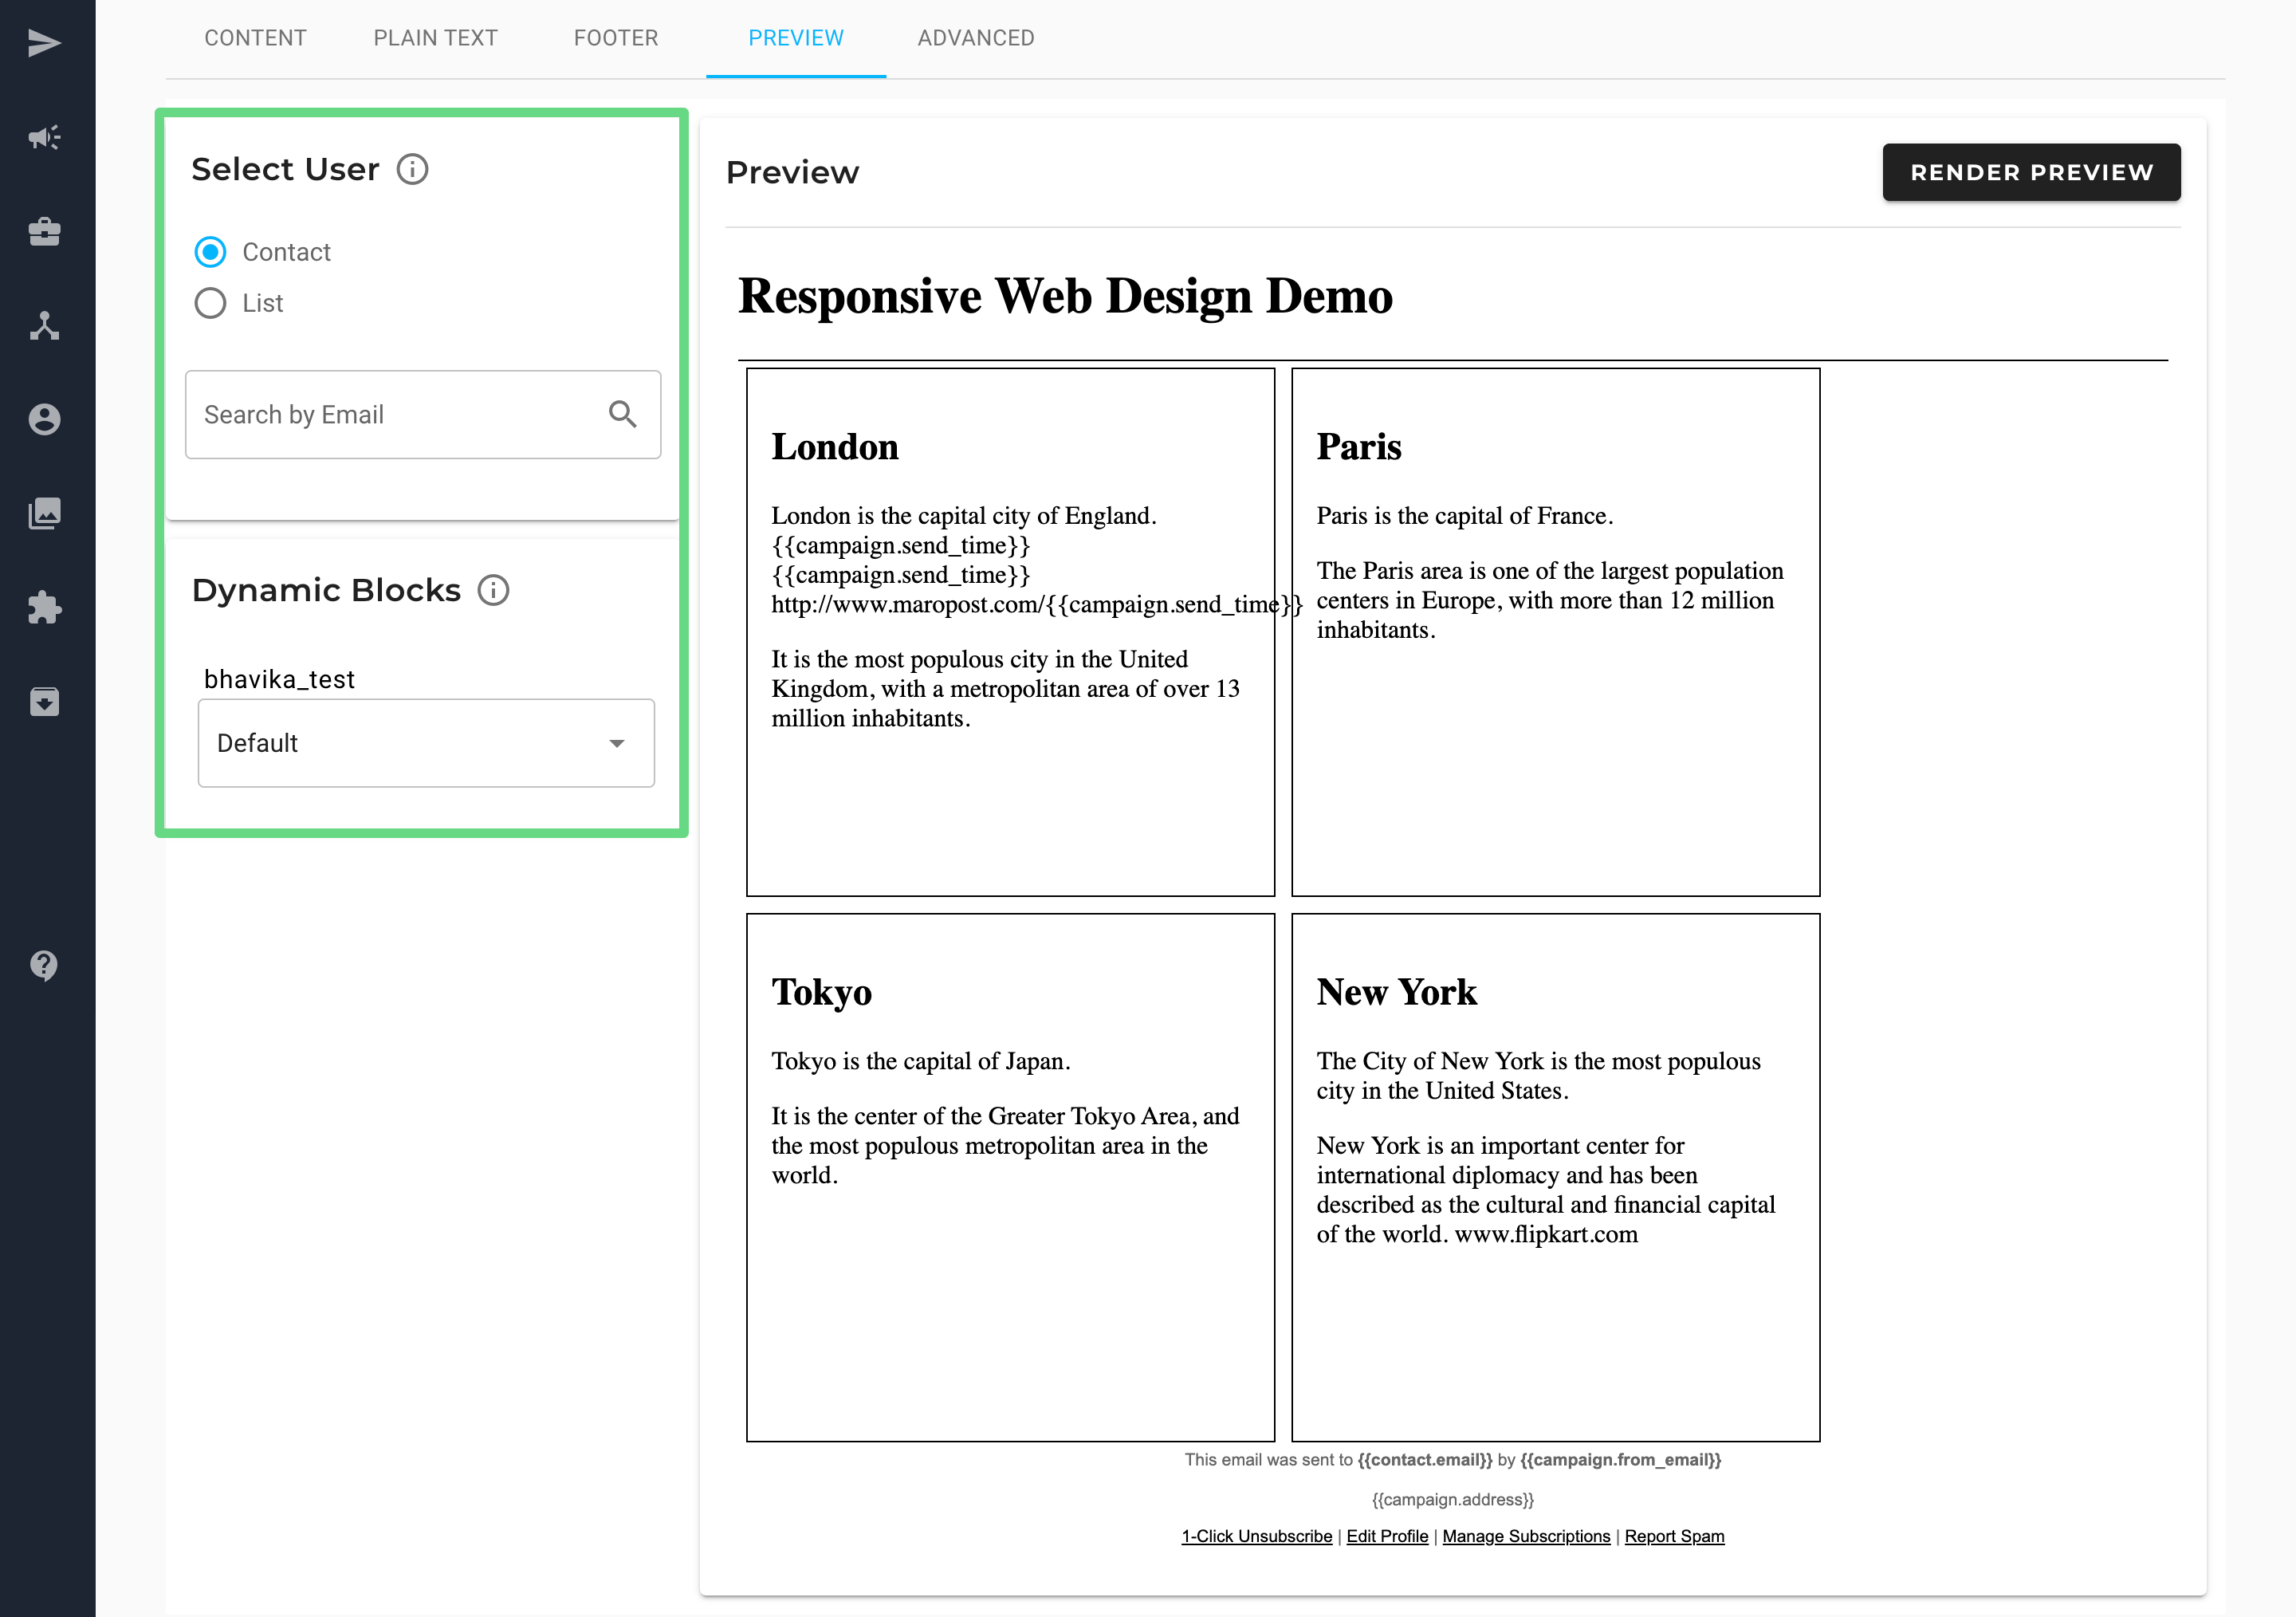
10. To check how your email content will appear to your clients, visit the Preview section. Select a contact or a list to preview the email content as they would see it. You can also use dynamic blocks to show personalized content, such as product or membership offers. Read our Previewing Content in Content Editors article to learn more.
11. To ensure the ease of email deliverability to your clients, we have included an email scorecard in the preview section. With the help of such ratings, you can make adequate changes such that only necessary details are mentioned in the email or newsletter, thus making the file size as small as possible. A smaller file size guarantees minimal processing delay, enabling prompt email content delivery to the intended recipient.
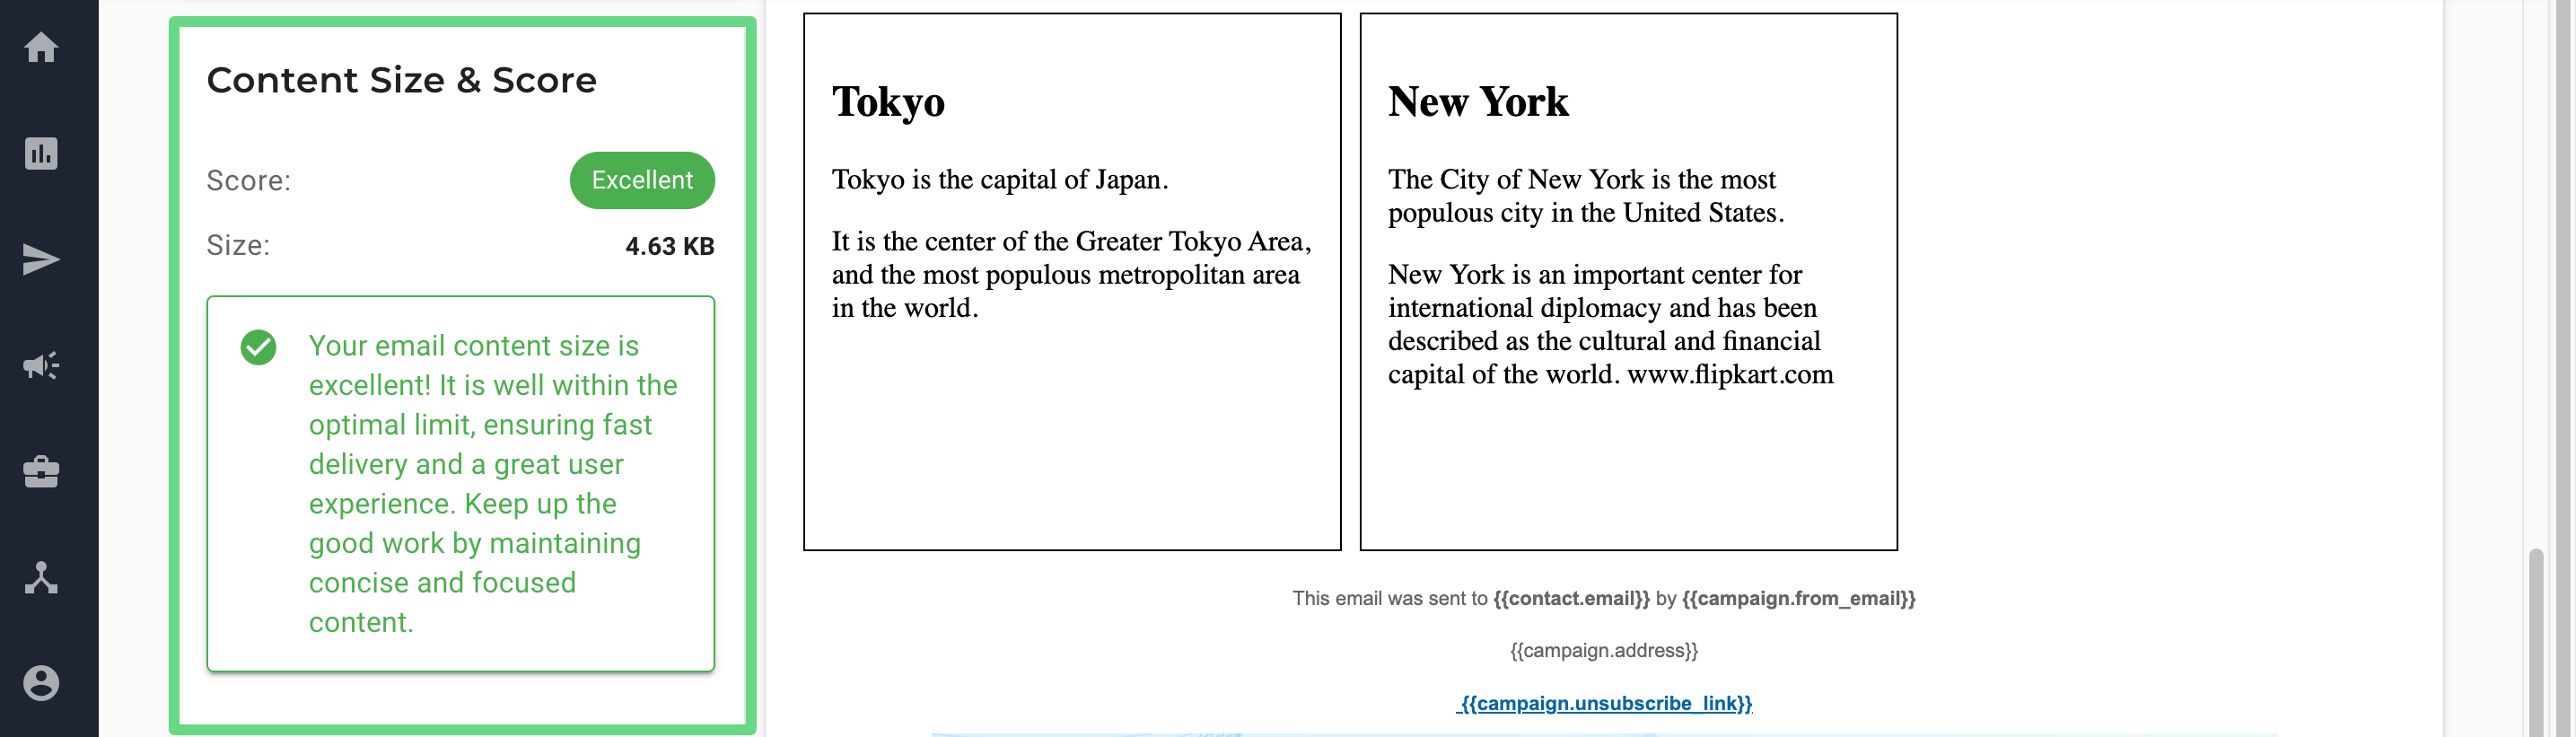
Currently, Marketing Cloud displays three types of labels that denote the email score and size parameters. They are, namely:
- Excellent: Email content size is less than 100 KB.
- Good: Email content size is between 101 KB and 249 KB.
- Poor: Email content size is above 250 KB.
Please note that these ratings don’t prevent you from sending email campaigns to your clients. However, for faster email delivery and a smoother user experience, we do recommend optimizing your email file size whenever possible.
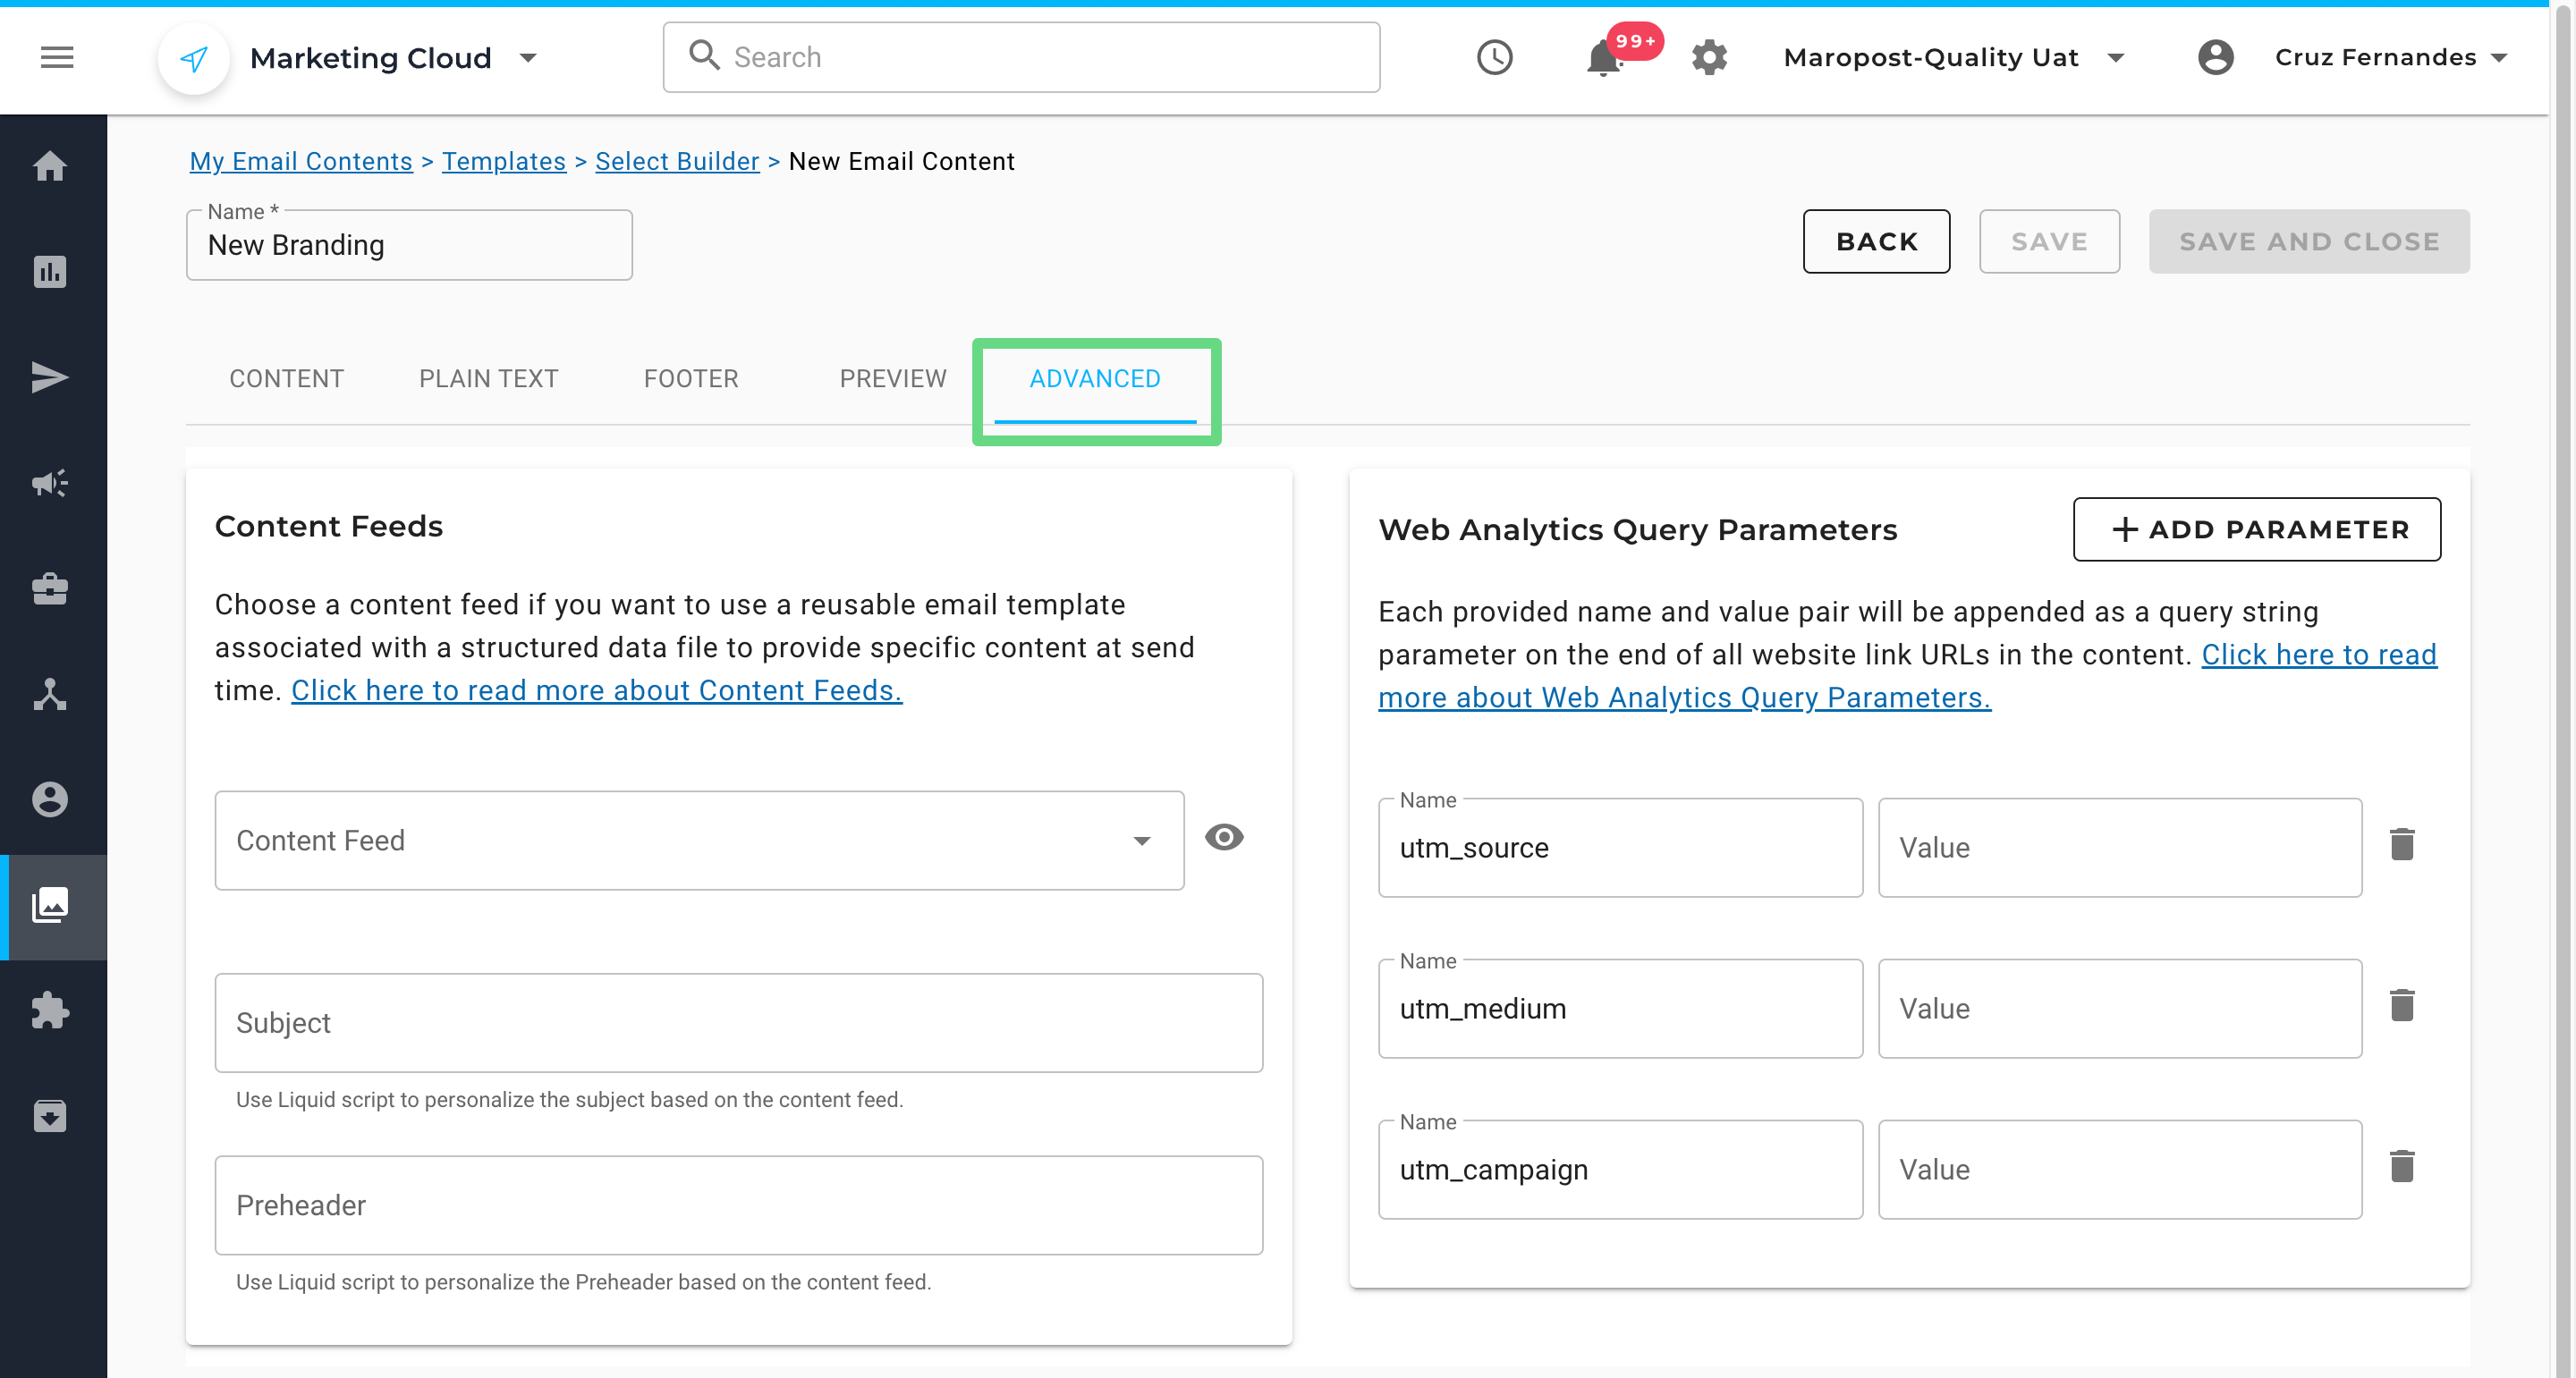
12. You can also add web tracking parameters and content feed details for your content templates under the Advanced section. With web tracking, you can collect various parameters that help you understand how the audience interacts with your content. With content feeds, email templates that display specific information to their users can be reused. To learn more about these features, read our Web Analytic Tracking and Content Feeds articles.
13. To save the draft, click on Save and Close.