You can create streamlined integrations between Marketing Cloud and Keap using the updated user interface, which simplifies connection management and enables multiple integration types under a single account connection. This integration helps optimize your email marketing workflow by providing flexible data synchronization options, custom field mapping capabilities, and automated contact import processes that reduce manual effort while maintaining data accuracy.
When properly configured, the new Keap integration interface helps improve operational efficiency by supporting multiple connections with different Keap accounts and enabling sophisticated contact and order data synchronization for targeted email marketing campaigns.
When creating your first integration, the process includes establishing a connection between the Marketing Cloud and Keap accounts and then adding the integration you want. If you want to add more integrations between the same accounts, you don't have to repeat the step for connecting, you can simply add a new integration under the connection that already exists.
Remember, you can have multiple connections with different Keap accounts. And under each connection, you can create multiple integrations of different types. To learn more about the supported integration types, see Integration with Keap (New UI).
Before You Begin
You'll require an API Key and Secret ID to create a connection between Marketing Cloud and Keap. This information can be generated by creating a new Application in the Keap developer environment.
Check out the steps to generate and retrieve the API Key and Secret:
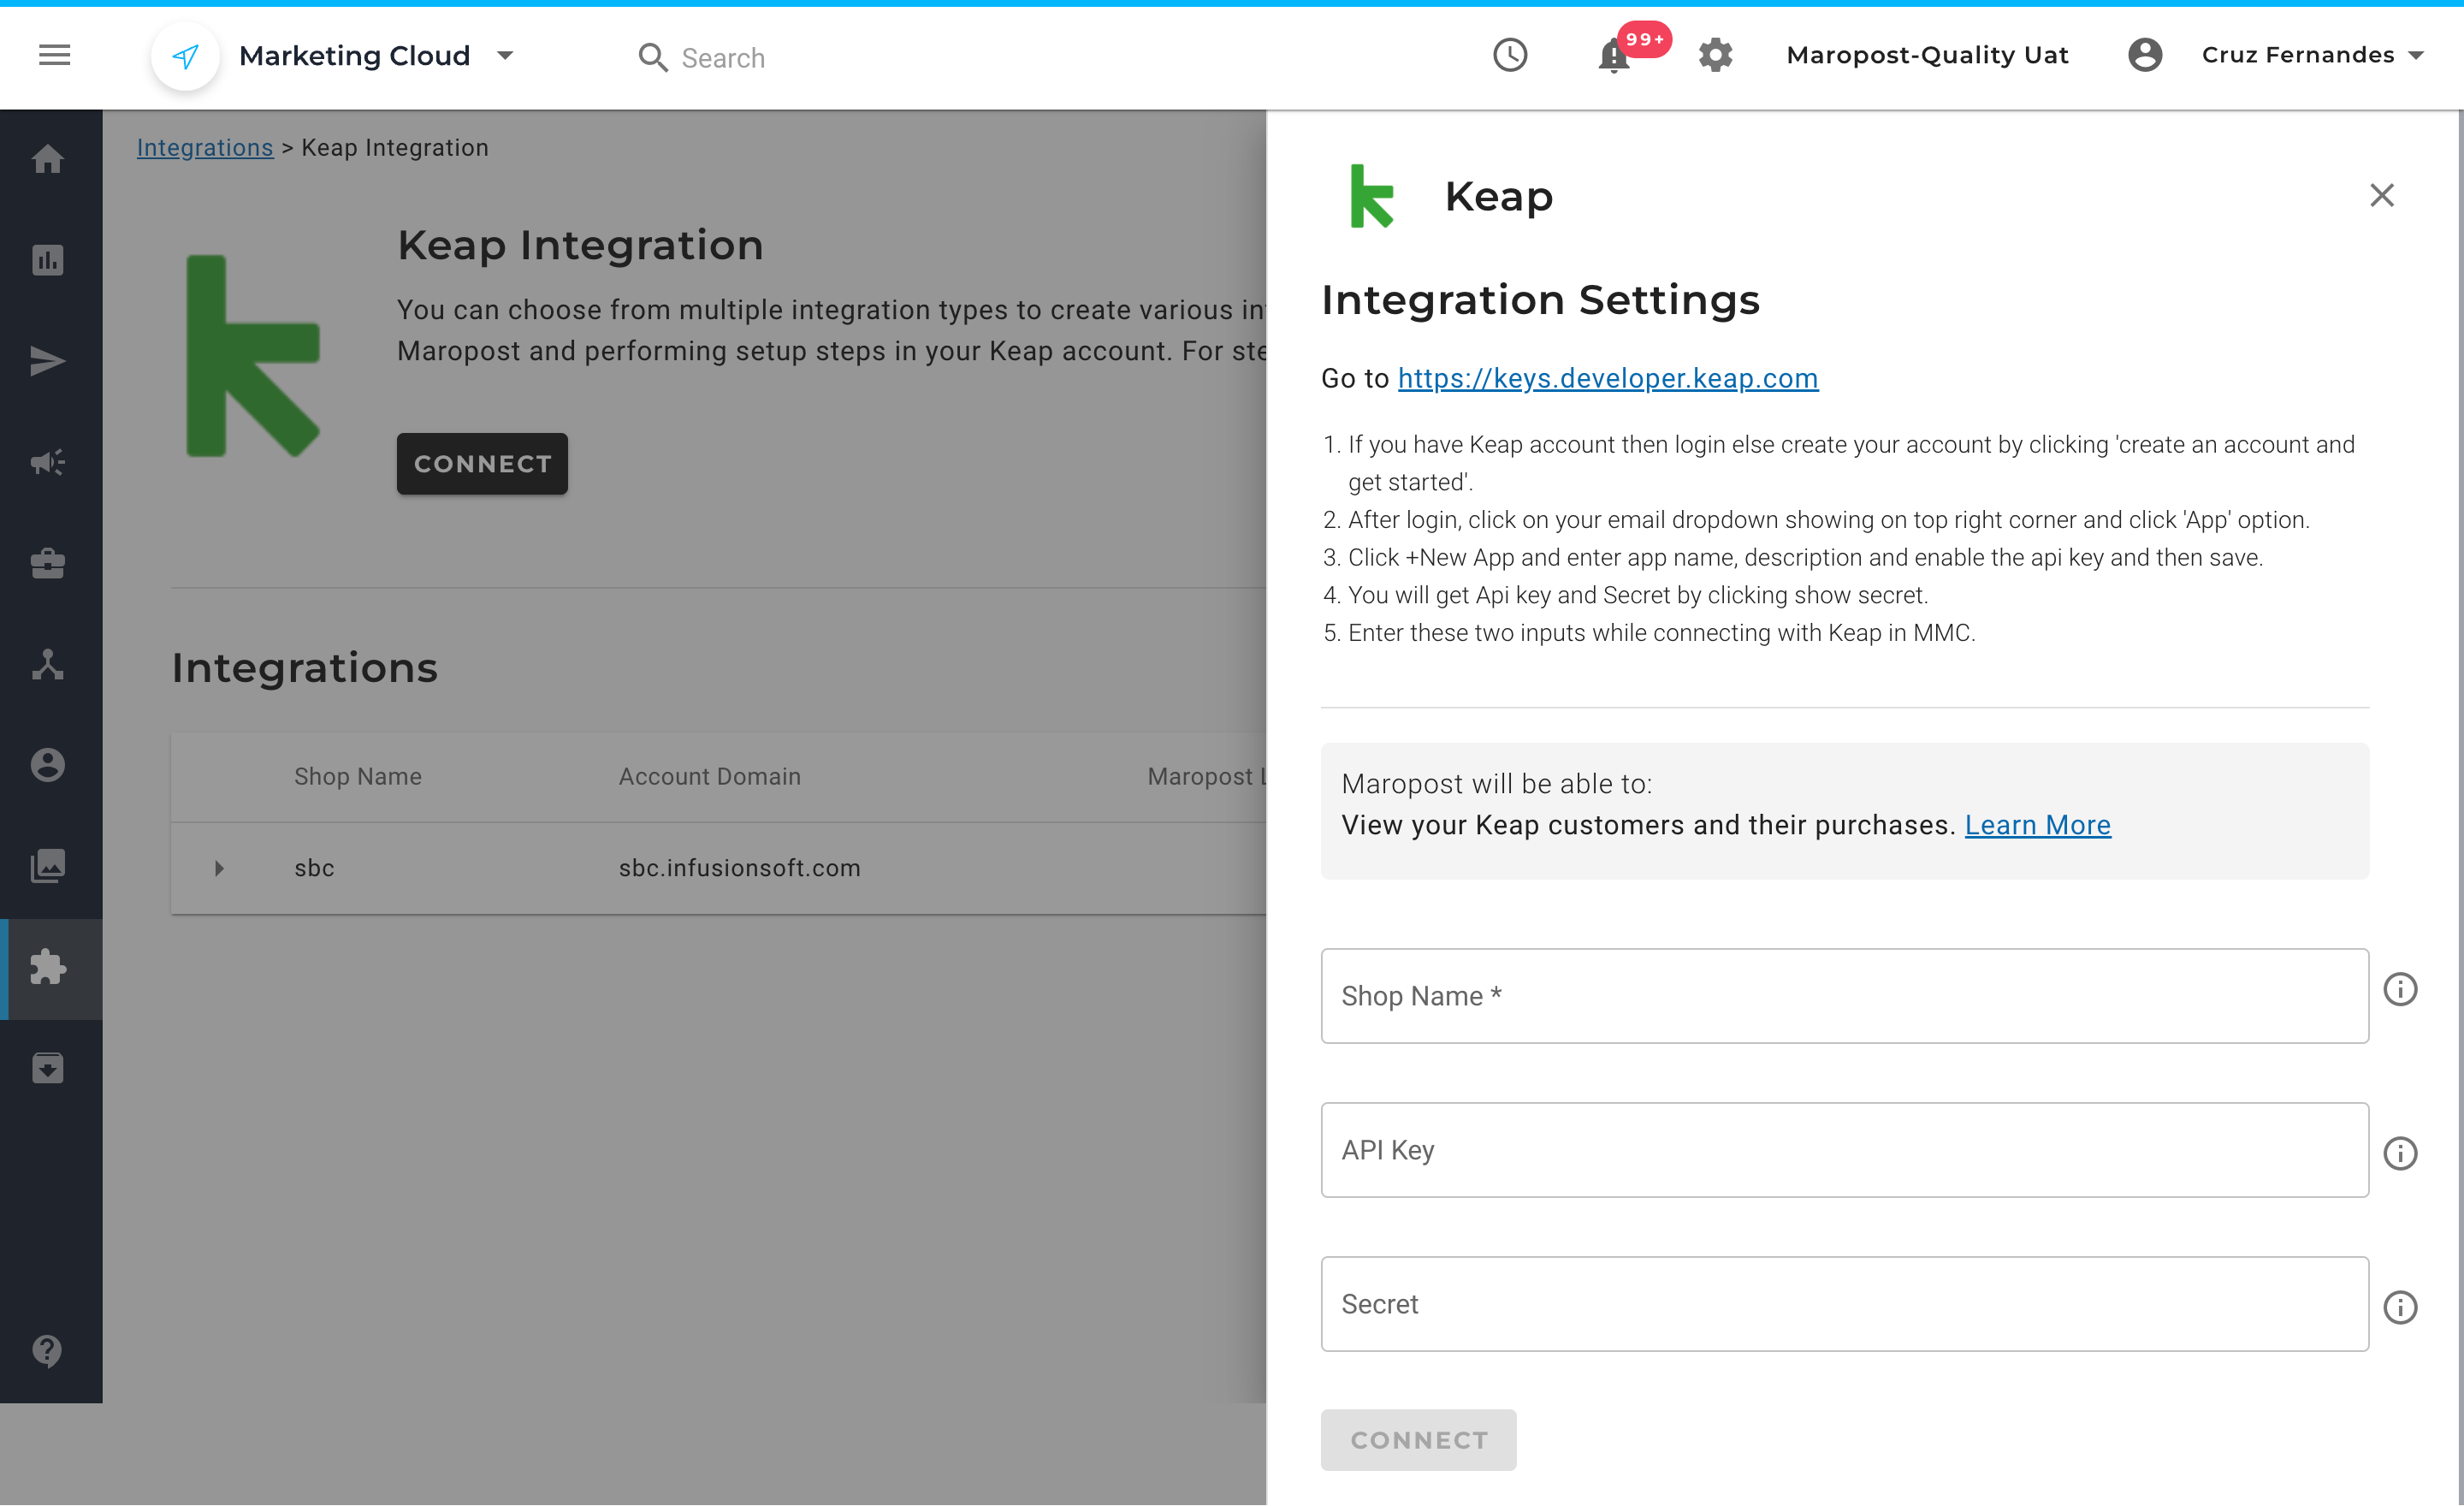
- Go to https://keys.developer.keap.com.
- If you already have a Keap account, then log in. If not, then create an account by clicking the Create an account and Get Started button.
- After logging in, click your email address in the top-right corner, and from the drop-down menu, select Apps.
- Click the + NEW APP button.
- On the New App page, in the Overview section, enter values for the App Name and Description fields.
- Then, in the APIs section, go to the Actions column and click Enable.
- Click Create. You'll then be redirected to a page showing all the details of your newly created App. Here, you can get the API Key and Secret.
Creating a Connection
- On the Integrations index page, select Keap.
- On the Keap Integration index page, click CONNECT to create a connection between your Marketing Cloud and Keap accounts.
- Enter the Shop Name, API Key, and Secret ID on the Integration Settings page, then click CONNECT.
- You'll be redirected to Keap for authentication. Here, enter the login credentials for your Keap account.
- You'll then see a prompt asking you to establish the connection between accounts. Click Allow.

The connection is created and shown on the Keap Integration index page.
Adding an Integration
- On the Keap Integration index page, find the connection that you created. Then, from the Actions drop-down menu for the connection, select Add.

- On the Integration Settings dialog box, select the integration type as one of the following supported integrations:
- Orders with Contacts: Select this integration type if you want to import contacts from purchase orders.
- Contacts Import: Select this integration type if you want to import all the contacts and their associated tags. By default, the integration imports the following contact information: first name, last name, and email address. To import other contact information, use custom field mapping (see step 9 for details).

3. In the Contact Import Settings section, from the Integrate with Maropost List drop-down field, select the Maropost list into which you want to import the contacts.
If you haven't created a list yet, you can create a new list by selecting the Create List option from the drop-down field.
4. (Only for the Contacts Imports integration type) In the Custom Field Mapping section, map the Keap contact fields with the Maropost custom fields.
- In the Keap Source field, select the field name in Keap from which data is to be imported.
- The Marketing Cloud Target field shows all the custom fields in Marketing Cloud that match the data type of the source field. Select the custom field to which the data is to be imported.
- Click Add More to add as many field mappings as you need.
Note:
- By default, the integration imports the first name, last name, and email address of the contact from Keap. The mapping is only required to import data from the remaining contact fields in Keap.
- You must create custom fields in advance so they are available for mapping. For mapping, the custom field must be of the same data type as the source field in Keap.
With the help of frontend and backend implementations, customers can manually create and map fields (including custom fields) in their Marketing Cloud accounts.
5. Finally, click Add.
The newly created integration appears under the connection on the Keap Integration index page. Here, you can edit and delete the integration, as required.