You can create and manage contacts to organize your audience and enable more relevant messaging across your email marketing campaigns. This foundation significantly improves your marketing effectiveness by allowing proper audience segmentation, which typically leads to better engagement rates and helps reduce unsubscribe rates through targeted communication.
Contact management enables data-driven decisions and streamlines your workflow by systematically organizing subscriber information. When properly configured, this helps optimize campaign performance by ensuring each contact receives relevant messaging tailored to their preferences, profile data, and engagement history.
A contact is a client or customer who frequently engages with your business/brand across several marketing channels, such as renewing subscriptions via email, availing themselves of exclusive offers through referrals or SMS codes, or viewing your webstore's catalogs by being redirected from product recommendation links.
A productive advertising strategy is generally deployed to maintain a steady flow of activity between your business/brand and your clients.
Once communication is established, marketers can include these contacts in specific journeys and incentivize them to stay by issuing weekly bulletins, providing early access to premium services, promoting blogs or video reels, and so on, thus cultivating further interest in the brand.
You can create contacts in your Maropost account in several ways. The predominant ways of adding a contact are:
- Creating a contact list and adding contacts to it. To learn more, click here.
- Adding contacts to a list by importing them manually through a computer, FTP server, or automated approach. This can be done either from the Contacts page or from the Contact List section.
- Registering clients one by one in the Marketing Cloud account from the Contacts page. To learn more, read the article below.
Managing Contacts
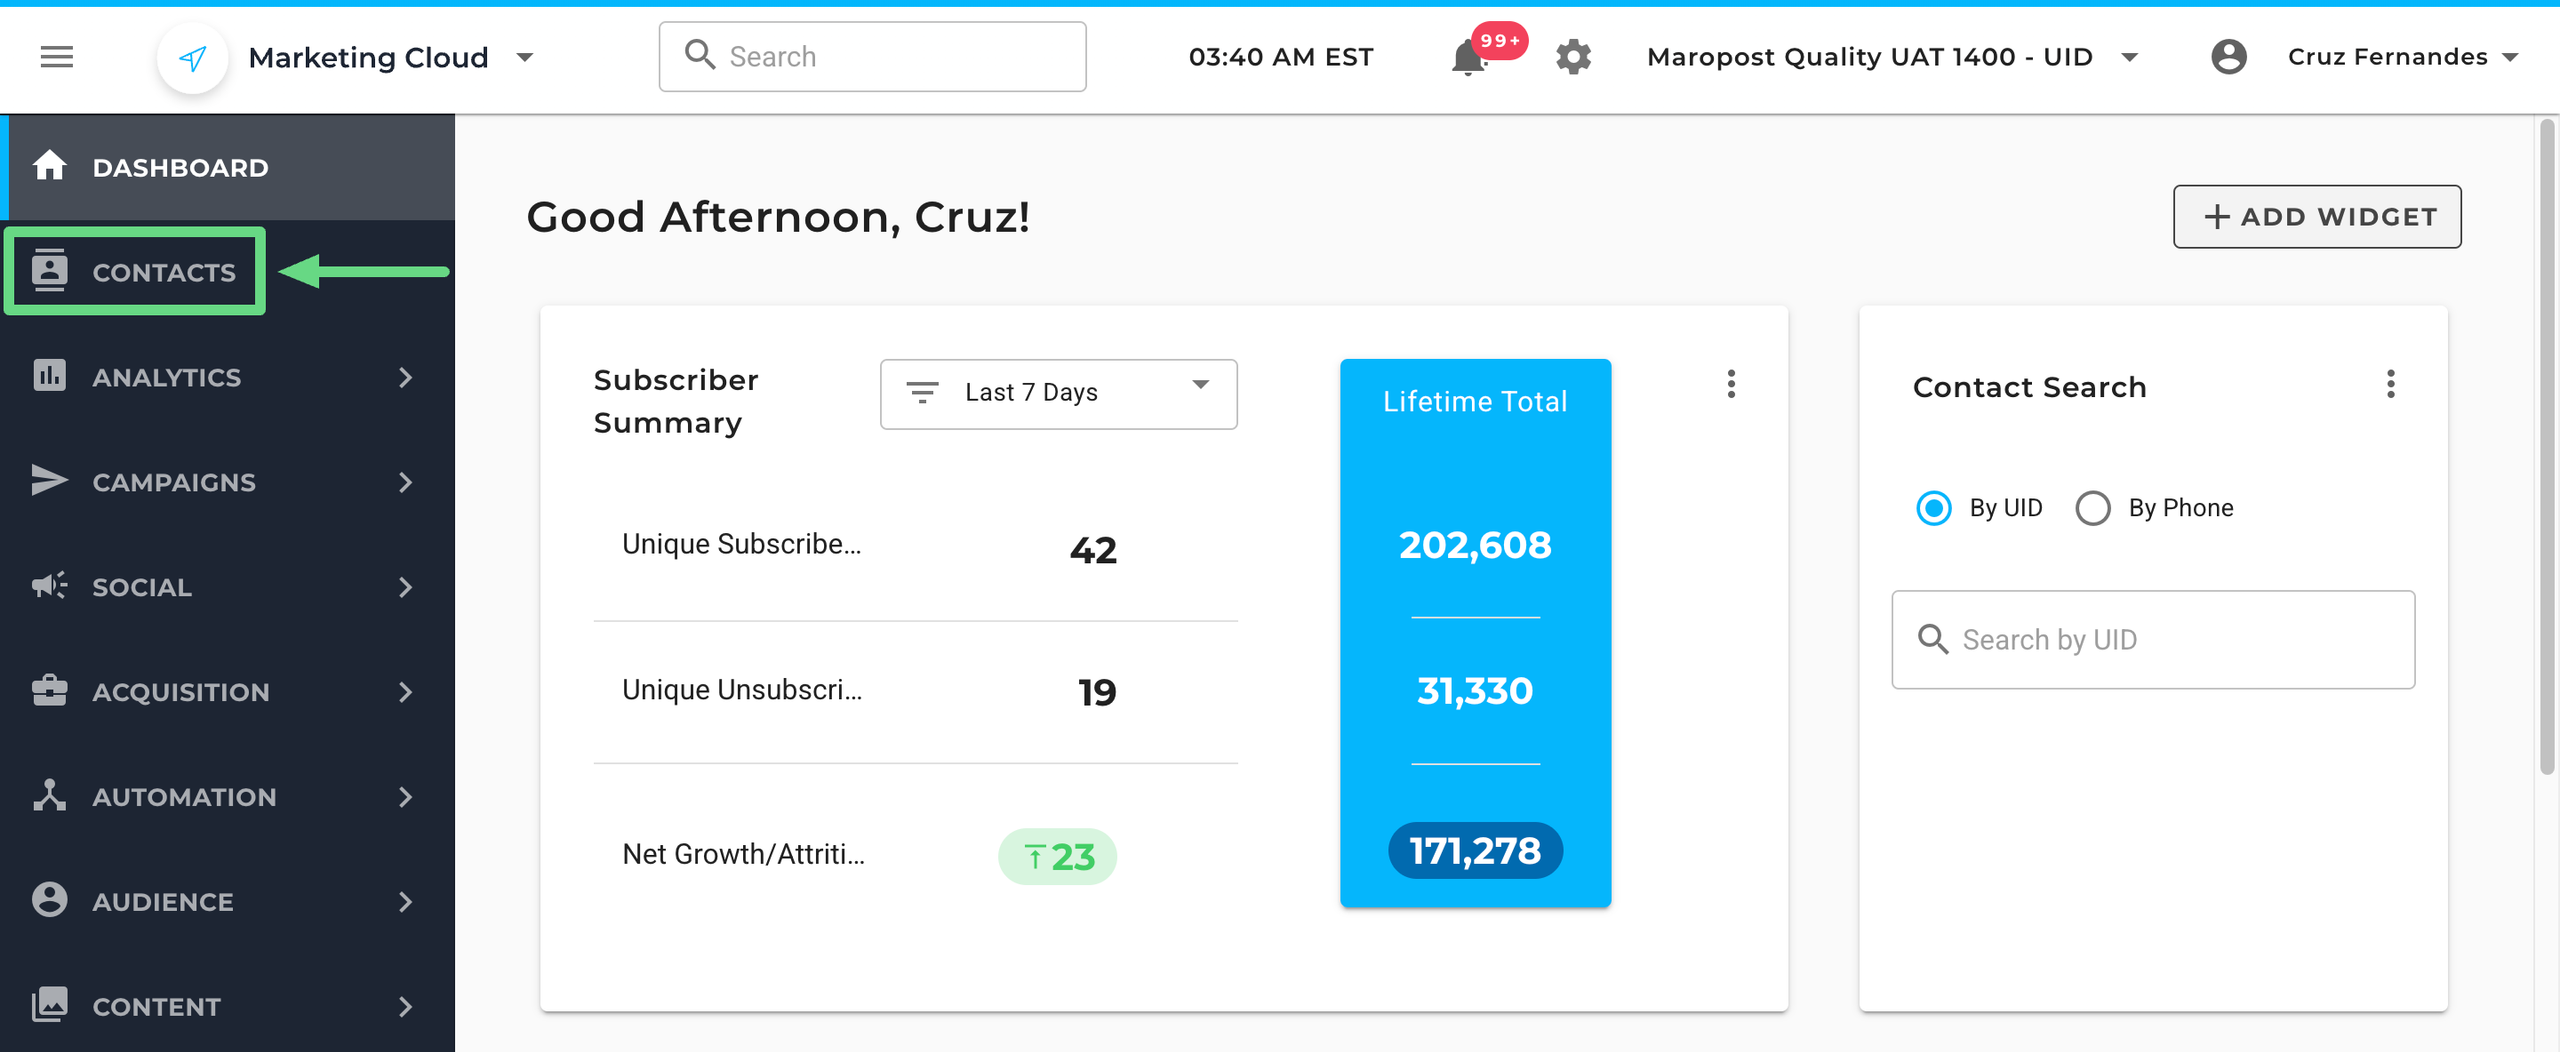
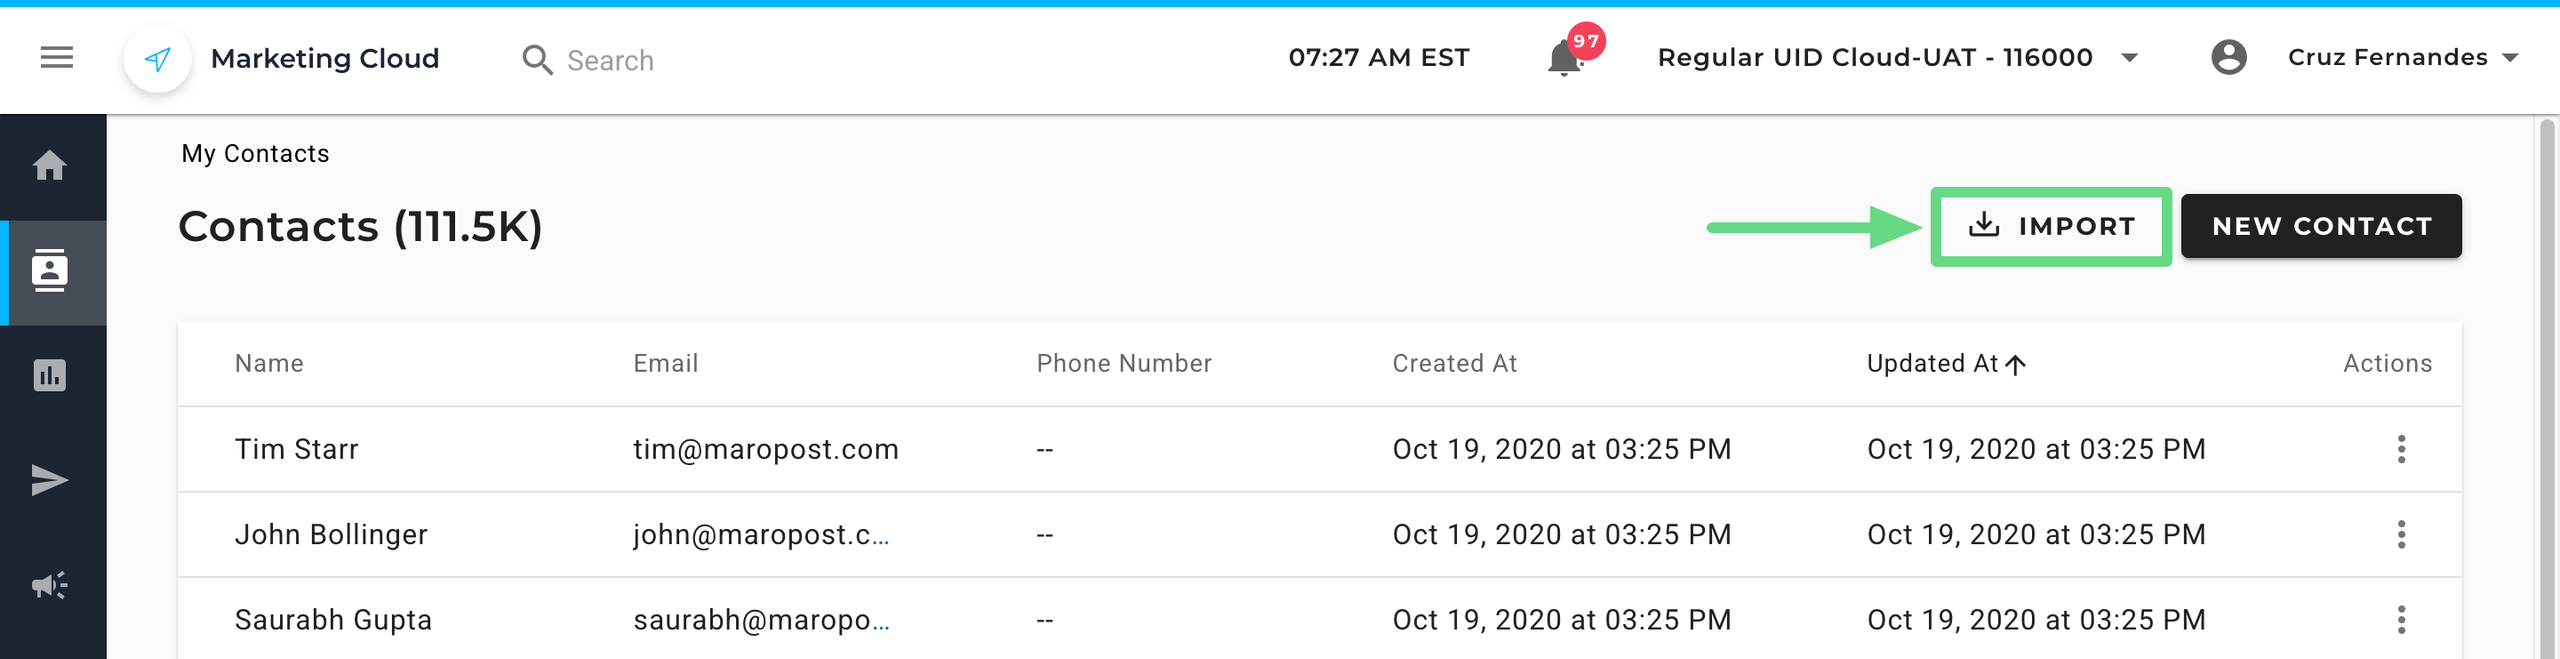
You can view, create, and manage your Marketing Cloud contacts on the Contacts index page. In Navigation, click CONTACTS to go to the page.
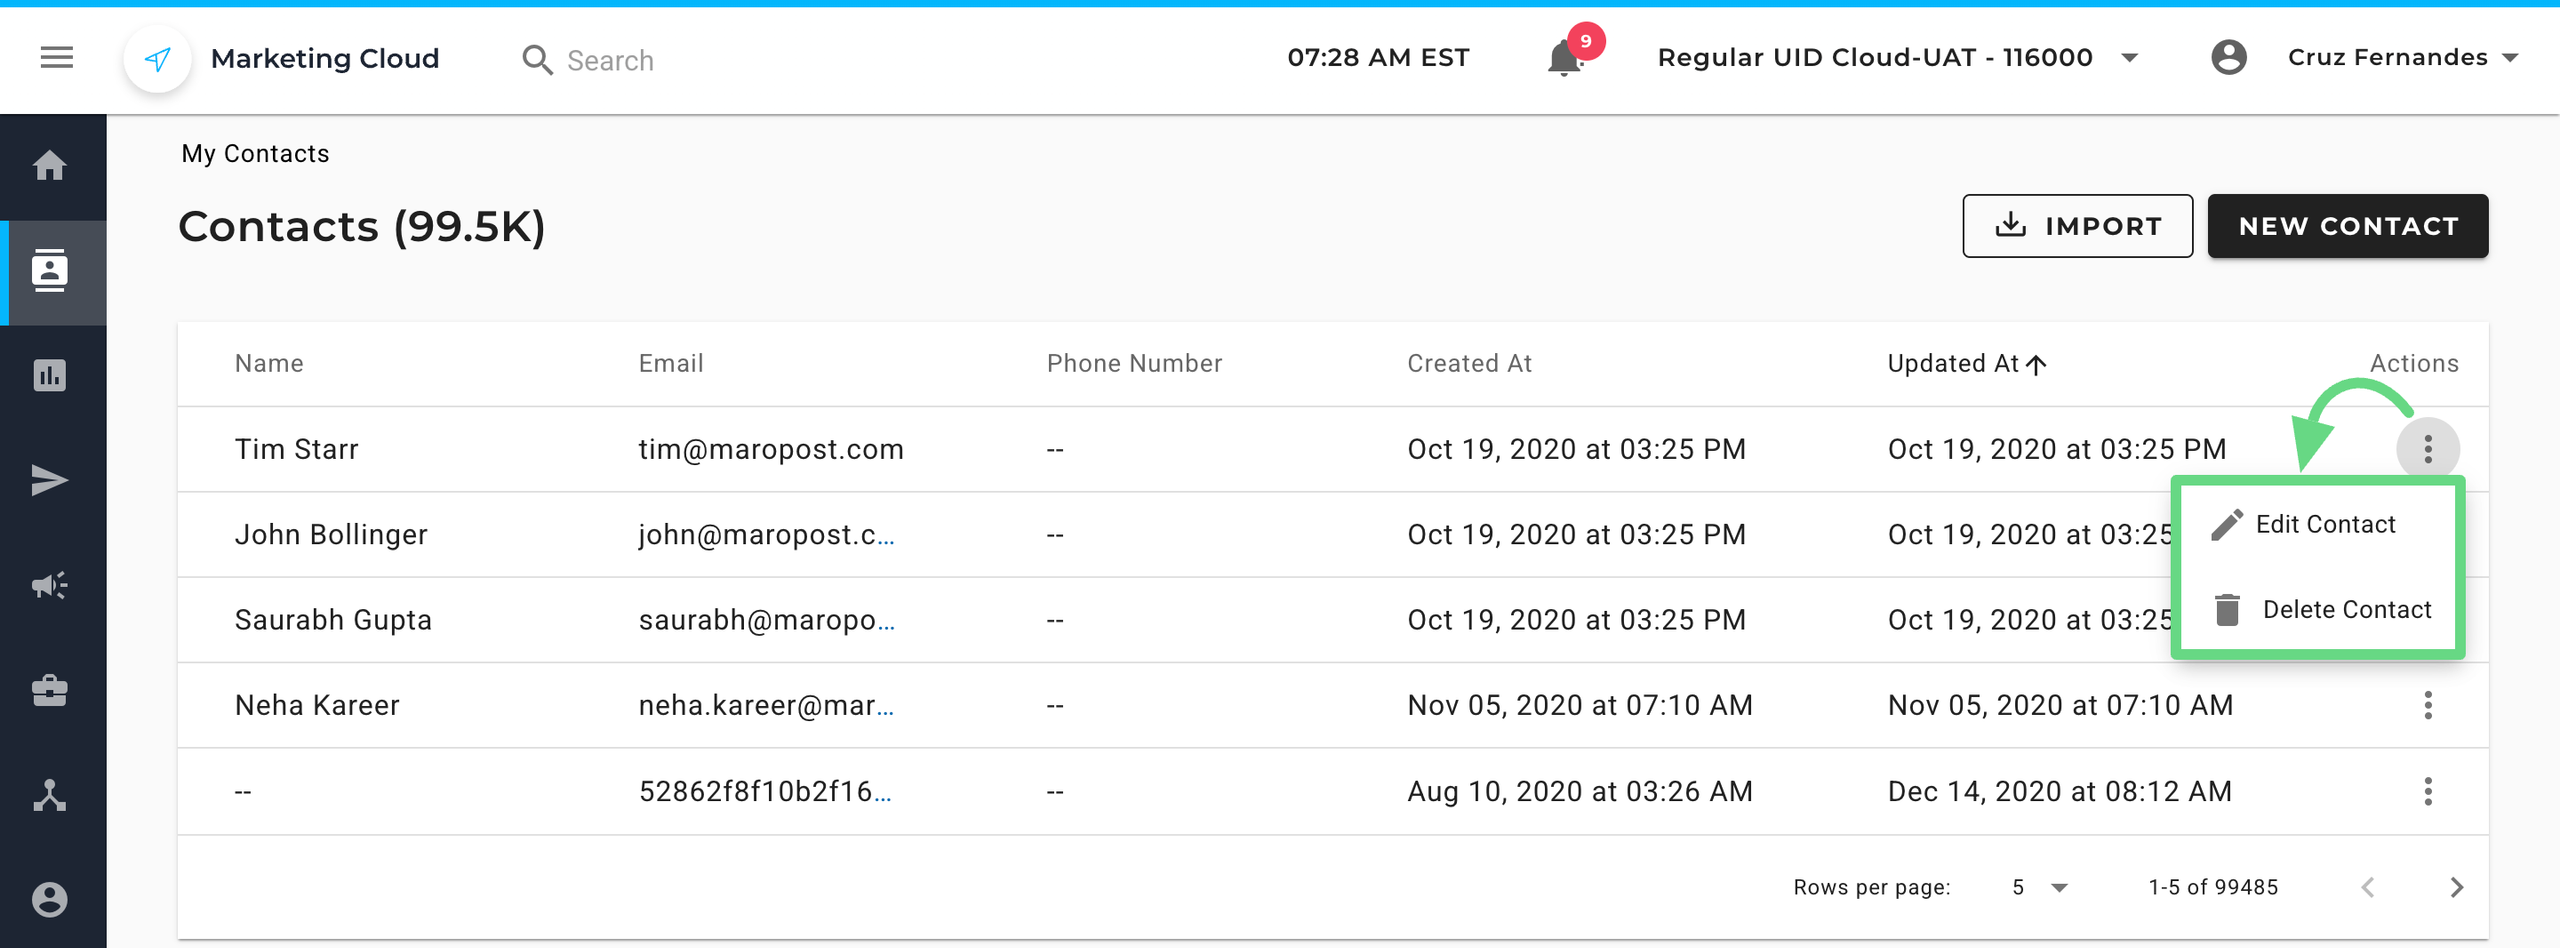
The Contacts page contains the following information and actions:
- Contact Name: This shows the name of the contact.
- Email: This shows the email address of the contact.
- Phone Number: This displays the contact's phone number.
- Created At: This shows the date and time at which the contact was created.
- Updated At: This shows the date and time the contact was last updated.
- Actions: Contains the actions to edit or delete a contact. As per GDPR guidelines, you can erase a client's record in response to a customer's request. To learn more about this regulation act, read our Exercising the Right to Erasure article.
Creating Contacts
Marketing Cloud enables you to create contacts individually through the user interface or in bulk through import.
Creating Contacts Manually
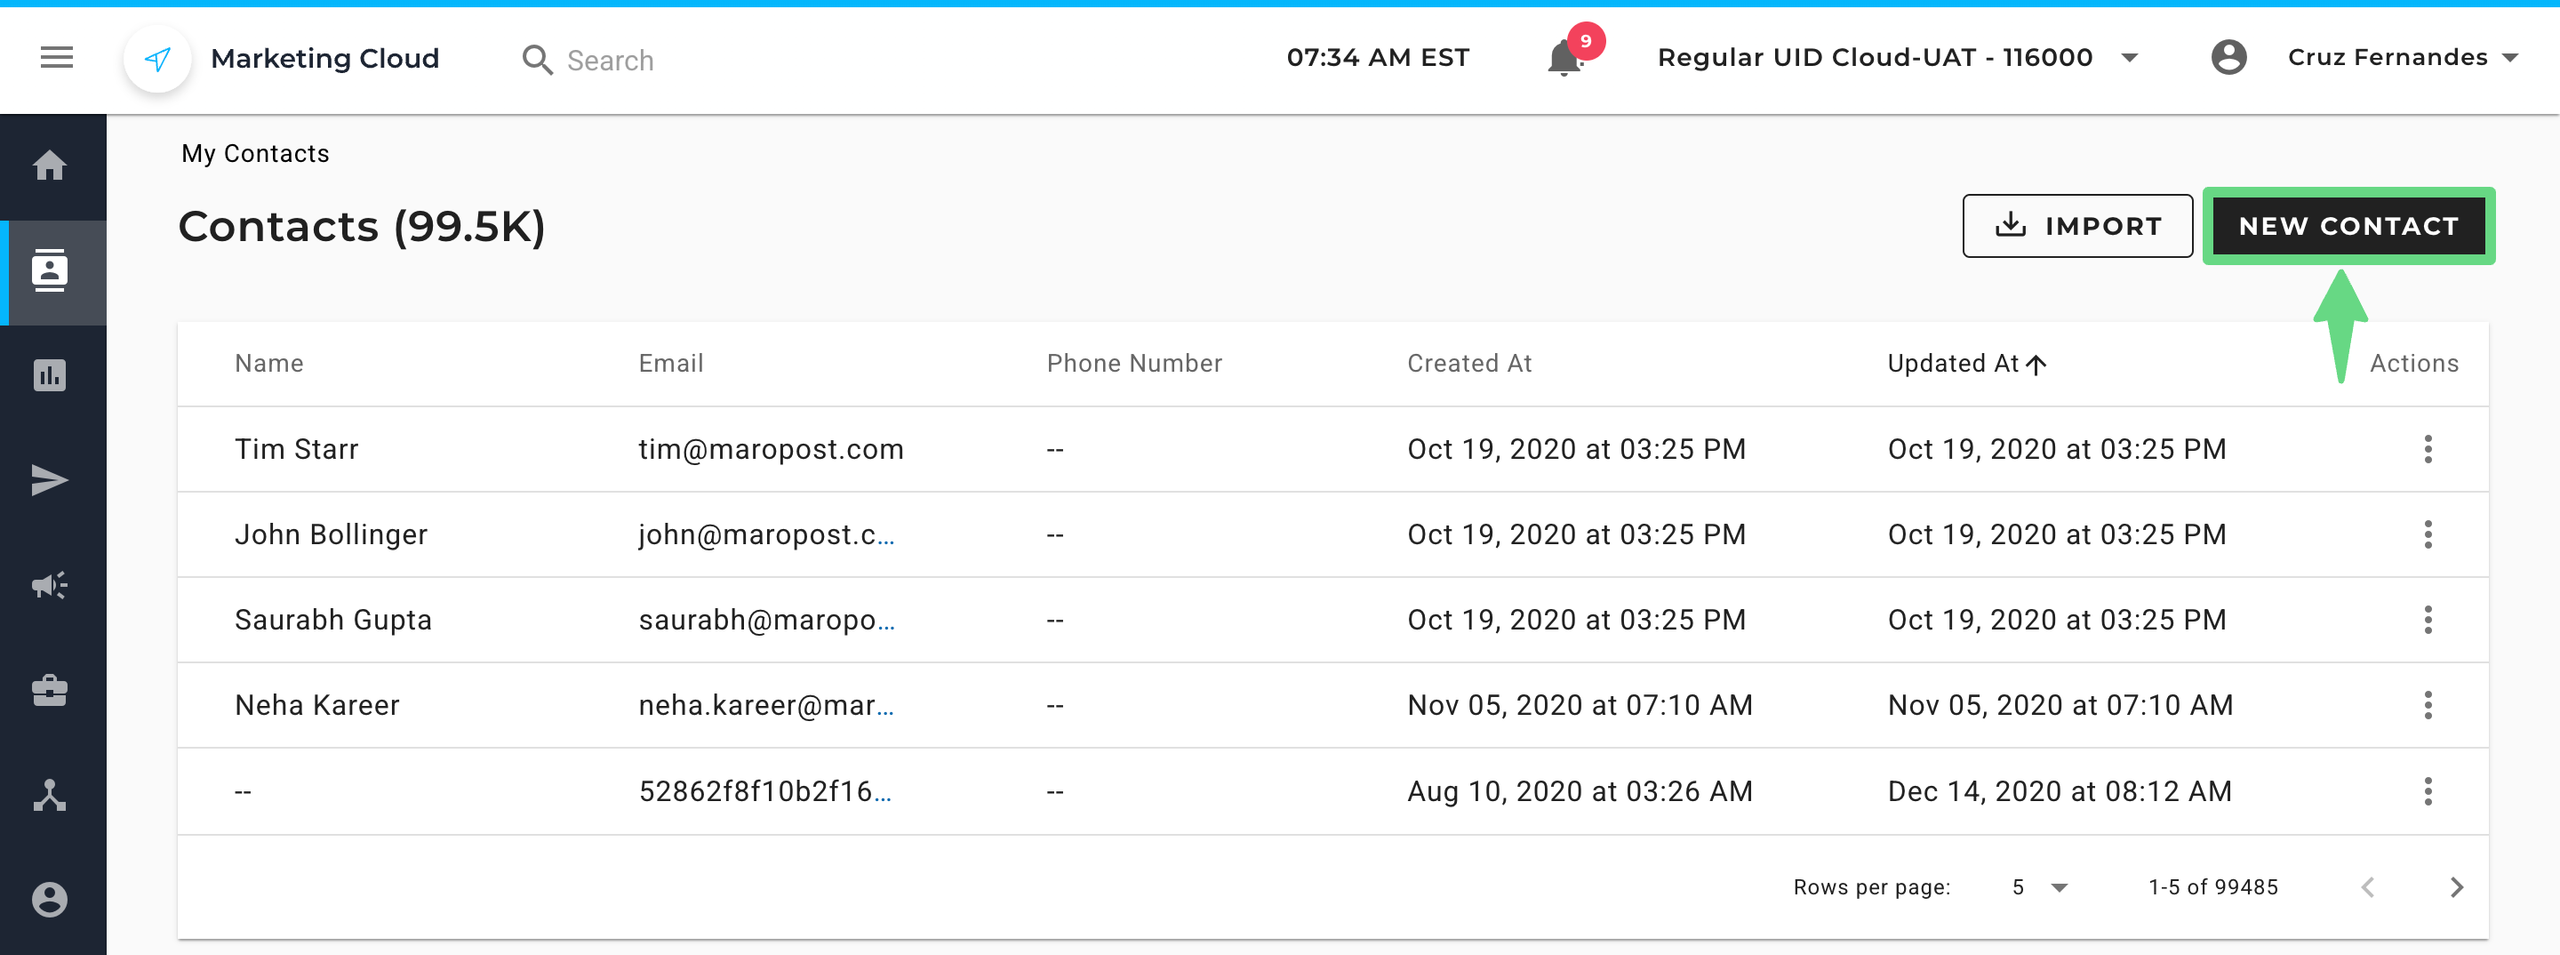
To create a contact manually, do the following:
- On the Contacts index page, click the New Contact button.
- On the New Contact page, enter the contact's first name and last name. If you are subscribing a contact to a list, you must provide an email address or phone number (including the country code). Email addresses and phone numbers must be unique for every contact in an account.
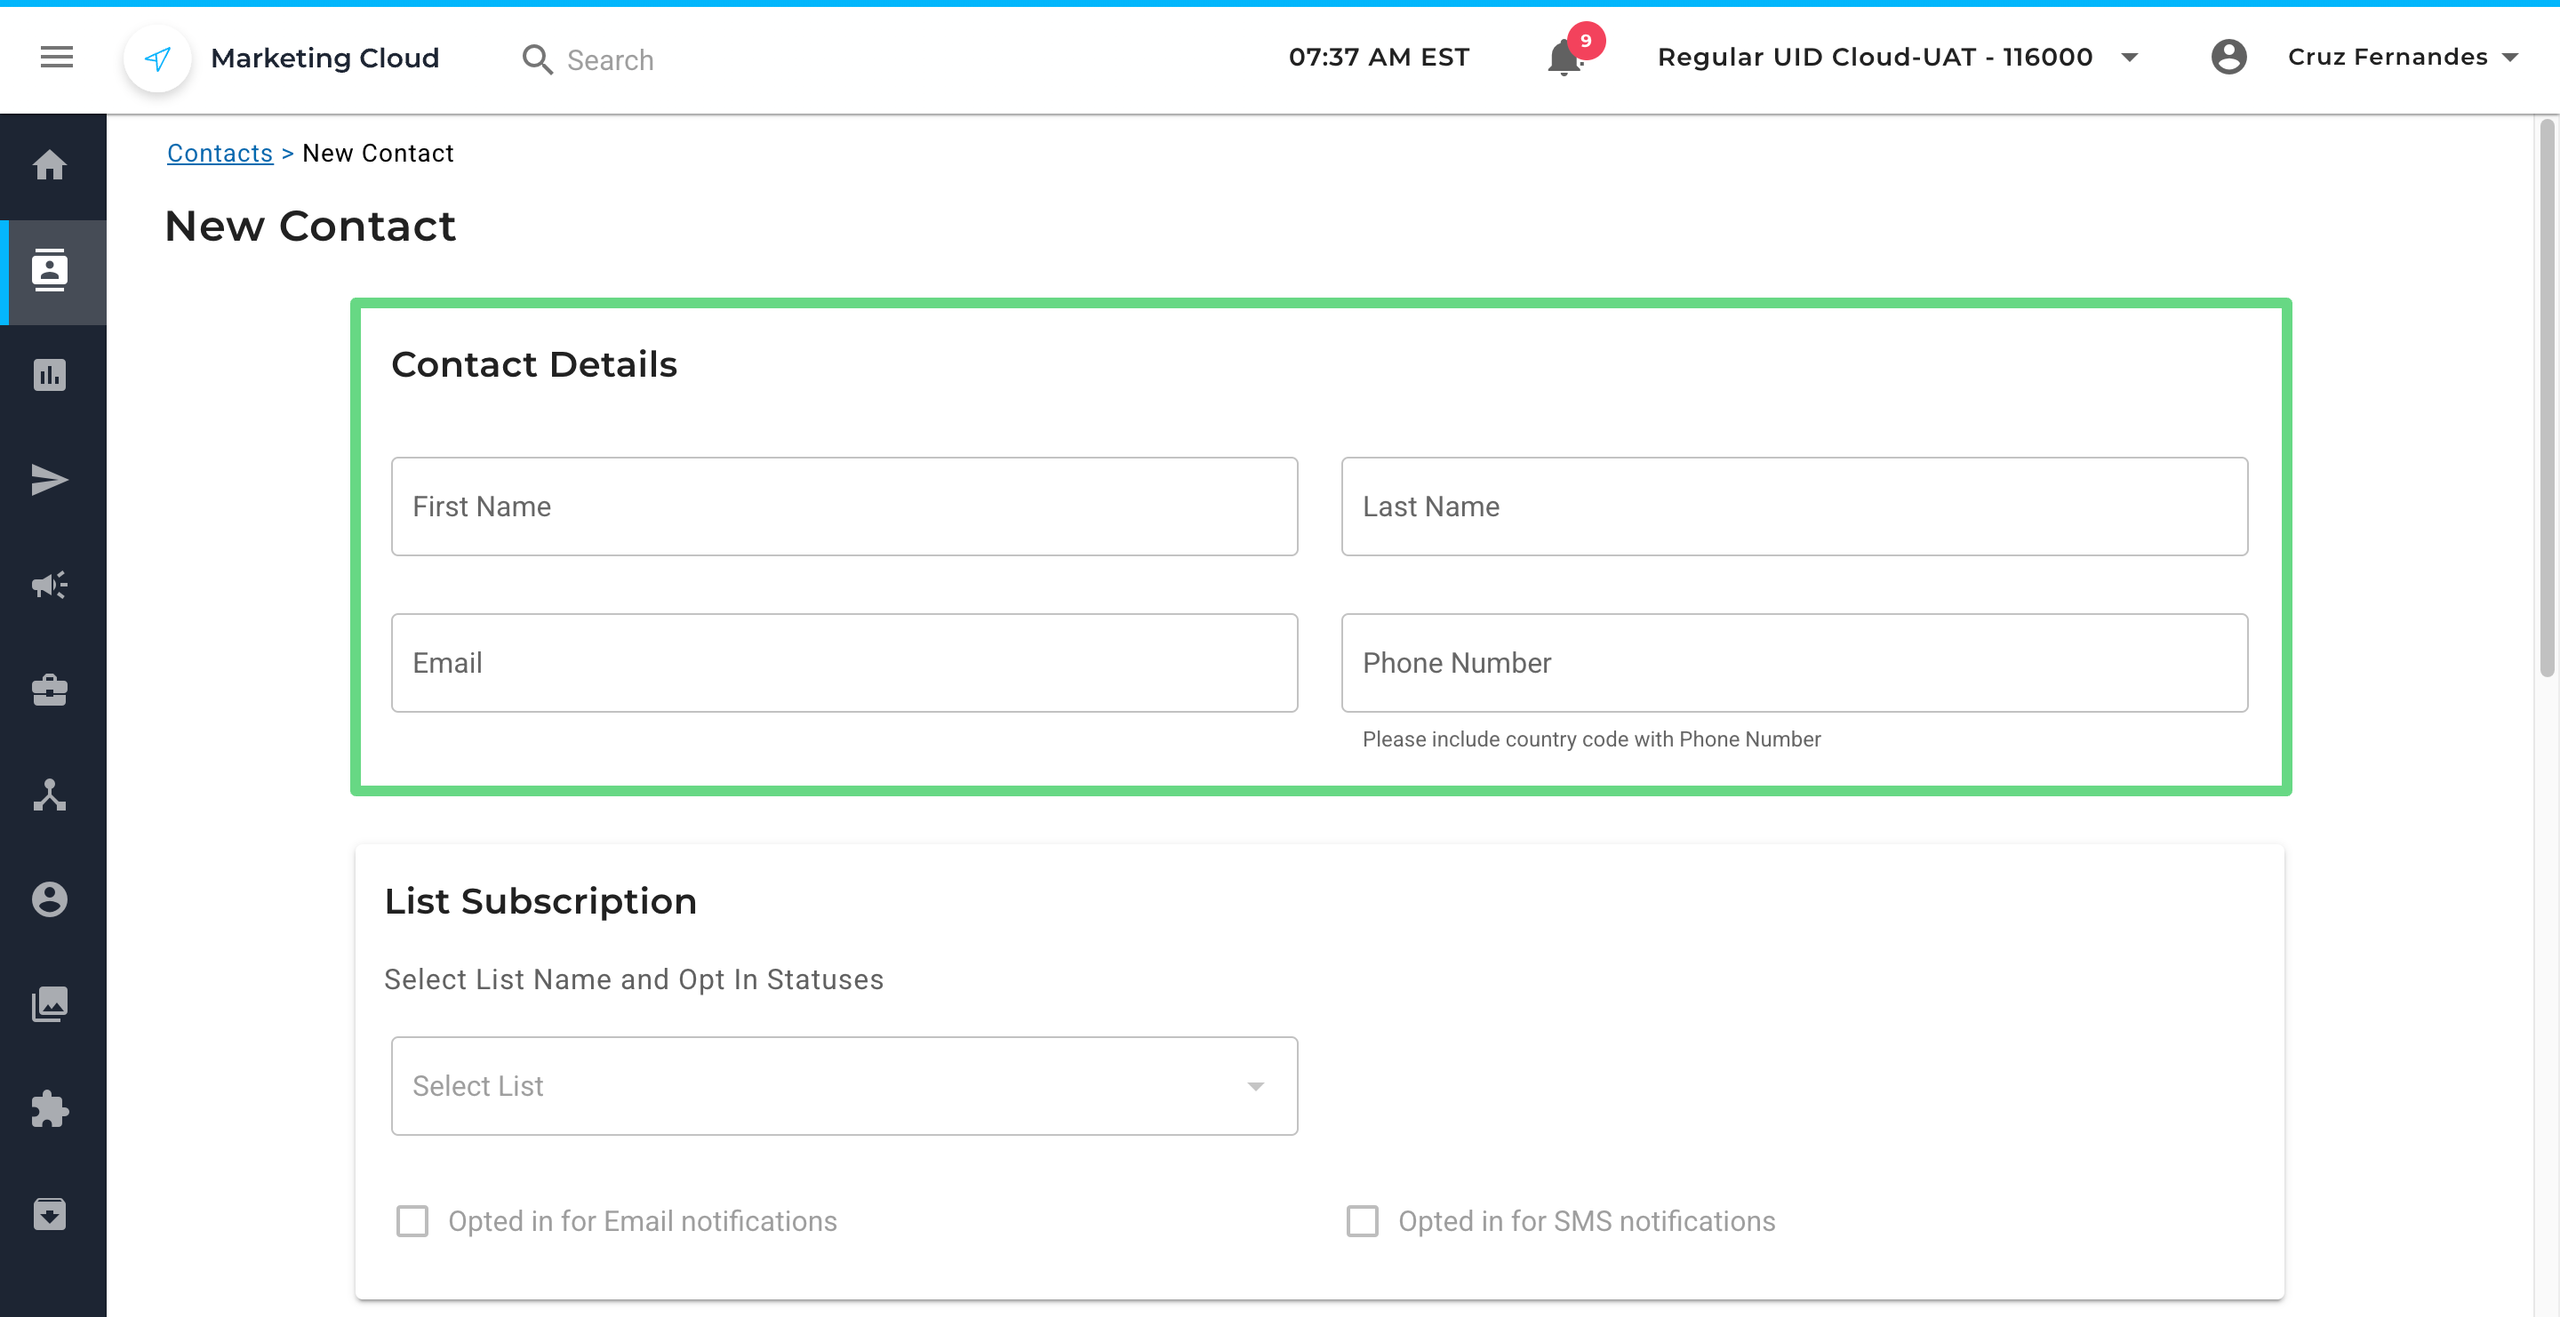
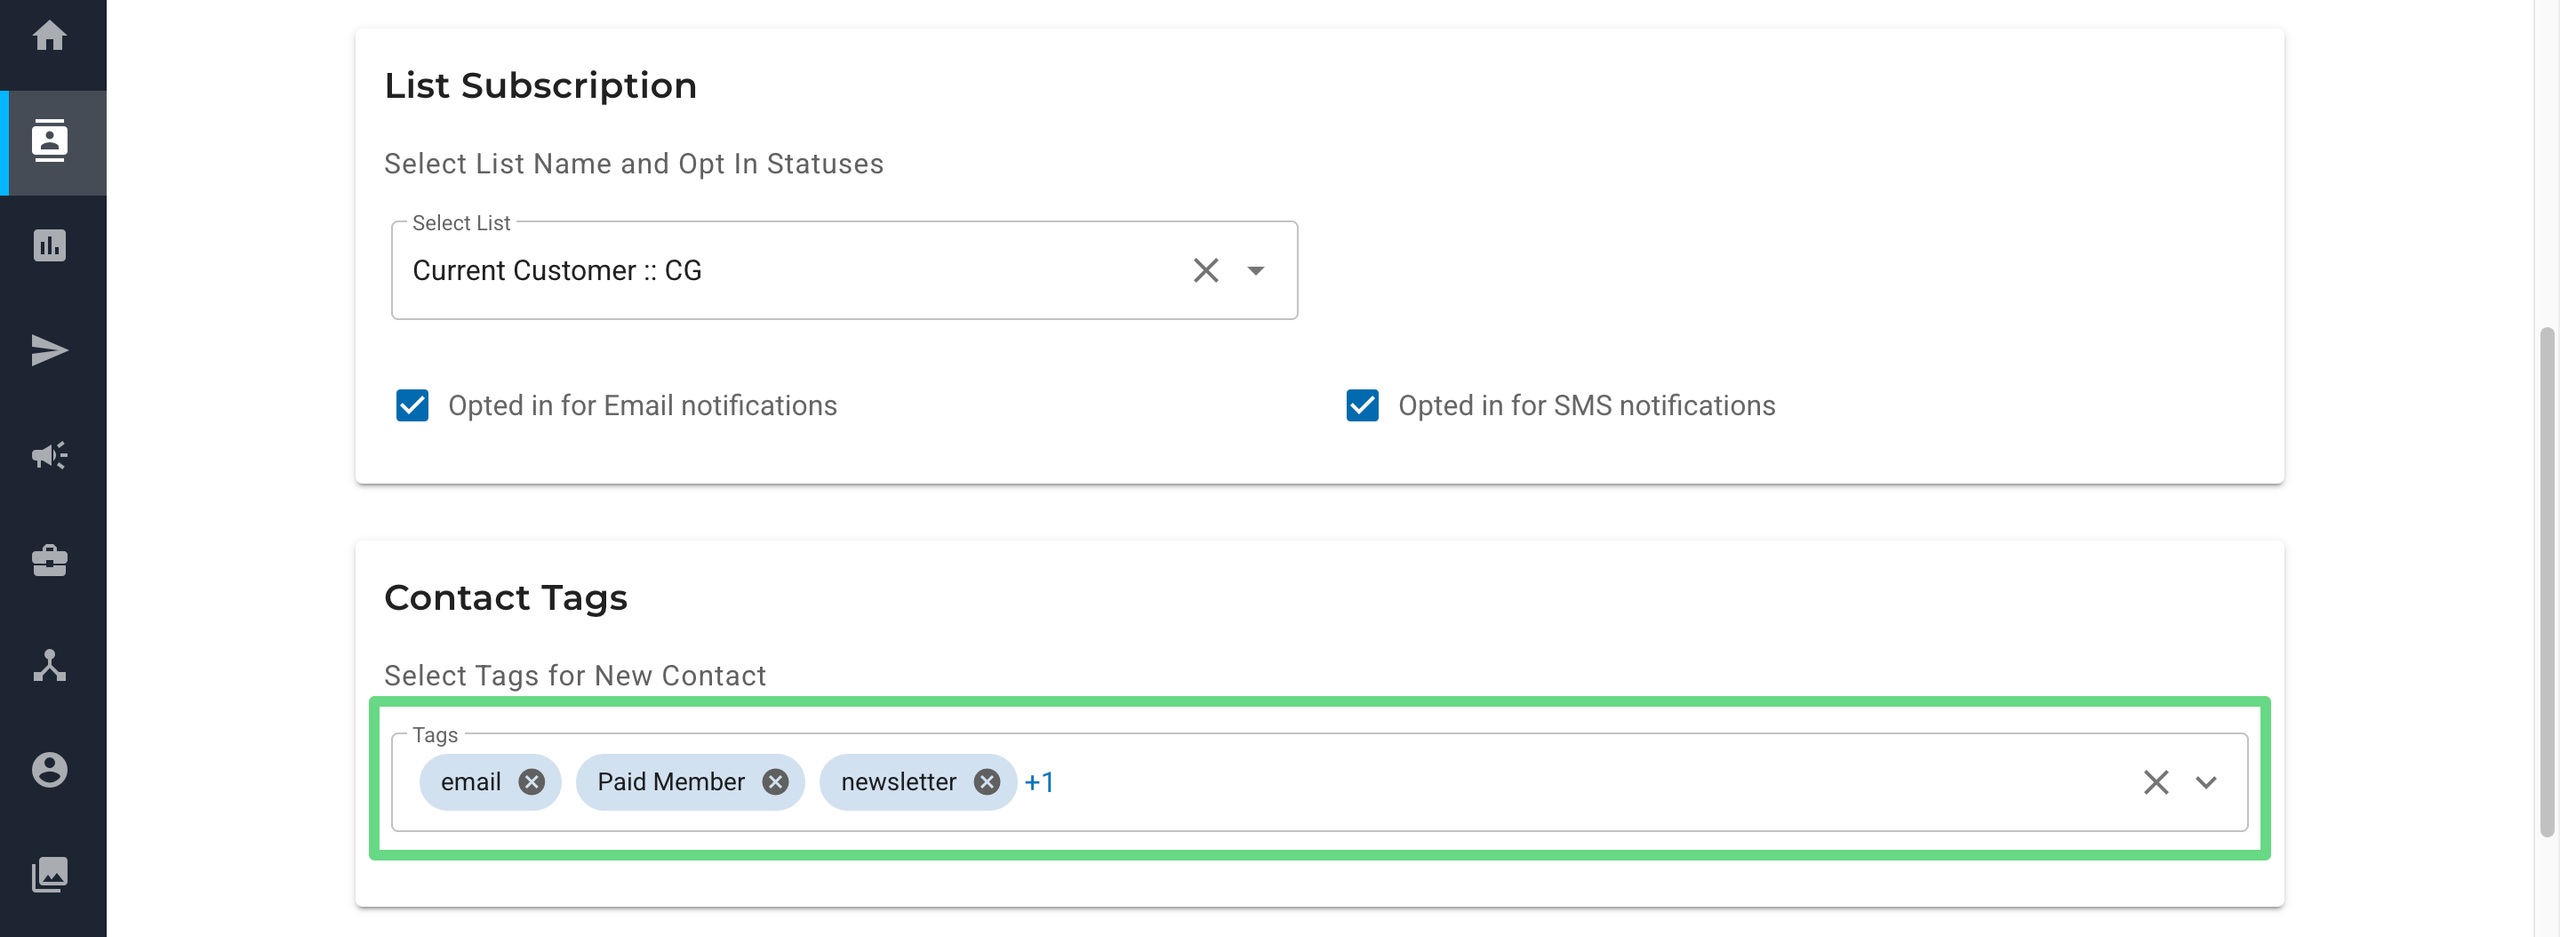
- Select the list to which you want to add the contact. Then, in the "Opted in for Email notification" and "Opted in for SMS notification" checkboxes, select or deselect the contact's opt-in preference. By default, the checkboxes are selected.

- Assign the contact tags. To learn about contact tags, see Contact Tags.
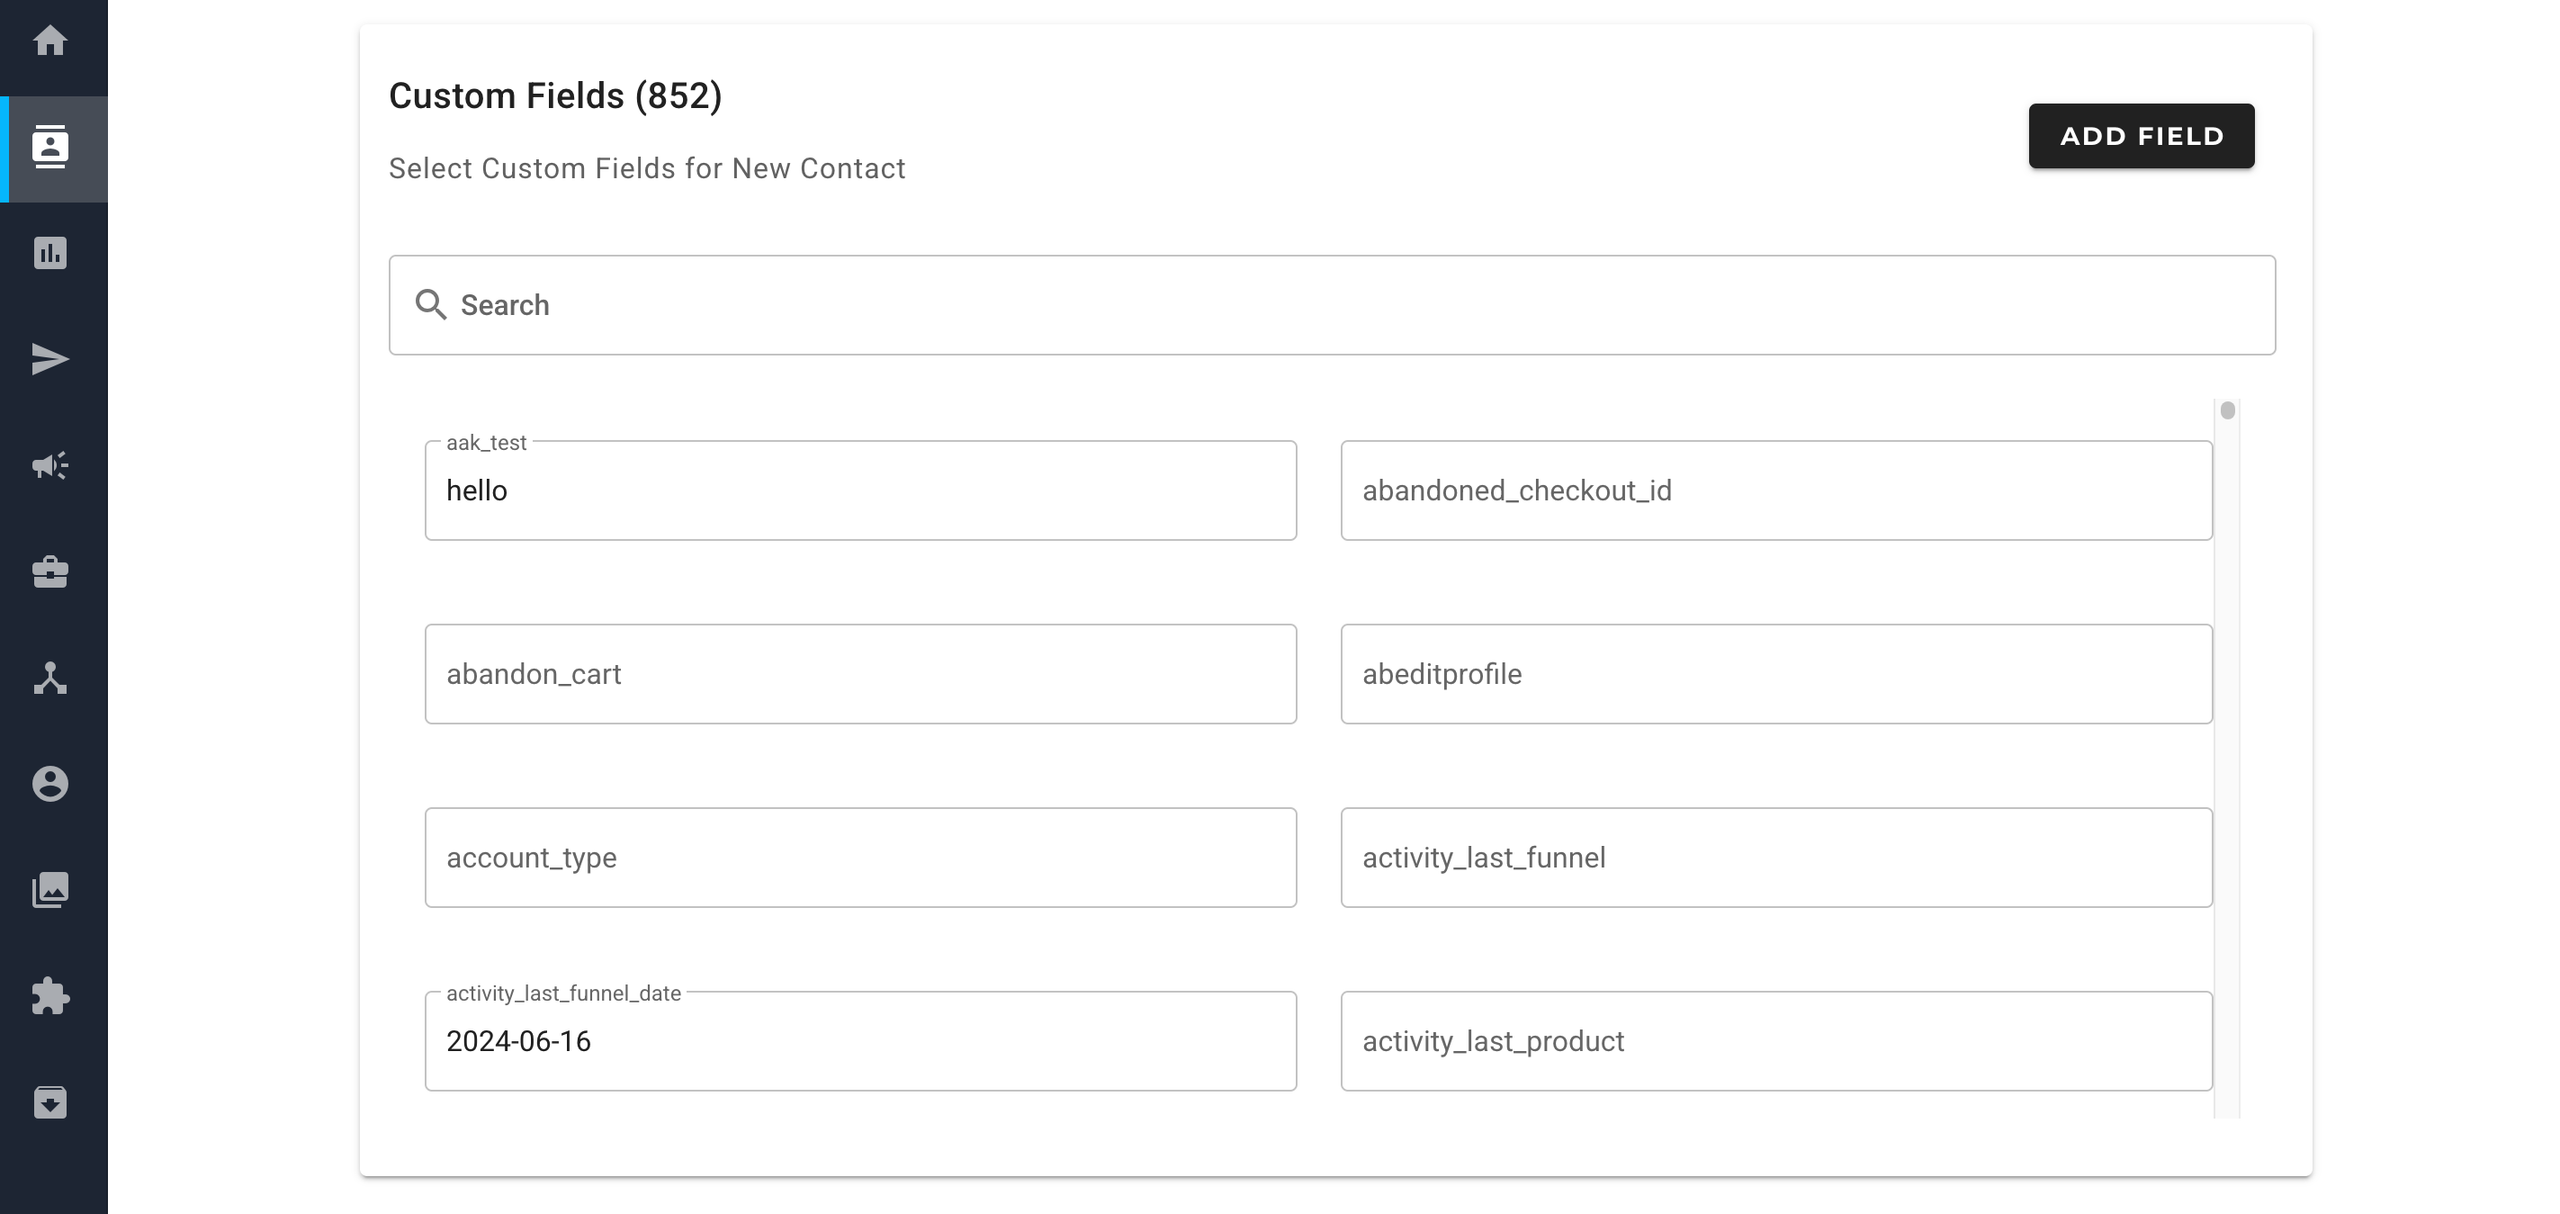
- You can also add additional contact information using the custom fields. To learn about custom fields, see Custom Fields.
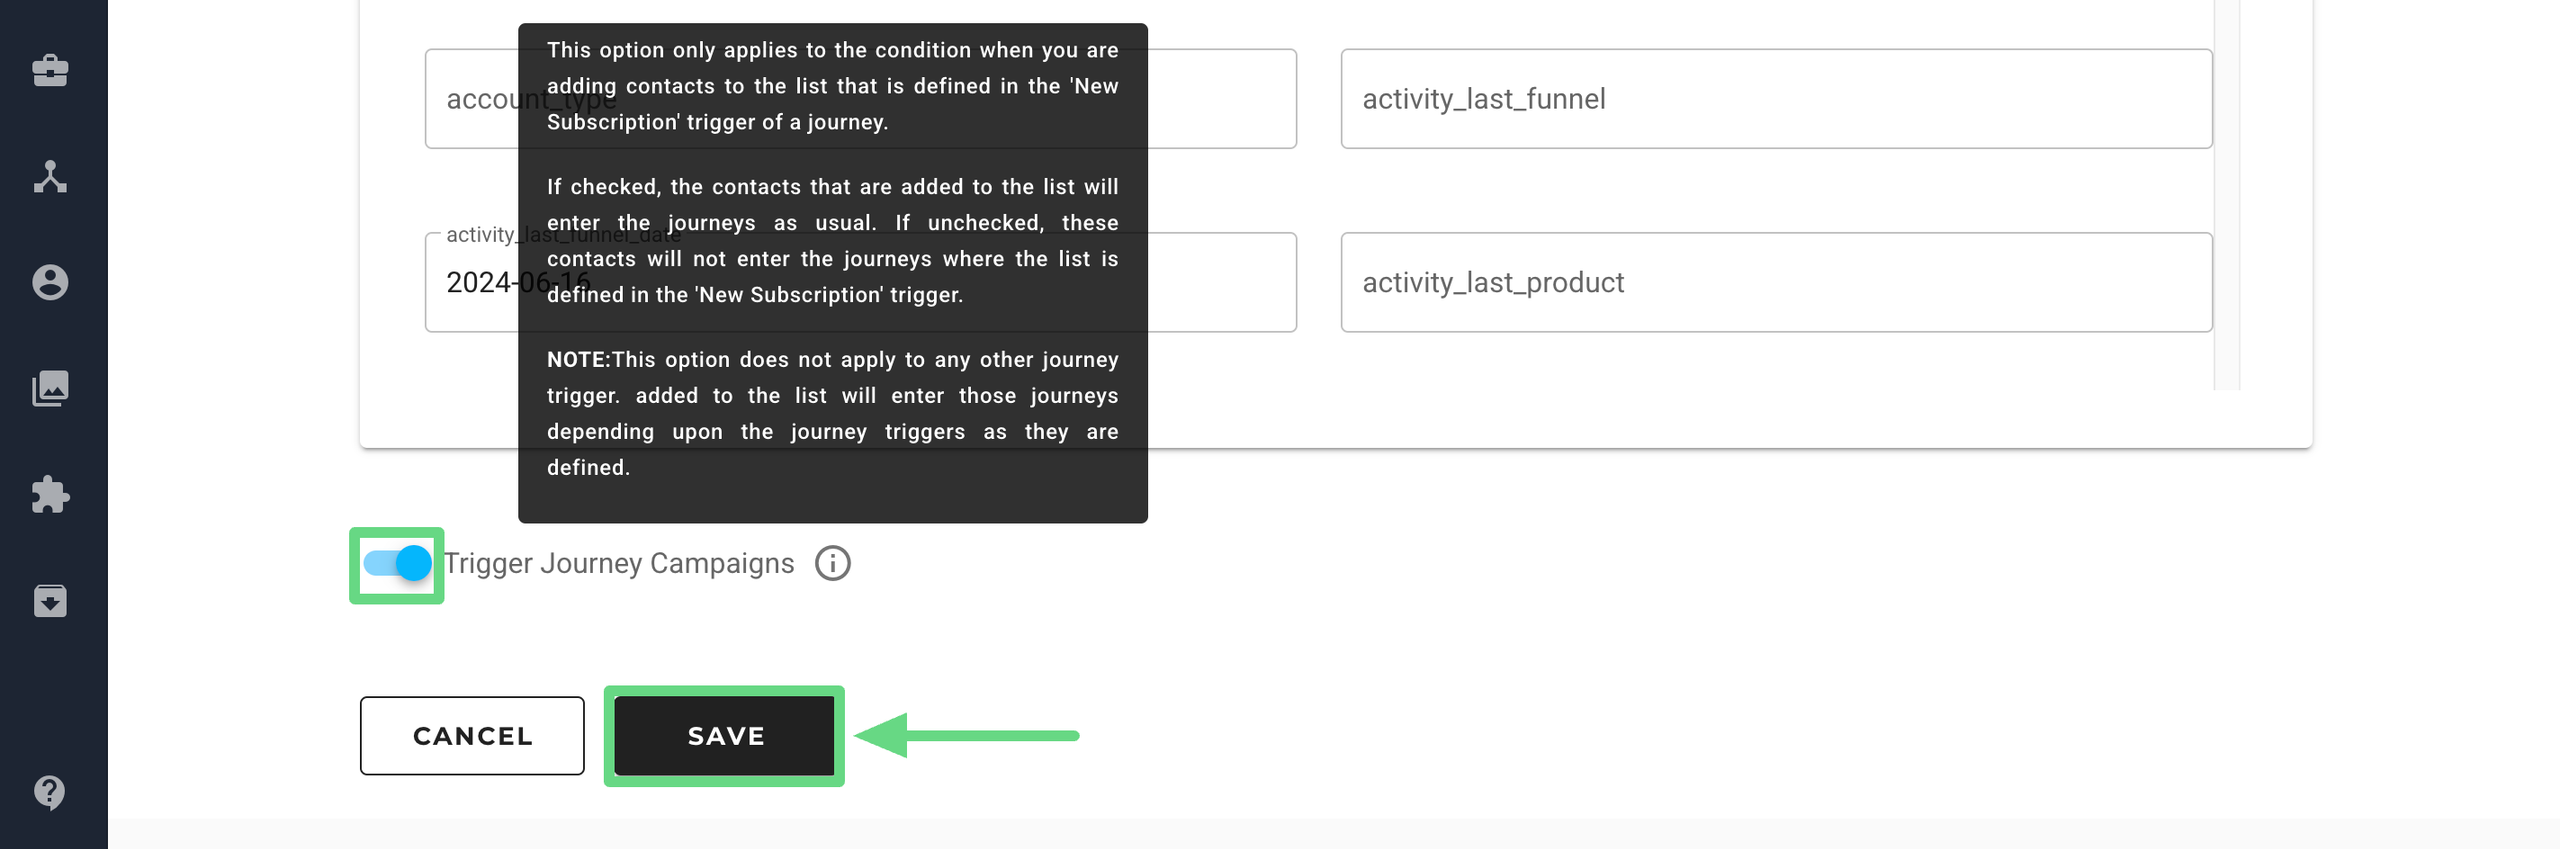
- Enable or disable the Trigger Journey Campaigns slider. The slider is enabled by default. If enabled, it triggers a new journey during onboarding new subscribers through surveys, newsletters, and other means. Finally, click on Save.
Creating Contacts Through Import
Marketing Cloud offers the following three import options for importing contacts:
- File Import: This option enables you to choose a file from your computer/laptop to upload contacts to a list. You can upload a file with a size of up to 128 MB. To learn more, see Using File Import.
- FTP Import: This option enables you to upload contacts to a list using our FTP server. To use this option, you must first set up the FTP imports on the Connections page. There is no file size limit for FTP upload. To learn more, see Using FTP Import.
- Automated Import: This option automates the FTP import operation. To configure it, you must first input the FTP file path that contains the contact file and outline the fields you want to map in settings. The automated process then scans the specified FTP file path to see if a file exists in that location. If a file is present, the contacts from the file are imported into your selected list. To learn more, see Using Automated Imports.
On the Contacts index page, click the Import button to find the import options. You can also access import options from the Contacts Lists index page and the Contact List 360 Overview page.
Related Articles
Contact Management Best Practices:
System Settings: