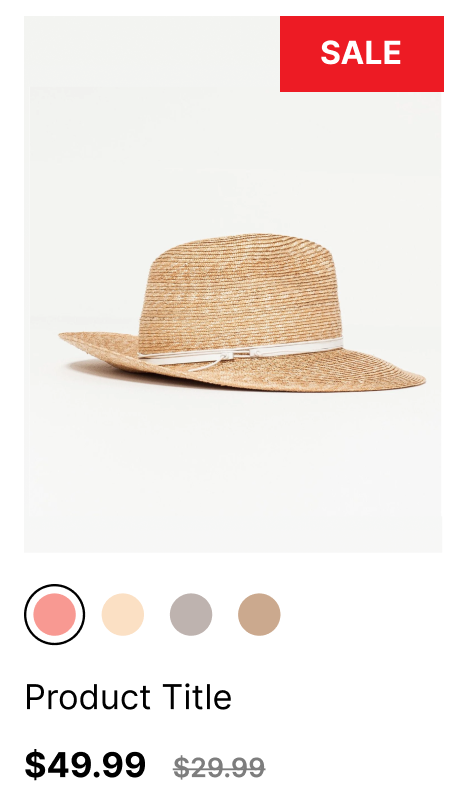
You can add sale stickers to product cards to highlight discounted items and promotional pricing, making special offers more visible to customers browsing your store.
These visual indicators help draw attention to deals and can create urgency, encouraging customers to take advantage of limited-time offers.
Implementing sale stickers with dynamic messaging like "On Sale," "X% off," or "Save $X" provides clear value signals that can help improve click-through rates and conversion on discounted products.
By automatically displaying these badges based on price comparisons, you create a more engaging shopping experience that helps customers quickly identify the best deals, supporting your promotional merchandising strategy.
This documentation provides step-by-step instructions for adding sale stickers to product cards in a Shopify store using Merchandising Cloud (formerly Findify). These stickers will help highlight discounted products with various messages like "On Sale", "x% off", and "Save $x".
Step 1: Prepare the Product Data
First, we need to add the logic to identify when a product is on sale. This involves comparing the product's price with its original price (compare_at_price).
- Open the
findify-product-card.liquid file in your theme's code editor. - Add the following code snippet to prepare the necessary product data:
{%- liquid if use_variant assign target = product.selected_or_first_available_variant else assign target = product endif assign price = target.price assign compare_at_price = target.compare_at_price%}
Step 2: Display the Sale Sticker
Next, add the code to display the appropriate sale sticker based on the comparison of the product prices. You have three options for the sticker text:
Option 1: "On Sale" Sticker
{% comment %} Option 1. 'On Sale' text {% endcomment %}{% if compare_at_price > price %} <div class="findify-sticker">On Sale</div>{% endif %}
Option 2: "x% off" Sticker
{% comment %} Option 2. 'x% off' {% endcomment %}{% if compare_at_price > price %} {% assign discount_percentage = compare_at_price | minus: price | times: 100.0 | divided_by: compare_at_price | round %} <div class="findify-sticker">{{ discount_percentage }}% off</div>{% endif %}
Option 3: "Save $x" Sticker
{% comment %} Option 3. 'Save $x' {% endcomment %}{% if compare_at_price > price %} {% assign amount_saved = compare_at_price | minus: price %} <div class="findify-sticker">Save {{ amount_saved | money }}</div>{% endif %}
You can choose one of these options or include multiple ones based on your requirements.
Step 3: Style the Sale Sticker
To ensure the sale stickers look good and are positioned correctly, you need to add some CSS styles.
- Open the
findify-product-card.css file (or create it if it doesn't exist). - Add the following CSS code to style the sale stickers:
CSS
.findify-sticker { position: absolute; top: 10px; right: 10px; background: #ff0000; /* Change the background color as needed */ color: #fff; font-size: 12px; padding: 2px 4px; border-radius: 4px; z-index: 10;}
This CSS will place the sale sticker at the top-right corner of the product card, with a red background and white text. Feel free to customize the styles to match your store's design.
For further assistance or inquiries, feel free to contact us on YourFriends@Findify .io