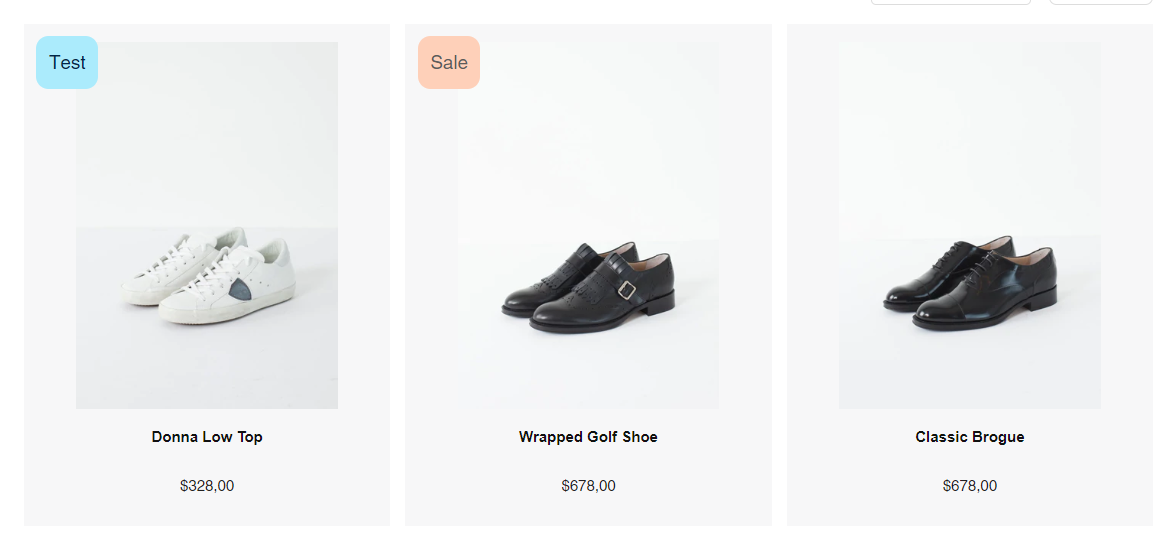
You can use metafields to create dynamic custom stickers that display product-specific information directly in search results and collection pages. When stickers can pull data from product metafields, you gain flexible merchandising capabilities to highlight attributes like exclusivity, sustainability credentials, or custom promotions, which helps improve product differentiation and tends to enhance conversion rates through better product storytelling.
Metafield-based stickers enable sophisticated merchandising strategies that adapt automatically based on product data. This helps you maintain consistent visual merchandising across large catalogs while highlighting the unique attributes that drive customer purchasing decisions, supporting better conversion optimization through data-driven product presentation.
In this read we are going to show you how to add Custom Stickers based on Metafileds.
#1. Background
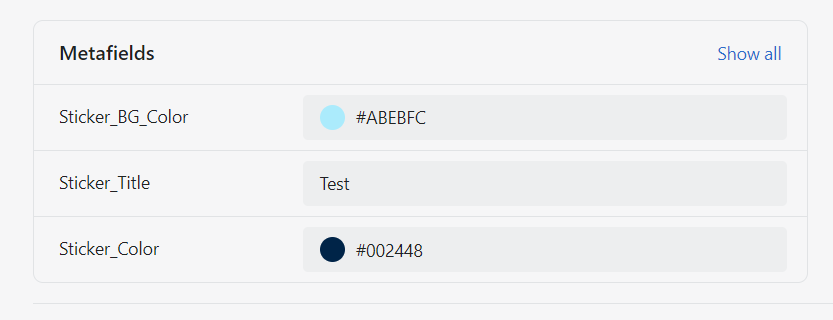
Have your Metafields, that you want to use the base for your stickers, set up.
#2. Requirements
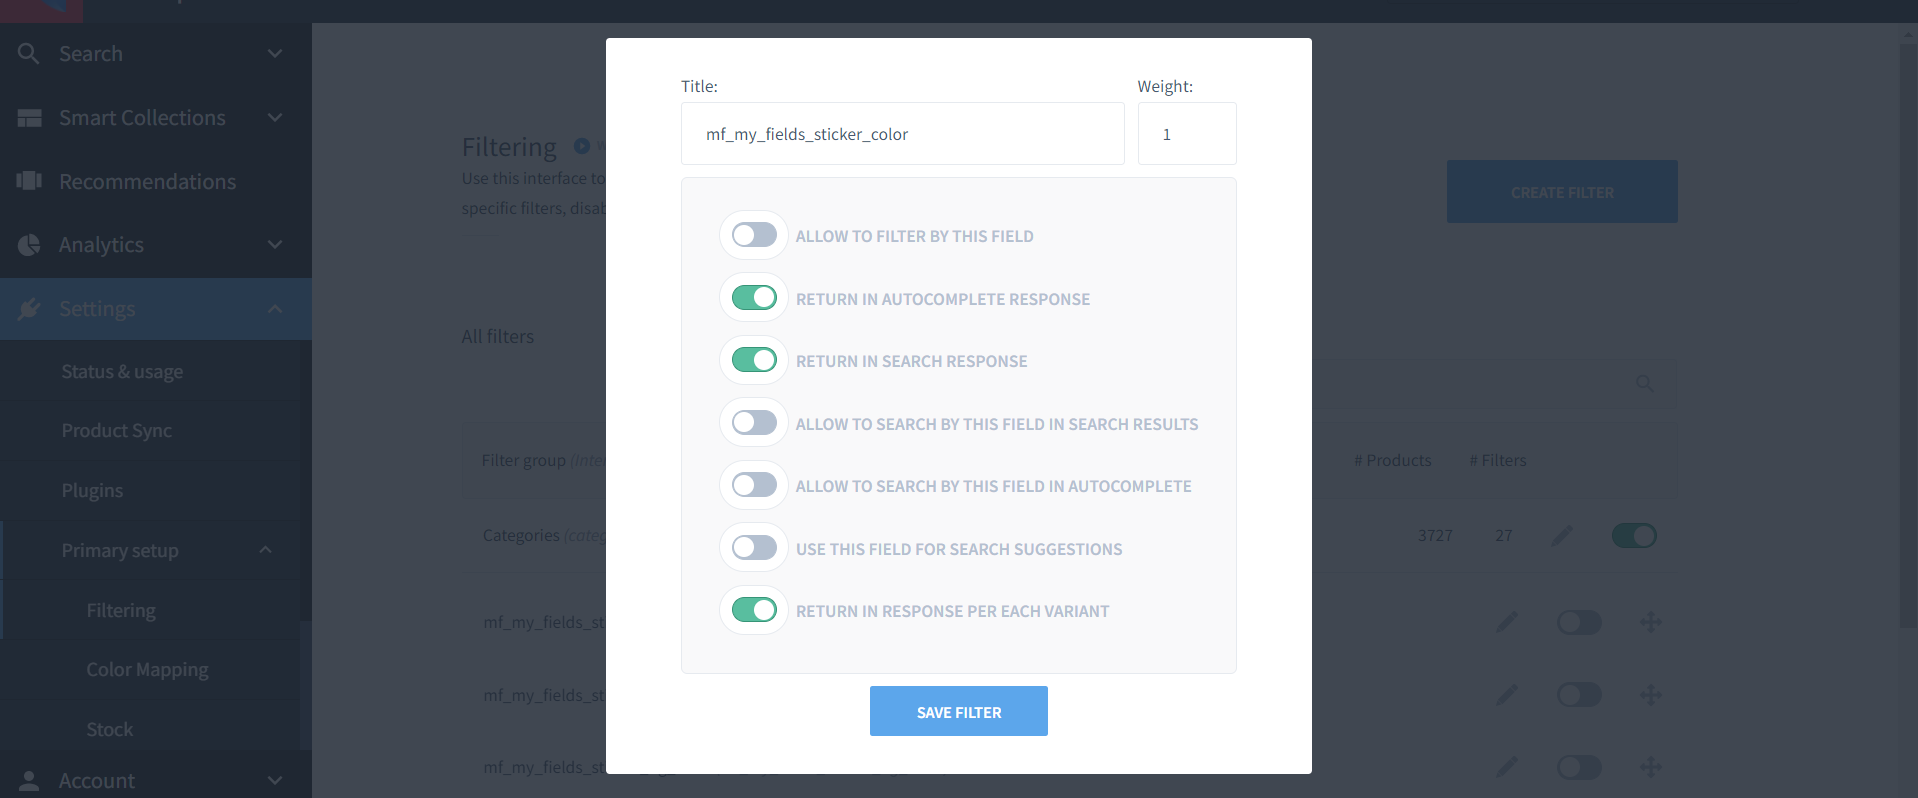
First, activate the field in Merchant Dashboard. In this particular case we're using mf_my_fields_sticker_color, mf_my_fields_sticker_title and mf_my_fields_sticker_bg_color.
#3. Time Estimates
- Set up in Platform: 15 min
- Integration: 10-15 mins
- Styling: 15 minutes
#4. Functional Overview
Components:[components/Cards/Product/index.tsx] (https://github.com/findify/findify-js/blob/develop/packages/react-components/src/components/Cards/Product/index.tsx)
#5. Integration Steps
First, create a new Sticker component. Then add the component to 'components/Cards/Product/index.tsx'.
components/Cards/Product/index.tsx
import Sticker from "Sticker";// default code<Sticker item={item}/>
NB: we get all of our fields fields from item.
Sticker
const Sticker = ({ item }) => { const backgroundColor = item.getIn(['custom_fields', 'mf_my_fields_sticker_bg_color', 0]); const color = item.getIn(['custom_fields', 'mf_my_fields_sticker_color', 0]); const title = item.getIn(['custom_fields', 'mf_my_fields_sticker_title', 0]); const styles = { backgroundColor: backgroundColor, color: color } return( <div display-if={title} className="findify-custom-sticker" style={styles}> {title} </div> )}export default Sticker;
After logic is constructed, add some CSS to the sticker.
styles.css
.findify-custom-sticker{ position: absolute; left: 10px; top: 10px; padding: 10px; border-radius: 10px;}
#7. MJS Version
This module has been optimized for MJS version 7.1.38