Following Norce integration steps helps you successfully implement search and merchandising features within the Norce platform. When you follow platform-specific guidance, you can deploy capabilities more efficiently and avoid common integration issues, which supports faster realization of conversion benefits from improved product discovery and merchandising capabilities in your Norce store.
Norce-specific integration guidance enables successful platform implementations. This helps you leverage Norce's architecture effectively while deploying search and merchandising features, supporting better conversion outcomes through properly integrated product discovery capabilities that work seamlessly within Norce's ecommerce framework.
This article outlines the step-by-step process to integrate Norce with Maropost Merchandising Cloud. Whether you're syncing product data, enabling personalized search, or configuring advanced merchandising, this guide will walk you through the key technical and dashboard-level actions required for a successful connection.
Step 1: Generate the Product Feed
We utilize Norce's Hyperdrive feature to access product information. In order to configure the hyperdrive feed, please follow these steps:
A. Log in to Hyperdrive.
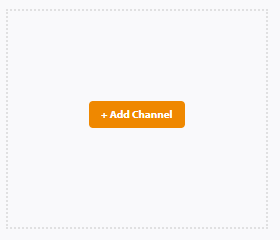
B. Set up a new channel:
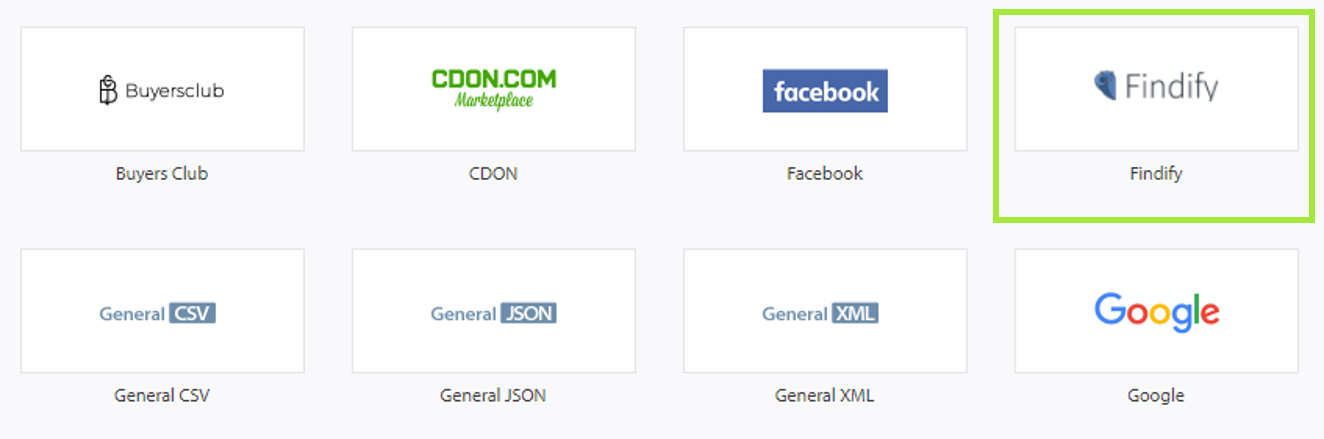
C. Select the Merchandising Cloud (formerly Findify) Format:
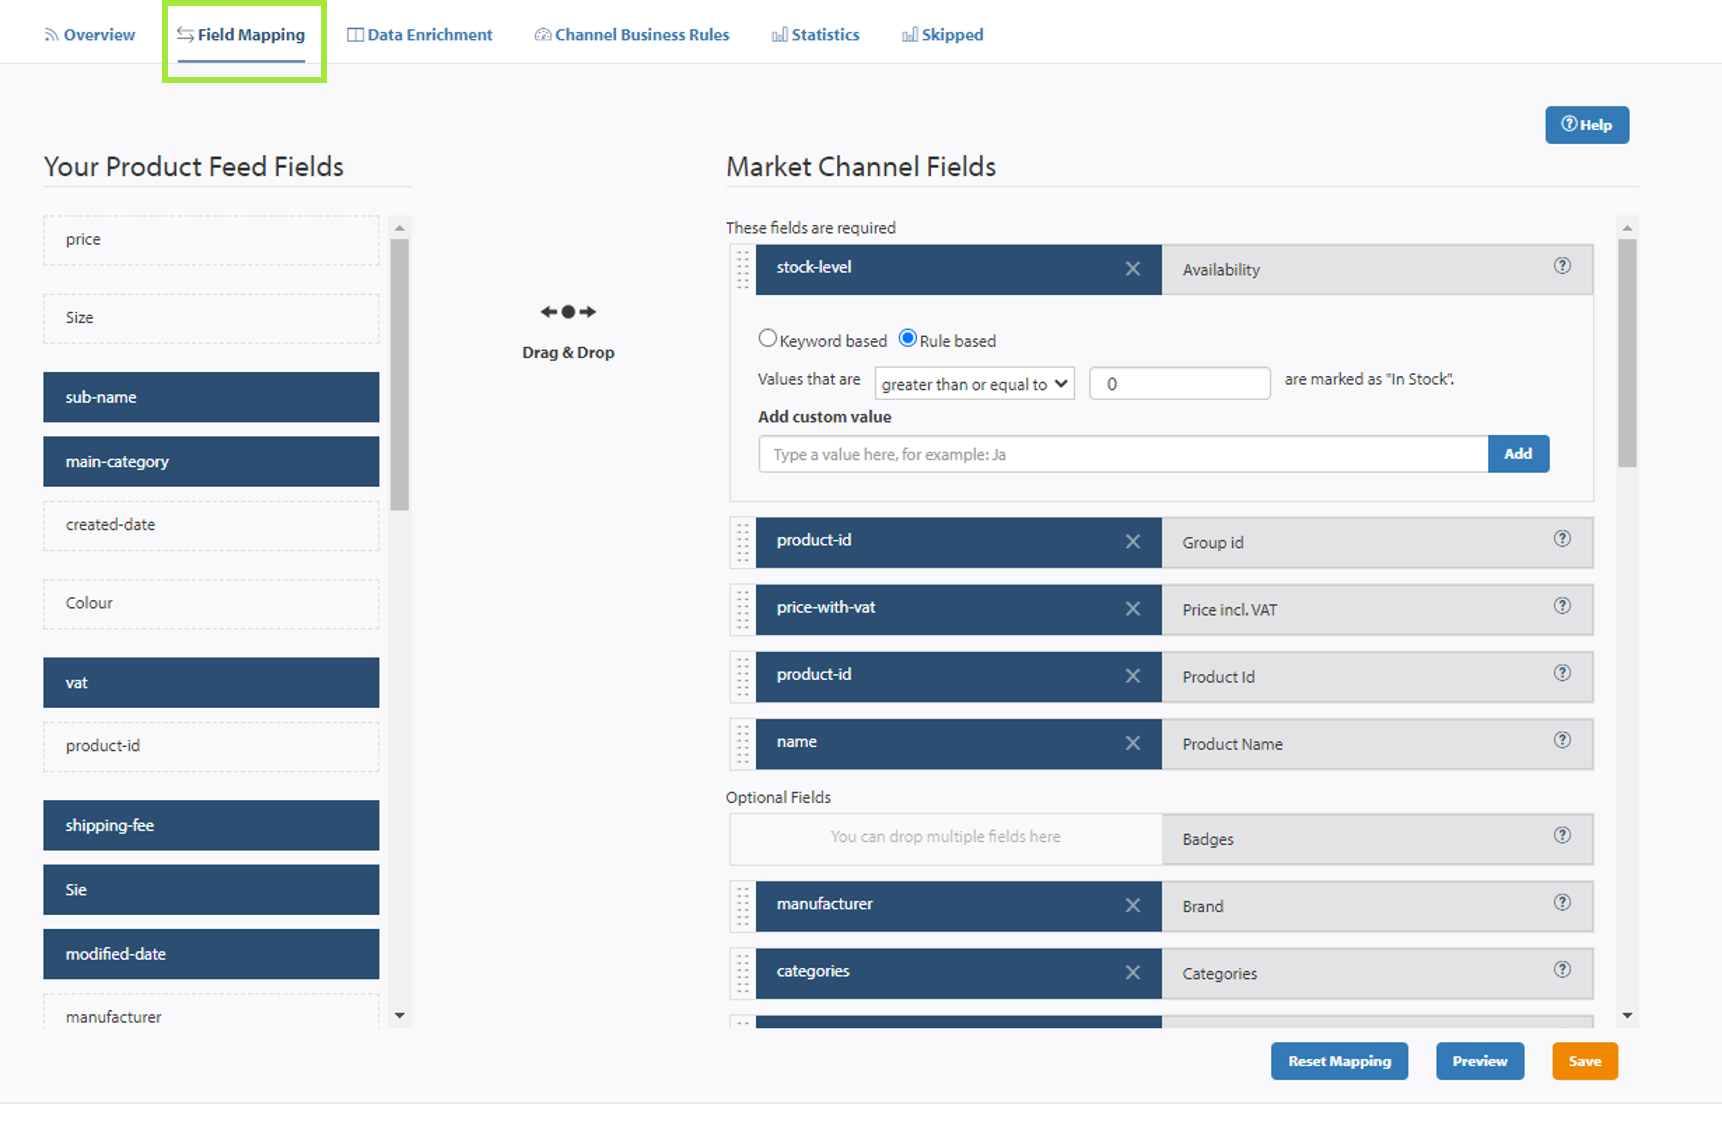
D. Map required and optional fields:
Read About Required & Optional FieldsFeed Specifications
Step 2: Share Product Feed & Onboard in Merchandising Cloud's System
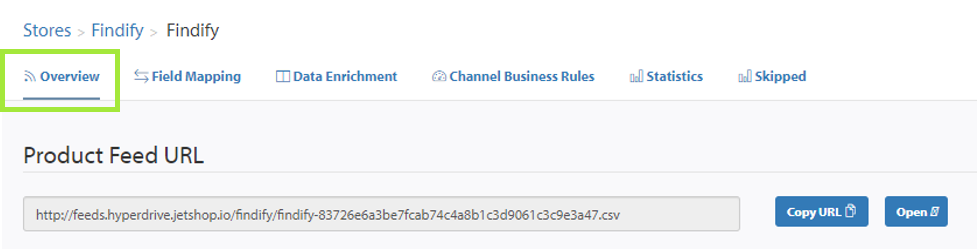
From Hyperdrive, copy the feed URL and share with Merchandising Cloud.

Requirements To Onboard The Store
- Store URL: e.g. http://findify.Norce.io/Contact:Name & EmailStore Currency e.g. SEKStore Languagee.g. SwedishFeed URL:See above
ShopId: Used to run the automatic collection sync (See below)
Step 3: Set up Smart Collections
Setup: Share the Shop-ID with Merchandising Cloud and we will set up the Importer.
Ongoing Import: Runs automatically once a day.
Step 4:Install the Flight Front-End (MJS)
Install Merchandising Cloud:Follow these instructions to run the installation
Integrate Collections:Follow these instructions to run the installation
Integrate Recommendations:Follow these instructions to run the installation
Please Note
The MJS is a prebuilt front-end library with all assets needed to run Merchandising Cloud.
All components in the library are fully customizable to match desired brand experience.
This step is not applicable for API integrations where the front-end is built specifically for the merchant. For API documentation, please read more here.
Step 5: Add Analytics Tracking
Please follow these steps to integrate the analytics tracking across the site for Merchandising Cloud to perform optimally:
Analytics
Please Add All Analytics Trackers
In order for Merchandising Cloud to work optimally, all trackers need to be in place
Step 6: Populate Recommendations
Once your Merchandising Cloud account is onboarded, you will get access to the dashboard where you can review analytics, merchandise, and populate recommendations.
Recommendations:
Read more about recommendations here.