Adding a sales channel allows your business to reach customers across multiple platforms—whether it’s your online store, a physical POS, or a marketplace like Amazon.
Each channel you create helps you track orders more accurately, manage performance per platform, and understand where your sales are coming from. This gives users a clearer picture of business growth, improves reporting, and ensures that the right products, pricing, and inventory are aligned with how and where customers shop.
Before you begin
It’s good to keep these handy:
- Have administrator or settings management access.
- Know the configuration preferences of website you want to add.
- Have the basic details ready:
- Channel name (e.g. Online Store – India)
- Default currency
- Default tax rules (if required)
- Any integration details (for marketplaces or external channels)
To Access
Go to Sales Channel>> Add a Sale channel
Steps to add Sales Channel
- On the Sales Channels page, click Add Sales Channel

- A New Sales Channel form will open.
- On the Create new sales channel page, enter:
- Channel Name: Enter a clear, descriptive name.
- Description: Details about the channel
- Click on Save.

- Once you click on Save, you will see a success notification at the top of the page and your store setup will begin automatically.
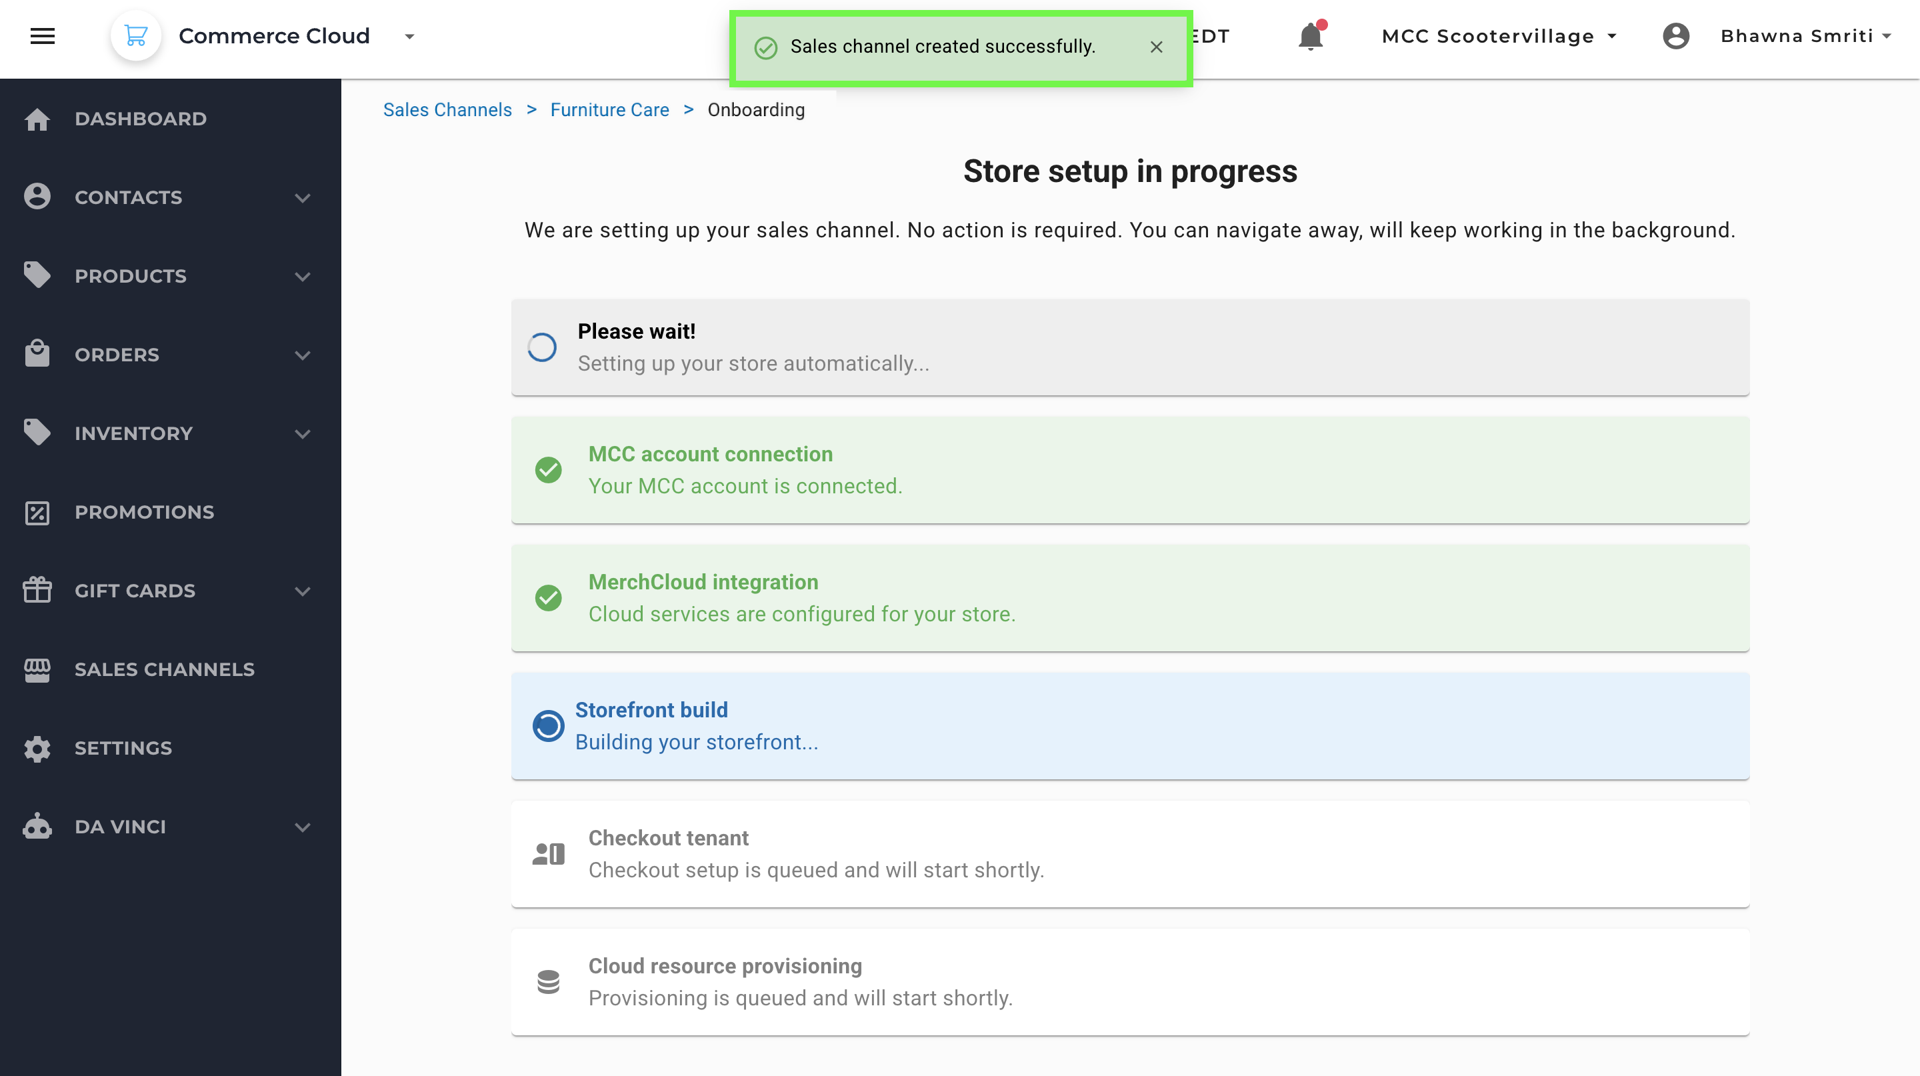
- You will see a message at the top:“We are setting up your sales channel. No action is required. You can navigate away, we will keep working in the background.”
The setup screen displays each step as it completes, including:- MCC account connection – Your account is connected.
- MerchCloud integration – Cloud services are configured.
- Storefront build – Your storefront is created.
- Checkout tenant – Secure checkout becomes active.
- Cloud resource provisioning – Background cloud resources are set up.
- Once the system has finished provisioning your sales channel, you will see a Setup Complete screen confirming that your store is ready to use.
- You will see a button to immediately explore your new storefront: Explore Store. This screen acts as the final checkpoint before you begin configuring your store’s content and design.
You will also see two guided next steps:- Add Your Products
Upload your product catalog to start assigning prices, inventory, and variants. - Customize Your Theme
Personalize the look and feel of your storefront, including layout, colors, and branding.
- You can click on “Explore Store” option to go to General Store page, here you will add and edit the store information. For a detailed guide on editing and adding information to the General Store Page, click here.
- Your Store setup is now complete and visible on the Sales Channels page.
