Users can avail themselves of Neto integration services to import contact and order data from their Neto accounts to their Service Cloud accounts.
Integration Overview
With the help of this integration, data such as customer details, order history, cart information, subscription status, etc., is captured and synced with your Service Cloud account.
Important Note: Although customer and order data are synced from Neto, the contacts who have subscribed to only newsletters and have not created an account will not be imported. You can connect multiple Neto accounts to a single Service Cloud account. However, you cannot connect a Neto account to multiple Service Cloud accounts.
The table below shows what information is synchronized between Neto and Service Cloud:
Section | Synchronized data |
|---|
Customers | - All customers are synchronized, regardless of whether they have made a purchase or not.
- Subscription status (subscriber or non-subscriber)
- Fields:
- Email
- First name
- Last Name
- Status
- Custom fields
- (Phone number can be synced as a custom field.)
|
Orders | - Orders are synchronized once an hour.
- Order status
|
Abandoned Carts | - If a customer has abandoned their cart.
|
Recommendations | - Price
- Description
- Image
- Store URLs
- Image URLs
- Category (as per below)
|
Product Catalog | - The catalog needs to be imported via CSV upload. Any changes to the catalogue in Neto will require products to be reimported.
- Categories: One product per category, randomly selected from the list of categories the product is assigned to.
|
Creating a Neto Integration
Follow the steps shown below to create a new Neto integration:
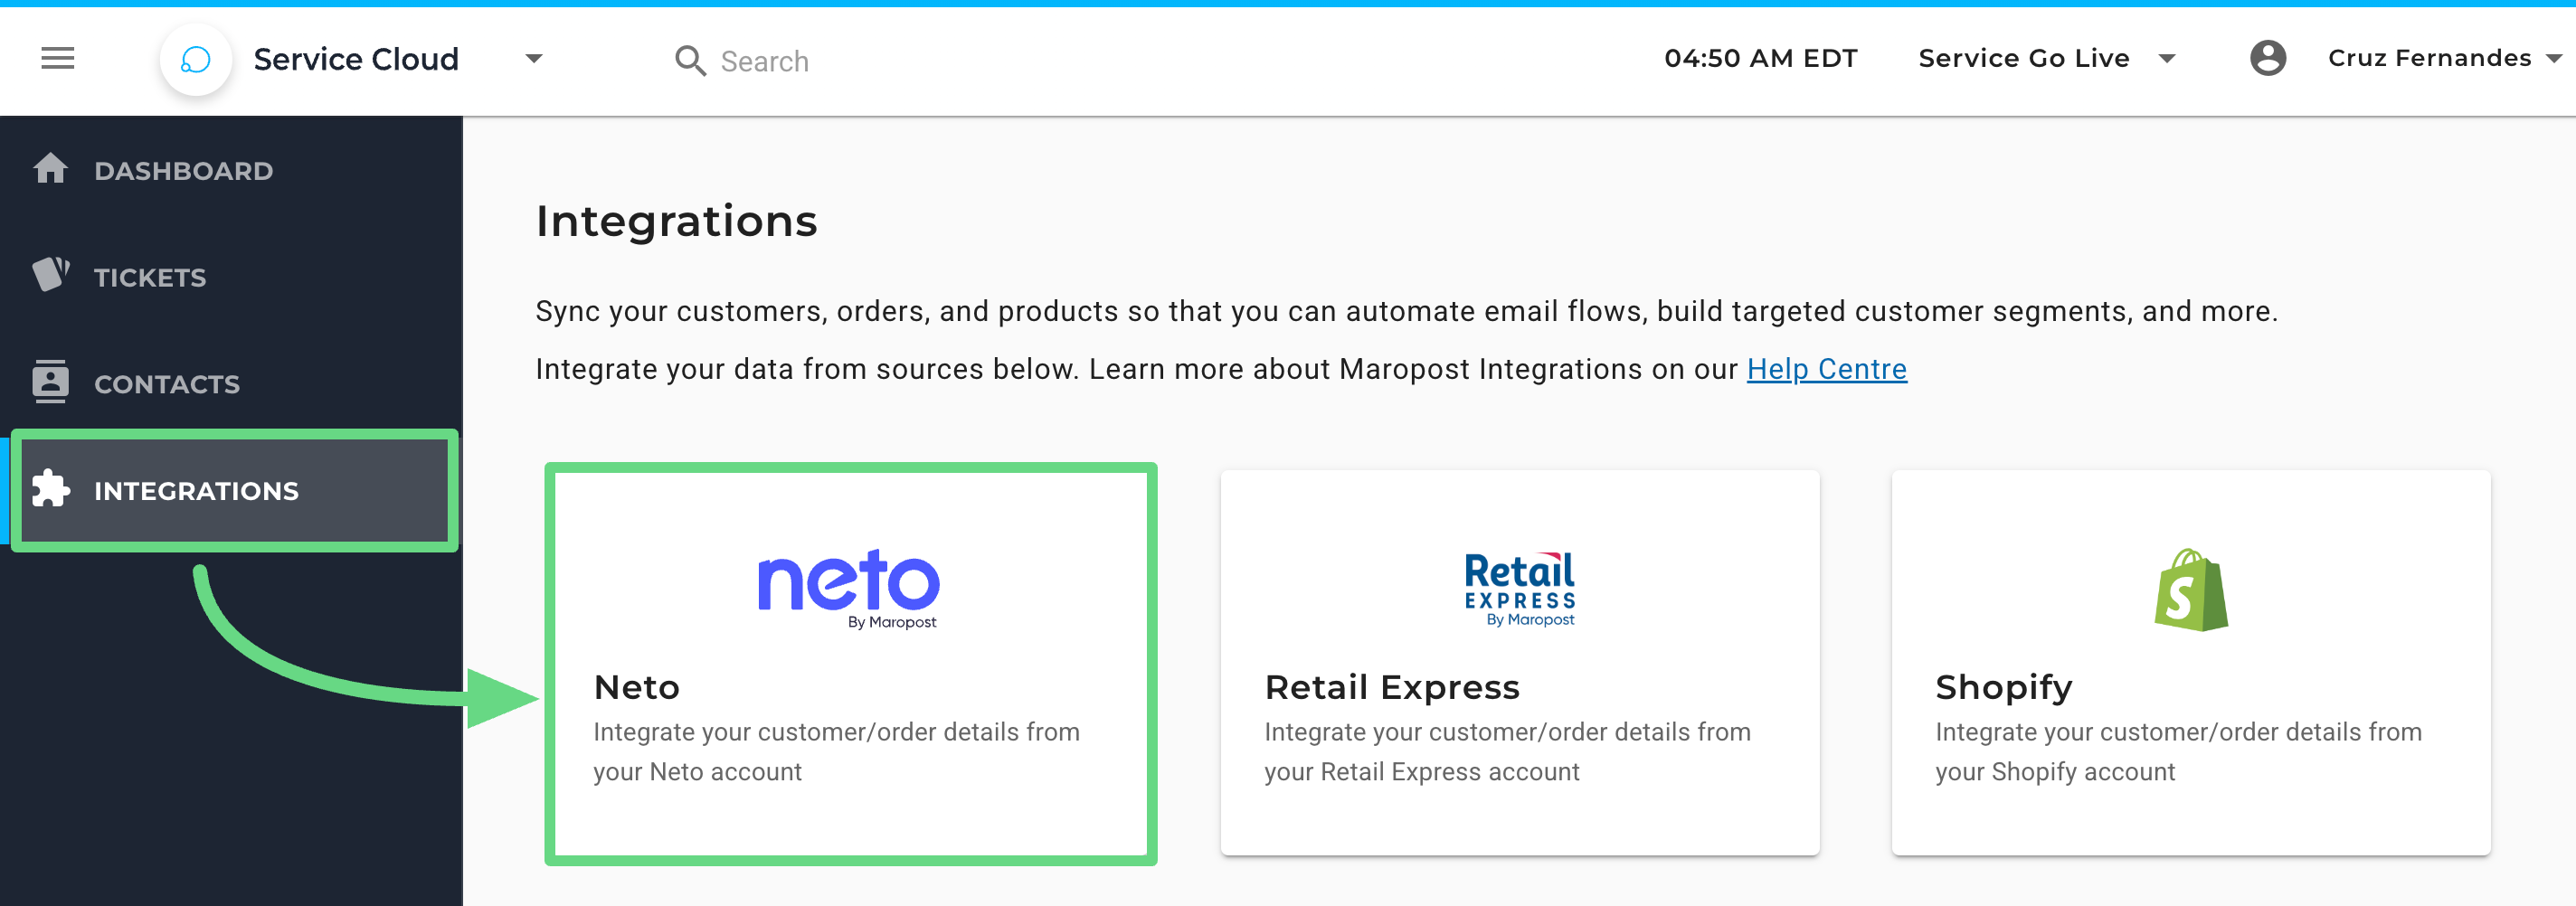
1. To access Neto integrations from your Service Cloud account, click on Integrations from the Navigational panel and choose Neto.
2. On the Integration slider, enter your Neto account’s shop name and shop URL. Toggle the Sync historical data option to sync the past 45 days’ customer data from the Neto account to the Service Cloud. Click on Connect to set up the integration.

Note: If you have purchased Maropost’s Marketing Cloud from us and are currently using the Unified Platform (Marketing Cloud + Service Cloud), you’ll see additional fields while you are creating and managing your Neto integrations. To learn more about such features, visit and read our Neto Integration exclusive for Marketing Cloud users.
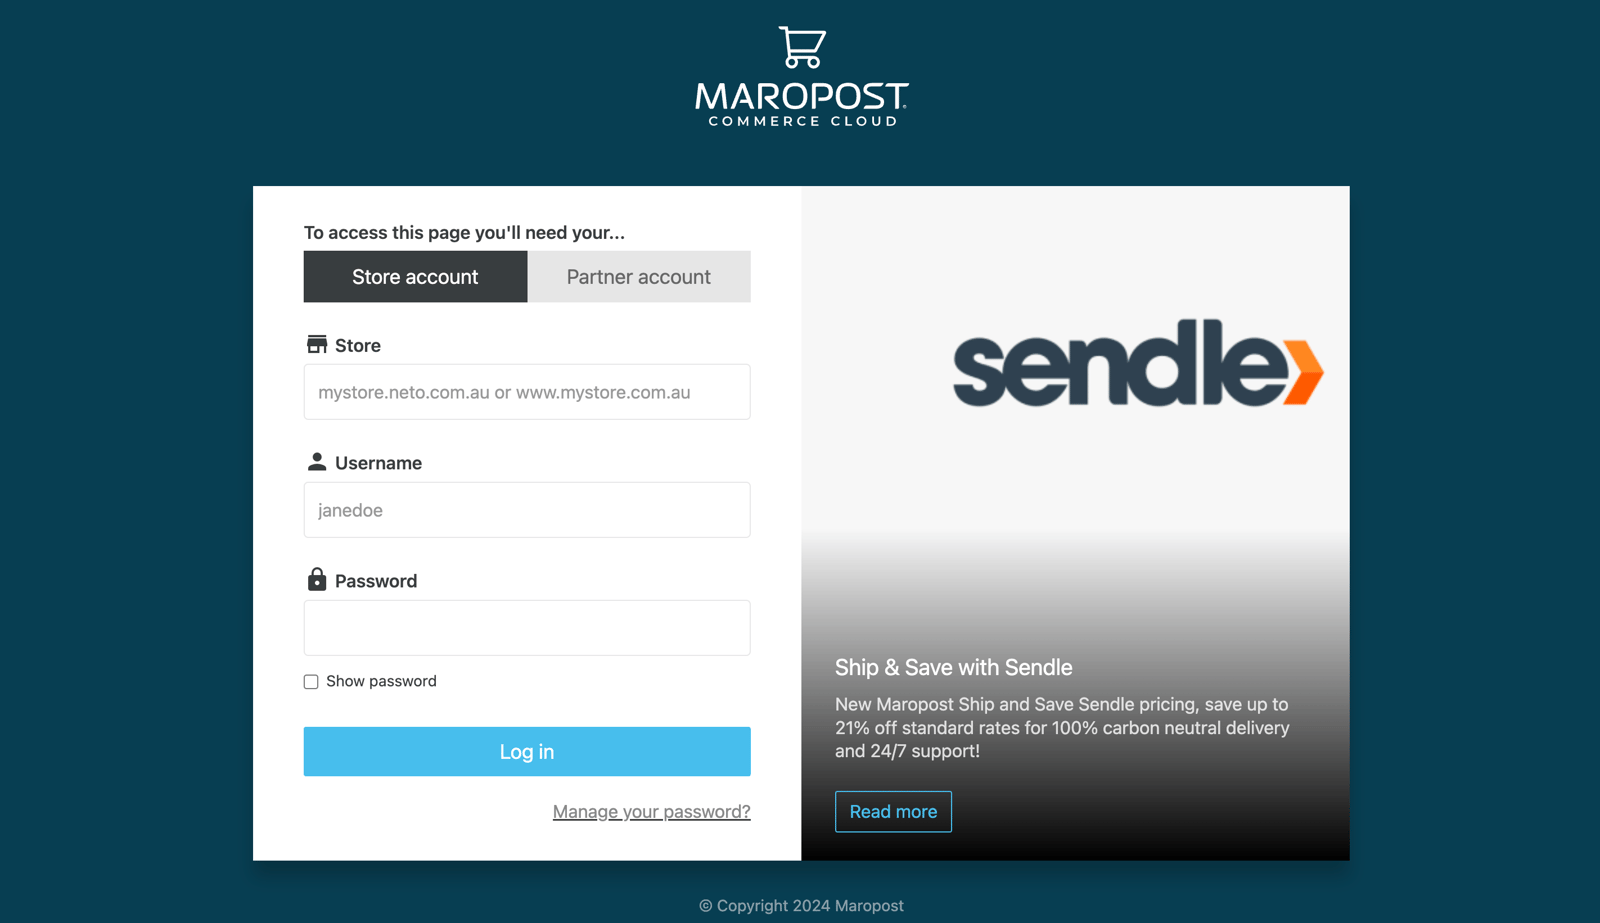
You’ll be prompted to log into your Neto account (if not already logged in), and once authenticated, the integration is created.
Managing Neto Integrations
Once you create your Neto integrations, you can manage them from a single place. The integrations are displayed with the following information:
- Shop Name: Displays the name of your Neto connection.
- Shop URL: Displays the URL link of your Neto store.
- Status: Mentions whether the integration connection is either active or pending for verification.
- Actions: Allows you to edit the connection details or to delete them permanently.
