The Shopify integration setup enables users to sync and import real-time information, including contacts, product catalogs, and purchase history, from their Shopify account to their Service Cloud account.
Integration Overview
When a Shopify integration is created, the contact details and their order history are imported from your Shopify account and synced to your Service Cloud account in real time. Contacts who have not yet purchased items from your Shopify store but have opted to receive promotional emails and newsletters via a sign-up form are also imported to your Service Cloud account.
When updating contact data, the email address serves as the primary lookup key. Such records are normally updated with the most recent purchase history if the email address is registered in your Maropost account. If the email address is not present, a new contact is made using it.
Important Note: The integration imports all order information, including archived purchases, irrespective of the order status. Any subsequent updates occurring under financial status in Shopify are synced in Service Cloud in real time. Contacts who have subscribed to the marketing emails are synced even if they haven’t made any purchases.
The following table describes in-depth the various Shopify parameters that are synced with Service Cloud:
Orders:
Maropost Fields | Shopify Fields |
|---|
total_price | grand_total |
order_number | original_order_id |
created_at | order_date |
financial_status | order_status |
Products:
Maropost Fields | Shopify Fields |
|---|
variant_id | item_id |
quantity | quantity |
name | description |
title | name |
price | price |
title | description |
product_type | categories |
image[src] | image_url |
status | status |
vendor | brand |
published_scope | published |
inventory_quantity | availability |
Contact Records:
Maropost Fields | Shopify Fields |
|---|
first_name | first_name |
last_name | last_name |
email | email |
phone | phone |
email_marketing_consent /
sms_marketing_consent | status |
Creating a Shopify Integration
Follow the steps shown below to create a new Shopify integration:
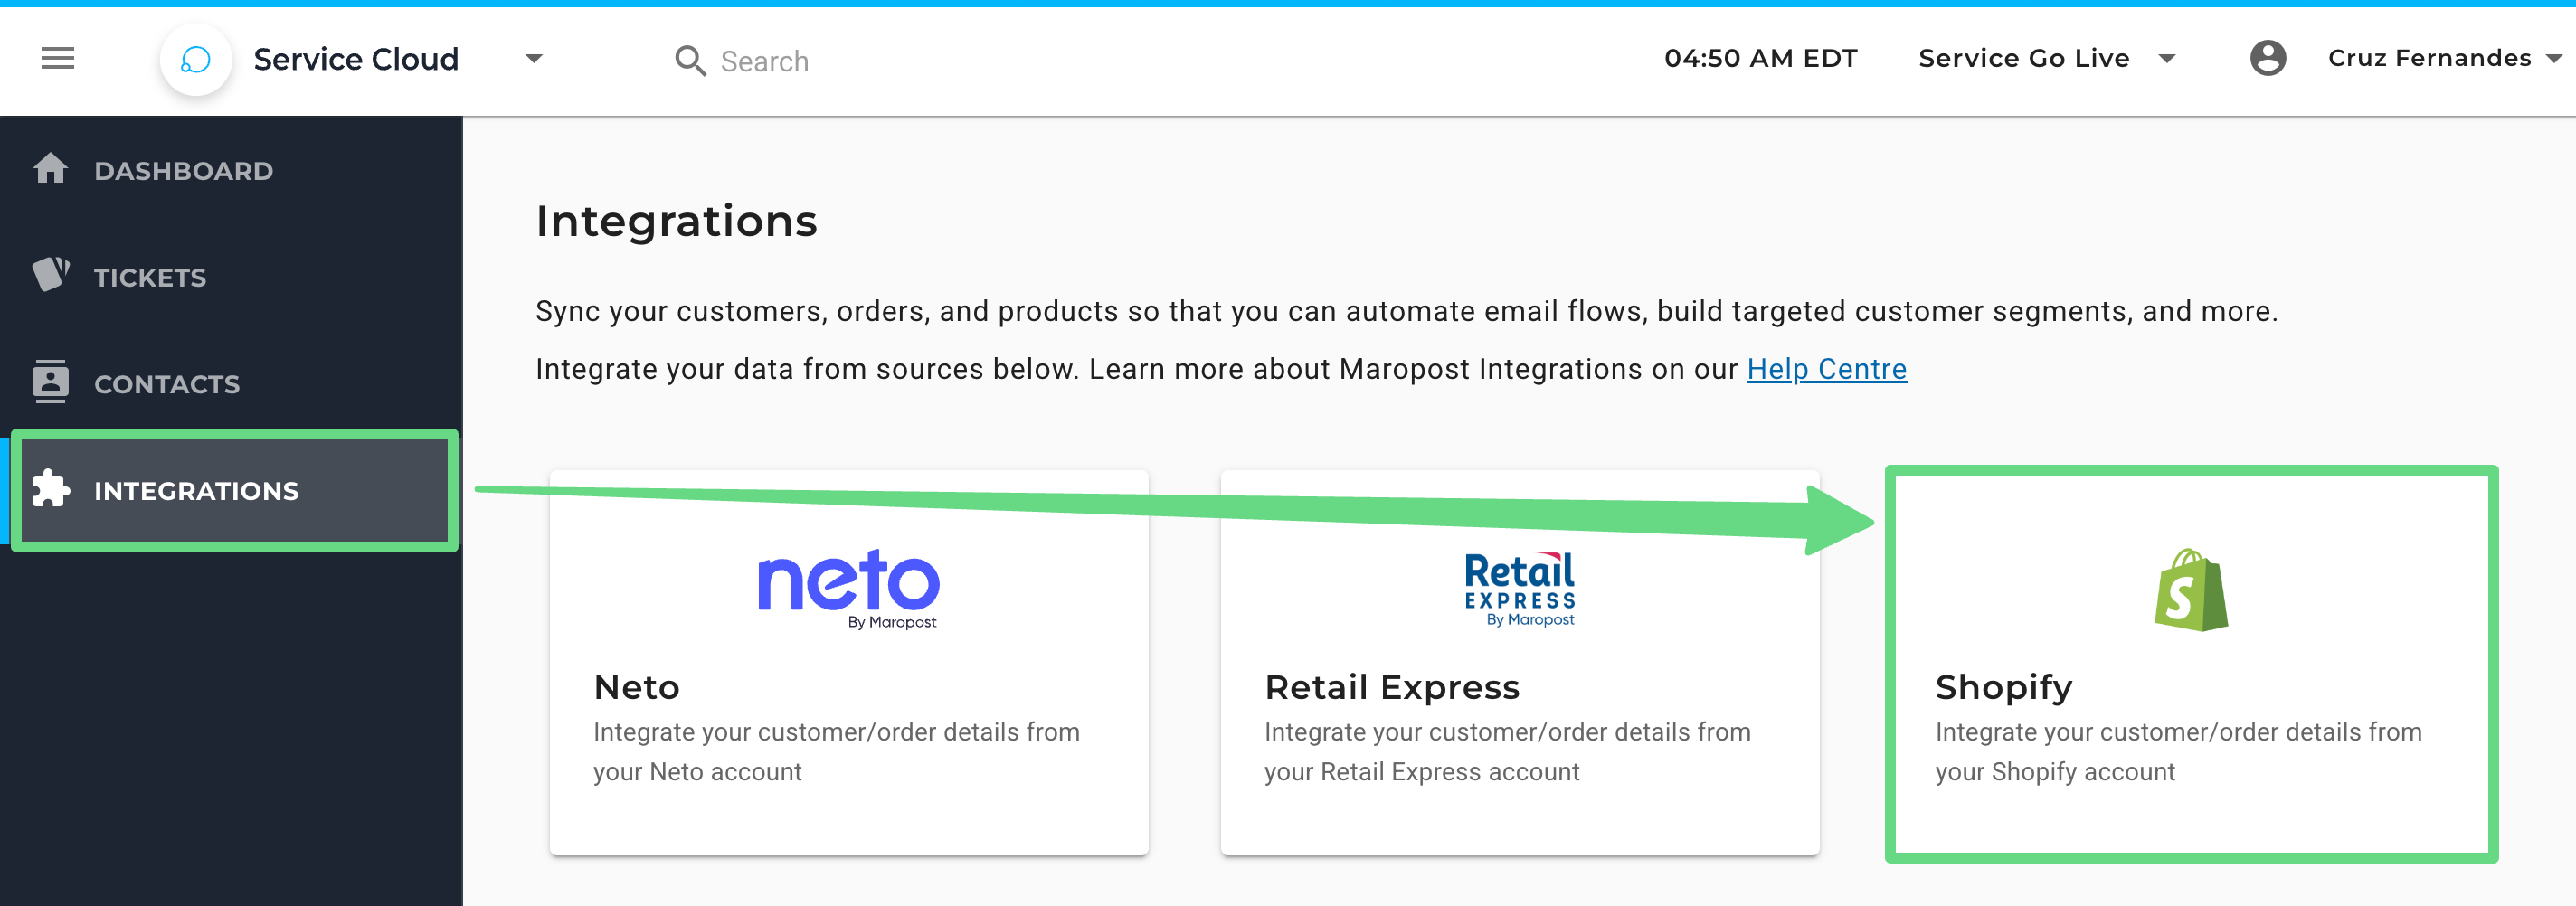
1. To access Shopify integrations from your Service Cloud account, click on Integrations from the Navigational panel and choose Shopify.
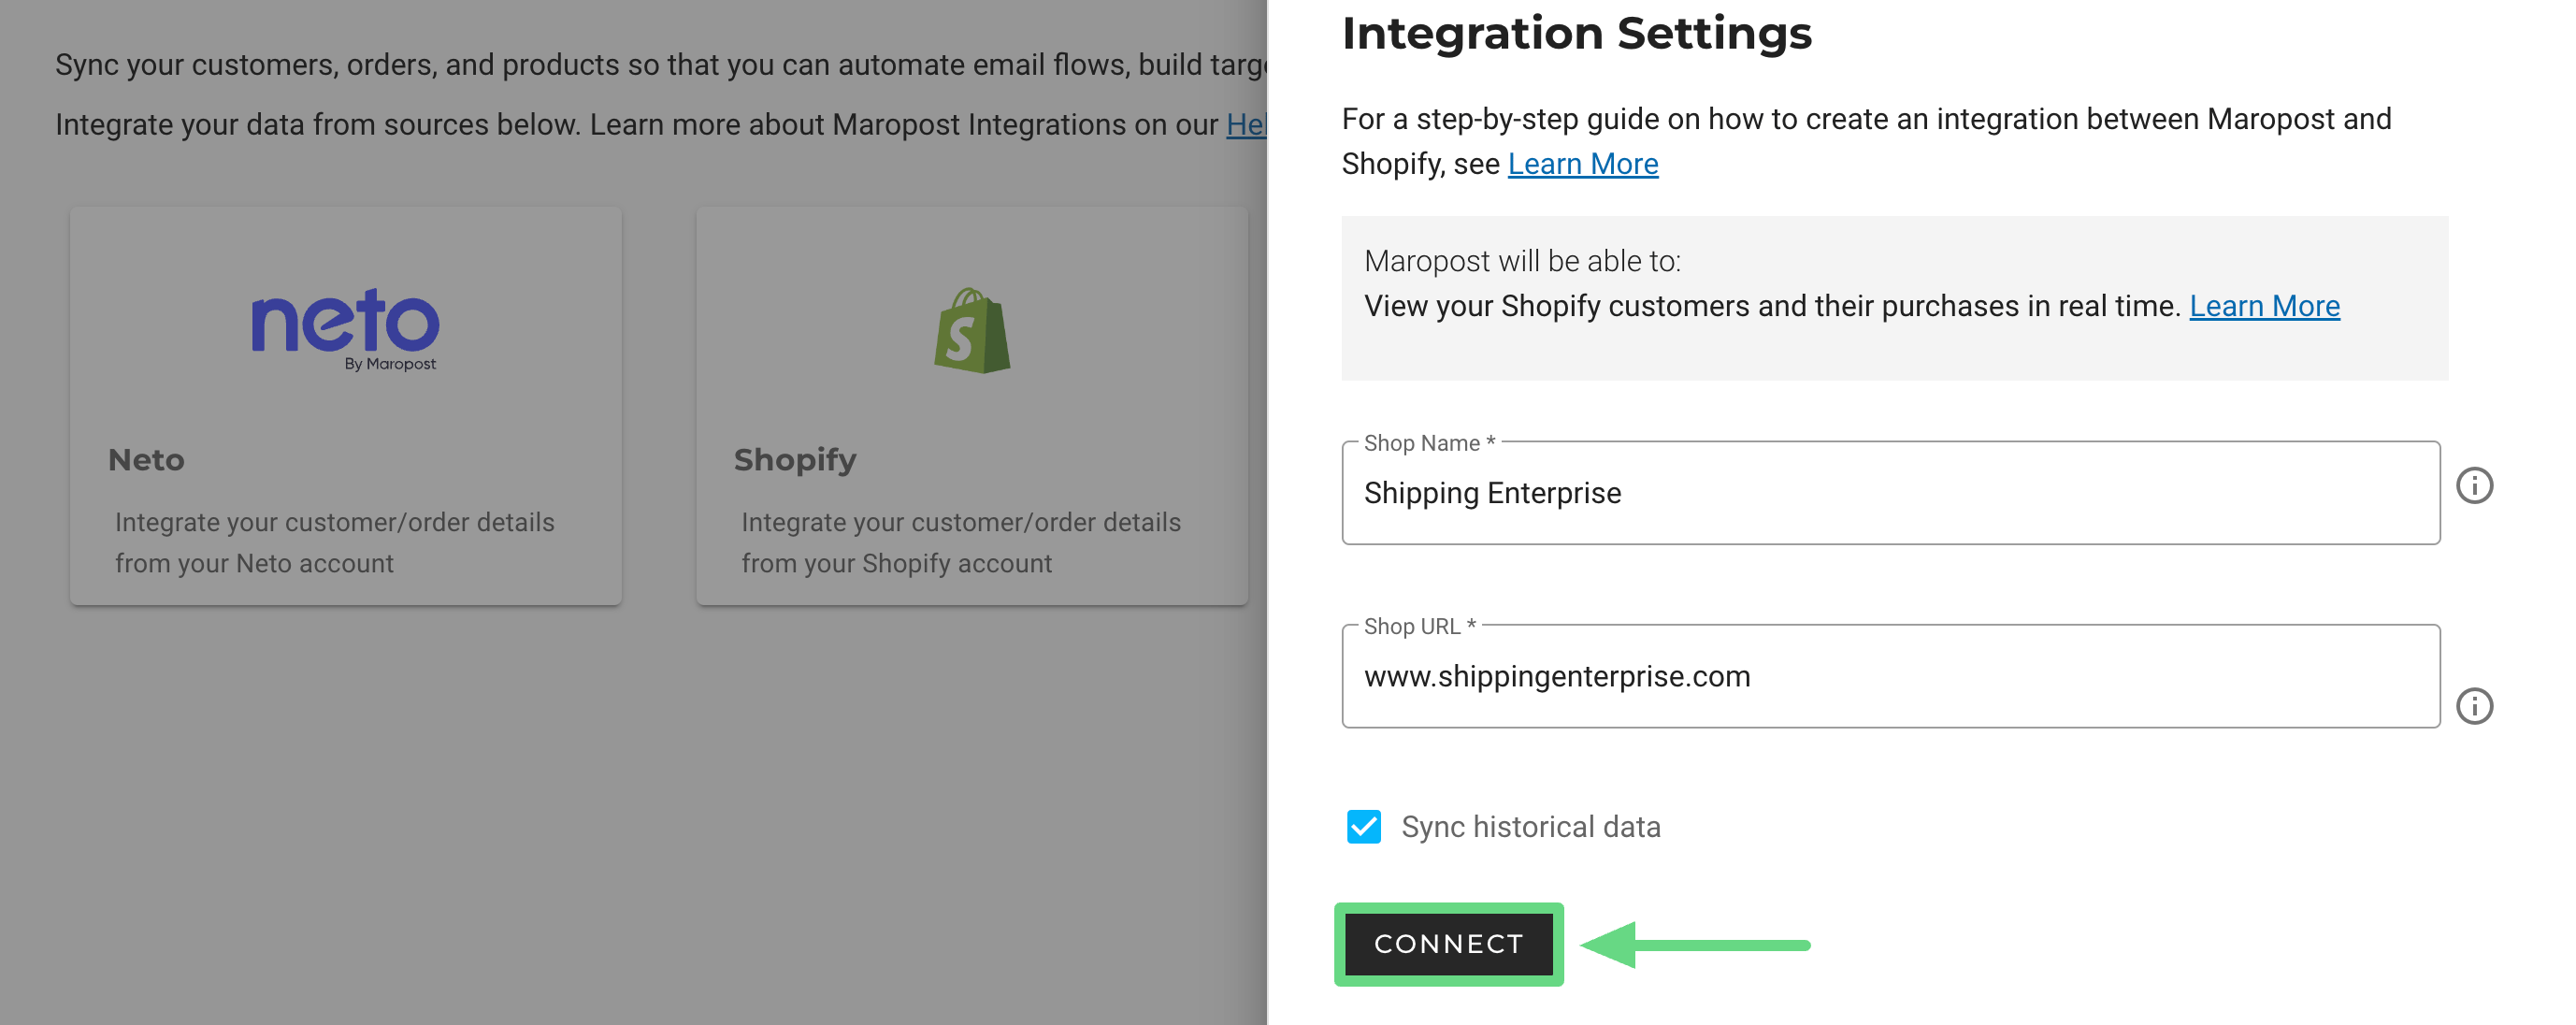
2. On the Integration slider, enter your Shopify account’s shop name and shop URL. Toggle the Sync historical data option to sync the past 45 days’ customer data from the Shopify account to the Service Cloud. Click on Connect to set up the integration.
Note: If you have purchased Maropost’s Marketing Cloud from us and are currently using the Unified Platform (Marketing Cloud + Service Cloud), you’ll see additional fields while you are creating and managing your Shopify integrations. To learn more about such features, visit and read our Shopify Integration exclusive for Marketing Cloud users.
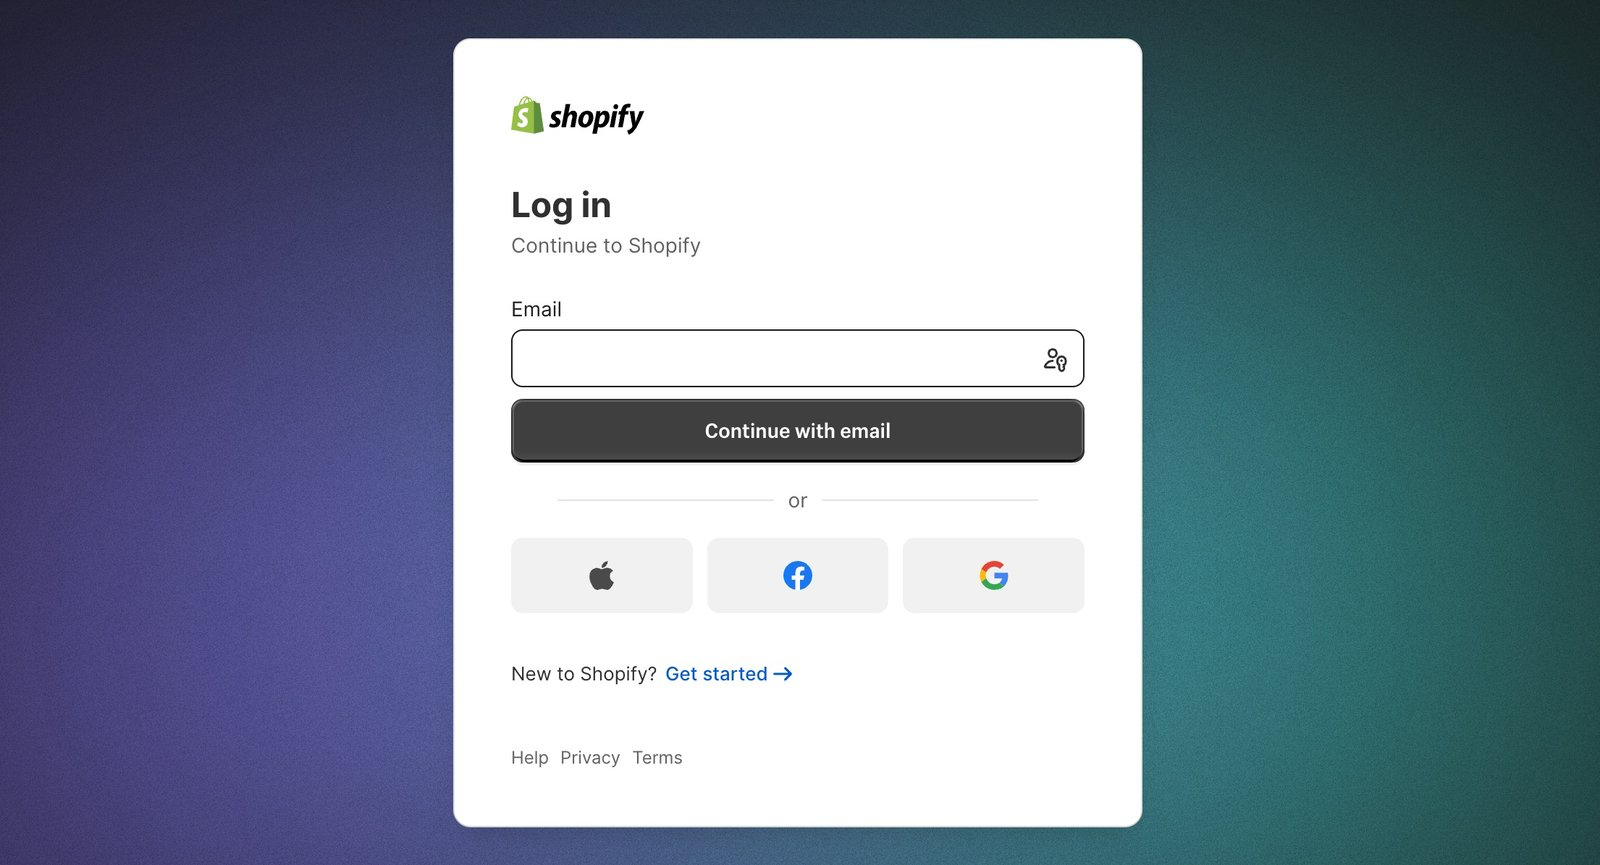
You’ll be redirected to your Shopify account, where you can log in and install the Maropost app for Shopify.
Once the installation is complete, the integration gets added and is reflected on the confirmation page of your Shopify integration panel.
Managing Shopify Integrations
Once you create your Shopify integrations, you can manage them from a single place. The integrations are displayed with the following information:
- Shop Name: Displays the name of your Shopify connection.
- Shop URL: Displays the URL link of your Shopify store.
- Status: Mentions whether the integration connection is either active or pending for verification.
- Actions: Allows you to edit the connection details or to delete them permanently.
