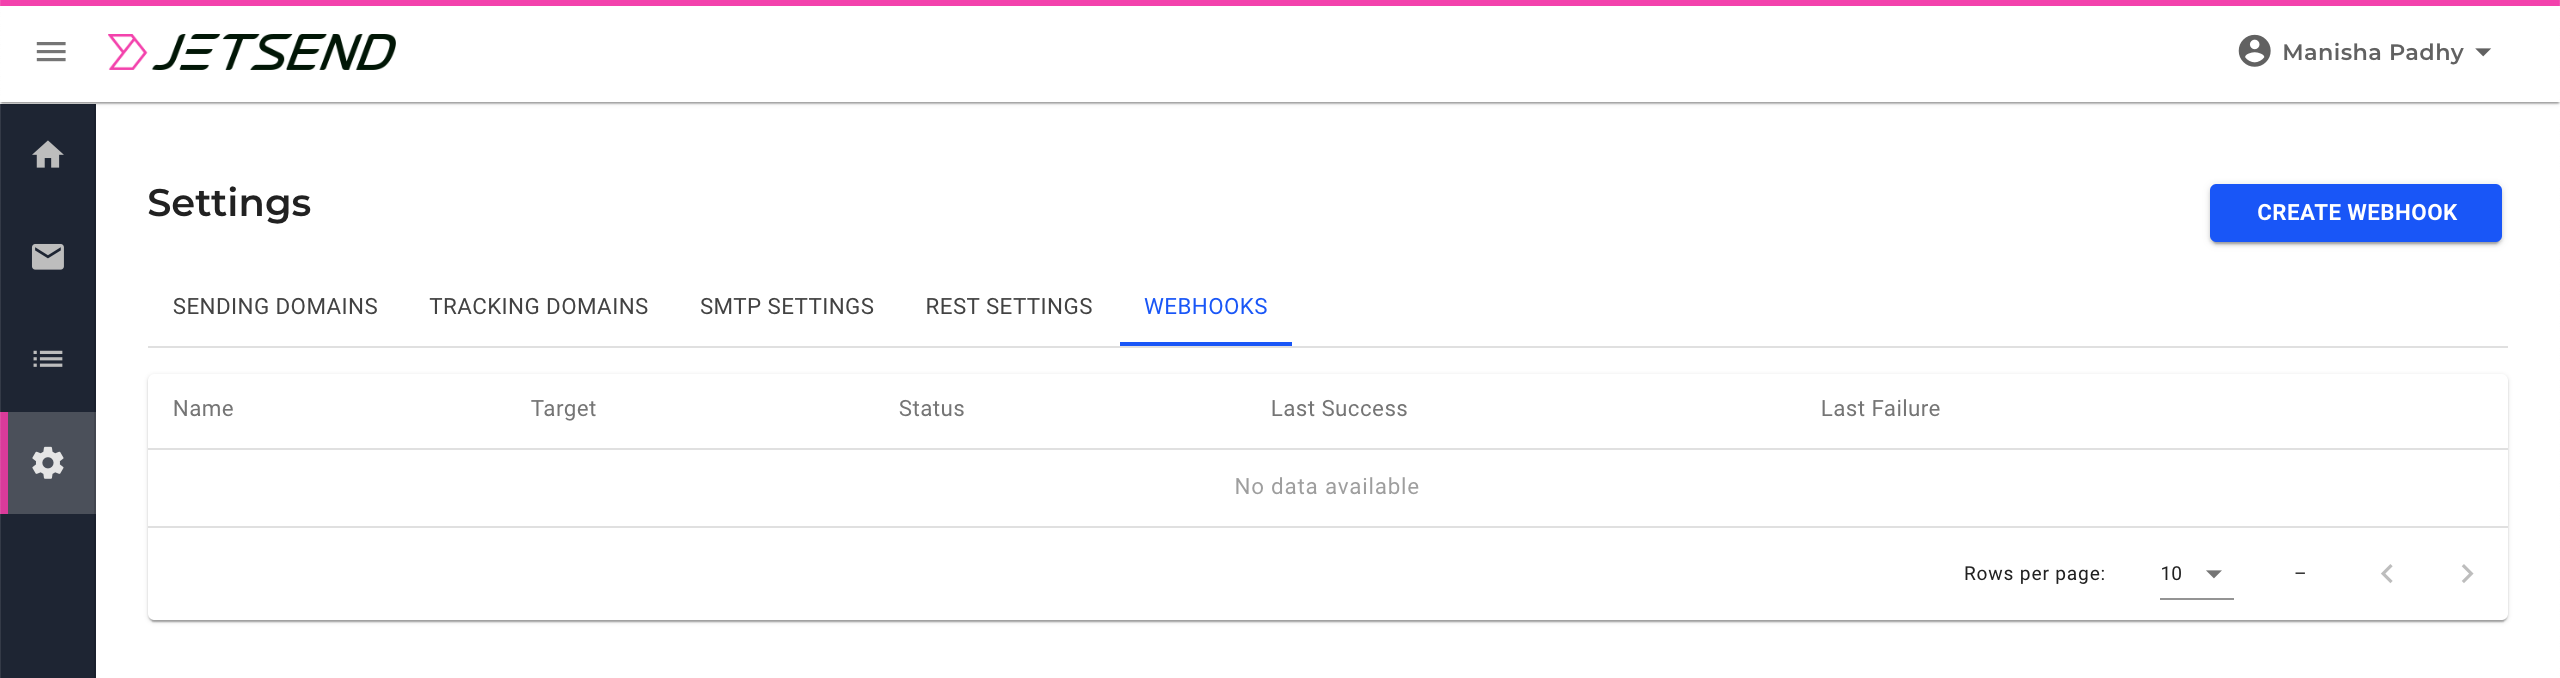
The Webhooks tab displays all the previously created webhooks and their details, such as Name, Target, Status, Last Success, and Last Failure.
Creating a Webhook for Emails
To create a new webhook, perform the following steps:
- In the Webhooks tab, click the Create Webhook button.
- On the Create Webhook dialog box, enter or select a value for the following fields:
| Field Name | Mandatory (Yes/No) | Description |
| Webhook Name | Yes | The name of the webhook. |
| Target | Yes | The URL of the webpage for which you are creating the webhook. |
| Select Event | Yes |
The event that triggers the webhook.
The valid values are:
- accepted
- enqueued
- deferred
- rejected
- delivered
- suppressed
- bounced
- reported
- opened
- clicked
- webhook
|
| Select Auth | Yes | The authentication method of webhook. The valid values are:
|
| Username | No | The user name for the authentication. This field is dependent on the value selected in the Select Auth field and is displayed for basic authentication. |
| Password | No | The password for authentication. This field is dependent on the value selected in the Select Auth field and is displayed for basic authentication. |
| Active | Yes | Toggle to active the webhook. The toggle is by default set to inactive. |
- Click Create.
After a webhook is created, you can test it quickly in just two clicks. Click the webhook listed on the tab to expand and then click Test Webhook. You will see a server response and a message to confirm the successful testing of the setup.